Page 25 of 191
Ignition
LOCK locks the steering wheel and
allows the key to be removed from
the ignition. (Push the key in while
turning to LOCK on vehicles with
manual transaxles.) LOCK also
locks automatic transaxle
gearshifts.
MIRRORS
00000000002030405060
70
80
90
10 0
11 020 40608010 0
12 0
16 0
18 0 140
200FUEL FILLCHEF1/22
13RPM x 1000
RSM
SET
ACC
CST OFF ONR L
OFF2INT
1 OFF MIST
HI LOOFFA/C
MAX
A/C
TUNE
SEEK
SCAN
EJ REW FF
BAL BASSTREBFADE TAPE
AM
FM
–+1
SIDE 1-22
345
6
VOL
PUSH ON
ON
IIACC
I
LOCK
0
START
III
Controls and features
25
Page 29 of 191
Tilt steering (if equipped)
Pull the lever down to adjust the
steering column angle.
Push the lever back up to lock the
steering wheel in position.
Never adjust the steering
wheel when the vehicle is
moving. You could lose control of
the vehicle and injure someone.
Hazard flasher switch
For information on the hazard
flasher switch, refer to the
Roadside emergencieschapter.
MIRRORR
00000000002030405060
70
80
90
10 0
11 020 40608010 0
12 0
16 0
18 0 140
200FUEL FILLCHEF1/22
13RPM x 1000
RSM
SET
ACC
CST OFF ONL
Controls and features
29
Page 63 of 191

Do not place objects or
mount equipment on or
near the air bag cover on the
steering wheel or in front seat
areas that may come into contact
with a deploying air bag. Failure
to follow this instruction may
increase the risk of personal
injury in the event of a collision.
Do not attempt to service,
repair, or modify the air
bag SRS or its fuses. See your
Ford or Lincoln-Mercury dealer.
AIR BAG SYSTEM
DESCRIPTION
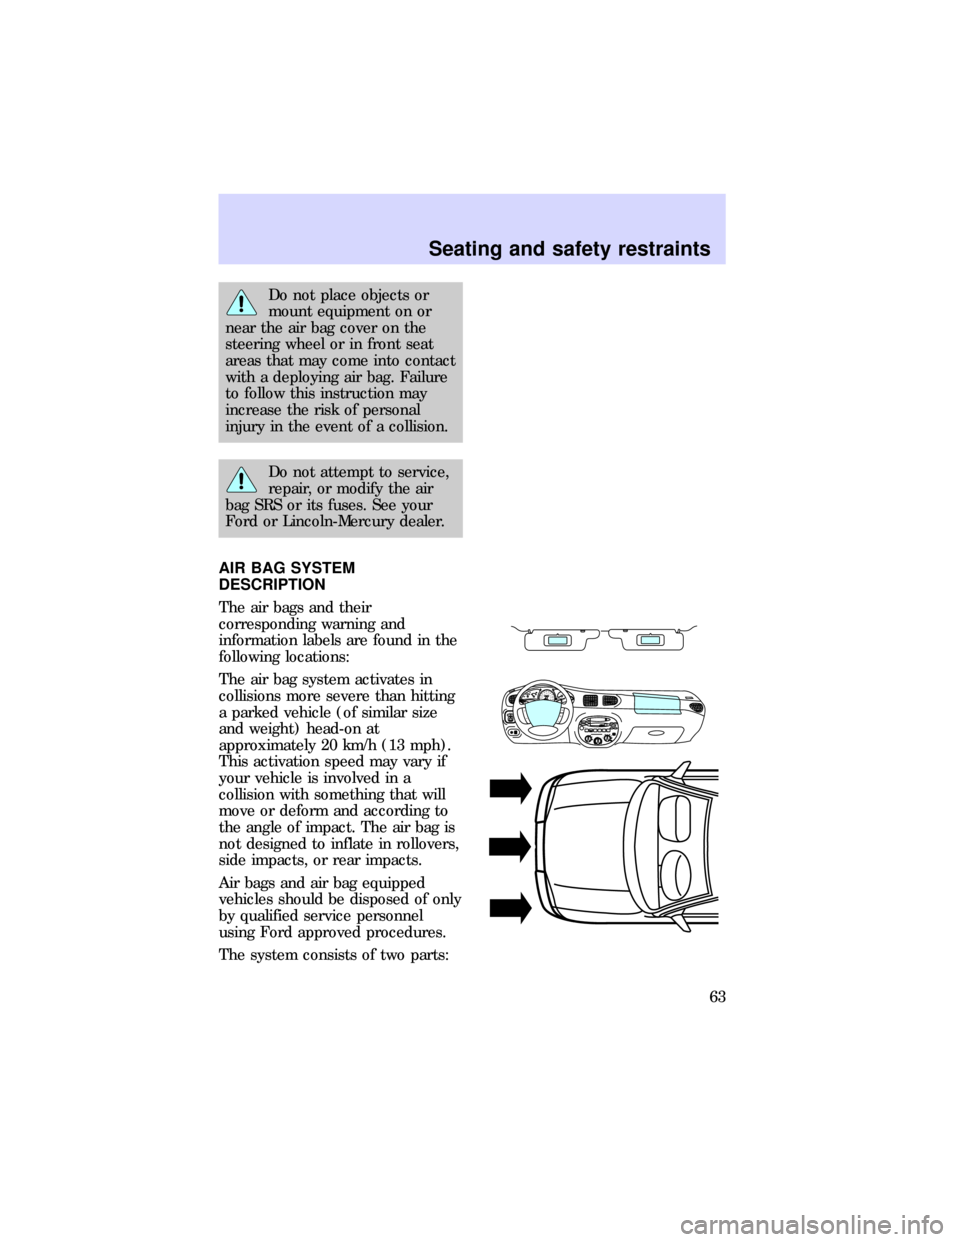
The air bags and their
corresponding warning and
information labels are found in the
following locations:
The air bag system activates in
collisions more severe than hitting
a parked vehicle (of similar size
and weight) head-on at
approximately 20 km/h (13 mph).
This activation speed may vary if
your vehicle is involved in a
collision with something that will
move or deform and according to
the angle of impact. The air bag is
not designed to inflate in rollovers,
side impacts, or rear impacts.
Air bags and air bag equipped
vehicles should be disposed of only
by qualified service personnel
using Ford approved procedures.
The system consists of two parts:
HI LOOFF*A/C*MAX
A/CTUNE
DISCS
SEEK
TUNE
SCAN
EJ REW FF
BAL BASSTREBFADE TAPE
CD AM
FM
–+1
SIDE 1-22
345
COMP1
SIDE 1-2VOL–
PUSH ONLMIRRORR00000000002030405060
70
80
90
10 0
11 020 40608010 0
12 0
16 0
18 0 140
200FUEL FILLCHEF1/22
13RPM x 1000RSM
SET
ACC
CST OFF ONOFFINT
1 OFF MIST
Seating and safety restraints
63
Page 64 of 191

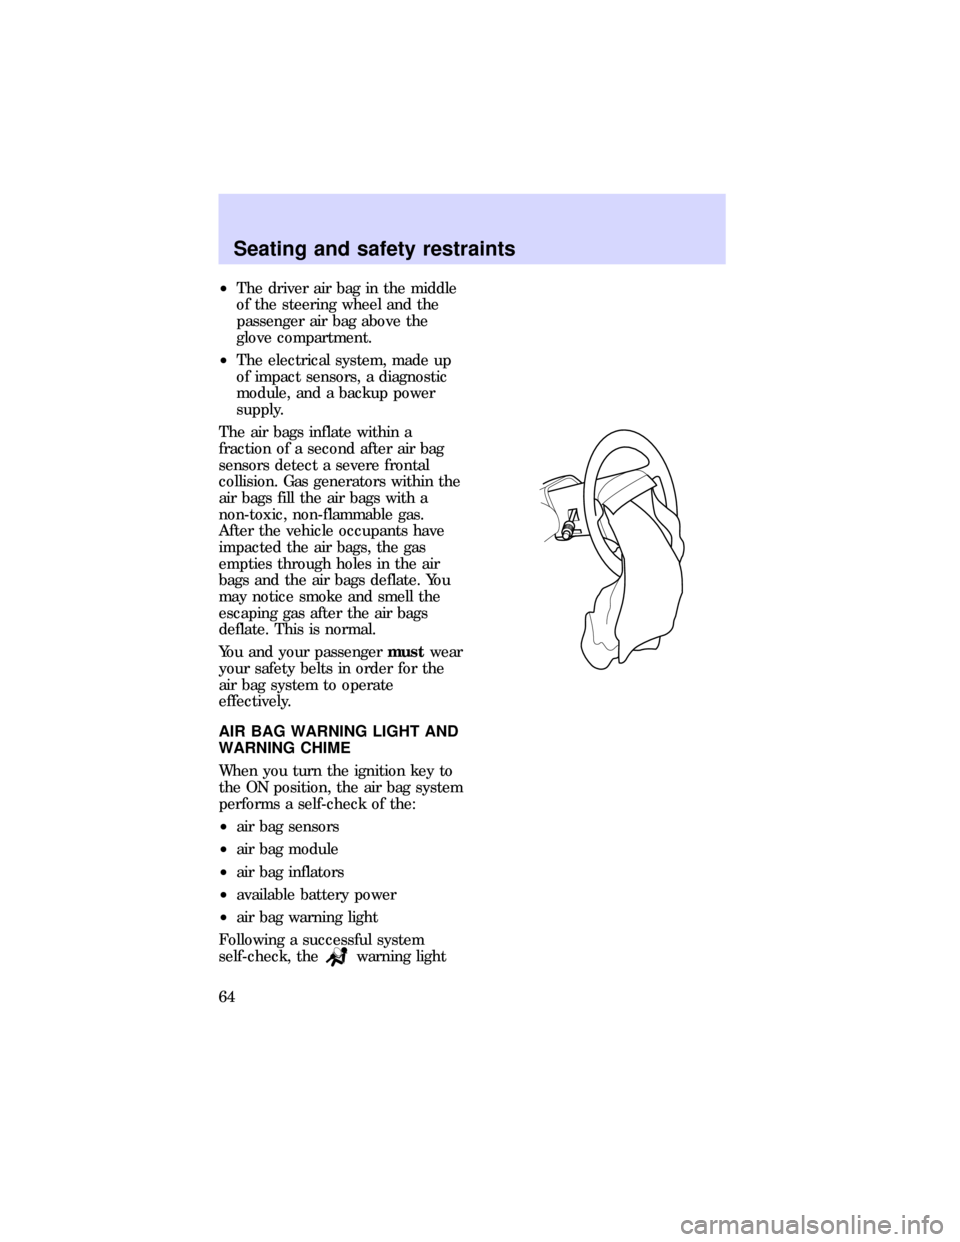
²The driver air bag in the middle
of the steering wheel and the
passenger air bag above the
glove compartment.
²The electrical system, made up
of impact sensors, a diagnostic
module, and a backup power
supply.
The air bags inflate within a
fraction of a second after air bag
sensors detect a severe frontal
collision. Gas generators within the
air bags fill the air bags with a
non-toxic, non-flammable gas.
After the vehicle occupants have
impacted the air bags, the gas
empties through holes in the air
bags and the air bags deflate. You
may notice smoke and smell the
escaping gas after the air bags
deflate. This is normal.
You and your passengermustwear
your safety belts in order for the
air bag system to operate
effectively.
AIR BAG WARNING LIGHT AND
WARNING CHIME
When you turn the ignition key to
the ON position, the air bag system
performs a self-check of the:
²air bag sensors
²air bag module
²air bag inflators
²available battery power
²air bag warning light
Following a successful system
self-check, the
warning light
Seating and safety restraints
64
Page 93 of 191

BRAKES
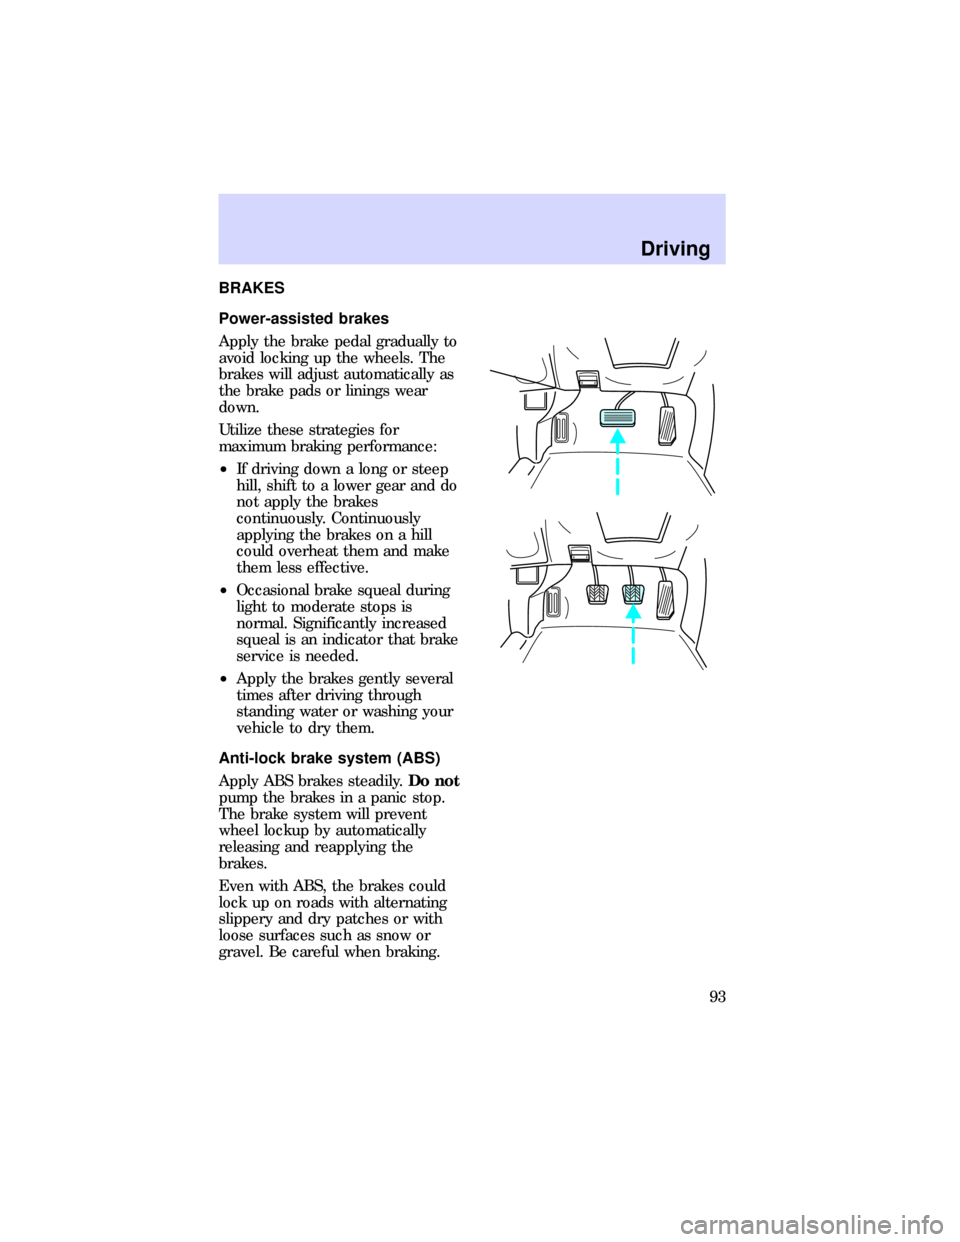
Power-assisted brakes
Apply the brake pedal gradually to
avoid locking up the wheels. The
brakes will adjust automatically as
the brake pads or linings wear
down.
Utilize these strategies for
maximum braking performance:
²If driving down a long or steep
hill, shift to a lower gear and do
not apply the brakes
continuously. Continuously
applying the brakes on a hill
could overheat them and make
them less effective.
²Occasional brake squeal during
light to moderate stops is
normal. Significantly increased
squeal is an indicator that brake
service is needed.
²Apply the brakes gently several
times after driving through
standing water or washing your
vehicle to dry them.
Anti-lock brake system (ABS)
Apply ABS brakes steadily.Do not
pump the brakes in a panic stop.
The brake system will prevent
wheel lockup by automatically
releasing and reapplying the
brakes.
Even with ABS, the brakes could
lock up on roads with alternating
slippery and dry patches or with
loose surfaces such as snow or
gravel. Be careful when braking.
Driving
93
Page 98 of 191
3. Push and hold the thumb
button.
4. Move the gearshift.
If it is necessary to use the above
procedure to move the gearshift, it
is possible that a fuse has blown
and the vehicle's brakelamps may
not be operating properly. For
more information on fuses and fuse
replacement, refer toFuses and
relaysin theRoadside
emergencieschapter.
Do not drive your vehicle
until you verify that the
brakelamps are working.
If an automatic transaxle vehicle
gets stuck in mud or snow it may
be rocked out of the spot. To rock
the vehicle out, shift between
forward and reverse gears in a
steady rhythm. Press lightly on the
accelerator in each gear. Do not
rock the vehicle for more than a
few minutes; this could damage
the vehicle.
Do not spin the wheels at
over 55 km/h (35 mph).
The tires may fail and injure a
passenger or bystander.
P
R
N
D
D
L
Driving
98
Page 106 of 191
Towing behind a recreational
vehicle (RV)
Do not tow your vehicle behind
another vehicle, such as an RV,
unless front wheel dollies are used.
Luggage rack (if equipped)
Load luggage as far back as it will
safely go on the rack without
causing the vehicle to exceed the
gross vehicle weight rating
(GVWR) or gross axle weight
rating (GAWR).
FUEL CONSUMPTION
Fuel economy can be improved by
avoiding:
²lack of regular, scheduled
maintenance
²excessive speed
²rapid acceleration
²driving with the brake pedal
depressed
²sudden stops
²extended engine idling
²use of speed control in hilly
terrain
²extended use of the air
conditioner, defroster, rear
window defroster and other
accessories
²underinflated tires
²heavy loads
²aftermarket add-ons such as
bike, ski or luggage racks, bug
deflectors, etc.
Driving
106
Page 115 of 191
²exceed 80 km/h (50 mph) under
any circumstances
²load the vehicle beyond the
maximum vehicle load rating
listed on the Safety Compliance
Certification Label
²use tire chains
²drive through an automatic car
wash (because of the vehicle's
reduced ground clearance)
²try to repair the temporary
spare tire or remove it from its
wheel
²use the wheel for any other type
of vehicle
Tire changing procedure
1. Park on a level surface.
2. Activate the hazard flashers.
3. Set the parking brake.
4. Place the gearshift in P
(automatic transaxle) or R
(manual transaxle).
²Automatic
P
R
N
D
D
L
Roadside emergencies
115