Page 35 of 192

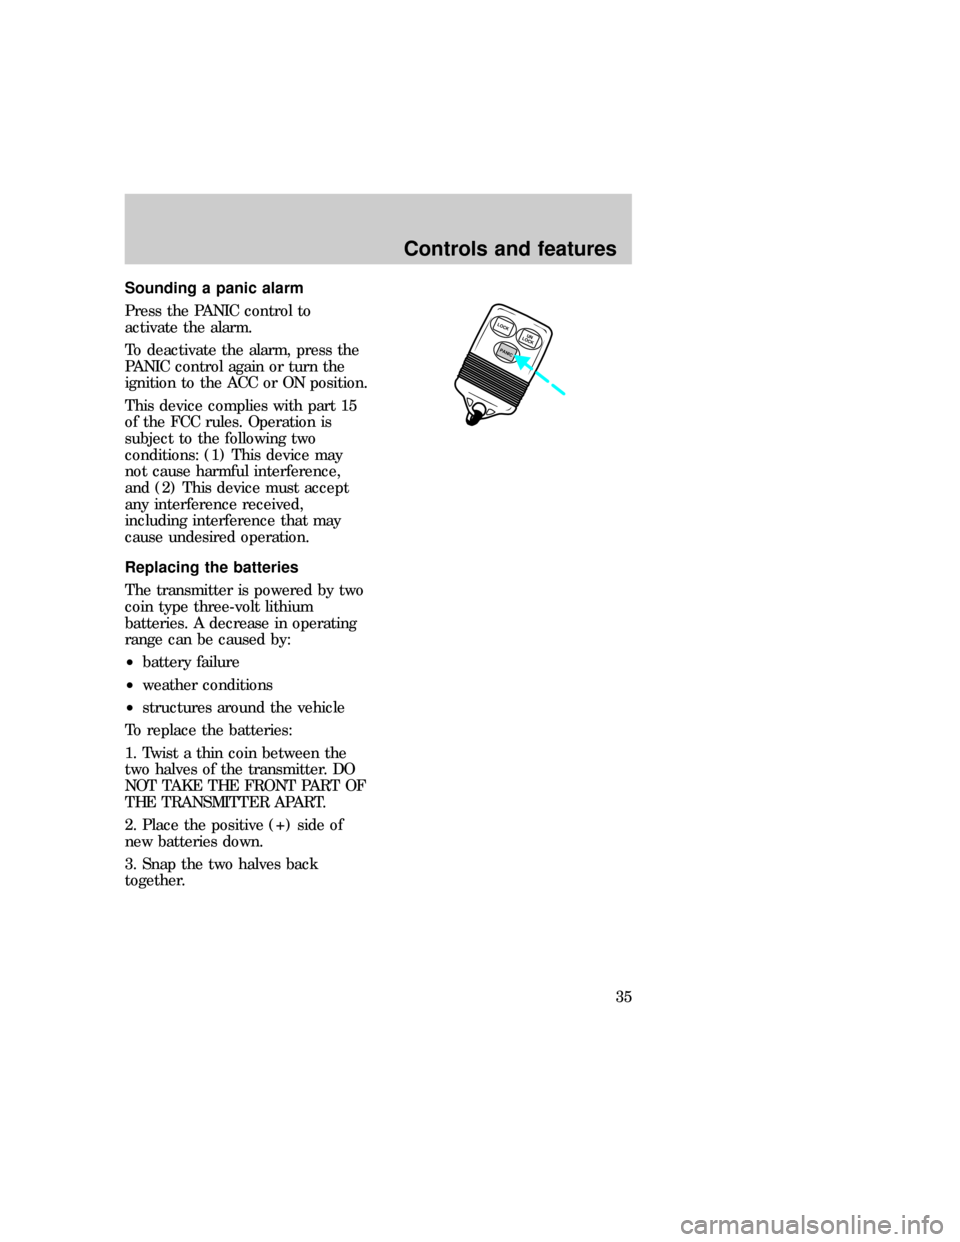
Sounding a panic alarm
Press the PANIC control to
activate the alarm.
To deactivate the alarm, press the
PANIC control again or turn the
ignition to the ACC or ON position.
This device complies with part 15
of the FCC rules. Operation is
subject to the following two
conditions: (1) This device may
not cause harmful interference,
and (2) This device must accept
any interference received,
including interference that may
cause undesired operation.
Replacing the batteries
The transmitter is powered by two
coin type three-volt lithium
batteries. A decrease in operating
range can be caused by:
²battery failure
²weather conditions
²structures around the vehicle
To replace the batteries:
1. Twist a thin coin between the
two halves of the transmitter. DO
NOT TAKE THE FRONT PART OF
THE TRANSMITTER APART.
2. Place the positive (+) side of
new batteries down.
3. Snap the two halves back
together.
LOCK
PANICUN
LOCK
com_remote_batteries.01
com_remote_transmitters.01
Controls and features
35
Page 36 of 192
Replacing lost transmitters
Take all your vehicle's transmitters
to your dealer for reprogramming
if:
²a transmitter is lost or
²you want to purchase additional
transmitters (up to four may be
programmed).
Illuminated entry system
The interior lamps illuminate
when:
²either front door handle is lifted
or
²the remote entry system is used
to unlock the door or sound the
personal alarm.
The system automatically turns off
after 25 seconds or when the
ignition is turned to the START or
ACC position.
The inside lights will not turn off
if:
²they have been turned on with
the dimmer control or
²any door is open.
LOCK
PANICUN
LOCK
LOCKUN
LOCK
PANIC
com_illuminated_entry.01
Controls and features
36
Page 40 of 192
the detachable anchor and lifting
upward.
Stow the tongue end of the
detachable anchor.
2. Lift and rotate the LH/RH seat
latch handles rearward.
3. Lift the LH/RH latch rod hook
ends out of the locking holes in
the front strikers.
4. Move the seat rearward and lift
the seats rear hooks away from the
rear strikers prior to lifting the
front hooks out from the front
strikers.
5. Remove the seat assembly.
To install the seat:
1. Position the seat in the vehicle.
2. Align front hooks to front
strikers, prior to lowering the rear
hooks and aligning them with the
rear strikers.
Seating and safety restraints
40
Page 41 of 192
3. Engage the LH/RH latch rod
hook ends in the front striker
locking holes.
4. Rotate the LH/RH latch handles
forward, and at the same time
slide the seat assembly forward to
engage the strikers. Continue
forward movement until the seat
reaches the end of its travel.
5. Make sure the safety belt is not
twisted, then insert the seat belt
tongue into detachable anchor
until you hear a ªclickº and feel
the latch engage.
Always latch the vehicle
seat to the floor, whether
the seat is occupied or empty. If
not latched, the seat may cause
injury during a sudden stop.
Quick release captains chair
To remove the seats:
1. Disengage the lap/shoulder belt
from the seat by inserting a key or
small screwdriver into the slot in
eco_rear_captain-seat
Seating and safety restraints
41
Page 43 of 192
To install the seats:
1. Position the seat to the floor
mount.
2. Engage the four pins into the
floor mount hole and push the seat
toward the left side of the vehicle
to fully engage.
3. Pull the seat latch handle
downward to lock the seat in
position.
4. Make sure the safety belt is not
twisted, then insert the seat belt
tongue into detachable anchor
until you hear a ªclickº and feel
the latch engage.
Check to see that the seat
and seatback is latched
securely in position. Keep floor
area free of objects that would
prevent proper seat engagement.
Never attempt to adjust the seat
while the vehicle is in motion.
SAFETY RESTRAINTS
Safety restraints precautions
Always drive and ride with
your seatback upright and
the lap belt snug and low across
the hips.
eco_seatbelts
eco_safety-belt_precautions
Seating and safety restraints
43
Page 46 of 192
the buckle and remove the
tongue from the buckle.
²rear seating positions, push the
red release button on the side of
the buckle and remove the
tongue from the buckle.
The lap belts should fit
snugly and as low as
possible around the hips, not
around the waist.
The outboard safety restraints in
the vehicle are combination lap
and shoulder belts. The front
passenger and rear outboard
seating positions safety belts have
two types of locking modes.
PRESS
eco_vehicle-sensitive_mode
Seating and safety restraints
46
Page 47 of 192
Vehicle sensitive (emergency)
locking mode
In this mode, the shoulder belt will
allow freedom of movement,
locking tight only on hard braking,
hard cornering or impacts of
approximately 8 km/h (5 mph) or
more. The front seat belts can also
be made to lock by jerking on the
belt.
Automatic locking mode
In this mode, the safety belt is
locked in a certain position by the
occupant and remains locked until
the webbing is fully retracted.
The automatic locking mode is not
available on the driver belt.
When to use the automatic
locking mode
²When a tight lap/shoulder fit is
desired.
²Any timea child safety seat is
installed in the vehicle. Refer to
Children and infant or Child
safety seatslater in this section.
eco_locking-mode_use
eco_how-to-use_locking-mode
Seating and safety restraints
47
Page 48 of 192
Using the automatic locking
mode
1. Buckle the combination lap and
shoulder belt.
2. Grasp the shoulder portion and
pull downward until the entire belt
is extracted.
3. Allow the belt to retract. As the
belt retracts, you will hear a
clicking sound. This indicates the
safety belt is now in the automatic
locking mode.
eco_how-to-cancel_locking-mode
Seating and safety restraints
48