1997 CHEVROLET TAHOE cruise control
[x] Cancel search: cruise controlPage 104 of 433
Downloaded from www.Manualslib.com manuals search engine Horn Multifunction Lever
Push
on the air bag module in the center of the steering
wheel to sound the horn.
Tilt Wheel (If Equipped)
A tilt steering wheel allows
you to adjust the steering
wheel before you drive.
You can
also raise it to the highest level to give your
legs more room when you enter and exit the vehicle.
To tilt the wheel, hold the steering wheel and pull the
lever. Move the steering wheel to
a comfortable level,
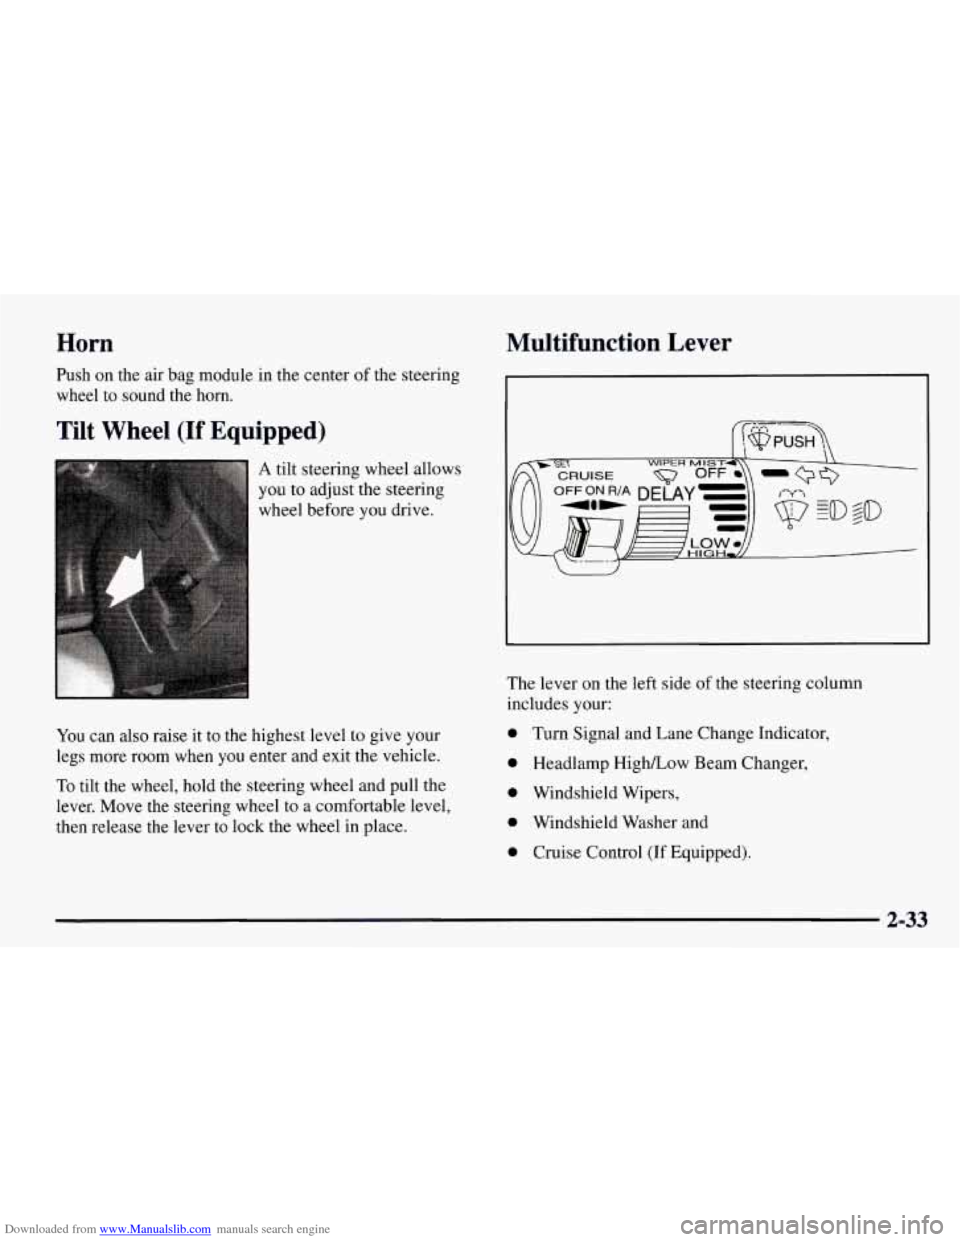
then release the lever to lock the wheel in place. The lever
on the left side of the steering column
includes your:
0 Turn Signal and Lane Change Indicator,
0 Headlamp HighLow Beam Changer,
0 Windshield Wipers,
0 Windshield Washer and
0 Cruise Control (If Equipped).
2-33
Page 108 of 433
Downloaded from www.Manualslib.com manuals search engine Washer fluid will spray as long as you push the paddle.
When you let
go of the paddle, the wipers will continue
to wipe for a few seconds and then either stop or return
to the preset speed.
The use of hood mounted air deflectors may adversely
affect windshield wiper and washer performance.
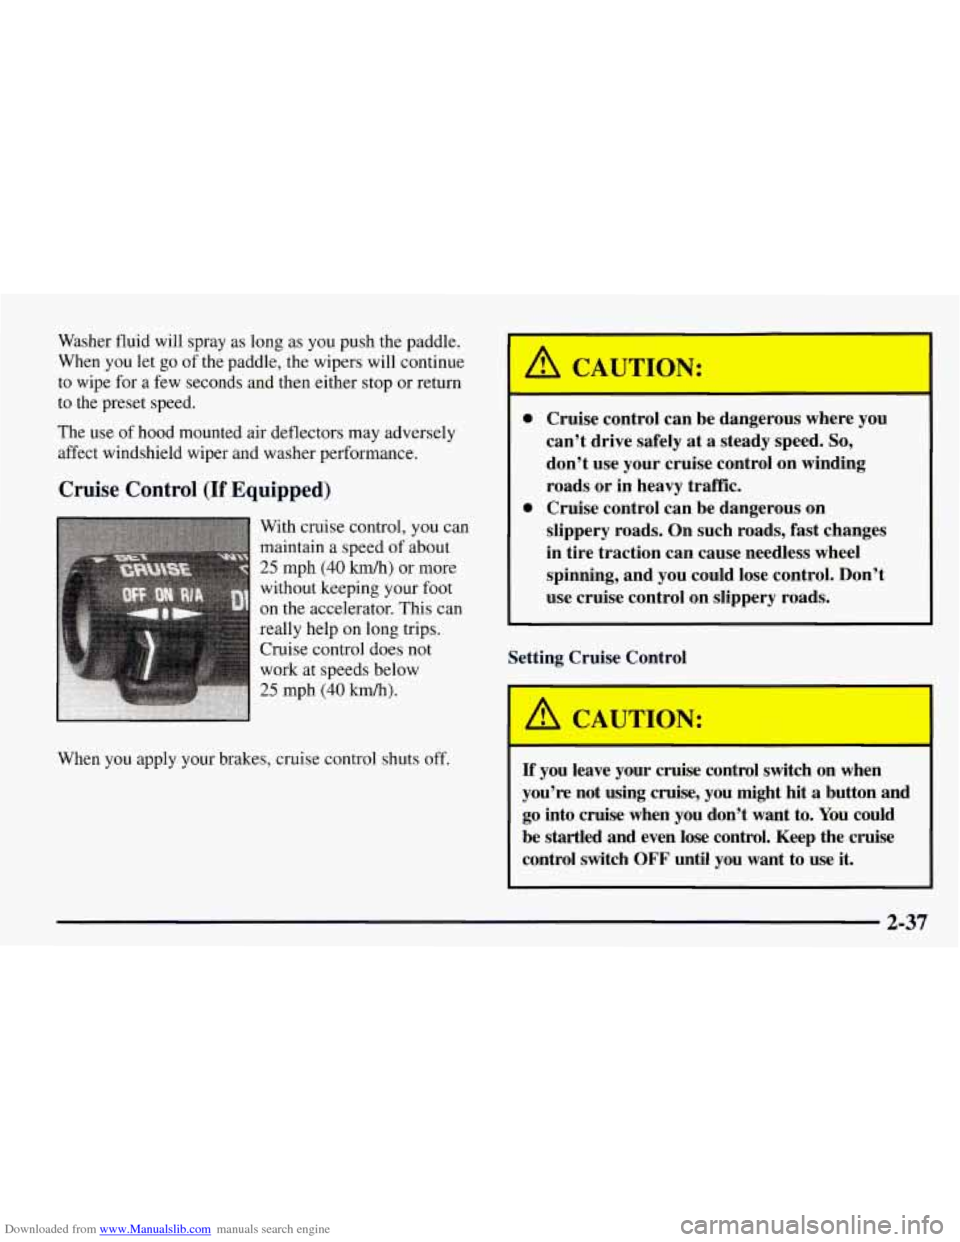
Cruise Control (If Equipped)
When you apply your brakes, cruise control shuts off.
0 Cruise control can be dangerous where you
can’t drive safely at a steady speed.
So,
don’t use your cruise control on winding
roads or in heavy traffic.
slippery roads. On such roads, fast changes
in tire traction can cause needless wheel
spinning, and you could lose control. Don’t
use cruise control on slippery roads.
0 Cruise control can be dangerous on
Setting Cruise Control
-
If you leave your cruise control switch on when
you’re not using cruise, you might hit
a button and
go into cruise when you don’t want to. You could
be startled and even lose control. Keep the cruise
control switch
OFF until you want to use it.
I I
2-37
Page 109 of 433
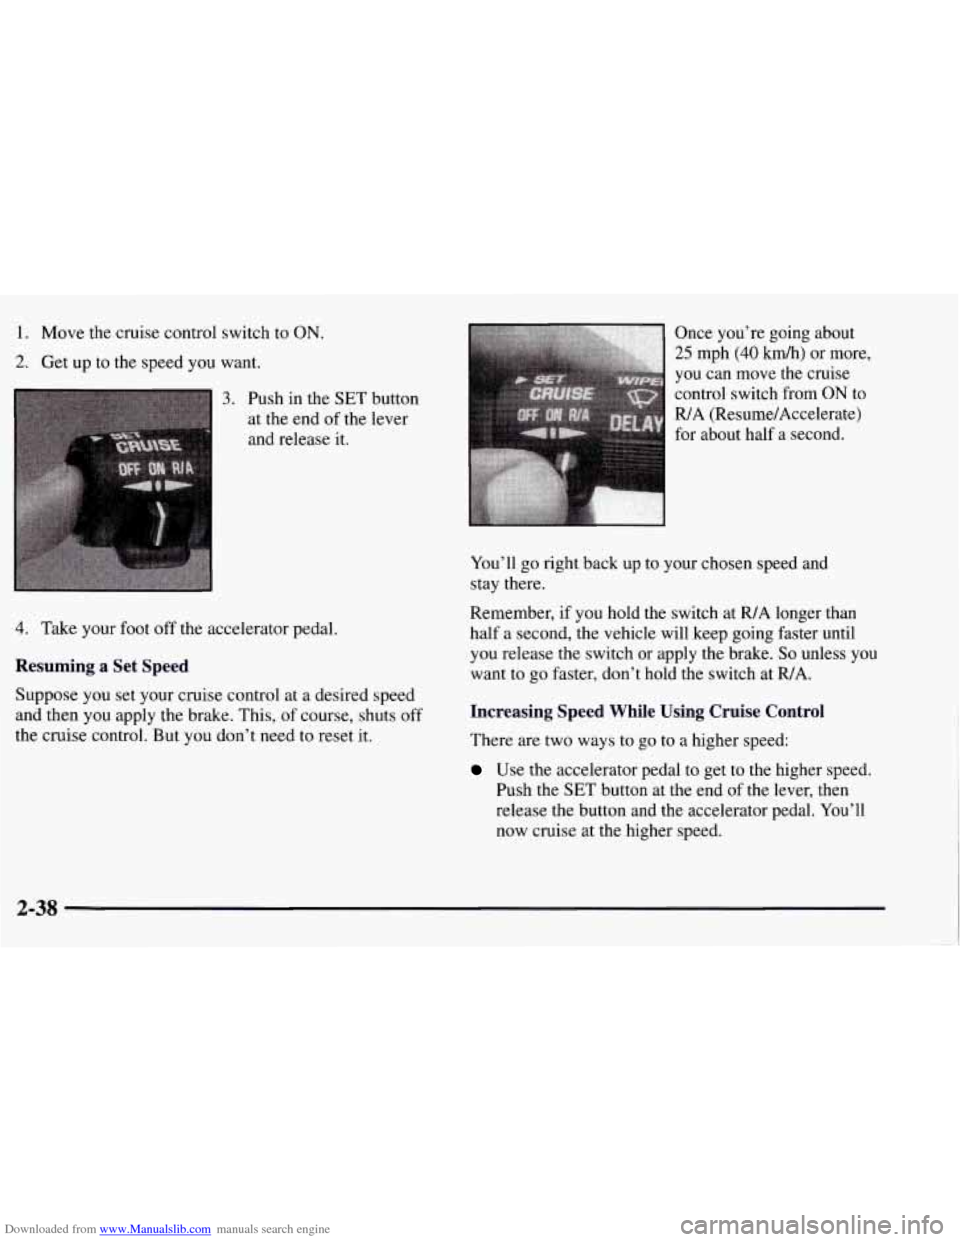
Downloaded from www.Manualslib.com manuals search engine 1. Move the cruise control switch to ON.
2. Get up to the speed you want.
3. Push in the SET button
at the end
of the lever
and release
it.
4. Take your foot off the accelerator pedal.
Resuming a Set Speed
Suppose you set your cruise control at a desired speed
and then you apply the brake. This,
of course, shuts off
the cruise control. But you don’t need to reset it. Once you’re going
about
25 mph (40 km/h) or more,
you can move the cruise
control switch from
ON to
R/A (Resume/Accelerate)
for about half a second.
You’ll go right back up to your chosen speed and
stay there.
Remember,
if you hold the switch at R/A longer than
half a second, the vehicle will keep going faster until
you release the switch or apply the brake.
So unless you
want to go faster, don’t hold the switch at
R/A.
Increasing Speed While Using Cruise Control
There are two ways to go to a higher speed:
Use the accelerator pedal to get to the higher speed.
Push the SET button at the end of the lever,
then
release the button and the accelerator pedal. You’ll
now cruise at the higher speed.
2-38
Page 110 of 433
Downloaded from www.Manualslib.com manuals search engine Move the cruise control switch from ON to R/A.
Hold it there until you get up to the speed you want,
and then release the switch. (To increase your speed
in very small amounts, move the switch to
R/A for
less than half a second. Each time you do this, your
vehicle will go about 1 mph (1.6
km/h) faster.)
Reducing Speed While Using Cruise Control
There are two ways to reduce your speed while using
cruise control:
Push in the SET button at the end of the lever until
you reach the lower speed
you want, then release it.
To slow down in very small amounts, push the
button for less than half a second. Each time you do
this, you’ll
go 1 mph (1.6 kmk) slower.
Passing Another Vehicle While Using Cruise Control
Use the accelerator pedal to increase your speed. When
you take your foot off the pedal, your vehicle will slow
down to the cruise control speed you set earlier.
Using Cruise Control on Hills
How well your cruise control will work on hills depends
upon your speed, load and the steepness
of the hills.
When going up steep hills, you may have to step on the
accelerator pedal to maintain your speed.
If the steepness
of the hill causes the vehicle speed
to drop
more than 15 mph
(24 kdh) below the set speed, your
cruise control will automatically disengage. When going
downhill, you may have to brake or shift to a lower gear
to keep your speed down. Of course, applying the brake
takes you out of cruise control. Many drivers find this to
be too much trouble and don’t use cruise control
on
steep hills.
Ending Cruise Control
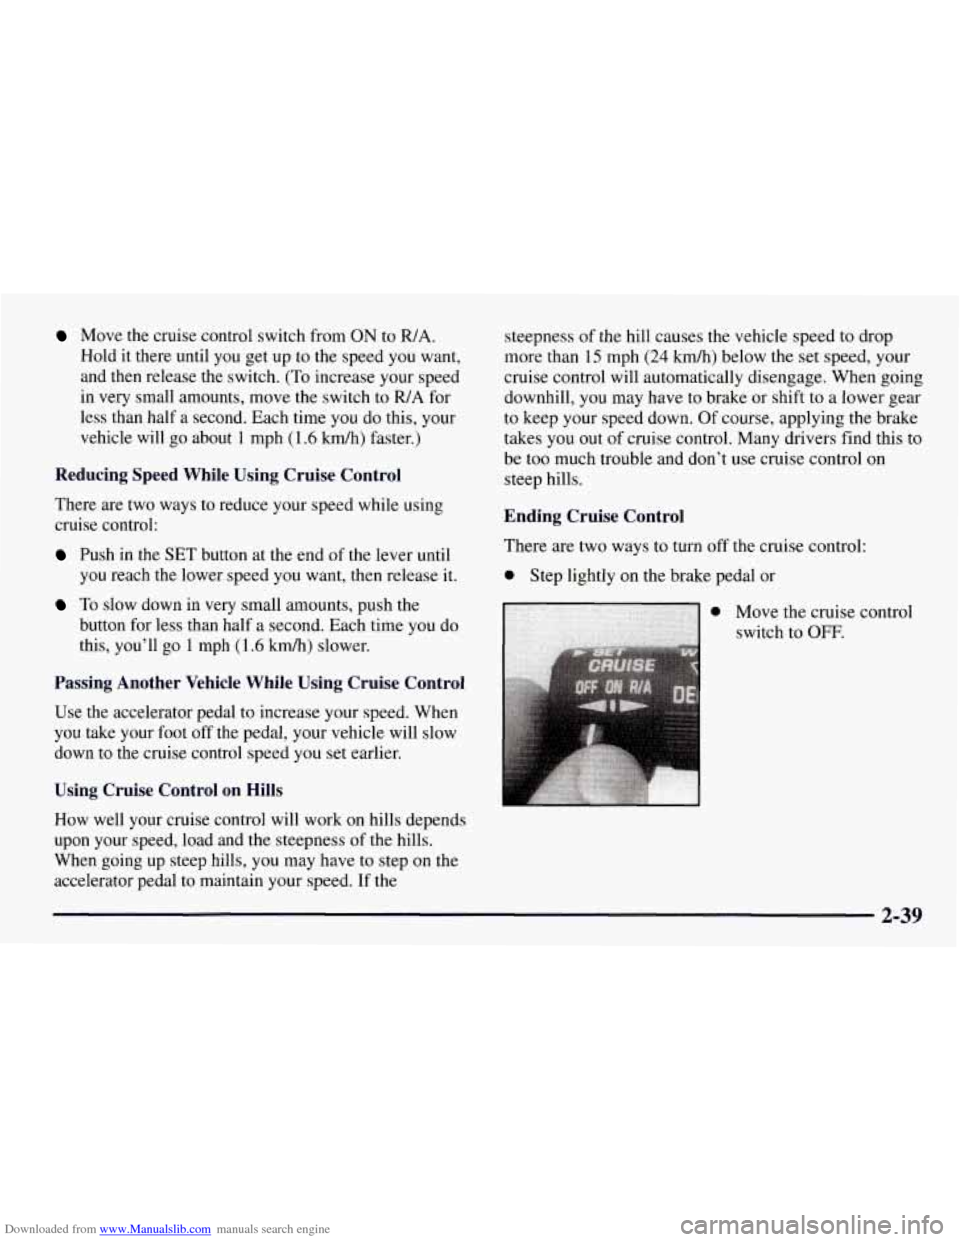
There are two ways to turn off the cruise control:
0 Step lightly on the brake pedal or
0 Move the cruise control
switch to
OFF.
2-39
Page 111 of 433

Downloaded from www.Manualslib.com manuals search engine Erasing Speed Memory
When you turn off the cruise control or the ignition,
your cruise control set speed memory is erased.
Lamps
Your parkingheadlamp knob is on the driver’s side of
your instrument panel.
Rotate the knob clockwise to the parking lamp symbol
to turn on the following:
0 Parking Lamps,
Sidemarker Lamps,
Clearance Lamps (if you have them),
0 Taillamps,
0 License Plate Lamps and
0 Instrument Panel Lights.
Rotate the knob clockwise again to the master lighting
symbol to turn on all the lamps listed as well as
the headlamps.
Rotate the knob counterclockwise to
OFF to turn off
your lamps.
Rotate the thumb wheel next to the knob up to adjust
instrument panel lights. Rotate the thumb wheel up to
the first notch to return the radio display and gearshift
indicator LED display to full intensity when the
headlamps or parking lamps are on.
To turn on the dome
lamps (with the vehicle doors closed) rotate the thumb
wheel up to the second notch position.
You can switch your headlamps from high to low beam
by pulling on the turn signal/high beam lever.
A circuit breaker protects your headlamps. If you have
an electrical overload, your headlamps will flicker
on
and off. Have your headlamp wiring checked right away
if this happens.
2-40
Page 343 of 433

Downloaded from www.Manualslib.com manuals search engine Fuse/Circuit Breaker Usage
4
Fuse/Circuit Breaker Usage
1 Stop/TCC Switch, Buzzer, CHMSL,
2 Transfer Case
Hazard Lamps, Stoplamps
3 Courtesy Lamps, Cargo Lamp, Glove
Box Lamp, DomeReading Lamps,
Vanity Mirrors, Power Mirrors 10
11
12
13 Instrument Cluster, DRL
Relay, Lamp
Switch, Keyless Entry, Low Coolant
Module, Illuminated Entry Module,
DRAC (Diesel Engine)
Rear Comfort Controls
Cruise Control
Auxiliary Power Outlet
Air Bag System
License Lamp, Parking Lamps,
Taillamps, Roof Marker Lamps,
Tailgate Lamps, Front Sidemarkers,
Fog Lamp Relay, Door Switch
Illumination, Fender Lamps,
Headlamp Switch Illumination
Air Bag System
Wiper Motor, Washer Pump
NC, A/C Blower, High Blower Relay
Power Amp, Rear Liftglass, Cigarette
Lighter, Door Lock Relay, Power
Lumbar Seat
,
Page 344 of 433
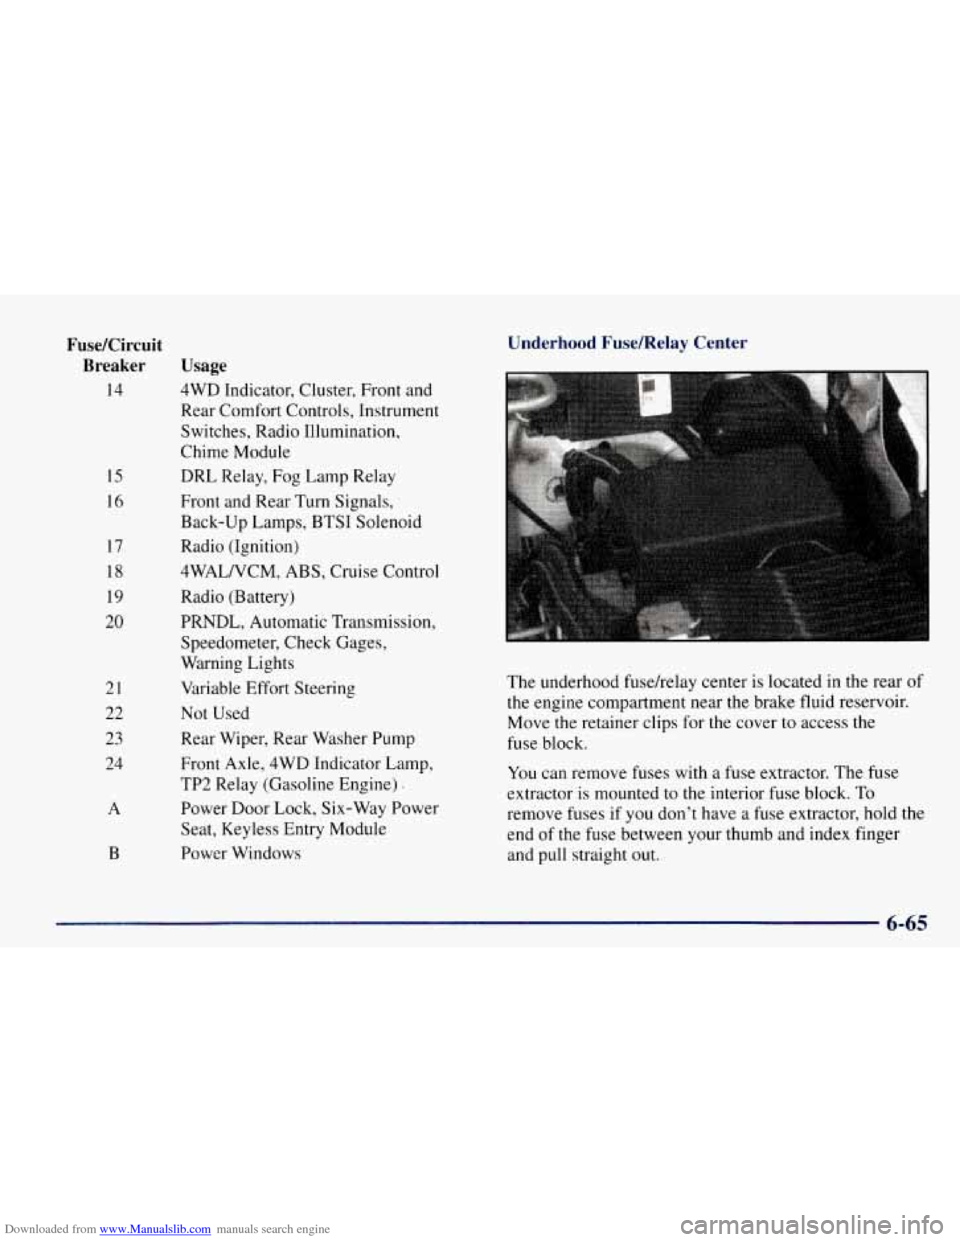
Downloaded from www.Manualslib.com manuals search engine 15
16
Fuse/Circuit Breaker Usage
14 4WD Indicator, Cluster, Front and
Rear Comfort Controls, Instrument
Switches, Radio Illumination,
Chime Module
DRL Relay, Fog Lamp Relay
17
18
19
20
21
22
23
24
A
B Front and Rear Turn Signals,
Back-up
Lamps, BTSI Solenoid
Radio (Ignition)
4WALNCM, ABS, Cruise Control
Radio (Battery)
PRNDL, Automatic Transmission, Speedometer, Check Gages,
Warning Lights
Variable Effort Steering
Not Used
Rear Wiper, Rear Washer Pump
Front Axle, 4WD Indicator Lamp,
TP2 Relay (Gasoline Engine)
Power Door Lock, Six-Way Power
Seat, Keyless Entry Module
Power Windows
Underhood Fuse/Relay Center
The underhood fusehelay center is located in the rear of
the engine compartment near the brake fluid reservoir.
Move the retainer clips for the cover to access the
fuse block.
You can remove fuses with a fuse extractor. The fuse
extractor is mounted to the interior fuse block. To
remove fuses if you don't have a fuse extractor, hold the
end of the fuse between your thumb and index finger
and pull straight out.
6-65
Page 400 of 433
Downloaded from www.Manualslib.com manuals search engine Part C: Periodic Maintenance
Inspections
Listed below are inspections and services which should
be performed at least twice a year (for instance, each
spring and fall). You should let your GM dealer’s
service department or other qualified service center do
these jobs. Make sure any necessary repairs are
completed at once.
Proper procedures to perform these services may be
found in a GM service manual. See “Service and Owner
Publications” in the Index.
Steering and Suspension Inspection
Inspect the front and rear suspension and steering
system for damaged, loose or missing parts, signs
of
wear or lack of lubrication. Inspect the power steering
lines and hoses for proper hook-up, binding, leaks,
cracks, chafing, etc.
Exhaust System Inspection
Inspect the complete exhaust system. Inspect the body
near the exhaust system. Look for broken, damaged,
missing or out-of-position parts as well as open seams,
holes, loose connections or other conditions which could
cause a heat build-up in the floor pan or could let
exhaust fumes into the vehicle. See “Engine Exhaust” in
the Index.
Radiator and Heater Hose Inspection
Inspect the hoses and have them replaced if they are
cracked, swollen or deteriorated. Inspect all pipes,
fittings and clamps; replace as needed.
Throttle Linkage Inspection
Inspect the throttle linkage for interference or binding,
and for damaged or missing parts. Replace parts as
needed. Replace any cables that have high effort or
excessive wear.
Do not lubricate accelerator and cruise
control cables.
7-47