1997 CHEVROLET TAHOE air conditioning
[x] Cancel search: air conditioningPage 148 of 433
Downloaded from www.Manualslib.com manuals search engine Section 3 Comfort Controls and Audio Systems
In this section, you’ll find out how to operate the comfort control and audio systems offered with your vehicle. Be
sure to read about the particular systems supplied with your vehicle.
I 3-15
3-2
3-4
3-7
3-8
3-8
3- 10
3- 10
3-11
3-11
3-11 3-11
3-13 Comfort
Controls
Rear Comfort Controls
Air Conditioning
Heating
Ventilation System
Defogging and Defrosting
Rear Window Defogger
Audio Systems Setting the Clock
AM-FM Stereo Radio
Playing the Radio
AM-FM Stereo with Cassette Tape Player
3- 19
3-20
3-24
3-26 3-28
3-28
3 -29
3-30
3-30 AM-FM
Stereo with Cassette Tape and
Automatic Tone Control
CD Adapter Kit
AM-FM Stereo with Compact Disc Player and
Automatic Tone Control
Playing a Compact Disc in the Single Remote
Disc Player
Theft-Deterrent Feature
Understanding Radio Reception
Tips About Your Audio System
Care of Your Cassette Tape Player
Care of Your Compact Discs
Fixed Mast Antenna
Page 150 of 433
Downloaded from www.Manualslib.com manuals search engine Heater and Air Conditioning Control
System
(If Equipped)
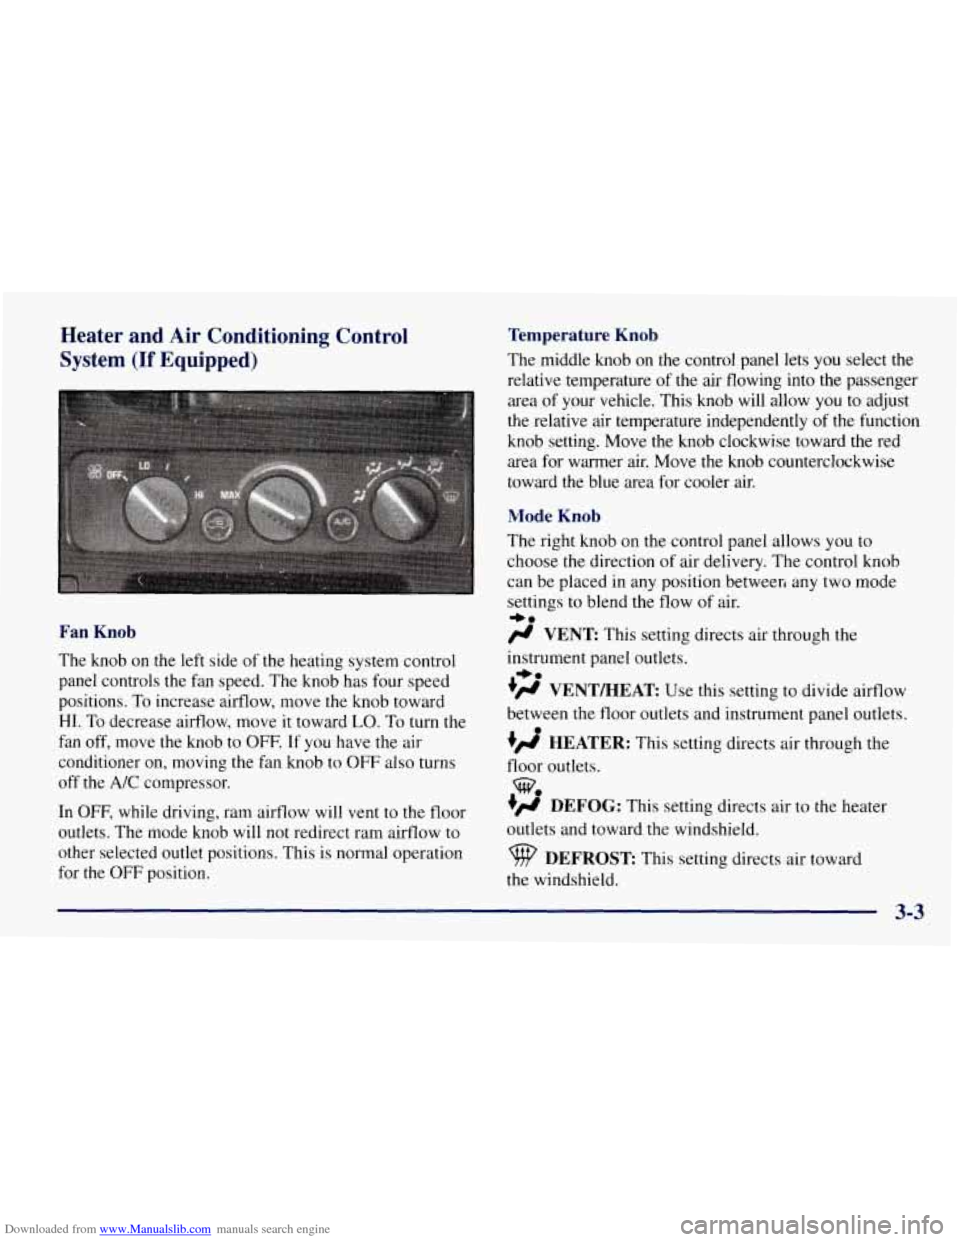
Fan Knob
The knob on the left side of the heating system control
panel controls the fan speed. The knob has four speed
positions.
To increase airflow, move the knob toward
HI. To decrease airflow, move it toward LO. To turn the
fan off, move the knob to OFF.
If you have the air
conditioner on, moving the fan knob to OFF also turns
off the
A/C compressor.
In OFF, while driving, ram airflow will vent to the floor
outlets. The mode knob will not redirect ram airflow to
other selected outlet positions. This is normal operation
for the OFF position.
Temperature Knob
The middle knob on the control panel lets you select the
relative temperature
of the air flowing into the passenger
area
of your vehicle. This knob will allow you to adjust
the relative air temperature independently
of the function
knob setting. Move the
knob clockwise toward the red
area for warmer air. Move the knob counterclockwise
toward
the blue area for cooler air.
Mode Knob
The right knob on the control panel allows you to
choose the direction
of air delivery. The control knob
can be placed in any position betweeri any two mode
settings
to blend the flow of air.
# VENT This setting directs air through the
instrument panel outlets.
+’ VENTBEAT Use this setting to divide airflow
between the floor outlets and instrument panel outlets.
+’ HEATER: This setting directs air through the
+e
+e
e
floor outlets.
+’ DEFOG: This setting directs air to the heater
outlets and toward the windshield.
w.
DEFROST This setting directs air toward
the windshield.
3-3
Page 151 of 433
Downloaded from www.Manualslib.com manuals search engine Rear Air Conditioning and Heating Systems
(If Equipped)
If your vehicle has one of these systems, you can
increase and decrease the airflow at the rear vents.
Depending on the system you have and the setting
selected, you can send cooled or heated air to the rear
of the vehicle.
Rear Air Conditioning (Without Rear Heater)
(If Equipped)
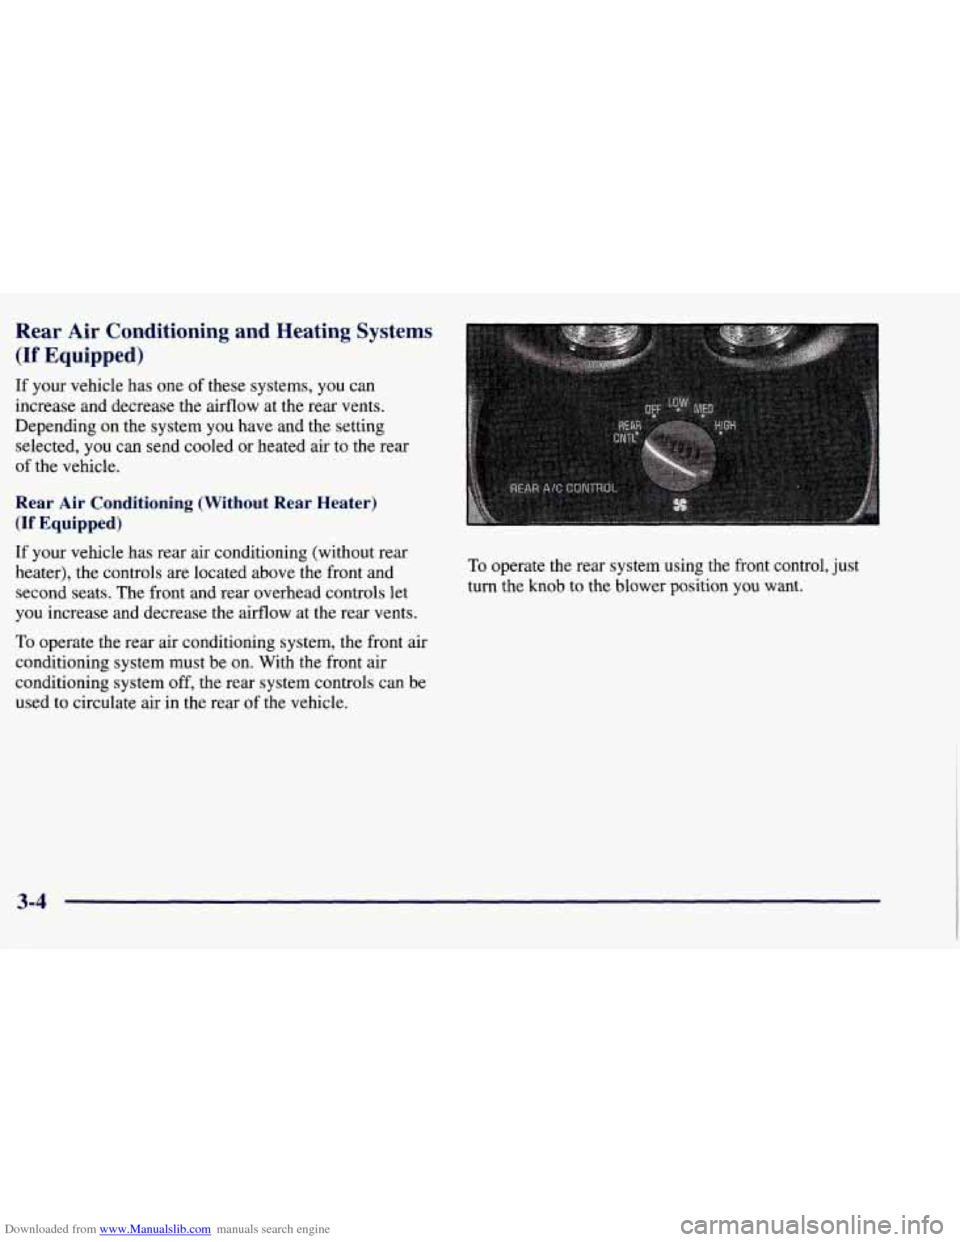
If your vehicle has rear air conditioning (without rear
heater), the controls are located above the front and second seats. The front and rear overhead controls let
you increase and decrease the airflow at the rear vents.
To operate the rear air conditioning system, the front air
conditioning system must be on. With the front air
conditioning system off, the rear system controls can be
used to circulate air in the rear
of the vehicle. To
operate the rear system using the front control, just
turn the knob to the blower position you want.
3-4
Page 152 of 433
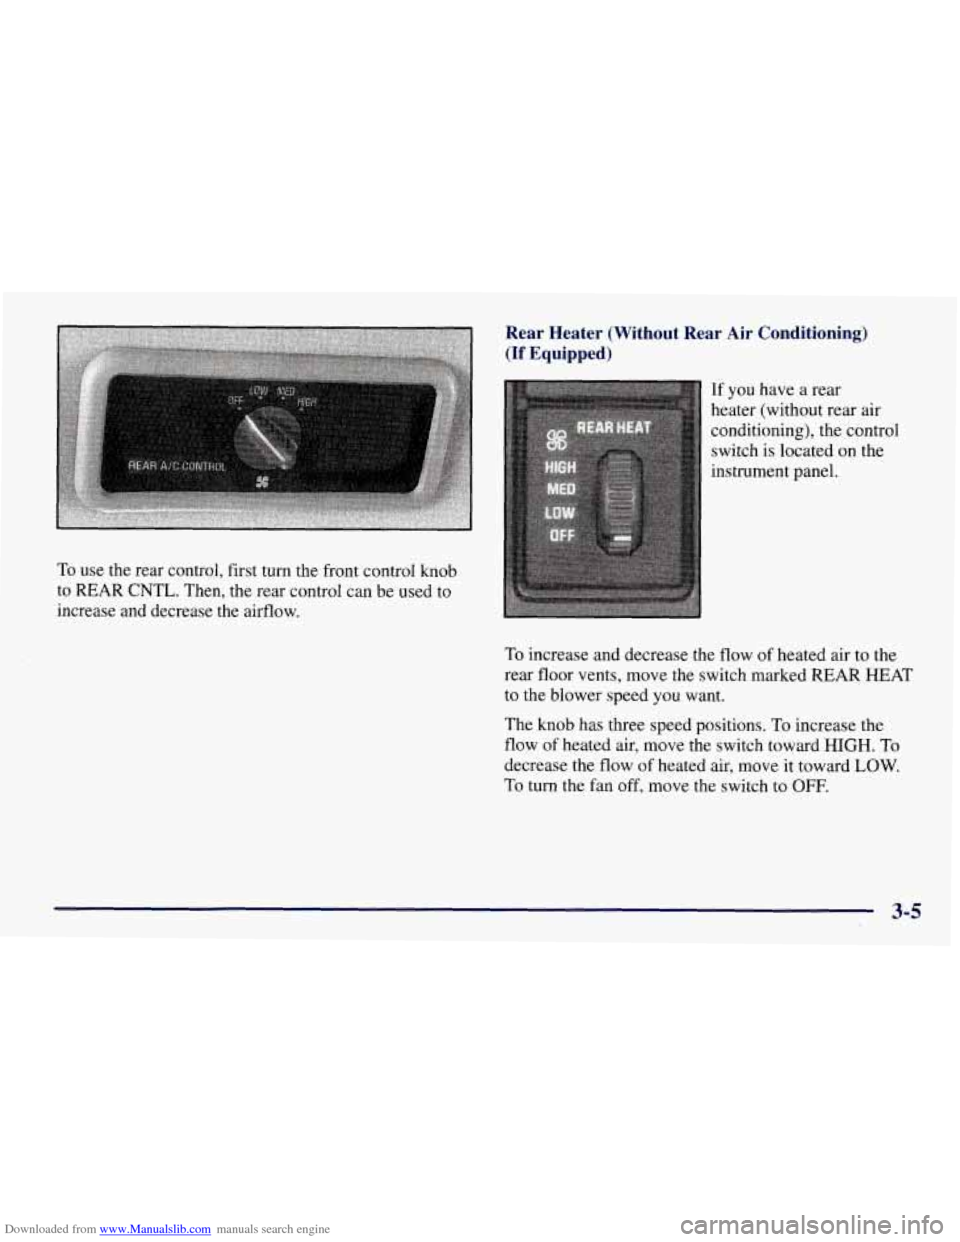
Downloaded from www.Manualslib.com manuals search engine To use the rear control, first turn the front control knob
to REAR CNTL. Then, the rear control can be used to
increase and decrease the airflow.
Rear Heater (Without Rear Air Conditioning)
(If Equipped)
If you have a rear
heater (without rear air
conditioning), the control switch
is located on the
instrument panel.
To increase and decrease the flow of heated air to the
rear floor vents, move the switch marked REAR HEAT
to the blower speed
you want.
The knob has three speed positions. To increase the
flow
of heated air, move the switch toward HIGH. To
decrease the flow of heated air, move it toward
LOW.
To turn the fan off, move the switch to OFF.
3-5
Page 153 of 433
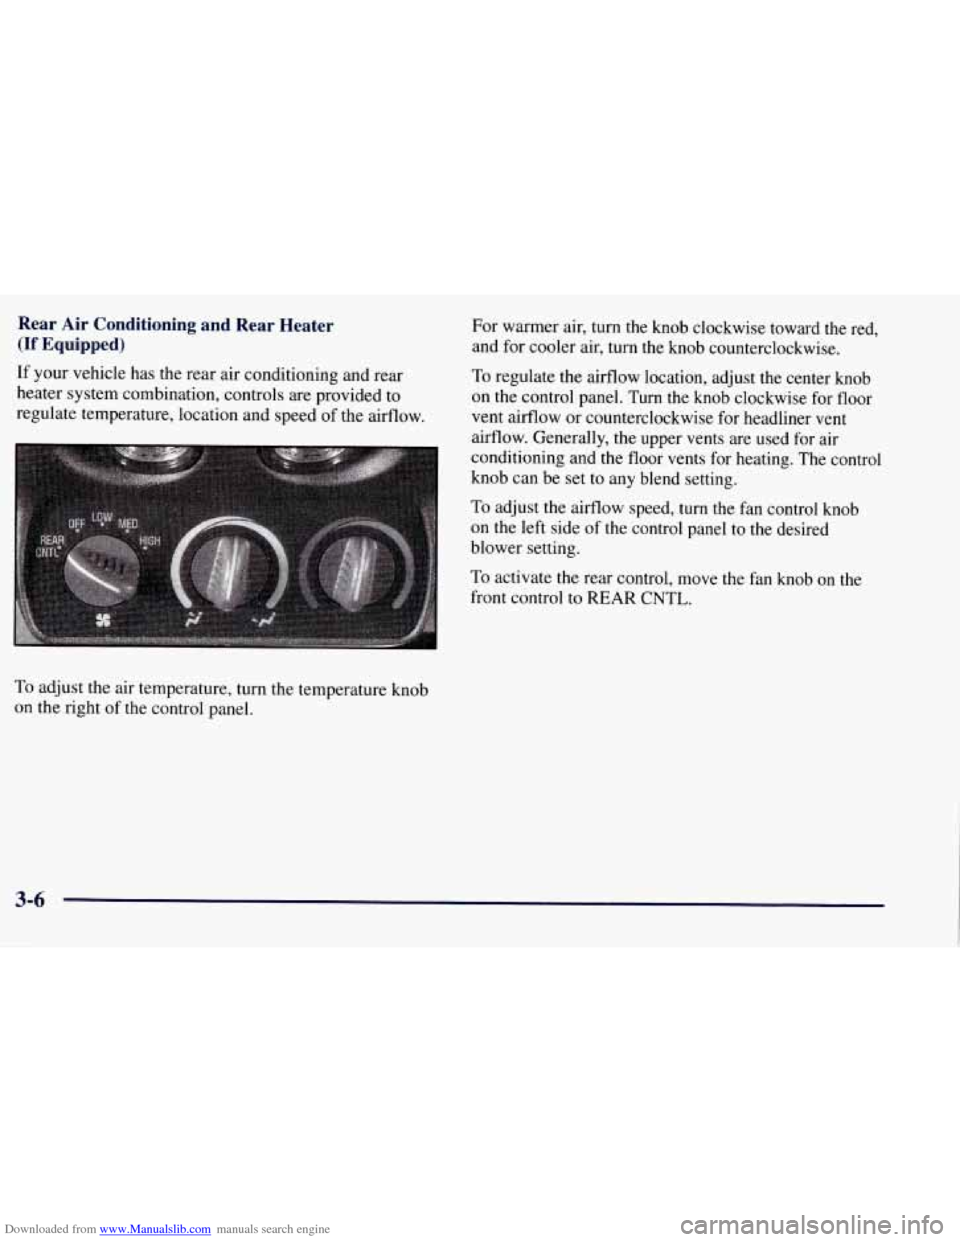
Downloaded from www.Manualslib.com manuals search engine Rear Air Conditioning and Rear Heater
(If Equipped)
If your vehicle has the rear air conditioning and rear
heater system combination, controls are provided to
regulate temperature, location and speed of the airflow. For warmer air, turn
the knob clockwise toward the red.
and for cooler air, turn the knob counterclockwise. To regulate the airflow location, adjust the center knob
on the control panel.
Turn the knob clockwise for floor
vent airflow or counterclockwise for headliner vent
airflow. Generally, the upper vents are used for air
conditioning and the floor vents for heating. The control
knob can be set to any blend setting.
To adjust the aifflow speed, turn the fan control knob
on the left side of the control panel to the desired
blower setting.
To activate the rear control, move the fan knob on the
front control to
REAR CNTL.
To adjust the air temperature, turn the temperature knob
on the right of the control panel.
3-6
Page 154 of 433
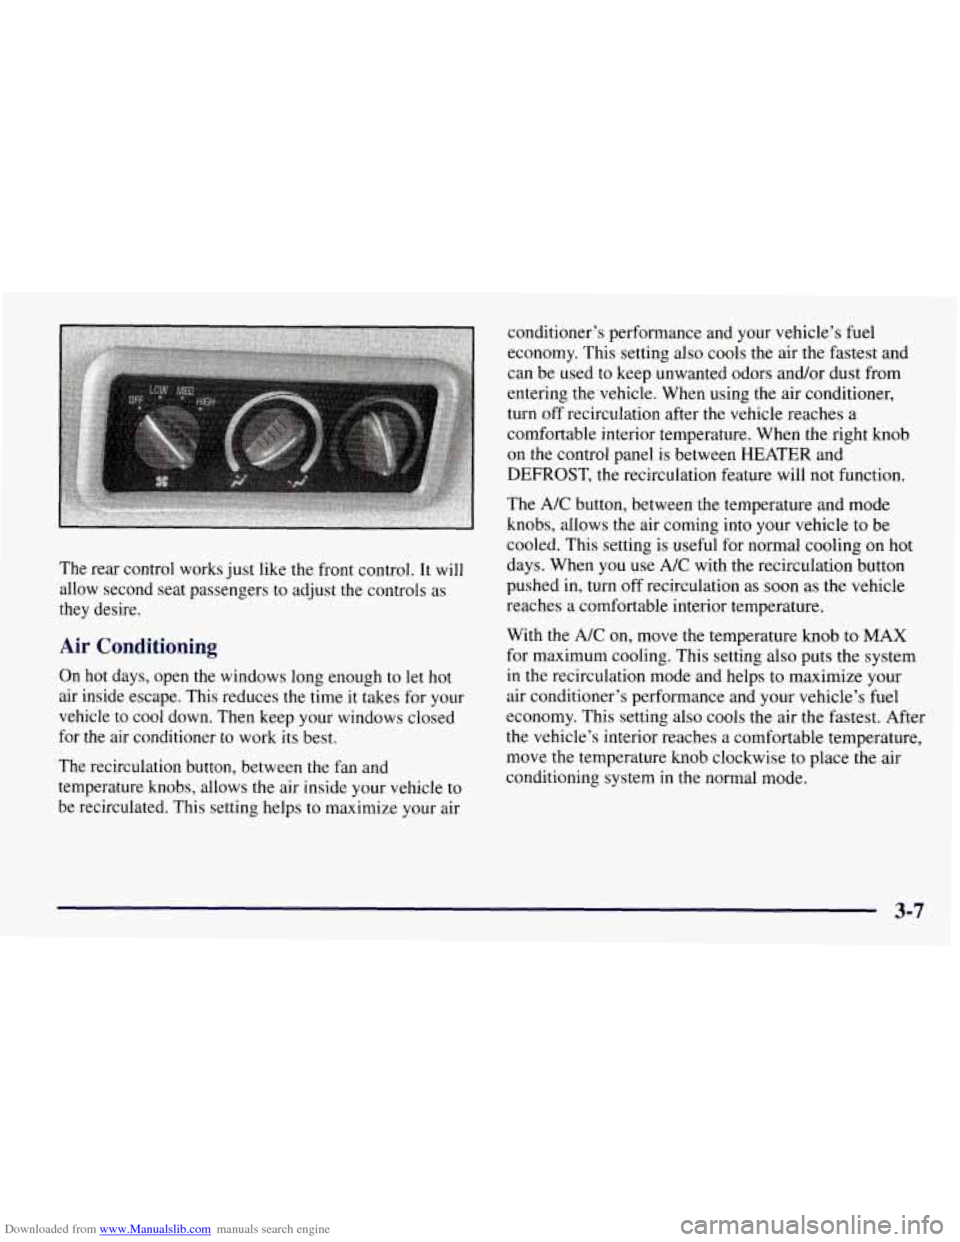
Downloaded from www.Manualslib.com manuals search engine The rear control works just like the front control. It will
allow second seat passengers to adjust the controls as
they desire.
Air Conditioning
On hot days, open the windows long enough to let hot
air inside escape. This reduces the time it takes for your
vehicle to cool down. Then keep your windows closed
for the air conditioner to work its best.
The recirculation button, between the fan and
temperature knobs, allows the air inside your vehicle to
be recirculated. This setting helps to maximize your air conditioner’s performance and your vehicle’s
fuel
economy. This setting also cools the air the fastest and
can be used to keep unwanted odors and/or dust from
entering the vehicle. When using the air conditioner,
turn off recirculation after the vehicle reaches a
comfortable interior temperature. When the right knob
on the control panel is between HEATER and
DEFROST, the recirculation feature will not function.
The A/C button, between the temperature and mode
knobs, allows the air coming into your vehicle to
be
cooled. This setting is useful for normal cooling on hot
days. When
you use A/C with the recirculation button
pushed in, turn off recirculation as soon as the vehicle
reaches a comfortable interior temperature.
With the A/C on, move the temperature knob to MAX
for maximum cooling. This setting also puts the system
in the recirculation mode and helps to maximize your
air conditioner’s performance and your vehicle’s fuel
economy. This setting also cools the air the fastest. After
the vehicle’s interior reaches a comfortable temperature,
move the temperature knob clockwise to place the air
conditioning system in the normal mode.
3-7
Page 155 of 433
Downloaded from www.Manualslib.com manuals search engine Heating Ventilation System
The heater works best if you keep your windows closed
while using it. On cold days, use the HEATER or
VENT/HEAT setting with the temperature knob in
the
red area.
If you use the engine coolant heater before starting your
engine in cold weather,
20°F (-8 O C) or lower, your
heating system will produce warmer air faster, to heat
the passenger compartment in cold weather.
The use
of an engine coolant heater also reduces the
time it takes for the engine to reach normal operating
temperature, and shortens the time it takes the heater to
reach full output. For more information, see “Engine
Coolant Heater” in the Index. For
mild outside temperatures when little heating or
cooling is needed, use VENT to direct outside air
through your vehicle. Air will flow through the
instrument panel outlets.
Your vehicle’s ventilation system supplies outside air
to the inside of your vehicle when it is moving. With
the side windows closed, air will flow into the front
air inlet grilles, through the vehicle, and out the air
exhaust valves.
Outside air will also enter the vehicle when the heater or
the air conditioning fan
is running, unless you have the
recirculation button pushed
in. For more information on
the recirculation button, see
“Air Conditioning” earlier
in this section.
Page 156 of 433
Downloaded from www.Manualslib.com manuals search engine Ventilation Tips
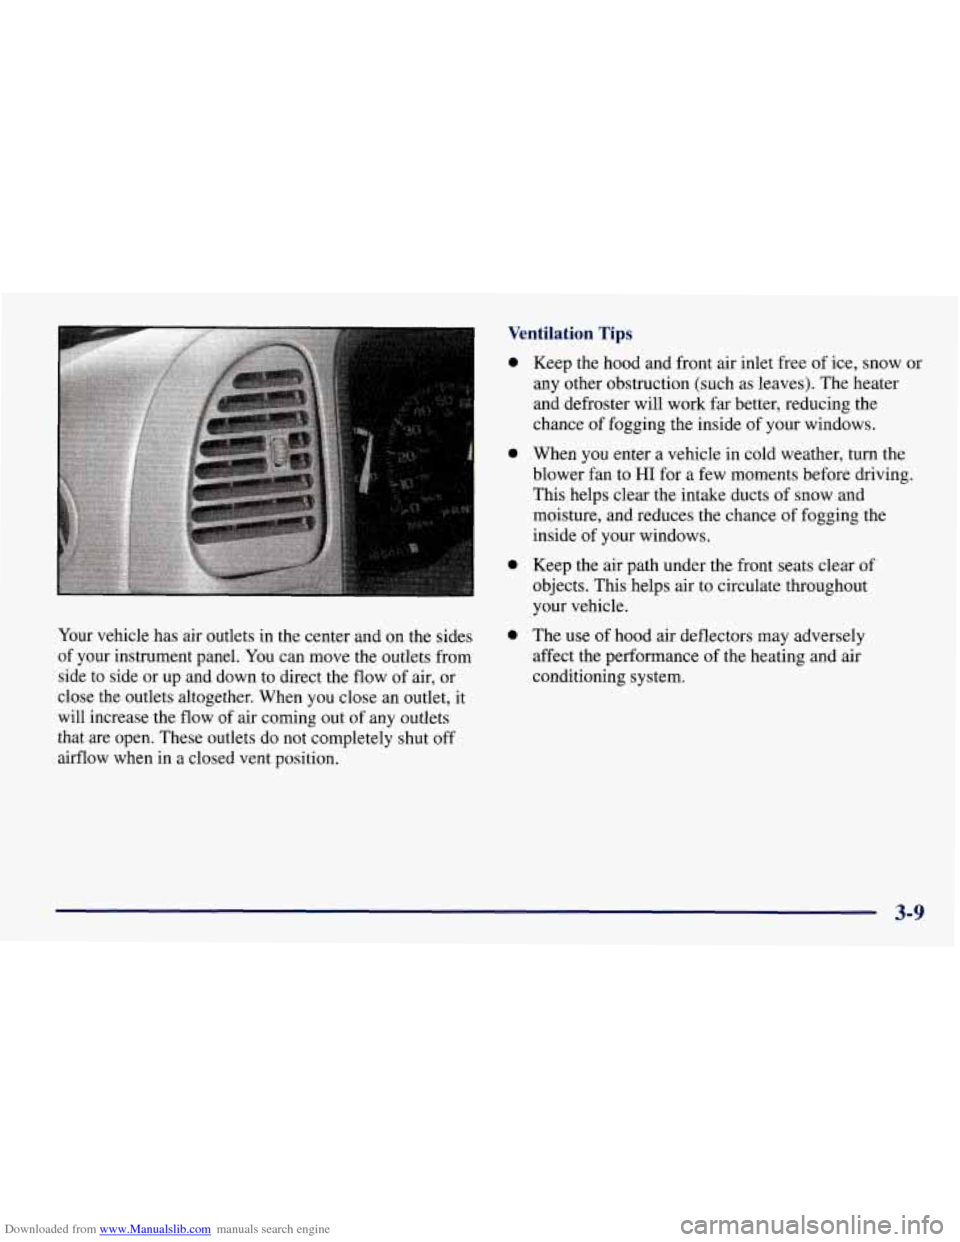
Your vehicle has air outlets in the center and on the sides
of your instrument panel. You can move the outlets from
side to side or up and down to direct the flow of air, or
close the outlets altogether. When you close
an outlet, it
will increase the flow
of air coming out of any outlets
that are open. These outlets do not completely shut off
airflow when in a closed vent position.
0
0
0
0
Keep the hood and front air inlet free of ice, snow or
any other obstruction (such as leaves). The heater
and defroster will work far better, reducing the
chance
of fogging the inside of your windows.
When you enter a vehicle in cold weather, turn the
blower fan to
HI for a few moments before driving.
This helps clear the intake ducts
of snow and
moisture, and reduces the chance
of fogging the
inside
of your windows.
Keep the air path under the front seats clear of
objects. This helps air to circulate throughout
your vehicle.
The use of hood air deflectors may adversely
affect the performance of the heating and air
conditioning system.
3-9