1997 CHEVROLET MALIBU check engine light
[x] Cancel search: check engine lightPage 117 of 354
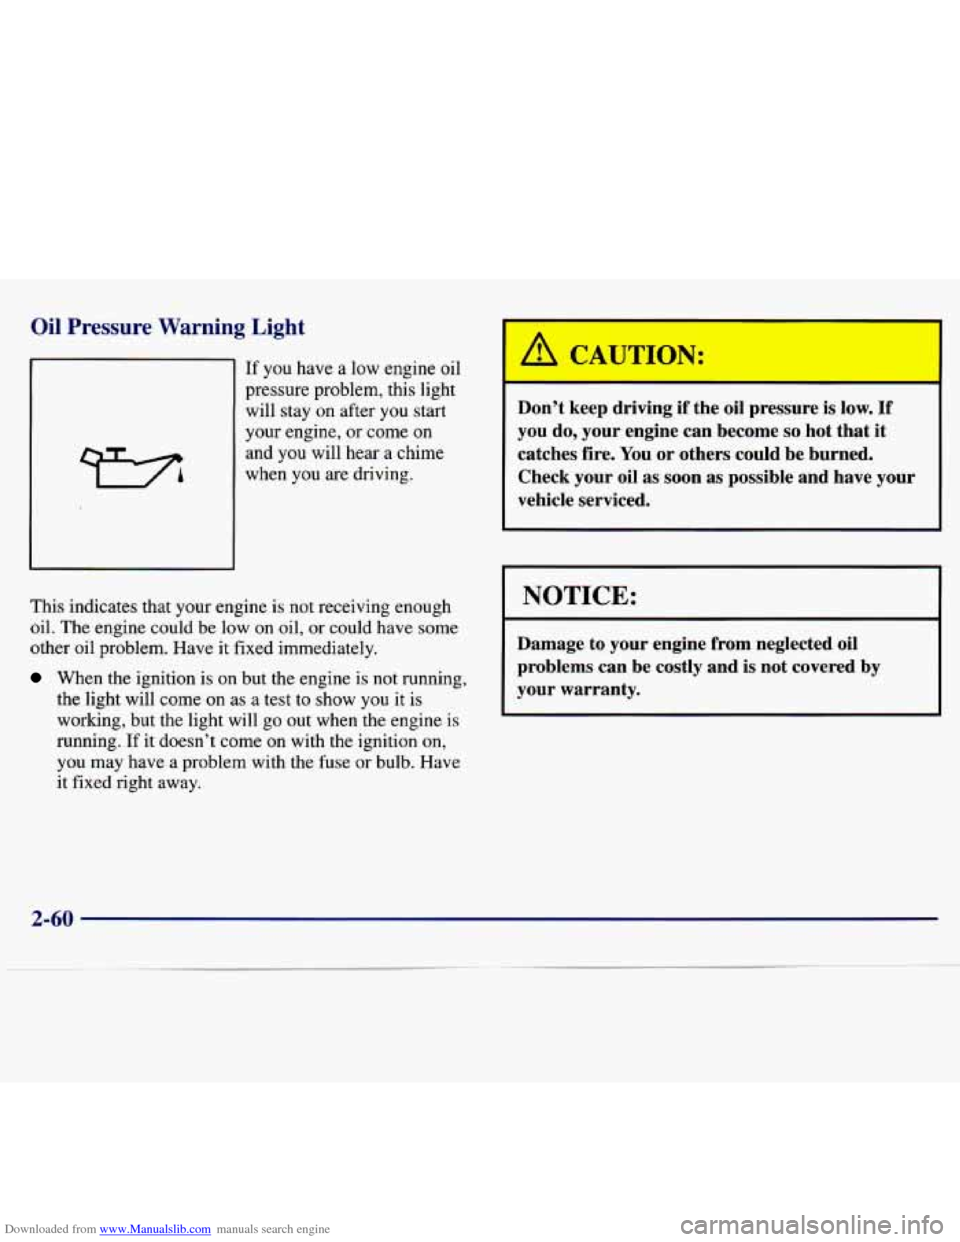
Downloaded from www.Manualslib.com manuals search engine Oil Pressure Warning Light
If you have a low engine oil
pressure problem, this light
will stay
on after you start
your engine, or come on
and you will hear a chime
when you are driving.
This indicates that your engine
is not receiving enough
oil. The engine could be low on
oil, or could have some
other oil problem. Have it fixed immediately.
When the ignition is on but the engine is not running,
the light will come on as
a test to show you it is
working, but the light will go out when the engine is
running.
If it doesn’t come on with the ignition on,
you may have a problem with the fuse or bulb. Have
it fixed
right away.
J:
Don’t keep driving if the oil pressure is low. If
you
do, your engine can become so hot that it
catches fire.
You or others could be burned.
Check your oil as soon as possible and have your
vehicle serviced.
I NOTICE:
Damage to your engine from neglected oil problems can be costly and is not covered by
your warranty.
2-60
Page 118 of 354
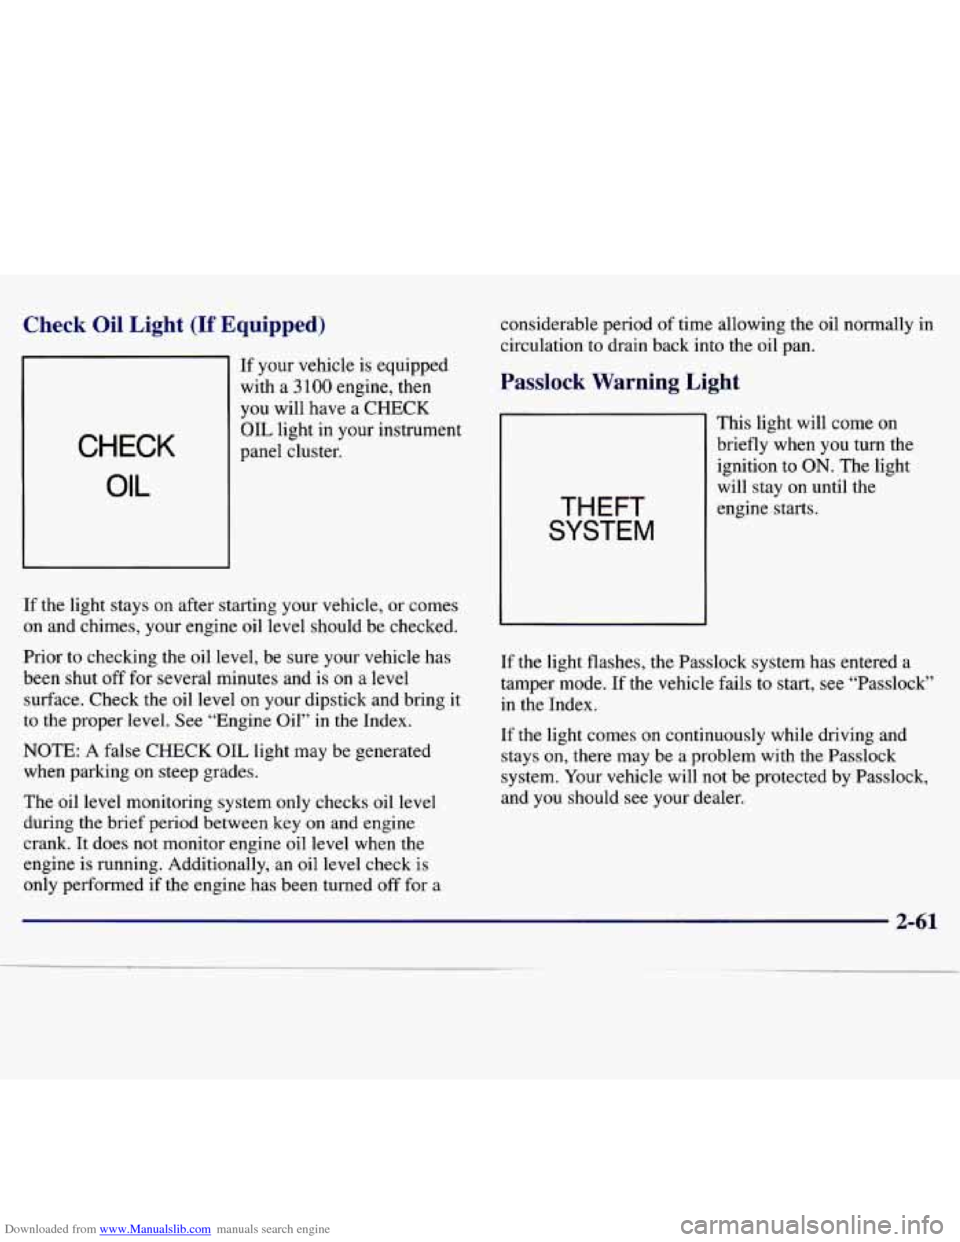
Downloaded from www.Manualslib.com manuals search engine Check Oil Light (If Equipped)
If your vehicle is equipped
with a
3 100 engine, then
you will have a CHECK
OIL light in your instrument
CHECK
OIL
panel cluster.
If the light stays on after starting your vehicle, or comes
on and chimes, your engine oil level should be checked.
Prior to checking the oil level, be sure your vehicle has
been shut
off for several minutes and is on a level
surface. Check the oil level on your dipstick and bring it
to the proper level. See “Engine Oil” in the Index.
NOTE: A false
CHECK OIL light may be generated
when parking on steep grades.
The oil level monitoring system only checks oil
level
during the brief period between key on and engine
crank. It does not monitor engine oil level when the
engine is running. Additionally, an oil level
check is
only performed if the engine has been turned off for a considerable period
of time allowing the
oil normally in
circulation to drain back into the oil pan.
Passlock Warning Light
THEFT
SYSTEM
This light will come on
briefly when you turn the
ignition to
ON. The light
will stay on until the
engine starts.
If the light flashes, the Passlock system has entered a
tamper mode. If the vehicle fails to start, see “Passlock”
in the Index.
If the light comes on continuously while driving and
stays on, there may be a problem with the Passlock
system. Your vehicle will not be protected by Passlock,
and you should see your dealer.
Page 145 of 354
Downloaded from www.Manualslib.com manuals search engine Care of Your Compact Discs
Handle discs carefully. Store them in their original cases
or other protective cases and away from direct sunlight
and dust. If the surface of a disc is soiled, dampen a
clean, soft cloth in a mild, neutral detergent solution and
clean it, wiping from the center to the edge.
Be sure never to touch the signal surface when handling
discs.
Pick up discs by grasping the outer edges or the
edge
of the hole and the outer edge.
Fixed Mast Antenna
The fixed mast antenna can withstand most car washes
without being damaged. If the mast should
ever become
slightly bent, you can straighten it out by hand.
If the
mast is badly bent, as it might be by vandals, you should
replace it.
Check every once in a while
to be sure the mast is still
tightened to the fender.
3-24
Page 162 of 354
Downloaded from www.Manualslib.com manuals search engine Here are some tips on night driving.
0 Drive defensively.
0 Don’t dnnk and drive.
Adjust your inside rearview mirror to reduce the
Since you can’t see as well, you may need to slow
glare from
headlamps behind you.
down and keep more space between you and
other vehicles.
0 Slow down, especially on higher speed roads. Your
headlamps can light up only
so much road ahead.
In remote areas, watch for animals.
0 If you’re tired, pull off the road in a safe place
and rest.
Night Vision
No one can see as well at night as in the daytime. But as
we get older these differences increase. A 50-year-old
driver may require at least twice as much light to
see the
same thing at night as a 20-year-old.
What you do in the daytime can also affect your night
vision. For example, if you spend the day
in bright
sunshine you are wise to wear sunglasses. Your eyes will
have less trouble adjusting to night. But
if you’re
driving, don’t wear sunglasses at night. They may cut down on
glare from headlamps, but they also make a lot
of things invisible.
You can be temporarily blinded by approaching
headlamps. It can take a second or two, or even several
seconds, for your eyes to readjust to the dark. When you
are faced with severe glare (as from a driver who
doesn’t lower the high beams, or a vehicle with misaimed headlamps), slow down a little. Avoid staring
directly into the approaching headlamps.
Keep your windshield and all the glass on your vehicle
clean
-- inside and out. Glare at night is made much
worse by dirt on the glass. Even the inside of the glass
can build up a film caused by dust. Dirty glass makes
lights dazzle and flash more than clean glass would,
making the pupils of your eyes contract repeatedly.
Remember that your headlamps light up far less of a
roadway when you are in a turn or curve. Keep your
eyes moving; that way, it’s easier to pick out dimly lighted objects. Just as your headlamps should be
checked regularly for proper aim,
so should your eyes
be examined regularly. Some drivers suffer from night
blindness
-- the inability to see in dim light -- and
aren’t
even aware of it.
4-15
Page 166 of 354
Downloaded from www.Manualslib.com manuals search engine City Driving
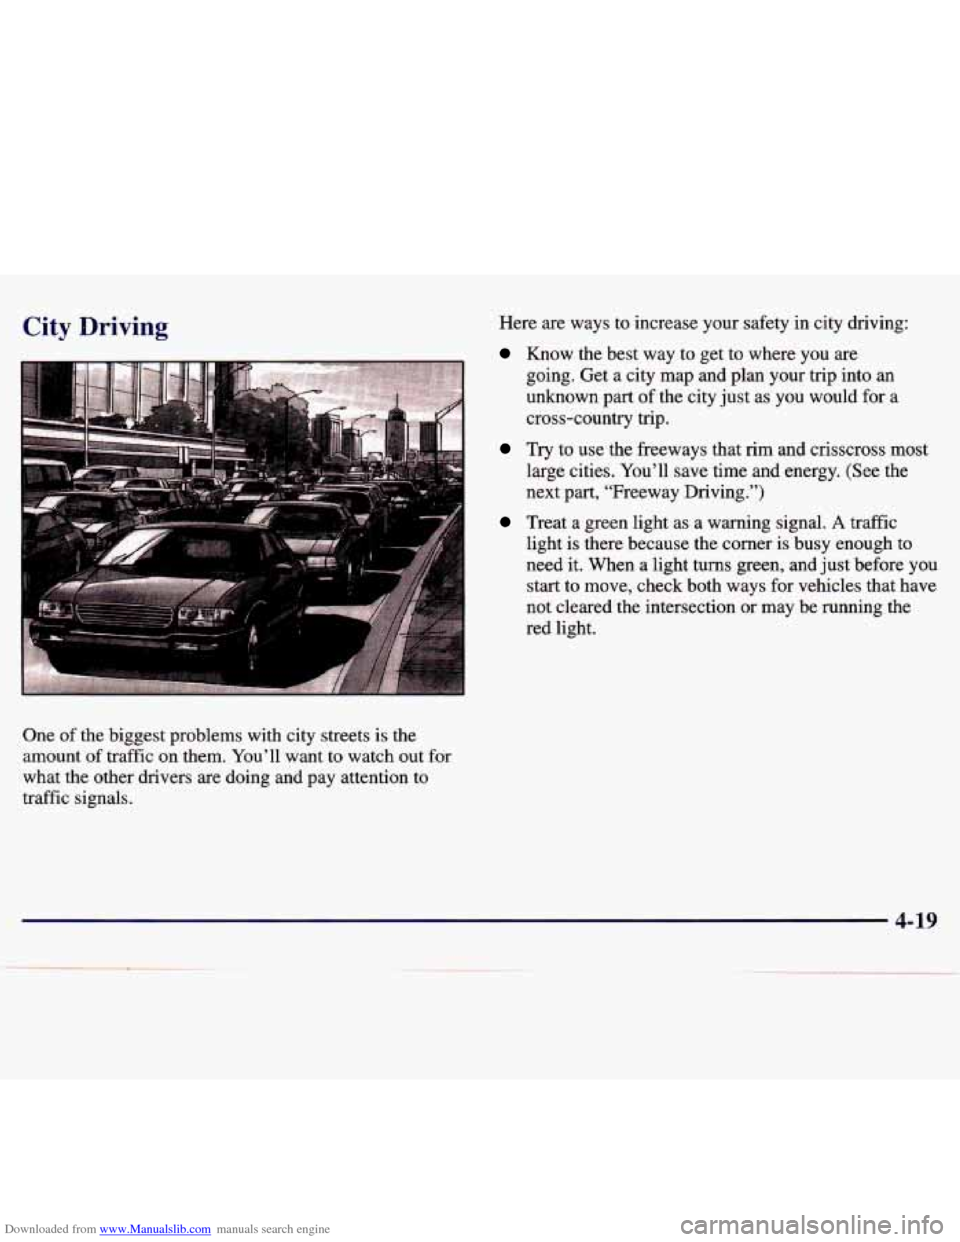
One of the biggest problems with city streets is the
amount of traffic on them. You’ll want to watch out for
what the other drivers are doing and pay attention to
traffic signals. Here are ways to increase your safety in city driving:
Know the best way to get to where you are
going. Get a city map and plan your trip into
an
unknown part of the city just as you would for a
cross-country trip.
Try to use the freeways that rim and crisscross most
large cities.
You’ll save time and energy. (See the
next part, “Freeway Driving.”)
Treat a green light as a warning signal. A traffic
light is there because the corner is busy enough to
need it. When a light
turns green, and just before you
start
to move, check both ways for vehicles that have
not cleared the intersection or may be running the
red light.
4-19
Page 167 of 354
Downloaded from www.Manualslib.com manuals search engine Freeway Driving
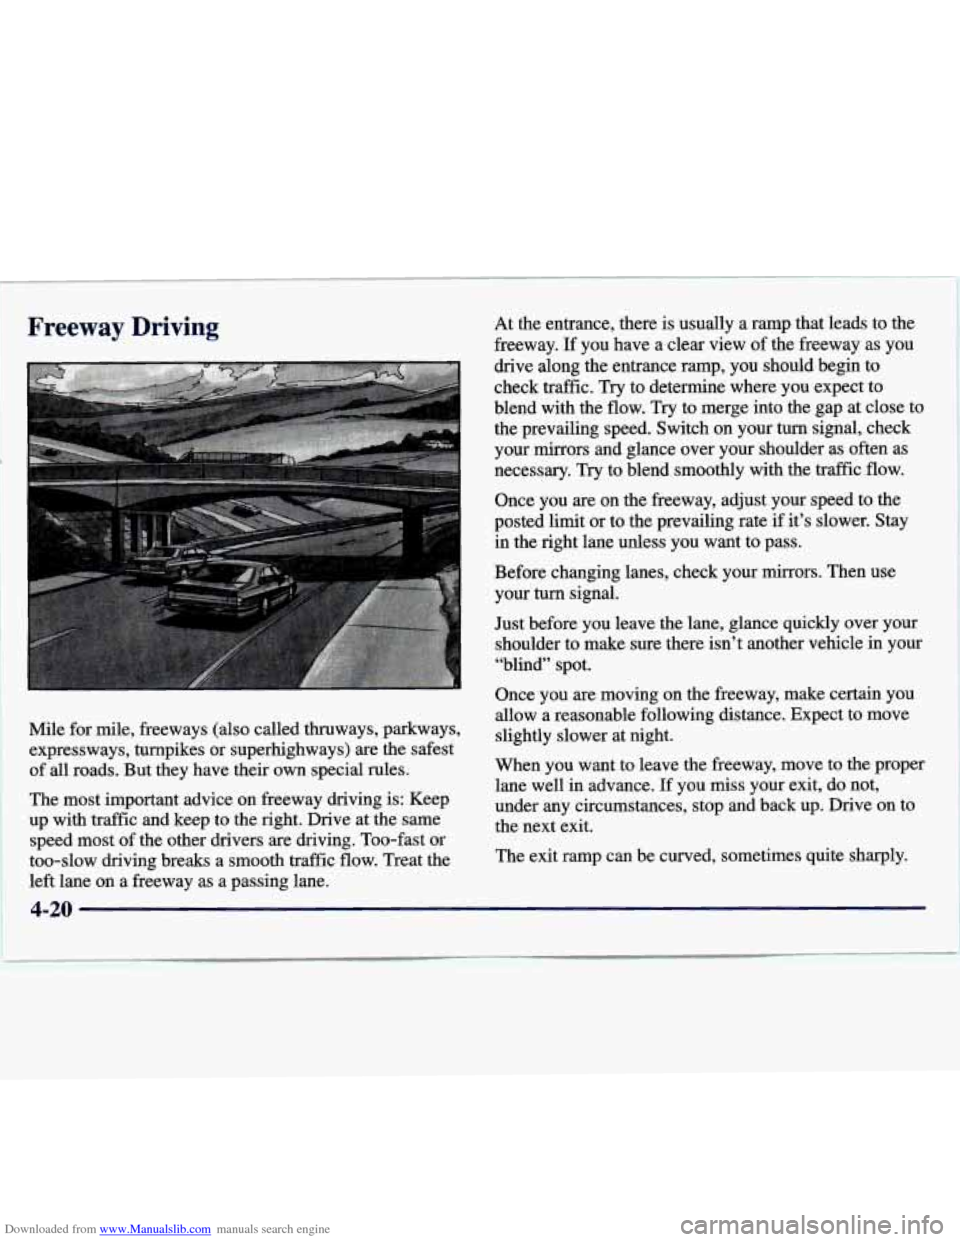
Mile for mile, freeways (also called thruways, parkways,
expressways, turnpikes or superhighways) are the safest of all roads. But they have their own special rules.
The most important advice on freeway driving is: Keep
up with traffic and keep to the right. Drive at the same speed most of the other drivers are driving. Too-fast or
too-slow driving breaks a smooth traffic flow. Treat the
left lane on a freeway as a passing lane. At the entrance, there
is usually a ramp that leads to the
freeway. If you have a clear view of the freeway as you
drive along the entrance ramp, you should begin to check traffic. Try to determine where you expect to
blend with the flow. Try to merge into the gap at close to
the prevailing speed. Switch on your turn signal, check your mirrors and glance over your shoulder as often as
necessary. Try to blend smoothly with the traffic flow.
Once you are on the freeway, adjust your speed to the
posted limit or to the prevailing rate if it’s slower. Stay\
in the right lane unless you want to pass.
Before changing lanes, check your mirrors. Then use your turn signal.
Just before you leave the lane, glance quickly over your shoulder to make sure there isn’t another vehicle in your
“blind” spot.
Once you are moving on the freeway, make certain you allow a reasonable following distance. Expect to move
slightly slower at night.
When you want to leave the freeway, move to the proper
lane well in advance.
If you miss your exit, do not,
under any circumstances, stop and back up. Drive on to
the next exit.
The exit ramp can be curved, sometimes quite sharply.
4-20
Page 192 of 354
Downloaded from www.Manualslib.com manuals search engine 5. Find the positive (+) and negative (-) terminals on
each battery.
1-
Using a match near a battery can cause battery
gas to explode. People have been hurt doing this,
and some have been blinded. Use a flashlight
if
you need more light.
Be sure the battery has enough water. You don’t
need to add water to the Delco Freedom@ battery
installed in every new
GM vehicle. But if a
battery has filler caps, be sure the right amount
of fluid
is there. If it is low, add water to take
care
of that first. If you don’t, explosive gas
could be present.
Battery fluid contains acid that can burn you.
Don’t get it on you.
If you accidentally get it in
your eyes or on your skin, flush the place with
water and get medical help immediately.
6. Check that the jumper cables don’t have loose or
missing insulation. If they
do, you could get a shock.
The vehicles could be damaged, too. Before you
connect
the cabies, here are some things you should
know. Positive (+) will go to positive (+) and
negative
(-) will go to negative (-) or a metal engine
part. Don’t connect positive
(+) to negative (-) or
you’ll get a short that would damage the battery and
maybe other parts, too.
Fans or other moving engine parts can injure you
badly. Keep your hands away from moving parts
once the engines are running.
5-5
Page 228 of 354
Downloaded from www.Manualslib.com manuals search engine When you put the cap back on, turn it to the right
(clockwise) until you hear a clicking sound. Make sure
you
fully install the cap. The diagnostic system can
determine
if the fuel cap has been left off or improperly
installed.
This would allow fuel to evaporate into the
atmosphere. See “Malfunction Indicator Lamp” in
the Index.
I NOTICE:
If you need a new cap, be sure to get the right
type. Your dealer
can get one for you. If you get
the wrong type,
it may not fit properly. This may
cause your malfunction indicator lamp to light
and your fuel
tank and emissions system may be
damaged. See “Malfunction Indicator Lamp”
in
the Index.
Checking Things Under the Hood
An electric fan under the hood can start up and
injure you even when the engine
is not running.
Keep hands, clothing and tools away from any
underhood electric fan.
I I
6-7