1997 CHEVROLET MALIBU instrument cluster
[x] Cancel search: instrument clusterPage 95 of 354
Downloaded from www.Manualslib.com manuals search engine Fog Lamps (If Equipped)
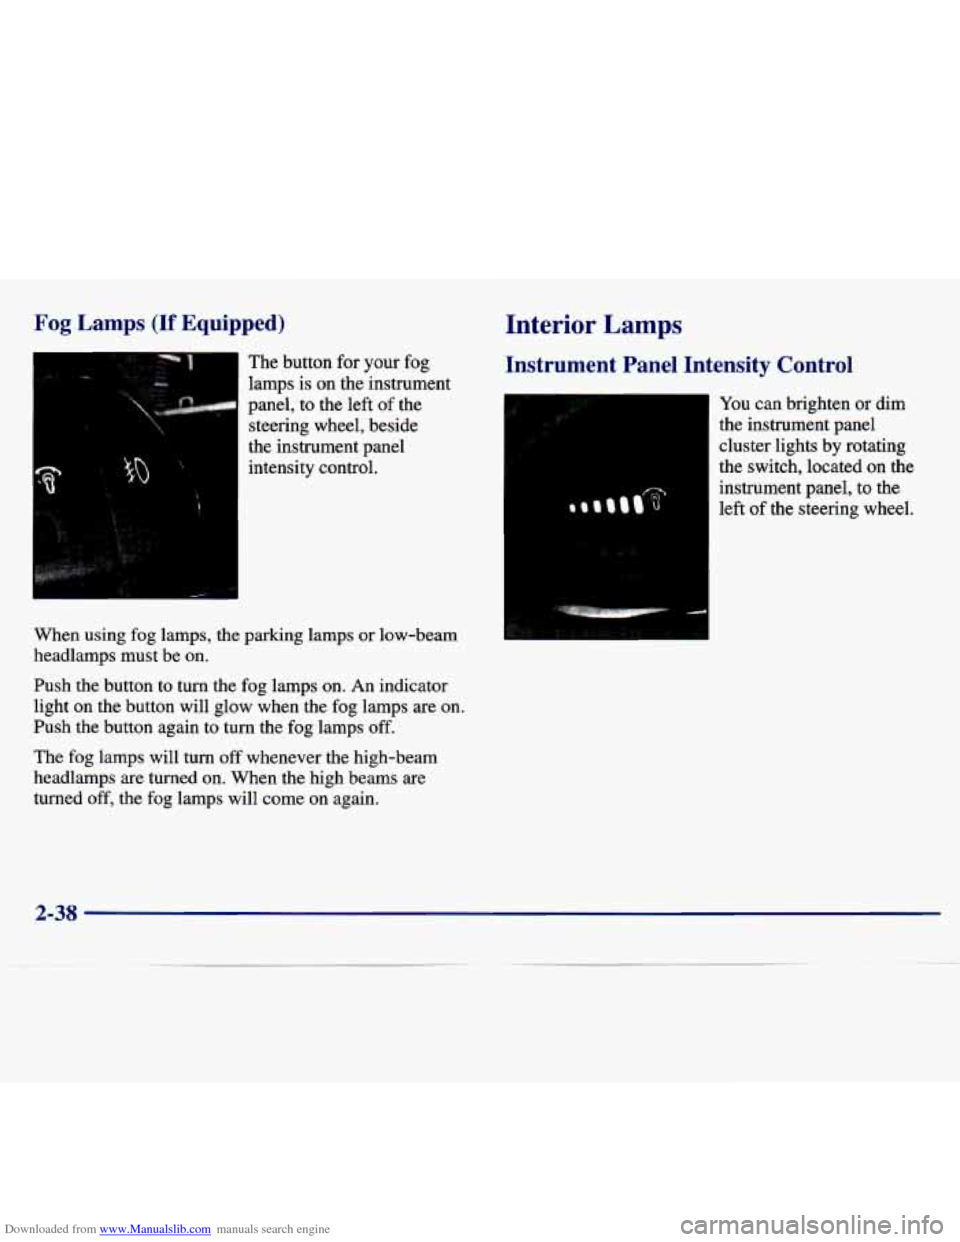
The button for your fog
lamps is on the instrument
panel, to the left of the
steering wheel, beside
the instrument panel intensity control.
When using fog lamps, the parking lamps or low-beam
headlamps must be on.
Push the button to turn the fog lamps on. An indicator
light
on the button will glow when the fog lamps are on.
Push the button again to turn the fog lamps off.
The fog lamps will turn off whenever the high-beam
headlamps are turned on. When the high beams are
turned off, the fog lamps will come on again.
Interior Lamps
Instrument Panel Intensity Control
You can brighten or dim
the instrument panel
cluster lights by rotating
the switch, located
on the
instrument panel, to the
left of the steering wheel.
2-38
Page 106 of 354
Downloaded from www.Manualslib.com manuals search engine Your instrument panel is designed to let you know
at a glance how your vehicle is running. You’ll know
how fast you’re going, how much fuel you’re using,
and many other things you’ll need to drive safely
and economically.
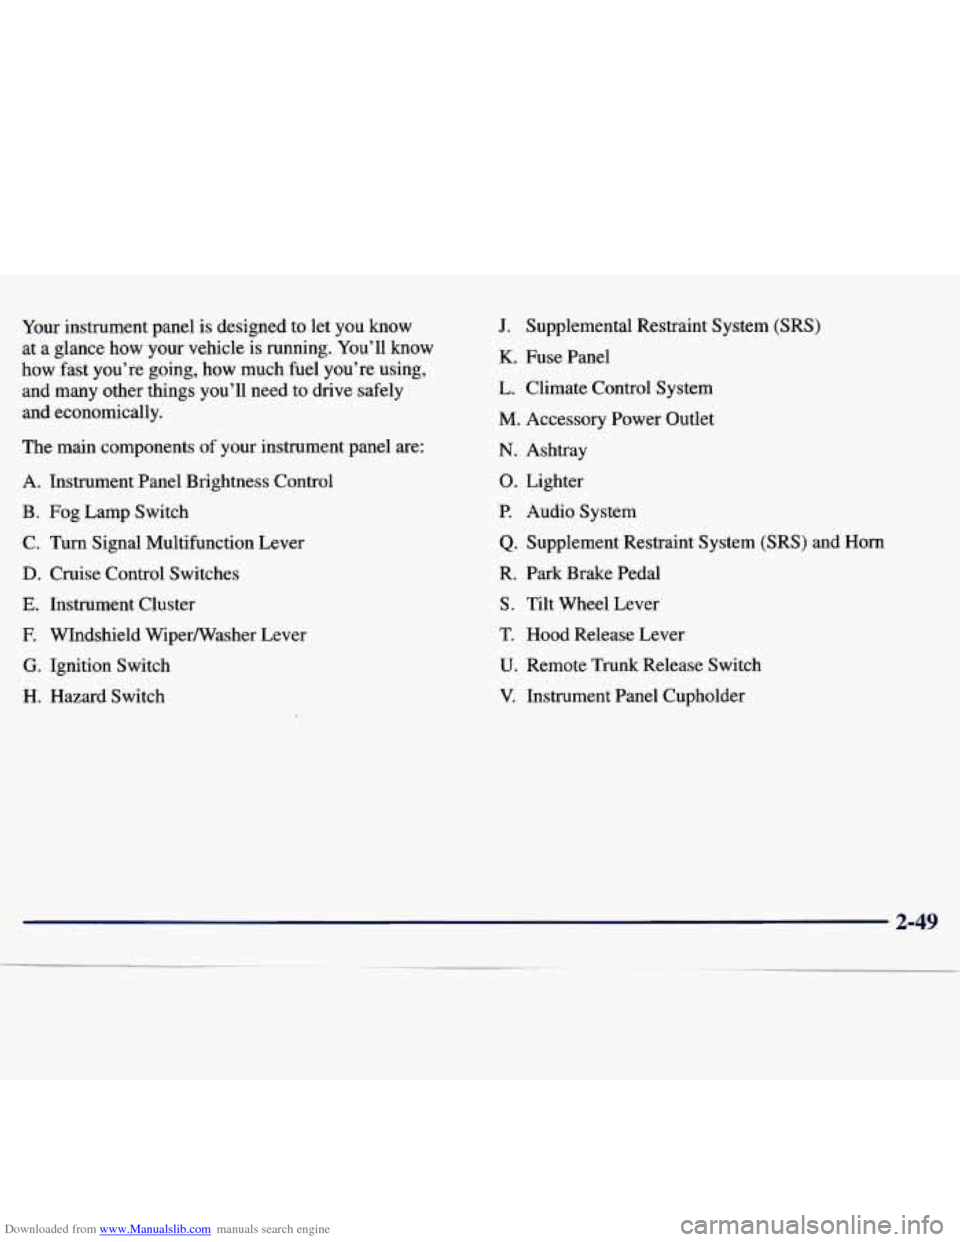
The main components of your instrument panel are:
A. Instrument Panel Brightness Control
B. Fog Lamp Switch
C. Turn Signal Multifunction Lever
D. Cruise Control Switches
E. Instrument Cluster
E WIndshield Wipermasher Lever
G. Ignition Switch
H. Hazard Switch
J. Supplemental Restraint System (SRS)
K. Fuse Panel
L. Climate Control System
M. Accessory Power Outlet
N. Ashtray
0. Lighter
P. Audio System
Q. Supplement Restraint System (SRS) and Horn
R. Park Brake Pedal
S. Tilt Wheel Lever
T. Hood Release Lever
U. Remote Trunk Release Switch
V. Instrument Panel Cupholder
2-49
Page 107 of 354
Downloaded from www.Manualslib.com manuals search engine Instrument Panel Cluster
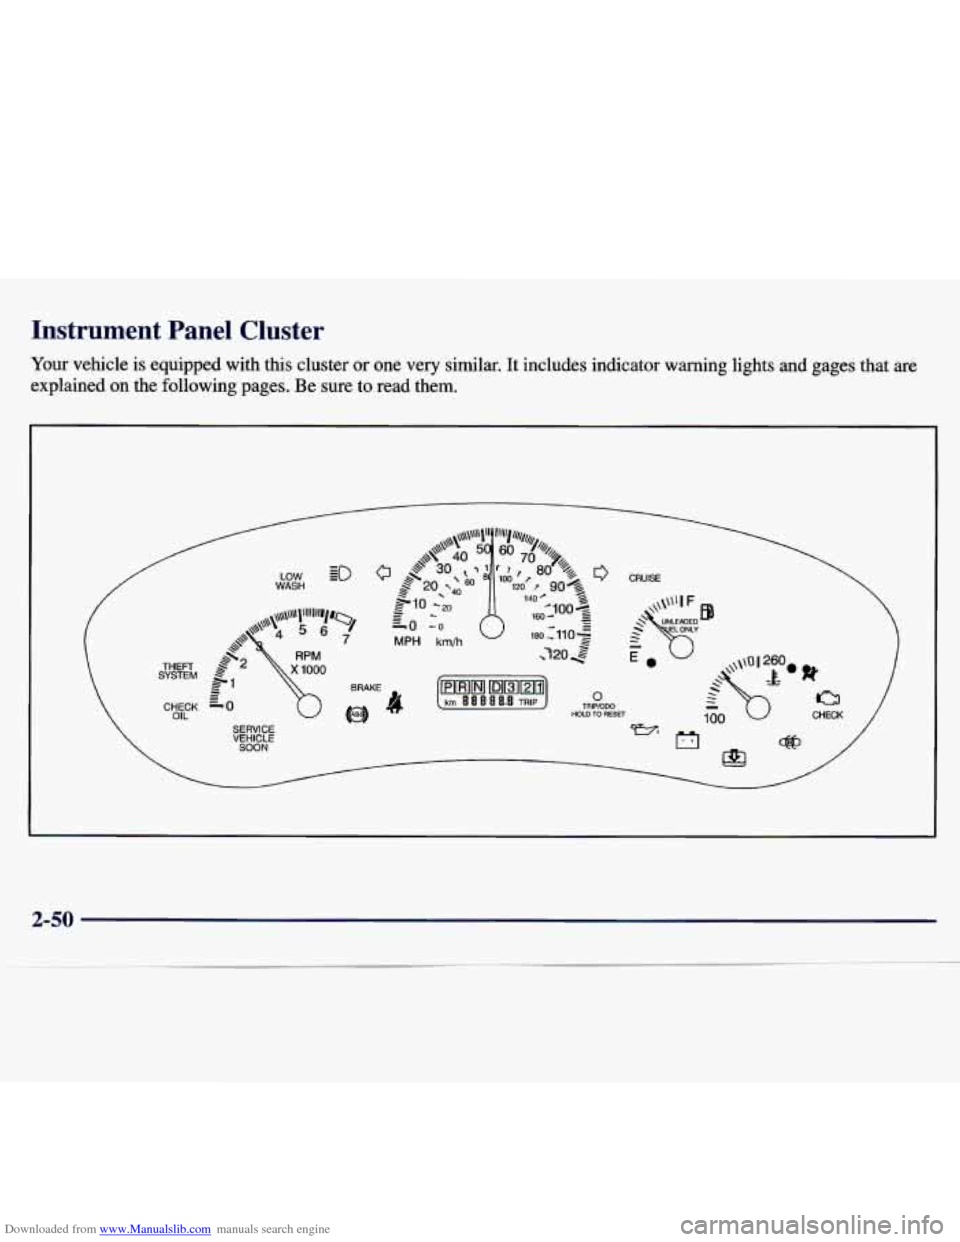
Your vehicle is equipped with this cluster or one very similar. It includes indicator warning lights and gages that are
explained on the following pages. Be sure to read them.
HOLD TO RESET
2-50
Page 118 of 354
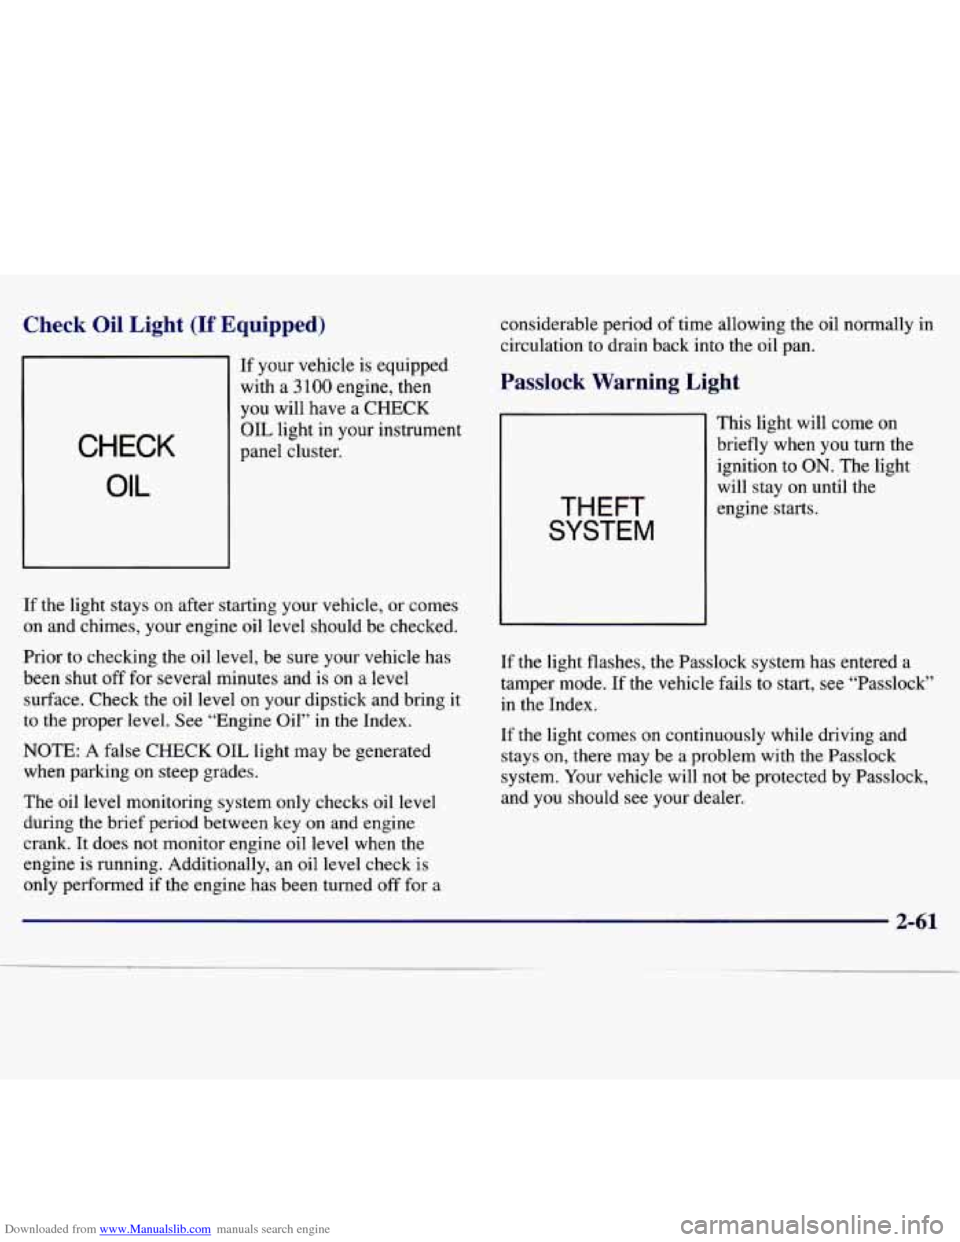
Downloaded from www.Manualslib.com manuals search engine Check Oil Light (If Equipped)
If your vehicle is equipped
with a
3 100 engine, then
you will have a CHECK
OIL light in your instrument
CHECK
OIL
panel cluster.
If the light stays on after starting your vehicle, or comes
on and chimes, your engine oil level should be checked.
Prior to checking the oil level, be sure your vehicle has
been shut
off for several minutes and is on a level
surface. Check the oil level on your dipstick and bring it
to the proper level. See “Engine Oil” in the Index.
NOTE: A false
CHECK OIL light may be generated
when parking on steep grades.
The oil level monitoring system only checks oil
level
during the brief period between key on and engine
crank. It does not monitor engine oil level when the
engine is running. Additionally, an oil level
check is
only performed if the engine has been turned off for a considerable period
of time allowing the
oil normally in
circulation to drain back into the oil pan.
Passlock Warning Light
THEFT
SYSTEM
This light will come on
briefly when you turn the
ignition to
ON. The light
will stay on until the
engine starts.
If the light flashes, the Passlock system has entered a
tamper mode. If the vehicle fails to start, see “Passlock”
in the Index.
If the light comes on continuously while driving and
stays on, there may be a problem with the Passlock
system. Your vehicle will not be protected by Passlock,
and you should see your dealer.
Page 176 of 354
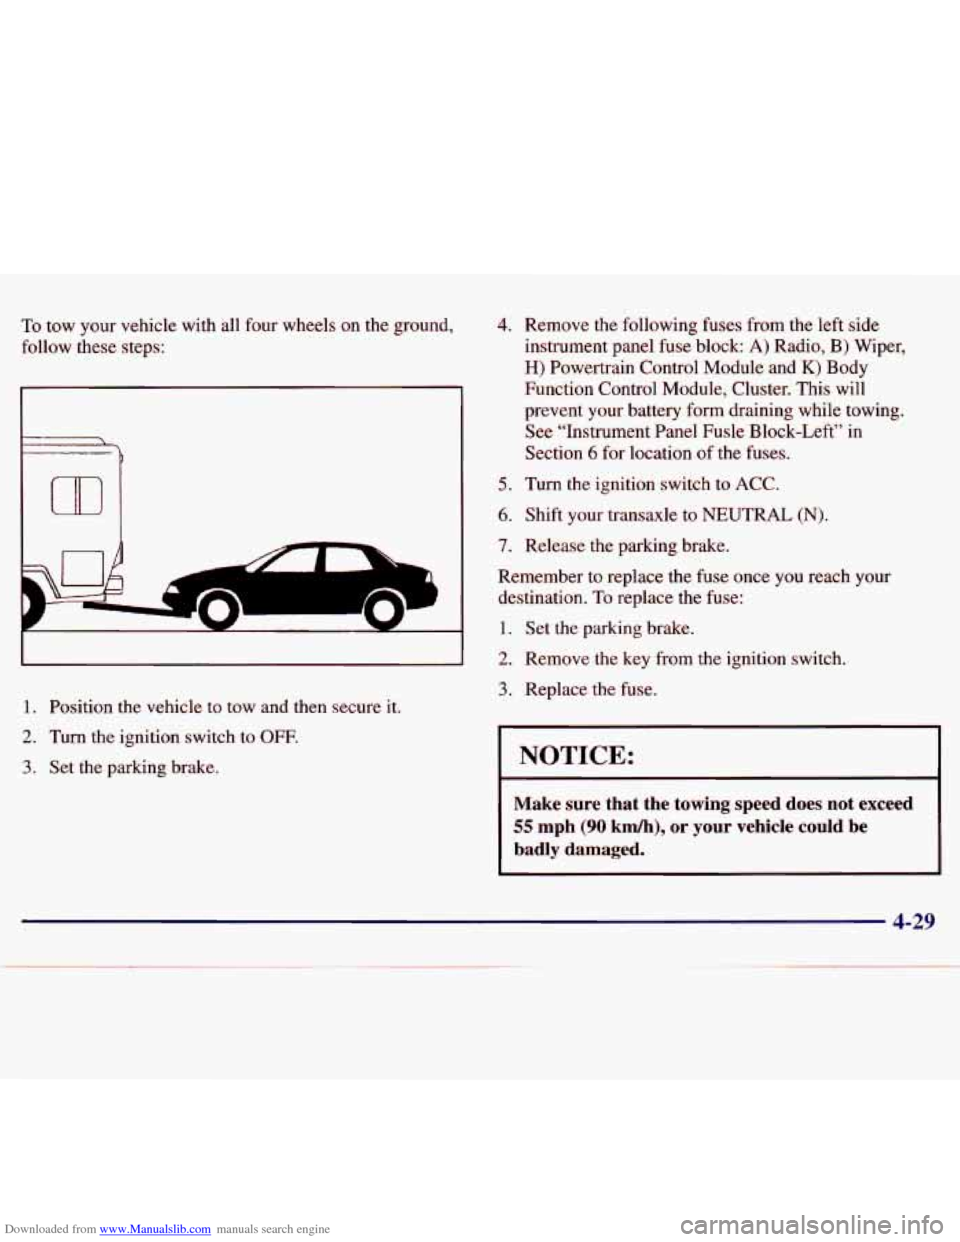
Downloaded from www.Manualslib.com manuals search engine To tow your vehicle with all four wheels on the ground,
follow these steps:
t
m
7 ---
1. Position the vehicle to tow and then secure it.
2. Turn the ignition switch to OFF.
3. Set the parking brake.
4. Remove the following fuses from the left side
instrument panel fuse block:
A) Radio, B) Wiper,
H) Powertrain Control Module and K) Body
Function Control Module, Cluster. This will
prevent your battery form draining while towing. See “Instrument Panel Fusle Block-Left” in
Section
6 for location of the fuses.
5. Turn the ignition switch to ACC.
6. Shift your transaxle to NEUTRAL (N).
7. Release the parking brake.
Remember to replace the fuse once you reach your
destination.
To replace the fuse:
1. Set the parking brake.
2. Remove the key from the ignition switch.
3. Replace the fuse.
I NOTICE:
Make sure that the towing speed does not exceed
55 mph (90 kmh), or your vehicle could be
badly damaged.
4-29
Page 277 of 354
Downloaded from www.Manualslib.com manuals search engine Instrument Panel Fuse Block - Left
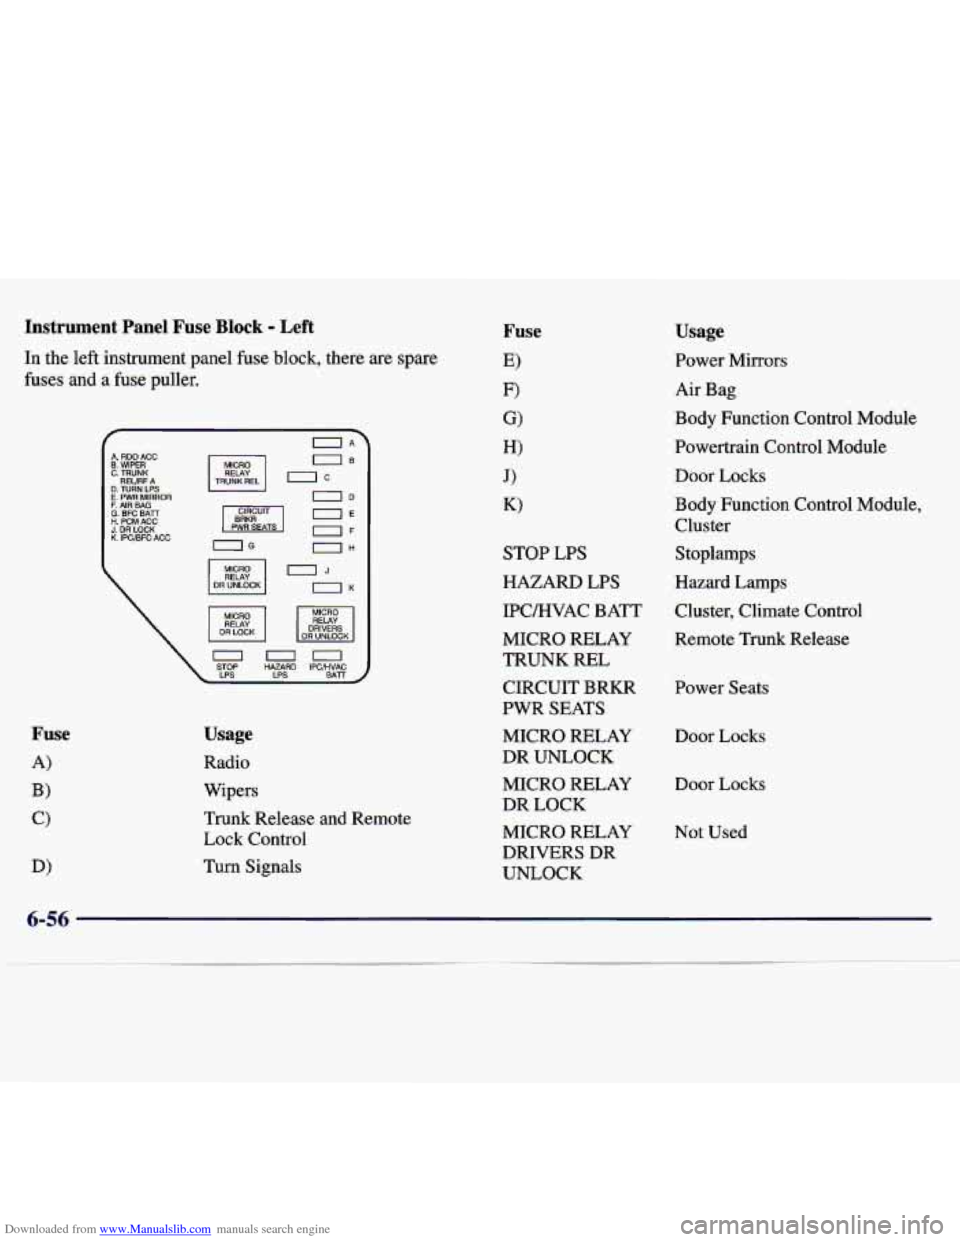
In the left instrument panel fuse block, there are spare
fuses and a
fuse puller.
IA
MICRO UB
uno STOP HAZARD IPCMVAC
Usage
Radio
Wipers
Trunk Release and Remote
Lock Control
Turn Signals STOP LPS
HAZARD
LPS
IPCMYAC BATT MICRO RELAY
TRUNK REL CIRCUIT BRKR
PWR SEATS
MICRO RELAY
DR UNLOCK MICRO RELAY
DR LOCK
MICRO RELAY DRIVERS DR
UNLOCK
Usage
Power Mirrors
Air Bag
Body Function Control Module
Powertrain Control Module
Door Locks
Body Function Control Module,
Cluster Stoplamps
Hazard Lamps Cluster, Climate Control
Remote Trunk Release
Power Seats
Door Locks
Door Locks
Not Used
6-56
Page 346 of 354
Downloaded from www.Manualslib.com manuals search engine Halogen Bulbs ................................ 6-29
Hazard Warning Flashers
.......................... 5-2
Head Restraints
................................. 1-5
Headlamps
.................................... 2-36
Bulb Replacement
............................ 6-29
High& ow Beam Changer
...................... 2-30
OnReminder
................................ 2-36
Wiring
..................................... 6-54
Hearing Impaired. Customer Assistance
.............. 8-4
Heating
........................................ 3-4
High-Beam Headlamps
.......................... 2-30
Highway Hypnosis
.............................. 4-22
Hill and Mountain Roads
......................... 4-22
Hitches. Trailer
................................. 4-36
Hood Checking Things Under
......................... 6-7
Release
...................................... 6-8
Hydroplaning
.................................. 4- 18
HOITI
......................................... 2-28
Ignition Positions
.............................. 2- 13
Ignition Transaxle Lock Check
.................... 7-40
Illuminated EntryLExit
........................... 2-39
Inflation. Tire
.................................. 6-36
Inside Daymight Rearview Mirror
................. 2-40
Brakesystem
................................ 7-41
Exhaust Systems
............................. 7-41
Front-Wheel-Drive Axle Boot
.................. 7-41
Front-Wheel-Drive Axle Seal
................... 7-41
Radiator and Heater Hose
...................... 7-41
Steering
.................................... 7-41
Inspections
.................................... 7-41 Suspension
.................................. 7-41
Instrument Panel
............................... 2-48
Cleaning
.................................... 6-47
Cluster
..................................... 2-50
FuseBlock
.................................. 6-55
Intensity Control
............................. 2-38
Interior Lamps
................................. 2-38
Throttle Linkage
.............................. 7-41
Jack. Tire
.................................... 5-22
Jump Starting
................................... 5-3
Key Lock Cylinders Service
..................... 7-38
Keyless Entry System
............................ 2-6
Battery Replacement
........................... 2-8
Operation
.................................... 2-7
Synchronization
............................... 6-9
Keys
.......................................... 2-2
Labels
....................................... 6-53
Certification
................................. 4-31
Service
Parts Identification ..................... 6-53
Tire-Loading Information
...................... 4-30
Vehicle Identification Number
................... 6-53
Exterior
.................................... 2-36
Interior
..................................... 2-38
OnReminder
................................ 2-36
Lamps
........................................ 2-36
Fog
........................................ 2-38
MirrorReading
............................... 2-39
9-5