Page 75 of 386

Downloaded from www.Manualslib.com manuals search engine Both rear doors can be opened past 90 degrees by
opening the doors past the first detent
(90 degrees open),
then opening fully.
To close the rear doors, close the driver side rear door
first. Then, close the passenger side rear door. Check
to
make sure both doors are completely closed.
I-
It can be dangerous to drive with the rear doors
open because carbon monoxide (CO) gas can
come into your vehicle. You can’t see or smell
CO.
It can cause unconsciousness and even death.
CAUTION: (Continued) CAUTION:
(Continued)
I
If you must drive with the rear doors open or if
electrical wiring or other cable connections must
pass through the seal between the body and the
rear doors:
Make sure all windows are shut.
lbrn the fan on your heating or cooling
system to its highest speed with the setting
on VENT, HEAT, BLEND or DEF.
Additionally, on vehicles with heatingair
conditioning systems, NORM A/C or
BI-LEV A/C can
be used. That will force
outside air into your vehicle. See “Comfort
Controls” in the Index.
instrument panel, open them all the way.
If you have air outlets on or under the
See “Engine Exhaust” in the Index.
Page 79 of 386

Downloaded from www.Manualslib.com manuals search engine I NOTICE:
Holding your key in START for longer than
15 seconds at a time will cause your battery to be
drained much sooner. And the excessive heat can
damage your starter motor.
2.
3.
If it doesn’t start right away, hold your key in
START. If it doesn’t start in 10 seconds, push the
accelerator pedal all the way down for five more
seconds, or until it starts.
If your engine still won’t start (or starts but then
stops), wait
15 seconds and start over.
When the engine starts, let
go of the key and the
accelerator pedal.
NOTICE:
Your engine is designed to work with the
electronics in your vehicle.
If you add electrical
parts or accessories, you could change the way
the engine operates. Before adding electrical
equipment, check with your dealer. If you don’t,
your engine might not perform properly.
If you ever have to have your vehicle towed, see
the part of this manual that tells how
to do it
without damaging your vehicle. See “Towing
Your Vehicle” in the Index.
Page 85 of 386

Downloaded from www.Manualslib.com manuals search engine If the ignition is on when the parking brake is released,
the brake system warning light will go off.
NOTICE:
Driving with the parking brake on can
cause your rear brakes
to overheat. You may
have to replace them, and you could also damage
other parts of your vehicle. Always check to be
sure your parking brake is fully released before
you drive.
If you are towing a trailer and are parking on any hill,
see “Towing a Trailer’’
in the Index. That section shows
what
to do first to keep the trailer from moving.
Shifting Into PARK (P)
I
It can be dangerous to get out of your vehicle if
the shift lever is not fully in
PARK (P) with the
parking brake firmly set. Your vehicle can roll.
If you have left the engine running, the vehicle
can move suddenly. You or others could be
injured.
To be sure your vehicle won’t move, even
when you’re on fairly level ground, use the steps
that follow. If you’re pulling
a trailer, see
“Towing a Trailer” in
the Index.
1. Hold the brake pedal down with your right foot and
set the parking brake.
2-24
Page 95 of 386

Downloaded from www.Manualslib.com manuals search engine As you signal a turn or a lane change, if the arrows flash
at twice the normal rate, a signal bulb may be burned
out and other drivers may not
see your turn signal.
If a bulb is burned out, replace it to help avoid an
accident.
If the arrows don’t go on at all when you
signal
a turn, check for burned-out bulbs and a blown
fuse (see “Fuses and Circuit Breakers” in the Index).
Headlamp High/Low Beam Changer
To change the headlamps from low beam to high or high
to low, pull the multifunction lever all the way toward
you. Then release it.
When the high beams are
on, this light on the
instrument panel also
will be
on.
Windshield Wipers
You control the windshield
wipers by turning the band
with the wiper symbol
on it.
For a single wiping cycle,
turn the band to MIST. Hold
it there until the wipers start, then let go. The wipers will
stop after one cycle.
If you want more cycles, hold the
band on
MIST longer.
You can set the wiper speed for a long or short delay
between wipes. This can be very useful in light rain or
snow. Turn the band
to choose the delay time. The
closer to
LOW, the shorter the delay.
Page 100 of 386

Downloaded from www.Manualslib.com manuals search engine When the wheel is turned to full brilliance, and then into
the first detent position, the radio display and PRNDL
display will go to the day mode (full intensity).
This is
known as “parade” mode. The rest
of the I/P
illumination will stay
in the maximum dimming state
(full brilliance dimming). Turning the wheel up one
more detent will activate the interior dome light circuit
(with slightly higher effort).
The dome lights cannot be turned
on by depressing the
dome light switch button, located below the parWhead
lamp switch knob. This switch is a dome lamp off
switch and will only interrupt inputs from the door jamb
switches, inhibiting interior light operation when
depressed. It will not inhibit the light function from
the
I/P dimmer switch.
The delayed entry will allow
you to enter or exit your
vehicle with the lights staying on for about
20 seconds
after the door
is closed or ignition is cycled.
Rotate
the switch knob clockwise to the parking lamp
symbol
to turn on:
0 Parking Lamps
0 Sidemarker Lamps
Taillamps
0 License Plate Lamps
0 Instrument Panel Lights
Ashtray Lamp
0 Glove Box Lamp
Rotate
the switch knob clockwise again to the master
lighting symbol to turn
on all the lamps listed above as
well as the headlamps.
Rotate the switch counterclockwise to OFF to
turn off
your lamps and lights.
Rotate the thumb wheel
next to the switch knob up to
adjust instrument panel lights. Rotate the thumb wheel
up to
the first notch to return the radio display and
gearshift indicator Vacuum Fluorescence
(VF) display
to full intensity when the headlamps or parking lamps
are
on.
Rotate the thumb wheel up to the second notch to
activate the interior dome lamps.
You can switch your headlamps from high to low beam
by pulling on the turn signalhigh beam lever.
A circuit breaker protects your headlamps. If you have
an electrical overload, your headlamps will flicker
on
and off. Have your headlamp wiring checked right away
if this happens.
Page 105 of 386
Downloaded from www.Manualslib.com manuals search engine Convex Outside Mirror
Your passenger’s side mirror is convex. A convex
mirror’s surface
is curved so you can see more from the
driver’s seat.
I A CAUTION:
A convex mirror can make things (like other
vehicles) look farther away than they really are.
If you cut too sharply into the right lane, you
could hit
a vehicle on your right. Check your
inside mirror
or glance over your shoulder before
changing lanes.
Storage Compartments
Your front storage compartment is at the center of the
instrument panel extension,
by the floor. To open the
compartment, push down on the handle and pull out.
2-44
Page 110 of 386

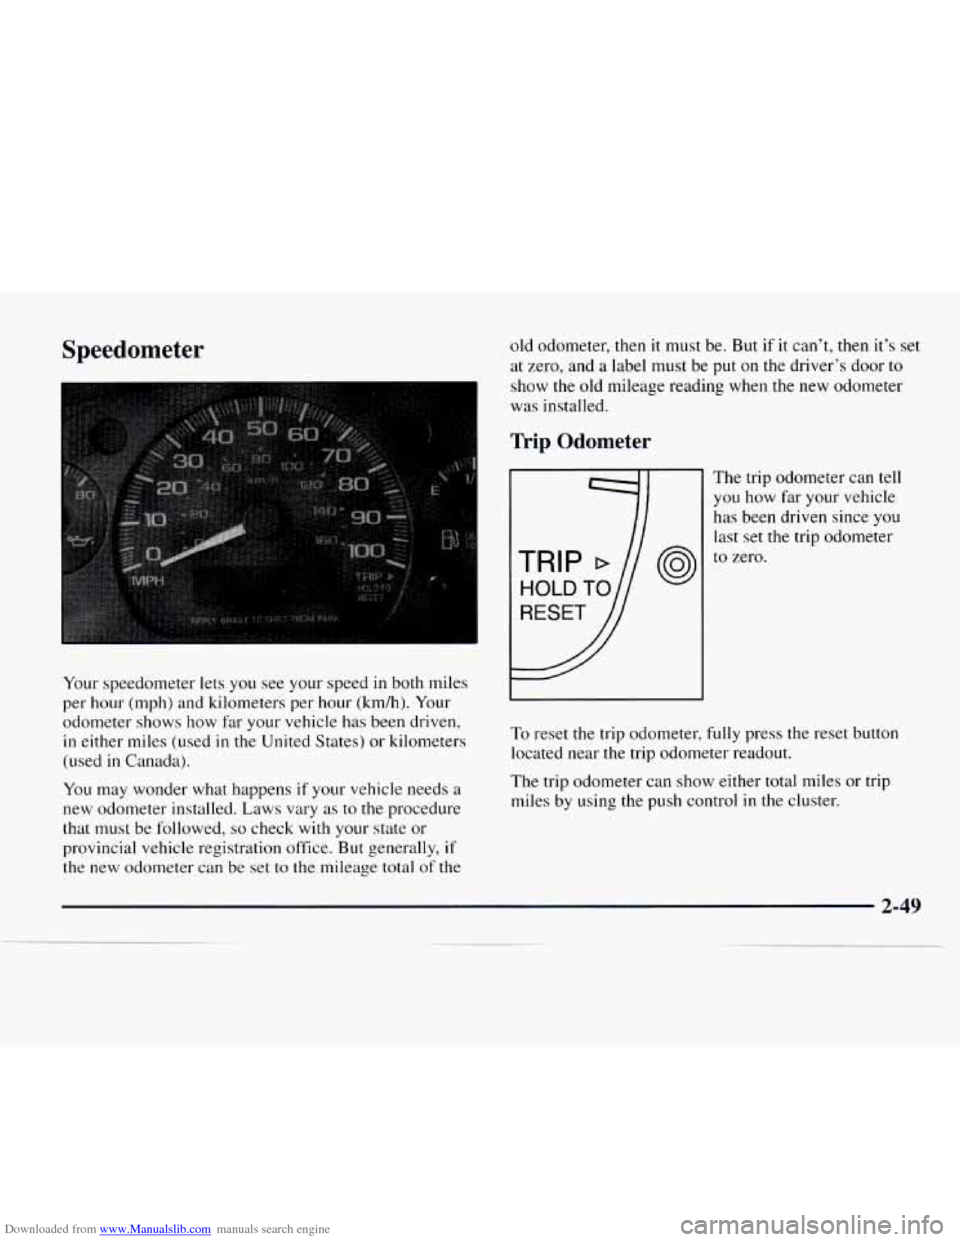
Downloaded from www.Manualslib.com manuals search engine Speedometer
Your speedometer lets you see your speed in both miles
per hour (mph) and kilometers per hour (km/h). Your
odometer shows how far your vehicle has been driven,
in either miles (used in the United States) or kilometers
(used in Canada).
You may wonder what happens
if your vehicle needs a
new odometer installed. Laws vary as to the procedure
that must be followed,
so check with your state or
provincial vehicle registration office. But generally,
if
the new odometer can be set to the mileage total of the old
odometer,
then it must be. But if it can’t, then it’s set
at zero, and
a label must be put on the driver’s door to
show the old mileage reading when the new odometer
was installed.
Trip Odometer
The trip odometer can tell
you how far your vehicle
has been driven since
you
last set the trip odometer
to zero.
To reset the trip odometer, fully press the reset button
located near the trip odometer readout.
The trip odometer can show either total miles or trip
miles by using the push control
in the cluster.
Page 111 of 386

Downloaded from www.Manualslib.com manuals search engine Warning Lights, Gages and Indicators
This part describes the warning lights and gages that
may be
on your vehicle. The pictures will help you
locate them.
Warning lights and gages can signal that something is wrong before it becomes serious enough to cause an
expensive repair or replacement. Paying attention
to
your warning lights and gages could also save you or
others from injury.
Warning lights come
on when there may be or is a
problem with one
of your vehicle’s functions. As you
will see in the details on the next few pages, some
warning lights come
on briefly when you start the
engine just
to let you know they’re working. If you are
familiar with this section,
you should not be alarmed
when this happens.
Gages can indicate when there may be
or is a problem
with
one of your vehicle’s functions. Often gages and
warning lights work together to let
you know when
there’s a problem with your vehicle. When
one
of the warning lights comes on and stays on
when you are driving, or when one of the gages shows
there may be a problem, check the section that tells you
what to do about it. Please follow this manual’s advice.
Waiting
to do repairs can be costly -- and even
dangerous.
So please get to know your warning lights
and gages. They’re a big help.
Safety Belt Reminder Light
When the key is turned to RUN or START, a tone will
come on for about eight seconds
to remind people to
fasten their safety belts, unless the driver’s safety belt
is
already buckled.
The safety belt light will
also come
on and stay on‘
for about
20 seconds,
then it will flash for about
55 seconds. If the driver’s
belt is already buckled,
neither
the tone nor the
light will come on.
2-50