1997 CHEVROLET CAVALIER run flat
[x] Cancel search: run flatPage 3 of 388
Downloaded from www.Manualslib.com manuals search engine 0 The 1997 Chevrolet Cavalier Owner’s Manual
1-1
2-1
3-1 4-1
5-1
6-1
7-1
8-1
9- 1
Seats and Restraint Systems
This section tells you how to use your seats and safety belts properly. It also explains the “SRS” system.
Features and Controls
This section explains how to start and operate your Chevrolet.
Comfort Controls and Audio Systems
This section tells you how to adjust the ventilation and comfo\
rt controls and how to operate your audio system.
Your Driving and the Road
Here you’ll find helpful information and tips about the road\
and how to drive under different conditions.
Problems on the Road
This section tells what to do if you have a problem while driving, such as a flat tire or overheat\
ed engine, etc.
Service and Appearance Care
Here the manual tells you how to keep your Chevrolet running properly and looking good.
Maintenance Schedule
This section tells you when to perform vehicle maintenance and \
what fluids and lubricants to use.
Customer Assistance Information
This section tells you how to contact Chevrolet for assistance \
and how to get service and owner publications.
It also gives you information on “Reporting Safety Defects” on page
8- 10.
Index
Here’s an alphabetical listing of almost every subject in this manual. You can use it to quickly find
something you want to read.
i
Page 53 of 388
Downloaded from www.Manualslib.com manuals search engine A child in a rear-facing child restraint can be
seriously injured if the right front passenger’s
air bag inflates. This is because the back of
a
rear-facing child restraint would be very close to
the inflating air bag. Always secure a rear-facing
child restraint
in the rear seat.
You’ll be using the lap-shoulder belt. See the earlier part
about the top strap if the child restraint has one.
1. Because your vehicle has a right front passenger air
bag, always move the seat
as far back as it will go
before securing a fonvard-facing child restraint. (See
“Seats” in the Index.)
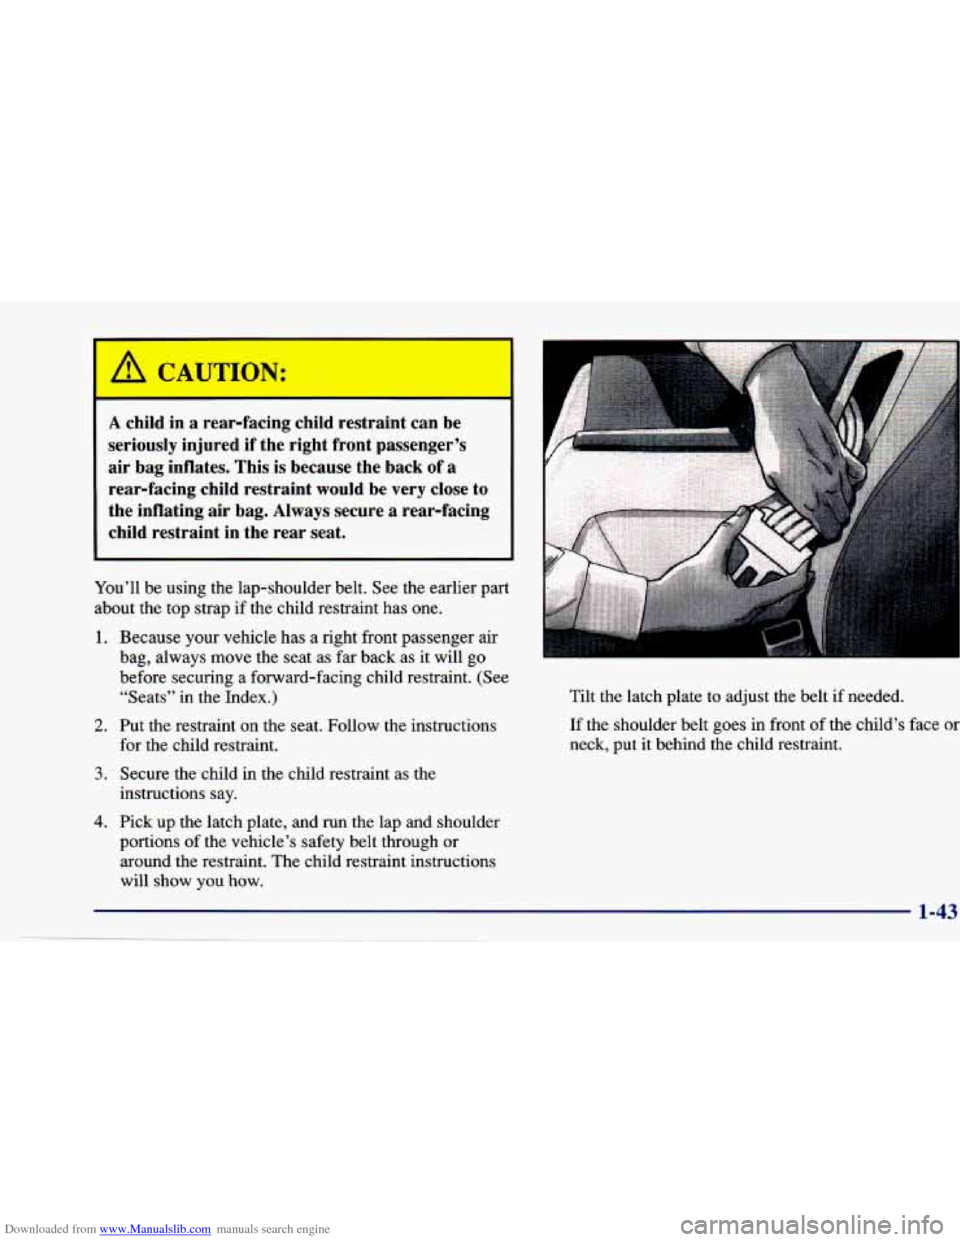
2. Put the restraint on the seat. Follow the instructions
for the child restraint. Tilt the
latch plate to adjust the belt if needed.
If the shoulder belt goes in front of the child’s face or
neck, put it behind the child restraint.
3. Secure the child in the child restraint as the
instructions say.
4. Pick up the latch plate, and run the lap and shoulder
portions
of the vehicle’s safety belt through or
around the restraint. The child restraint instructions
will show you
how.
Page 107 of 388
Downloaded from www.Manualslib.com manuals search engine Convenience Net (If Equipped)
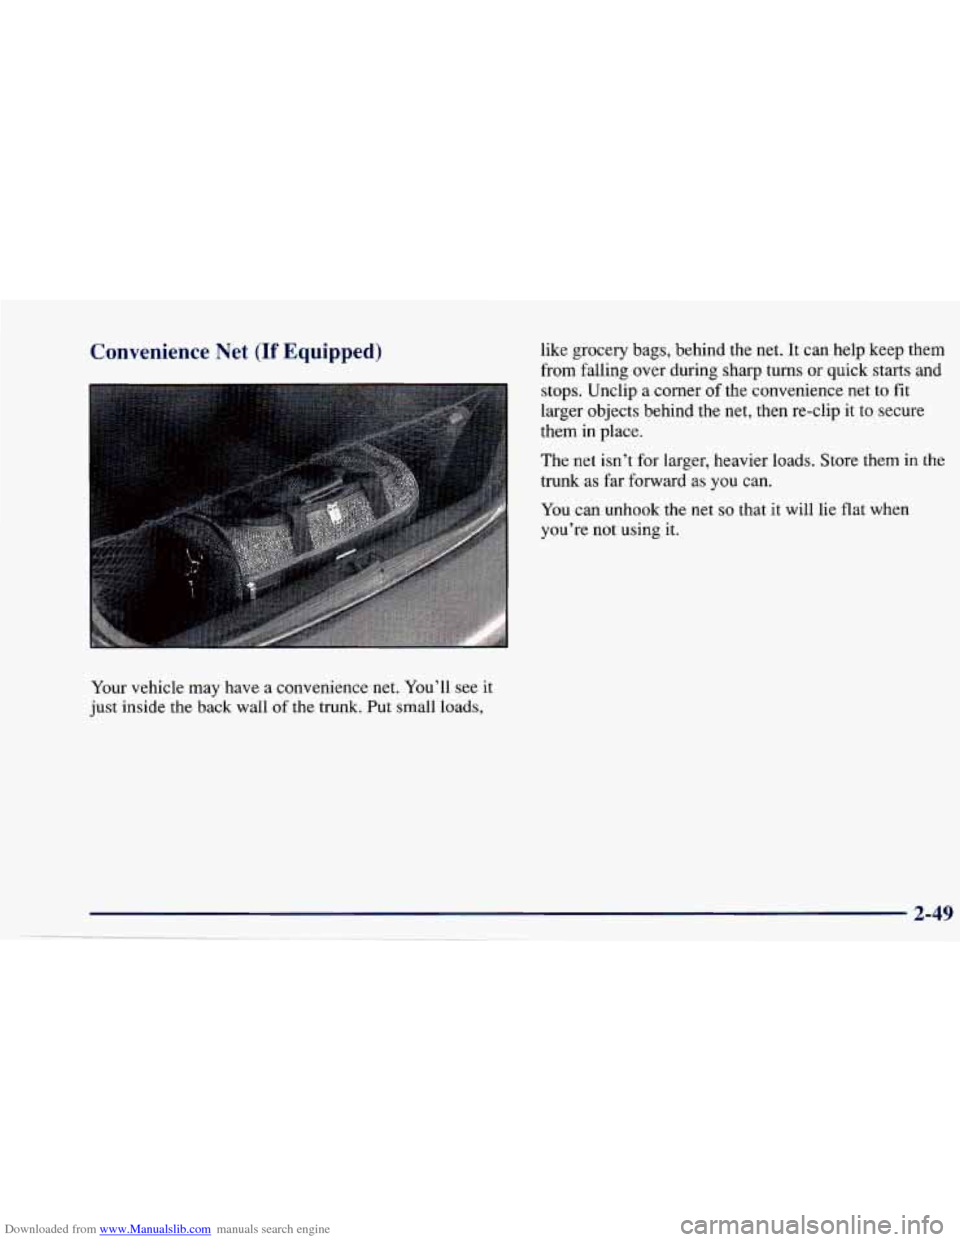
Your vehicle may have a convenience net. You’ll see it
just inside the
back wall of the trunk. Put small loads, like grocery bags, behind the net.
It can help keep them
from falling over during sharp turns or quick starts and
stops. Unclip a corner of the convenience net to fit
larger objects behind the net, then re-clip
it to secure
them in place.
The net isn’t for larger, heavier loads. Store them in the
trunk as far forward
as you can.
You can unhook the net
so that it will lie flat when
you’re not using it.
Page 237 of 388
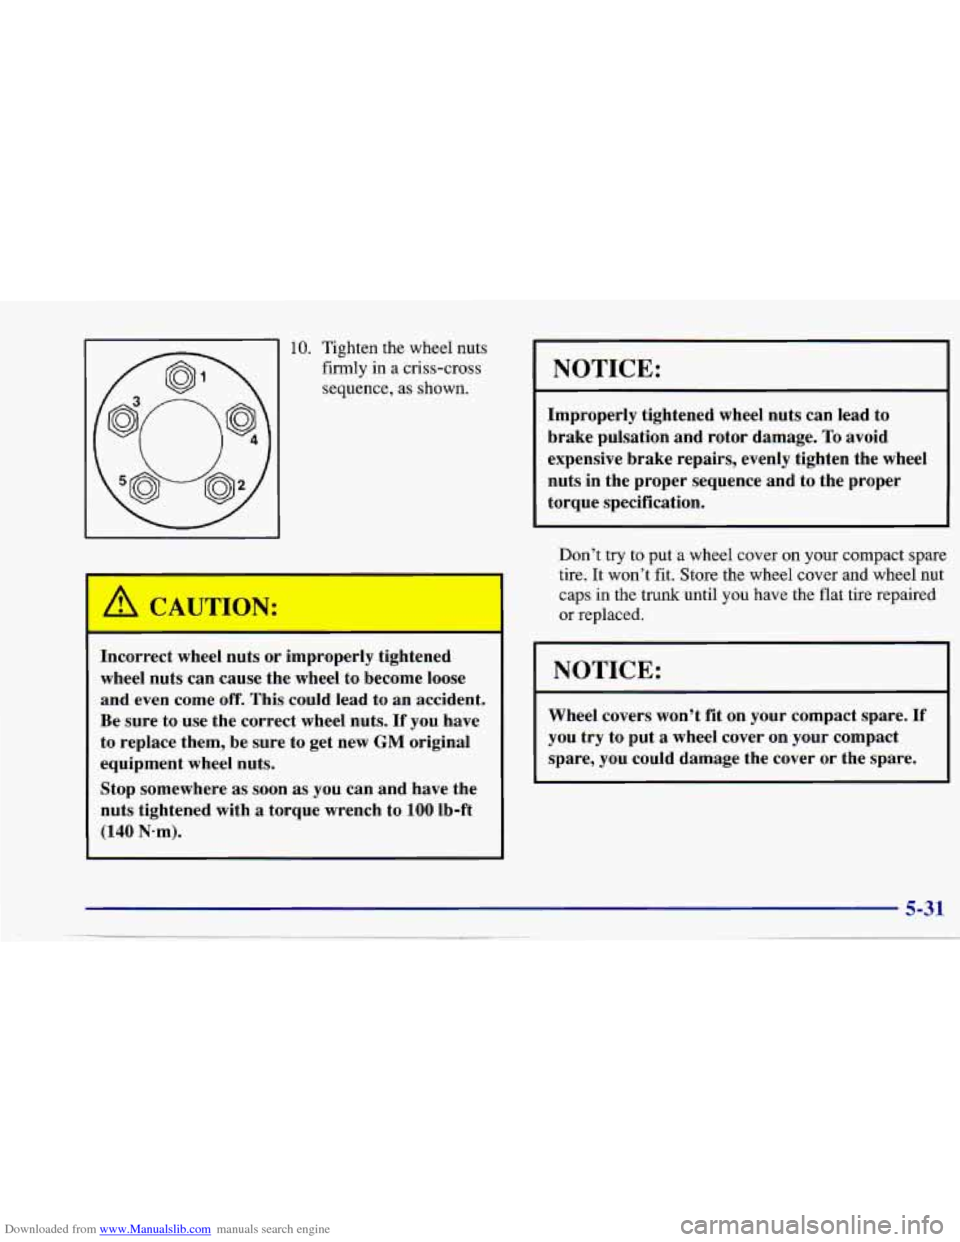
Downloaded from www.Manualslib.com manuals search engine 10. Tighten the wheel nuts
firmly in a criss-cross sequence, as shown.
Incorrect wheel nuts or improperly tightened
wheel nuts can cause the wheel to become loose
and even come
off. This could lead to an accident.
Be sure to use the correct wheel nuts.
If you have
to replace them, be sure to get new
GM original
equipment wheel nuts.
Stop somewhere
as soon as you can and have the
nuts tightened with
a torque wrench to 100 lb-ft
(140 N-m).
~~
NOTICE:
Improperly tightened wheel nuts can lead to
brake pulsation and rotor damage. To avoid
expensive brake repairs, evenly tighten the wheel
nuts in the proper sequence and to the proper
torque specification.
Don’t try to put
a wheel cover on your compact spare
tire.
It won’t fit. Store the wheel cover and wheel nut
caps in the trunk until you have the flat tire repaired or replaced.
NOTICE:
Wheel covers won’t fit on your compact spare. If
you try to put a wheel cover on your compact
spare,
you could damage the cover or the spare.
Page 281 of 388
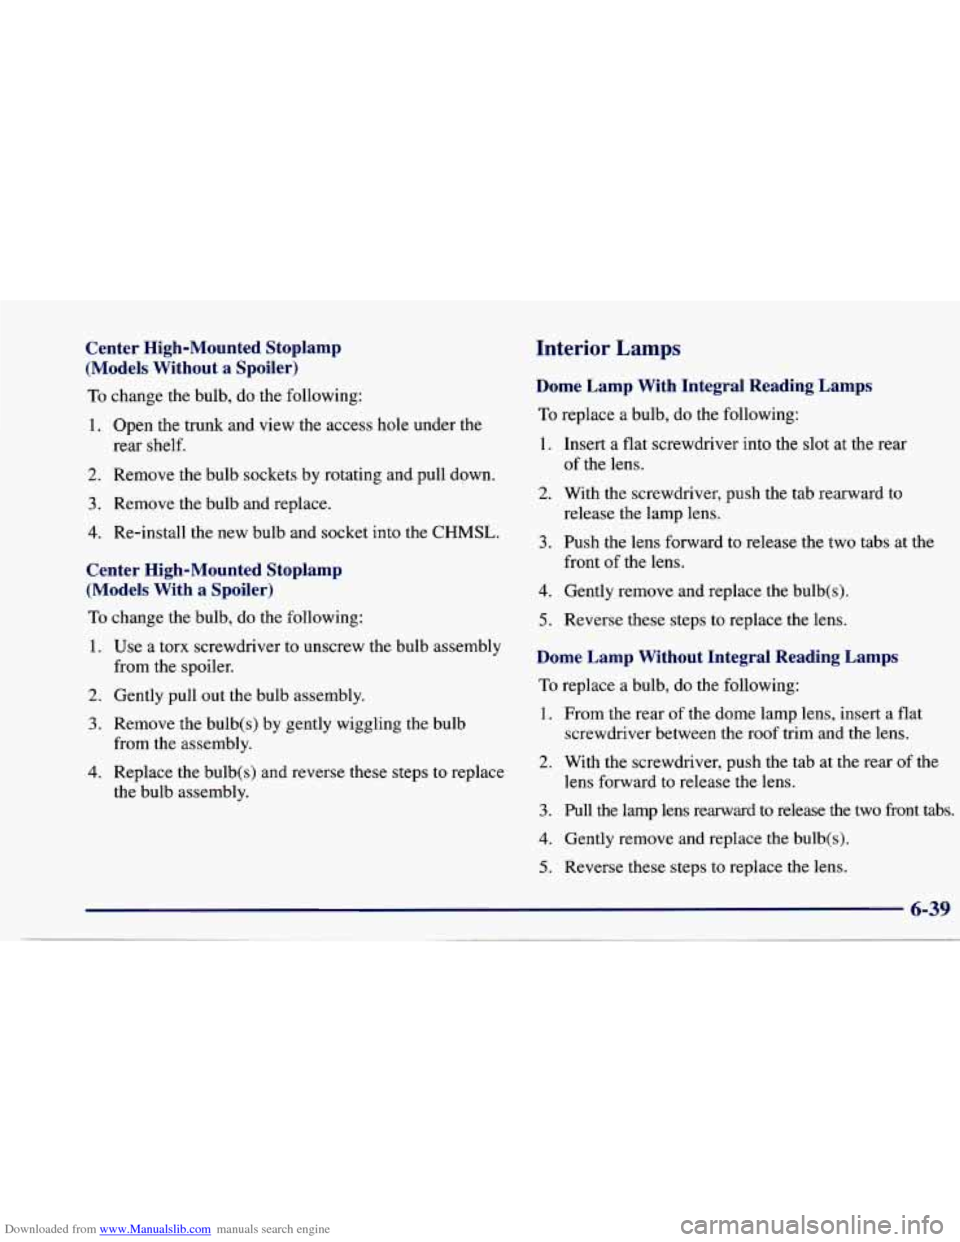
Downloaded from www.Manualslib.com manuals search engine Center High-Mounted Stoplamp
(Models Without a Spoiler)
To change the bulb, do the following:
1. Open the trunk and view the access hole under the
rear shelf.
2. Remove the bulb sockets by rotating and pull down.
3. Remove the bulb and replace.
4. Re-install the new bulb and socket into the CHMSL.
Center High-Mounted Stoplamp
(Models With
a Spoiler)
To change the bulb, do the following:
1.
2.
3.
4.
Use a torx screwdriver to unscrew the bulb assembly
from the spoiler.
Gently pull out the bulb assembly.
Remove the bulb(s) by gently wiggling the bulb
from the assembly.
Replace the bulb(s) and reverse these steps to replace
the bulb assembly.
Interior Lamps
Dome Lamp With Integral Reading Lamps
To replace a bulb, do the following:
1. Insert a flat screwdriver into the slot at the rear
of the lens.
2. With the screwdriver, push the tab rearward to
3. Push the lens forward to release the two tabs at the
release the lamp
lens.
front
of the lens.
4. Gently remove and replace the bulb( s).
5. Reverse these steps to replace the lens.
Dome Lamp Without Integral Reading Lamps
To
replace a bulb, do the following:
1. From the rear of the dome lamp lens, insert a flat
screwdriver between the roof trim and the lens.
2. With the screwdriver, push the tab at the rear of the
3. Pull the lamp lens reward to release the two front tabs.
4. Gently remove and replace the bulb(s).
5. Reverse these steps to replace the lens.
lens
forward to release the
lens.
6-39
Page 303 of 388
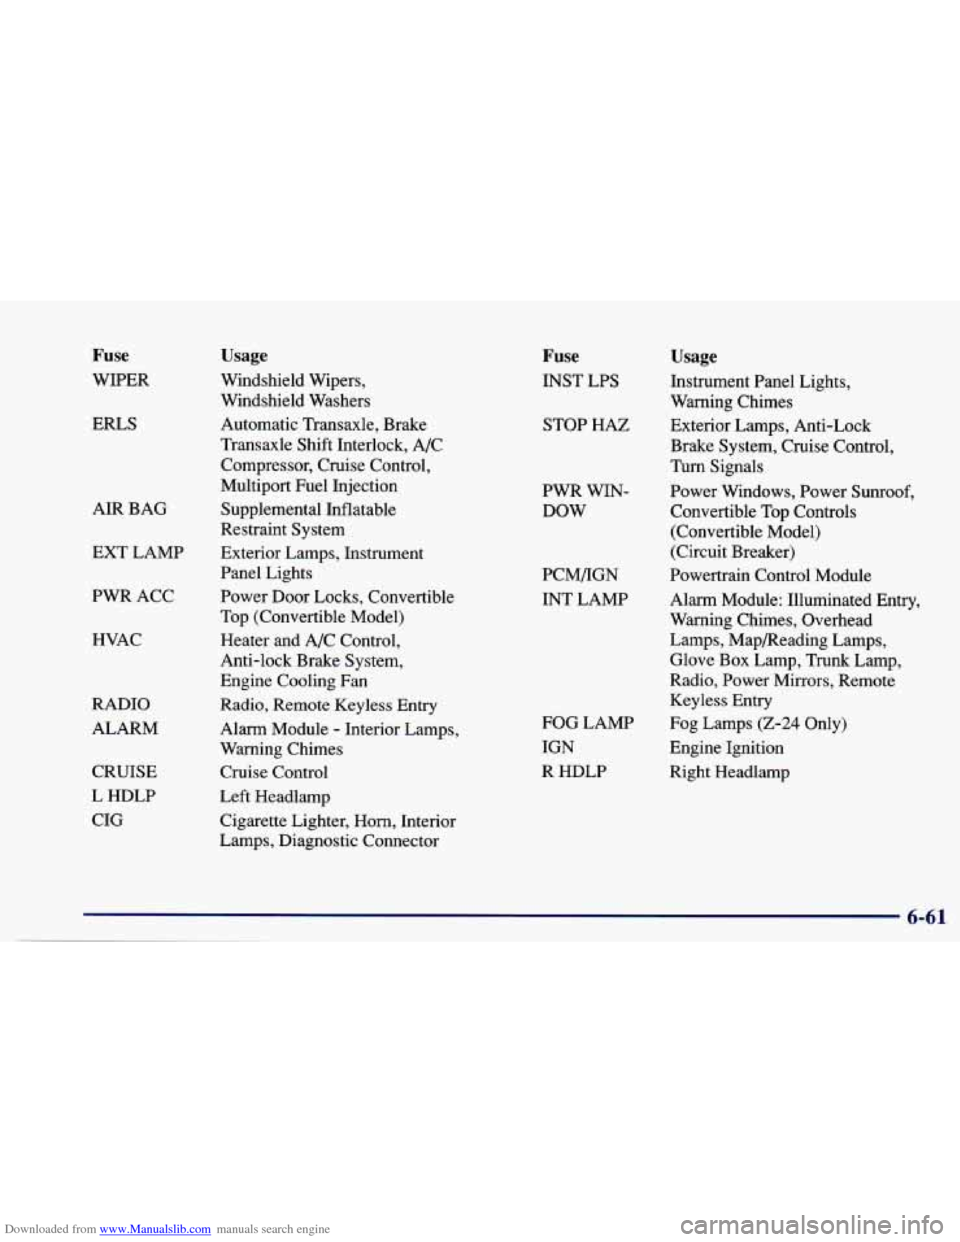
Downloaded from www.Manualslib.com manuals search engine Fuse
WIPER
ERLS
AIR BAG
EXT LAMP
PWR ACC
HVAC
RADIO
ALARM
CRUISE
L HDLP
CIG
Usage
Windshield Wipers,
Windshield Washers
Automatic Transaxle, Brake
Transaxle Shift Interlock, A/C
Compressor, Cruise Control,
Multiport Fuel Injection
Supplemental Inflatable
Restraint System
Exterior Lamps, Instrument
Panel Lights
Power Door Locks, Convertible
Top (Convertible Model)
Heater and A/C Control,
Anti-lock Brake System,
Engine Cooling Fan
Radio, Remote Keyless Entry
Alarm Module
- Interior Lamps,
Warning Chimes
Cruise Control
Left Headlamp Cigarette Lighter,
Horn, Interior
Lamps, Diagnostic Connector
Fuse
INST LPS
STOP HAZ
PWR WIN- DOW
PCM/IGN
INT LAMP
FOG LAMP
IGN
R HDLP
Usage
Instrument Panel Lights,
Warning Chimes
Exterior Lamps, Anti-Lock
Brake System, Cruise Control,
Turn Signals
Power Windows, Power Sunroof,
Convertible Top Controls
(Convertible Model)
(Circuit Breaker)
Powertrain Control Module
Alarm Module: Illuminated Entry,
Warning Chimes, Overhead
Lamps, Mapmeading Lamps,
Glove Box Lamp, Trunk Lamp,
Radio, Power Mirrors, Remote
Keyless Entry
Fog Lamps
(2-24 Only)
Engine Ignition
Right Headlamp
6-61
Page 378 of 388
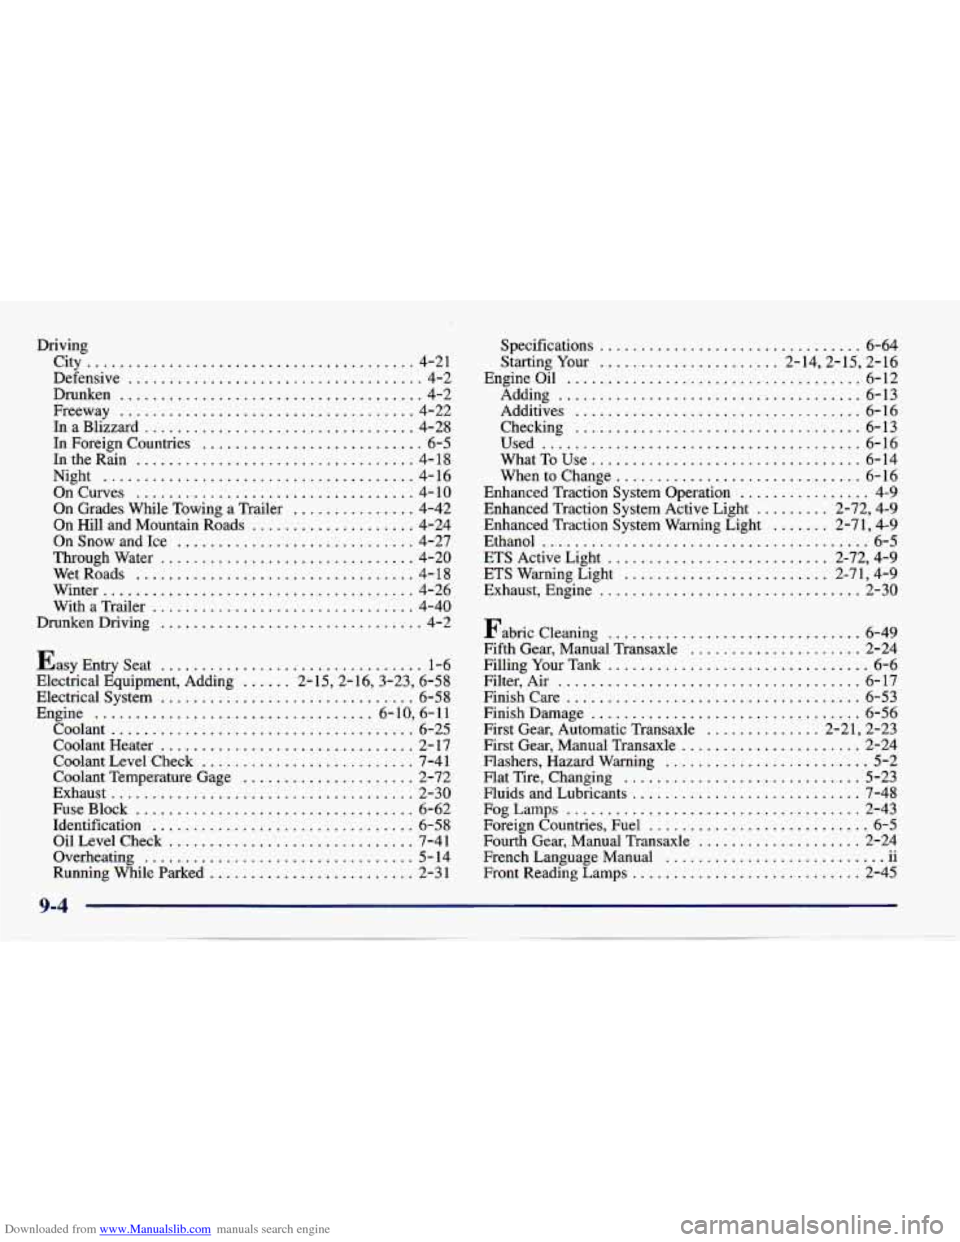
Downloaded from www.Manualslib.com manuals search engine Driving City
........................................ 4-21
Defensive
.................................... 4-2
Drunken
..................................... 4-2
Freeway
.................................... 4-22
InaBlizzard
................................. 4-28
In Foreign Countries
........................... 6-5
In the Rain
.................................. 4- 18
Night
...................................... 4-16
OnCurves
.................................. 4-10
On Grades While Towing a Trailer
............... 4-42
On Hill and Mountain Roads
.................... 4-24
OnSnowandIce
............................. 4-27
Throughwater
............................... 4-20
WetRoads
.................................. 4-18
Winter
...................................... 4-26
With a Trailer
................................ 4-40
DrunkenDriving
................................ 4-2
Easy Entry Seat ................................ 1-6
Electrical Equipment. Adding ...... 2-15.2-16.3-23. 6-58
Electrical System
............................... 6-58
Engine
.................................. 6-10. 6-11
Coolant
..................................... 6-25
Coolant Heater
............................... 2- 17
Coolant Level Check
.......................... 7-41
Coolant Temperature Gage
..................... 2-72
Exhaust
..................................... 2-30
Fuse Block
.................................. 6-62
Identification
................................ 6-58
OilLevelCheck
.............................. 7-41
Overheating
................................. 5-14
Running While Parked
......................... 2-31 Specifications
................................ 6-64
Starting Your
...................... 2.14.2.15. 2.16
Engineoil
.................................... 6-12
Adding
..................................... 6-13
Additives
................................... 6-16
Checking
................................... 6-13
Used
....................................... 6-16
What
To Use ................................. 6-14
When to Change
.............................. 6-16
Enhanced Traction System Operation
................ 4-9
Enhanced Traction System Active Light
......... 2.72. 4.9
Enhanced Traction System Warning Light
....... 2.71. 4.9
Ethanol
........................................ 6-5
ETS Active Light ........................... 2.72. 4.9
ETS Warning Light
......................... 2.71. 4.9
Exhaust. Engine
................................ 2-30
Fabric Cleaning
............................... 6-49
Fifth Gear. Manual Transaxle
..................... 2-24
Filling Your Tank ................................ 6-6
Filter. Air
..................................... 6-17
Finishcare
.................................... 6-53
Finish Damage
................................. 6-56
First Gear. Automatic Transaxle
.............. 2.21. 2.23
First Gear. Manual Transaxle
...................... 2-24
Flashers. Hazard Warning
......................... 5-2
Flat Tire. Changing
............................. 5-23
Fluids and Lubricants
............................ 7-48
FOgLmps
.................................... 2-43
Foreign Countries. Fuel
........................... 6-5
Fourth Gear. Manual Transaxle .................... 2-24
French Language Manual
11 1. ...........................
Front Reading Lamps ............................ 2-45