1997 CHEVROLET CAVALIER Engine assembly
[x] Cancel search: Engine assemblyPage 278 of 388
Downloaded from www.Manualslib.com manuals search engine Front Exterior
Headlamps
For the type of bulb to use, see “Replacement Bulbs” in
the Index.
To replace one of your headlamp bulbs, do
the following:
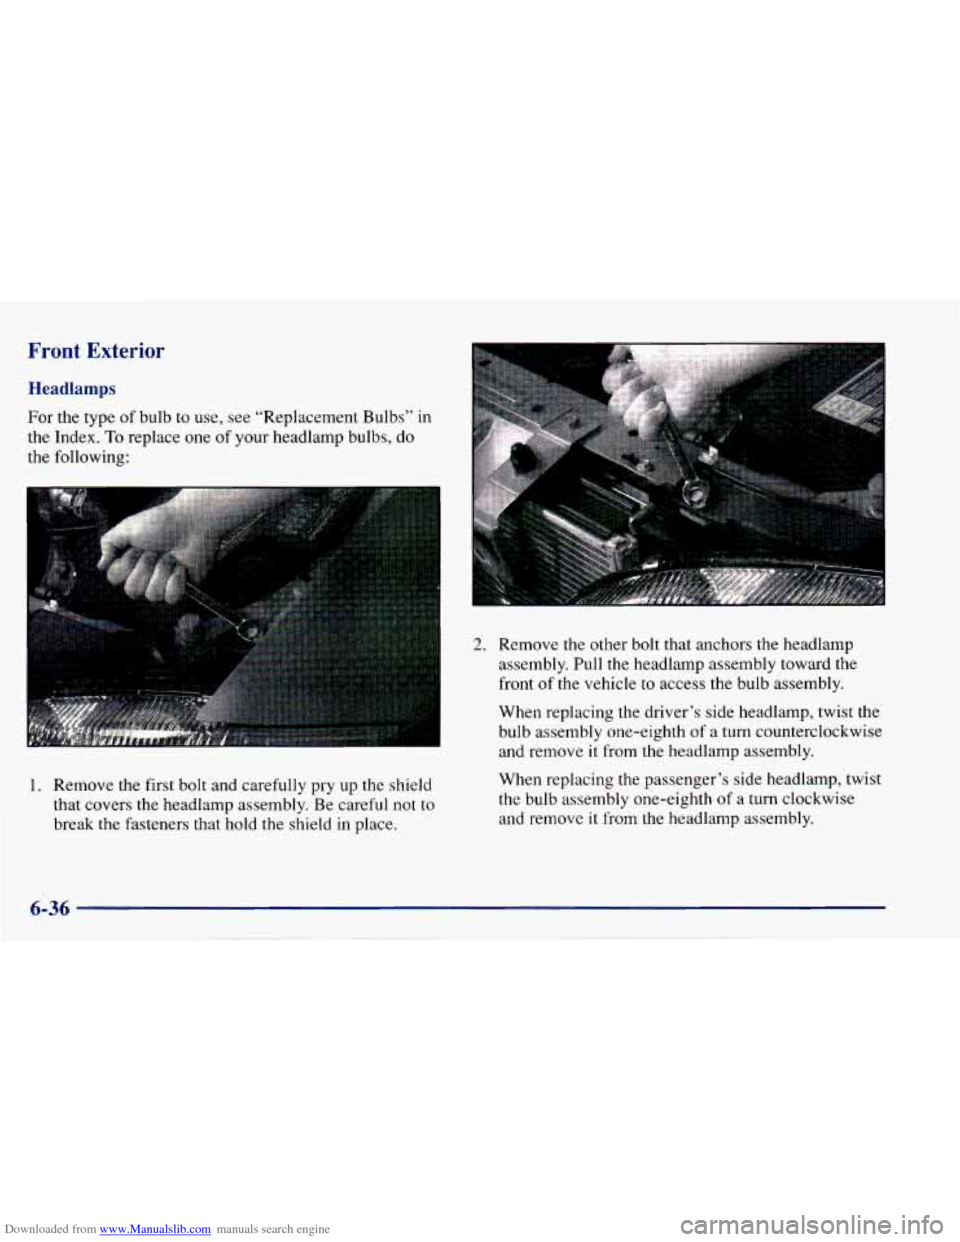
1. Remove the first bolt and carefully pry up the shield
that covers the headlamp assembly. Be careful not to
break the fasteners that hold the shield in place.
2. Remove the other bolt that anchors the headlamp
assembly. Pull the headlamp assembly toward the
front of the vehicle
to access the bulb assembly.
When replacing the driver’s side headlamp, twist the bulb assembly one-eighth of a turn counterclockwise
and remove it from the headlamp assembly.
When replacing the passenger’s side headlamp, twist
the bulb assembly one-eighth
of a turn clockwise
and remove
it from the headlamp assembly,
6-36
Page 279 of 388
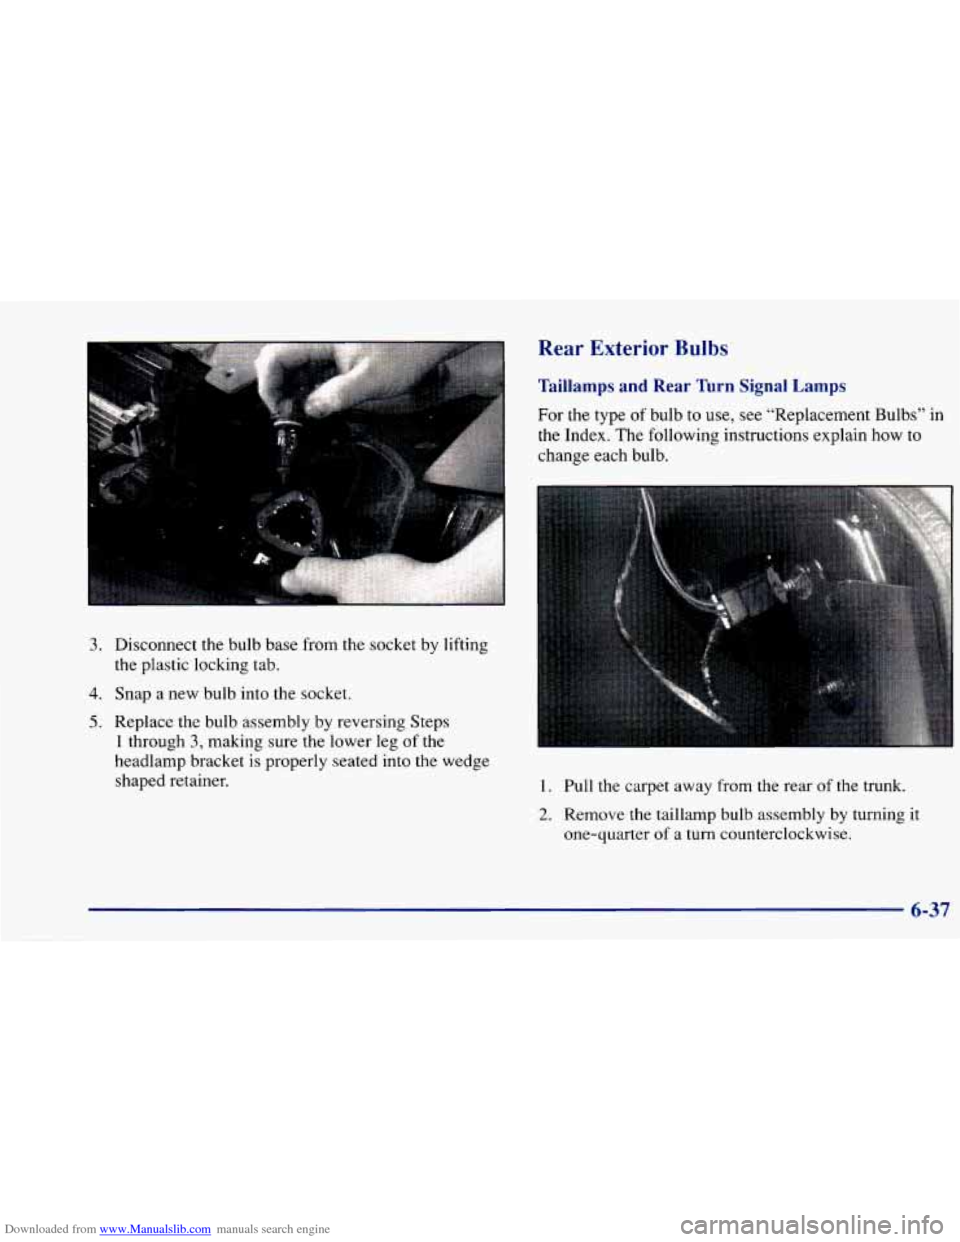
Downloaded from www.Manualslib.com manuals search engine 3. Disconnect the bulb base from the socket by lifting
the plastic locking tab.
4. Snap a new bulb into the socket.
5. Replace the bulb assembly by reversing Steps
1 through 3, making sure the lower leg of the
headlamp bracket is properly seated into the wedge
shaped retainer.
Rear Exterior Bulbs
Taillamps and Rear Turn Signal Lamps
For the type of bulb to use, see “Replacement Bulbs” in
the Index. The following instructions explain how to
change each bulb.
1. Pull the carpet away from the rear of the trunk.
2. Remove the taillamp bulb assembly by turning it
one-quarter of a turn counterclockwise.
6-37
Page 280 of 388
Downloaded from www.Manualslib.com manuals search engine Back-up Lamps (Sedan)
If you have a four-door sedan, do the following to
replace
a back-up lamp:
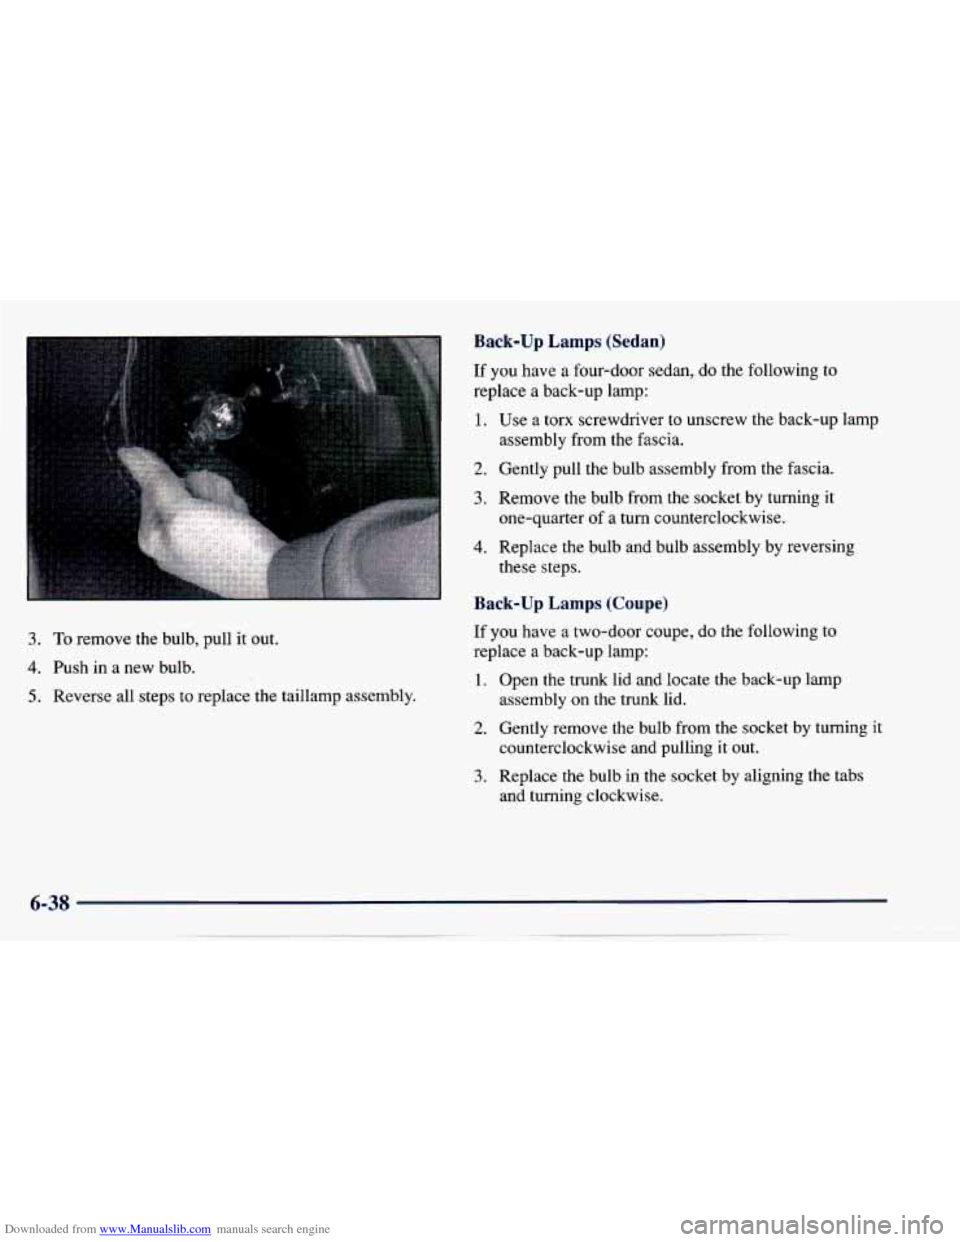
3. To remove the bulb, pull it out.
4. Push in a new bulb.
5. Reverse all steps to replace the taillamp assembly.
1.
2.
3.
4.
Use a torx screwdriver to unscrew the back-up lamp
assembly from the fascia.
Gently pull the bulb assembly from the fascia.
Remove the bulb from the socket
by turning it
one-quarter of
a turn counterclockwise.
Replace the bulb and bulb assembly by reversing
these steps.
Back-up Lamps (Coupe)
If you have a two-door coupe, do the following to
replace a back-up lamp:
1.
2.
3.
Open the trunk lid and locate the back-up lamp
assembly on the trunk lid.
Gently remove the bulb from the socket by turning
it
counterclockwise and pulling it out.
Replace the bulb in the socket by aligning the tabs
and turning clockwise.
Page 281 of 388
Downloaded from www.Manualslib.com manuals search engine Center High-Mounted Stoplamp
(Models Without a Spoiler)
To change the bulb, do the following:
1. Open the trunk and view the access hole under the
rear shelf.
2. Remove the bulb sockets by rotating and pull down.
3. Remove the bulb and replace.
4. Re-install the new bulb and socket into the CHMSL.
Center High-Mounted Stoplamp
(Models With
a Spoiler)
To change the bulb, do the following:
1.
2.
3.
4.
Use a torx screwdriver to unscrew the bulb assembly
from the spoiler.
Gently pull out the bulb assembly.
Remove the bulb(s) by gently wiggling the bulb
from the assembly.
Replace the bulb(s) and reverse these steps to replace
the bulb assembly.
Interior Lamps
Dome Lamp With Integral Reading Lamps
To replace a bulb, do the following:
1. Insert a flat screwdriver into the slot at the rear
of the lens.
2. With the screwdriver, push the tab rearward to
3. Push the lens forward to release the two tabs at the
release the lamp
lens.
front
of the lens.
4. Gently remove and replace the bulb( s).
5. Reverse these steps to replace the lens.
Dome Lamp Without Integral Reading Lamps
To
replace a bulb, do the following:
1. From the rear of the dome lamp lens, insert a flat
screwdriver between the roof trim and the lens.
2. With the screwdriver, push the tab at the rear of the
3. Pull the lamp lens reward to release the two front tabs.
4. Gently remove and replace the bulb(s).
5. Reverse these steps to replace the lens.
lens
forward to release the
lens.
6-39
Page 282 of 388
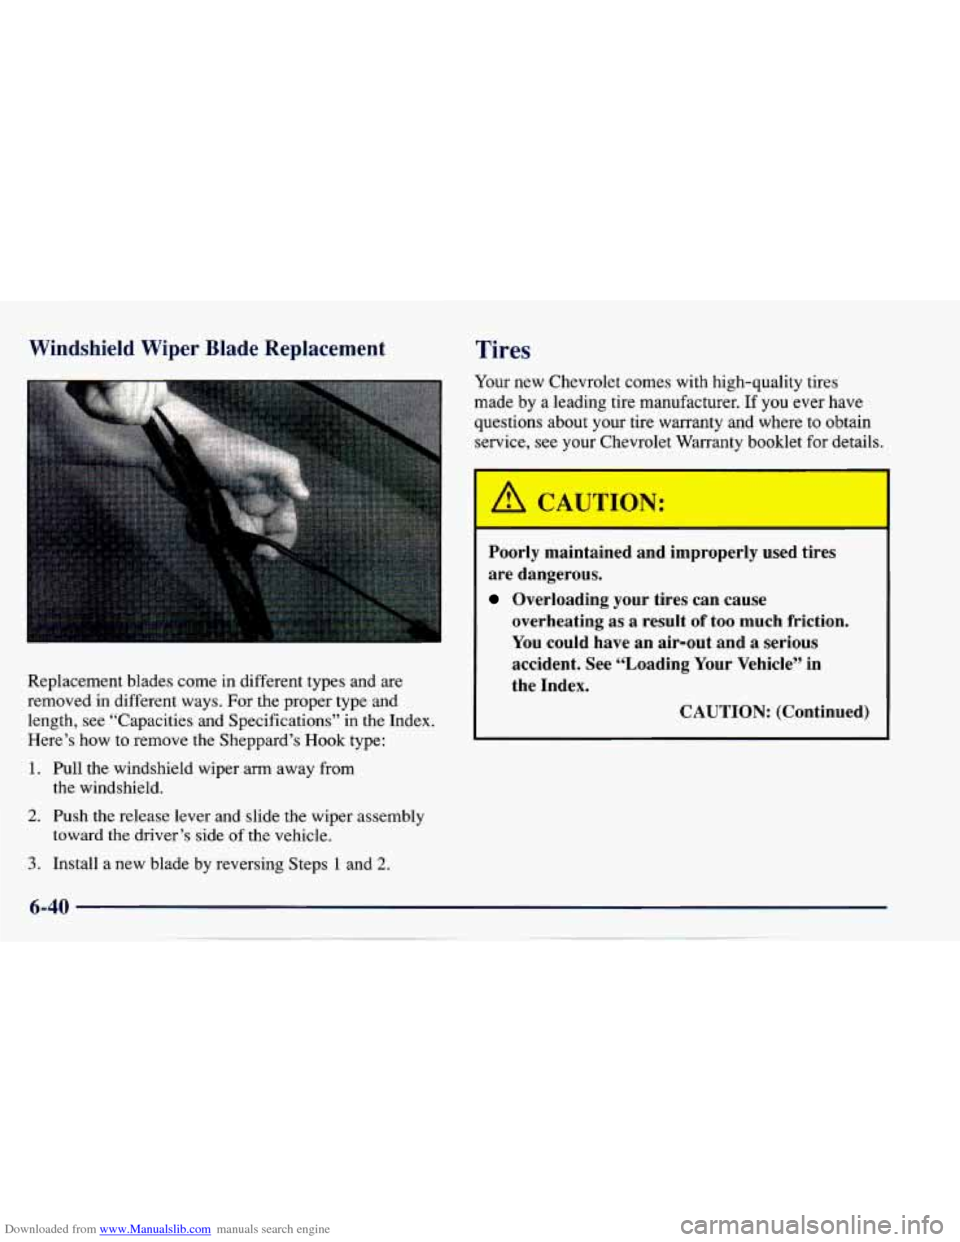
Downloaded from www.Manualslib.com manuals search engine Windshield Wiper Blade Replacement
Replacement blades come in different types and are
removed in different ways. For the proper type and
length, see “Capacities and Specifications” in the Index.
Here’s how to remove the Sheppard’s Hook type:
1. Pull the windshield wiper arm away from
the windshield.
2. Push the release lever and slide the wiper assembly
3. Install a new blade by reversing Steps 1 and 2.
toward the driver’s side of the vehicle.
Tires
Your new Chevrolet comes with high-quality tires
made by
a leading tire manufacturer. If you ever have
questions about your tire warranty and where to obtain
service, see your Chevrolet Warranty booklet for details.
I A CAUTION:
Poorly maintained and improperly used tires
are dangerous.
Overloading your tires can cause
overheating as
a result of too much friction.
You could have an air-out and a serious
accident. See “Loading
Your Vehicle” in
the Index.
CAUTION: (Continued)
Page 300 of 388
Downloaded from www.Manualslib.com manuals search engine Vehicle Identification Number (VIN) the model designation,
r
r 1111 111 111111 lli 11111111 llllllllllll1111
C SAMPLE4UXVM072675 _- - J
- paint information and
0 a list of all production options and
Be sure that this label is not removed from the vehicle.
special equipment.
ENGlNEA97 . ASSEMBLY Electrical System
- ~~
CODE MODEL
YEAR PLANT
Add-on Electrical Equipment
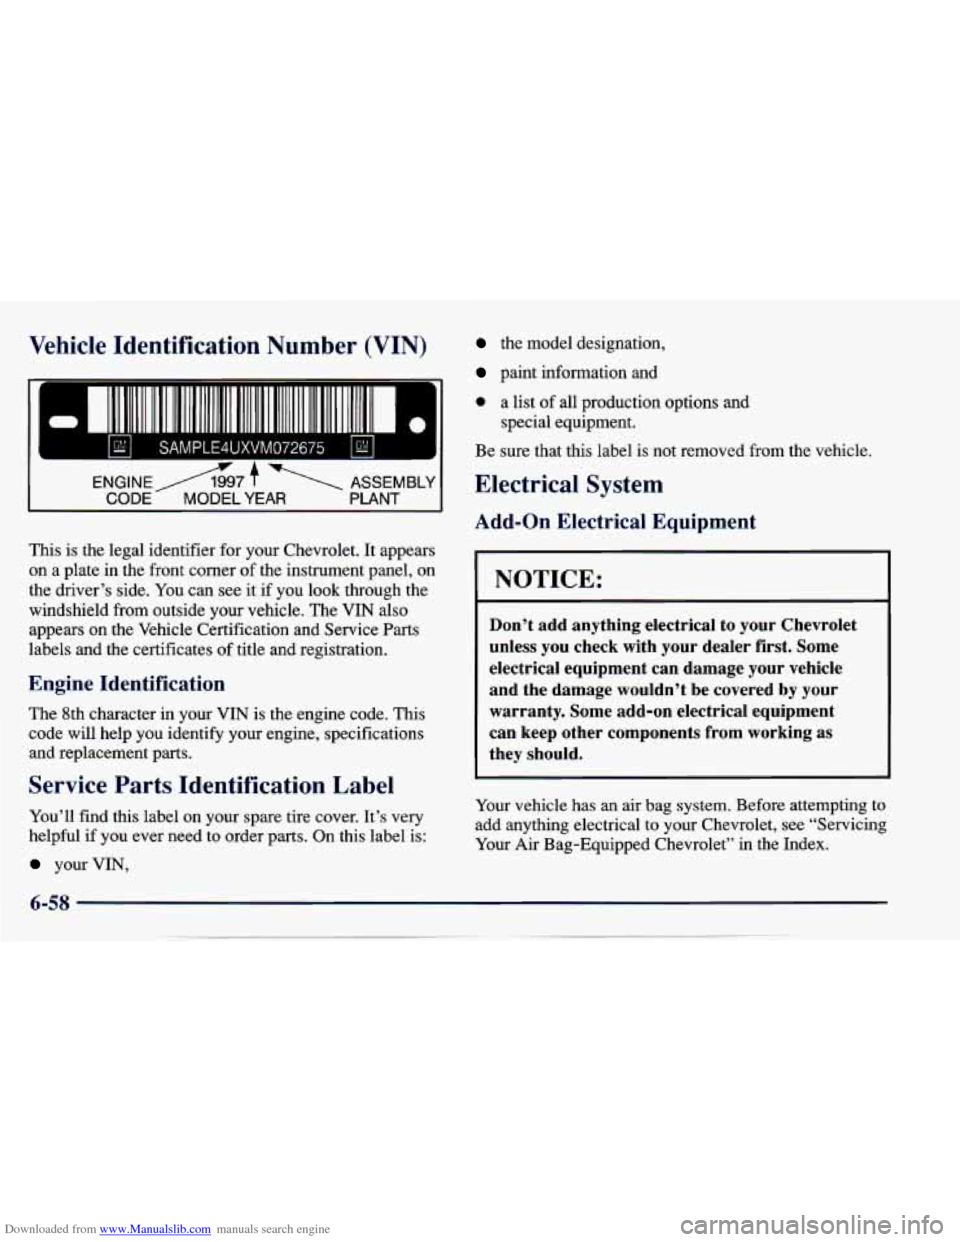
This is the legal identifier for your Chevrolet. It appears
on a plate in the front corner of the instrument panel, on
the driver’s side. You can see it if you look through the
windshield from outside your vehicle. The VIN also
appears on the Vehicle Certification and Service Parts
labels and the certificates of title and registration.
Engine Identification
The 8th character in your VIN is the engine code. This
code will help you identify your engine, specifications
and replacement parts.
Service Parts Identification Label
You’ll find this label on your spare tire cover. It’s very
helpful if you ever need to order parts. On this label is:
your VIN,
I
NOTICE:
Don’t add anything electrical to your Chevrolet
unless
you check with your dealer first. Some
electrical equipment can damage your vehicle
and the damage wouldn’t
be covered by your
warranty. Some add-on electrical equipment
can keep other components from working as
they should.
Your vehicle has an air bag system. Before attempting to
add anything electrical to your Chevrolet, see “Servicing
Your Air Bag-Equipped Chevrolet” in the Index.
6-58
Page 357 of 388
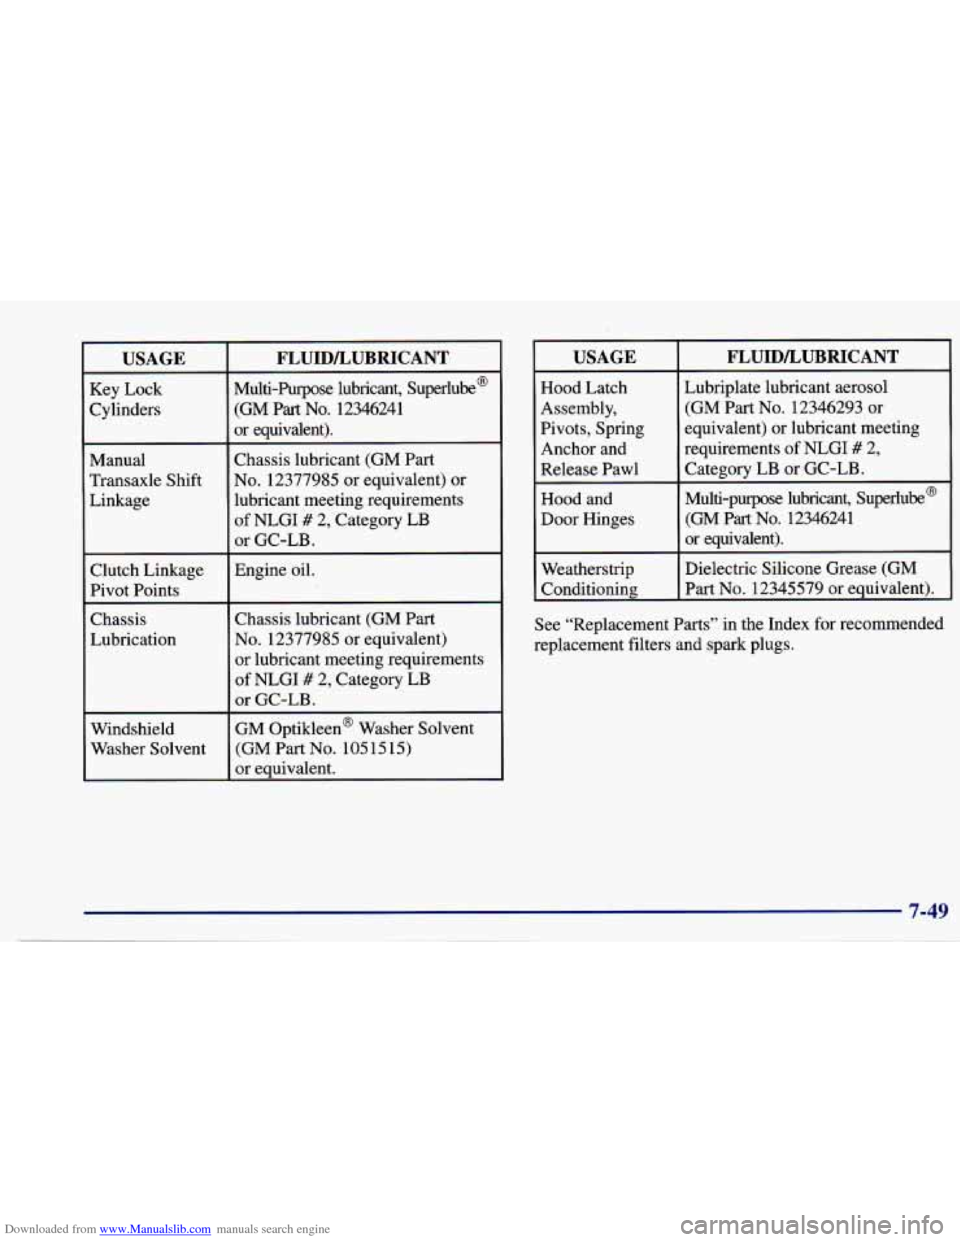
Downloaded from www.Manualslib.com manuals search engine USAGE
Key Lock
Cylinders
Manual
Transaxle Shift
Linkage
Clutch Linkage
Pivot Points Chassis
Lubrication
Windshield
Washer Solvent
FLUIDLUBRICANT
Multi-Purpose lubricant, Superlube@
(GM
Part No. 12346241
or equivalent).
Chassis lubricant (GM Part
No. 12377985 or equivalent) or
lubricant meeting requirements
of NLGI # 2, Category LB
or GC-LB.
Engine oil.
Chassis lubricant (GM Part
No. 12377985 or equivalent)
or lubricant meeting requirements
of NLGI
# 2, Category LB
or GC-LB.
GM Optikleen@ Washer Solvent
(GM Part No. 1051515)
or eauivalent.
USAGE
Hood Latch
Assembly,
Pivots, Spring
Anchor and Release Pawl
Hood and Door Hinges
Weatherstrip
Conditioning
FLUIDLUBRICANT
Lubriplate lubricant aerosol
(GM
Part No. 12346293 or
equivalent) or lubricant meeting
requirements of NLGI
# 2,
Category LB or GC-LB.
Multi-purpose lubricant, Superlube@ (GM
Part No. 12346241
or equivalent).
Dielectric Silicone Grease
(GM
Part No. 12345579 or equivalent).
See “Replacement Parts” in the Index for recommended
replacement filters and
spark plugs.