Page 260 of 388
Downloaded from www.Manualslib.com manuals search engine A CAU‘LOA .:
Operating the engine with the air cleaner off
can cause you or others to be burned. The air
cleaner not only cleans the air, it stops flame
if
the engine backfires. If it isn’t there, and the
engine backfires, you could be burned. Don’t
drive with it
off, and be careful working on the
engine with the air cleaner
off.
NOTICE:
If the air cleaner is off, a backfire can cause a
damaging engine fire. And, dirt can easily get
into your engine, which will damage it. Always
have the air cleaner in place when you’re driving.
Automatic Transaxle Fluid
(Except
2.4L Code T Engine)
When to Check and Change
A good time to check your automatic transaxle fluid
level is when the engine oil is changed.
Change both the fluid and filter every
50,000 miles
(83 000 km) if the vehicle is mainly driven under one or
more of these conditions:
In heavy city traffic where the outside temperature
regularly reaches
90 OF (32 O C) or higher.
0 In hilly or mountainous terrain.
When doing frequent trailer towing.
0 Uses such as found in taxi, police or delivery service.
If
you do not use your vehicle under any of these
conditions, the fluid and filter do not require changing.
See “Scheduled Maintenance Services” in the Index.
Page 262 of 388
Downloaded from www.Manualslib.com manuals search engine Then, without shutting off the engine, follow these steps:
1. If you have a
three speed
automatic
transaxle, the
handle on the
transaxle dipstick
is a red ring.
Pull out the dipstick and wipe it with a clean rag or
paper towel.
2. Push it back in all the way, wait three seconds and
then pull
it back out again.
3. Check both sides of
the dipstick, and
read the lower level. The fluid
level must be in the
cross-hatched area.
4. If the fluid level is in the acceptable range, push the
dipstick back in all the way.
Page 263 of 388
Downloaded from www.Manualslib.com manuals search engine How to Add Fluid
Refer to the Maintenance Schedule to determine what
kind
of transaxle fluid to use. See “Recommended
Fluids and Lubricants” in the Index.
If the fluid level is low, add only enough of the proper
fluid to bring the level into the cross-hatched area on
the dipstick.
1. Pull out the dipstick.
2. Using a long-neck funnel, add enough fluid at the
dipstick hole to bring it to the proper level.
It doesn’t
take much fluid, generally less than one pint
(0.5 L). Don’t ove@ll.
NOTICE:
We recommend you use only fluid labeled
DEXRON@-111, because fluid with that label
is
made especially for your automatic transaxle.
Damage caused by fluid other than DEXRON-III
is not covered by your new vehicle warranty.
3. After adding fluid, recheck the fluid level as
4. When the correct fluid level is obtained, push the
described
under “How to Check.”
dipstick back
in all the way.
Automatic Transaxle Fluid
(2.4L Code T Engine Only)
If you have the optional 2.4L Code T engine (see
“Engine Identification” in the Index) and an automatic
transaxle, it is not necessary to check the transaxle fluid
level.
A transaxle fluid leak is the only reason for fluid
loss.
If a leak occurs, take the vehicle to your Chevrolet
dealership Service Department and have it repaired as
soon as possible. You may also have your fluid level
checked by your dealer or service center when you have
your oil changed.
Change both the fluid and filter every
50,000 miles
(83 000 km) if the vehicle is mainly driven under one
or more
of these conditions:
In heavy city traffic where the outside temperature
0 In hilly or mountainous terrain.
0 When doing frequent trailer towing.
Uses such as found in taxi, police or delivery service.
regularly
reaches
90 OF (32 O C) or higher.
Page 265 of 388
Downloaded from www.Manualslib.com manuals search engine Check the fluid level only when your engine is off, the
vehicle is parked on a level place and the transaxle
is
cool enough for you to rest your fingers on the
transaxle case.
Then, follow these steps:
The manual transaxle
dipstick is located
below the brake master
cylinder, near the rear
of the transaxle case.
1. Flip the handle up and then pull out the dipstick and
2. Push it back in all the way and remove it.
clean it
with a rag or paper towel.
3. Check both sides of the dipstick and read the lower
level. The fluid level must be between the
ADD and
FULL marks. (Note: Fluid may appear at the bottom
of the dipstick even when the fluid level is several
pints low.)
4. If the fluid level is where it should be, push the
dipstick back in all the way
and flip the handle
down.
If the fluid level is low, add more fluid as
described in the next steps.
6-23
Page 278 of 388
Downloaded from www.Manualslib.com manuals search engine Front Exterior
Headlamps
For the type of bulb to use, see “Replacement Bulbs” in
the Index.
To replace one of your headlamp bulbs, do
the following:
1. Remove the first bolt and carefully pry up the shield
that covers the headlamp assembly. Be careful not to
break the fasteners that hold the shield in place.
2. Remove the other bolt that anchors the headlamp
assembly. Pull the headlamp assembly toward the
front of the vehicle
to access the bulb assembly.
When replacing the driver’s side headlamp, twist the bulb assembly one-eighth of a turn counterclockwise
and remove it from the headlamp assembly.
When replacing the passenger’s side headlamp, twist
the bulb assembly one-eighth
of a turn clockwise
and remove
it from the headlamp assembly,
6-36
Page 282 of 388
Downloaded from www.Manualslib.com manuals search engine Windshield Wiper Blade Replacement
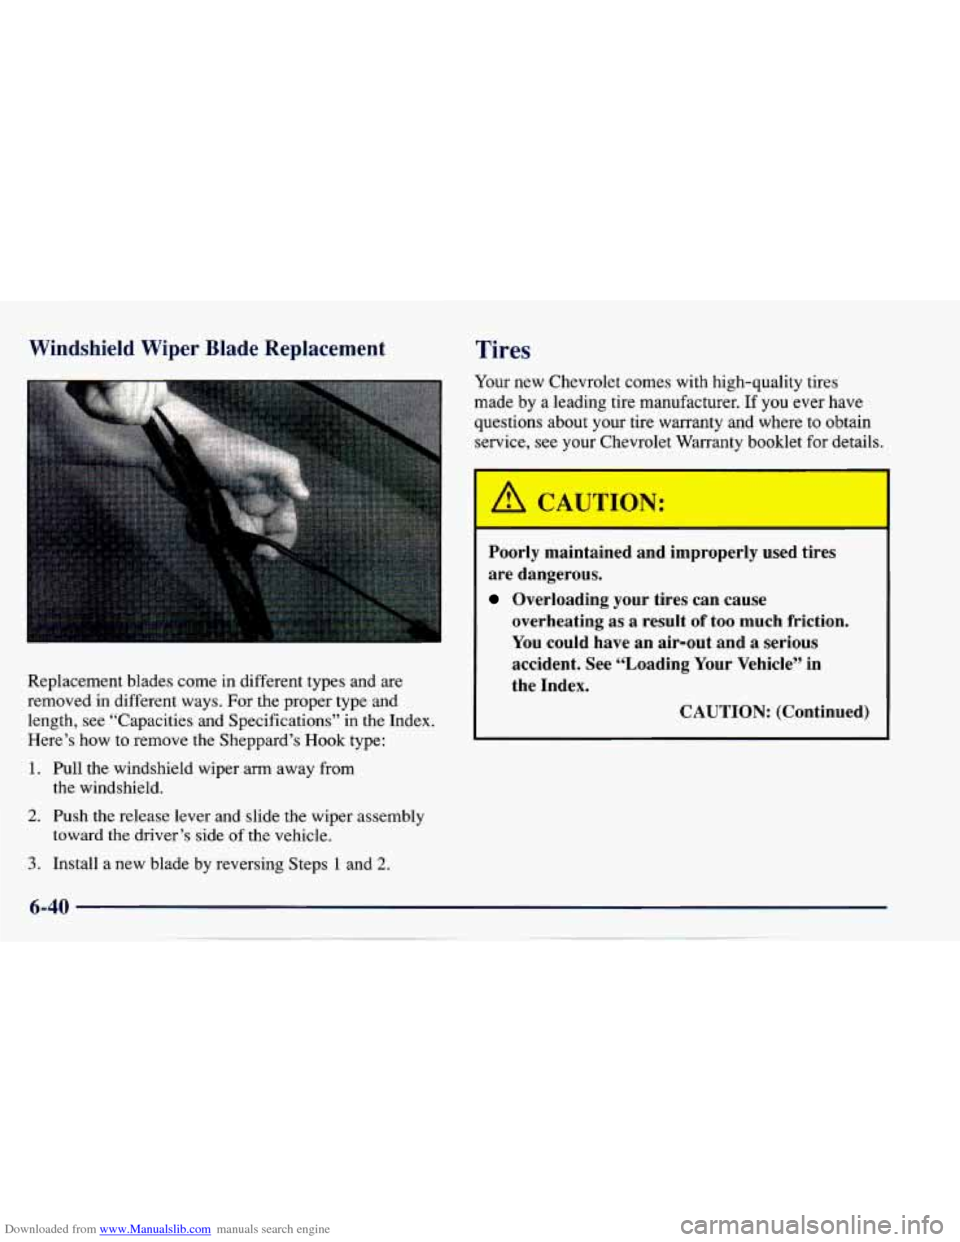
Replacement blades come in different types and are
removed in different ways. For the proper type and
length, see “Capacities and Specifications” in the Index.
Here’s how to remove the Sheppard’s Hook type:
1. Pull the windshield wiper arm away from
the windshield.
2. Push the release lever and slide the wiper assembly
3. Install a new blade by reversing Steps 1 and 2.
toward the driver’s side of the vehicle.
Tires
Your new Chevrolet comes with high-quality tires
made by
a leading tire manufacturer. If you ever have
questions about your tire warranty and where to obtain
service, see your Chevrolet Warranty booklet for details.
I A CAUTION:
Poorly maintained and improperly used tires
are dangerous.
Overloading your tires can cause
overheating as
a result of too much friction.
You could have an air-out and a serious
accident. See “Loading
Your Vehicle” in
the Index.
CAUTION: (Continued)
Page 285 of 388
Downloaded from www.Manualslib.com manuals search engine A CAUTION:
-
Rust or dirt on a wheel, or on the parts to which
it is fastened, can make wheel nuts become loose
after
a time. The wheel could come off and cause
an accident. When you change
a wheel, remove
any rust or dirt from places where the wheel
attaches to the vehicle. In an emergency, you can
use
a cloth or a paper towel to do this; but be
sure to use
a scraper or wire brush later, if you
need to, to get
all the rust or dirt off. (See
“Changing
a Flat Tire” in the Index.) When
It’s Time for New Tires
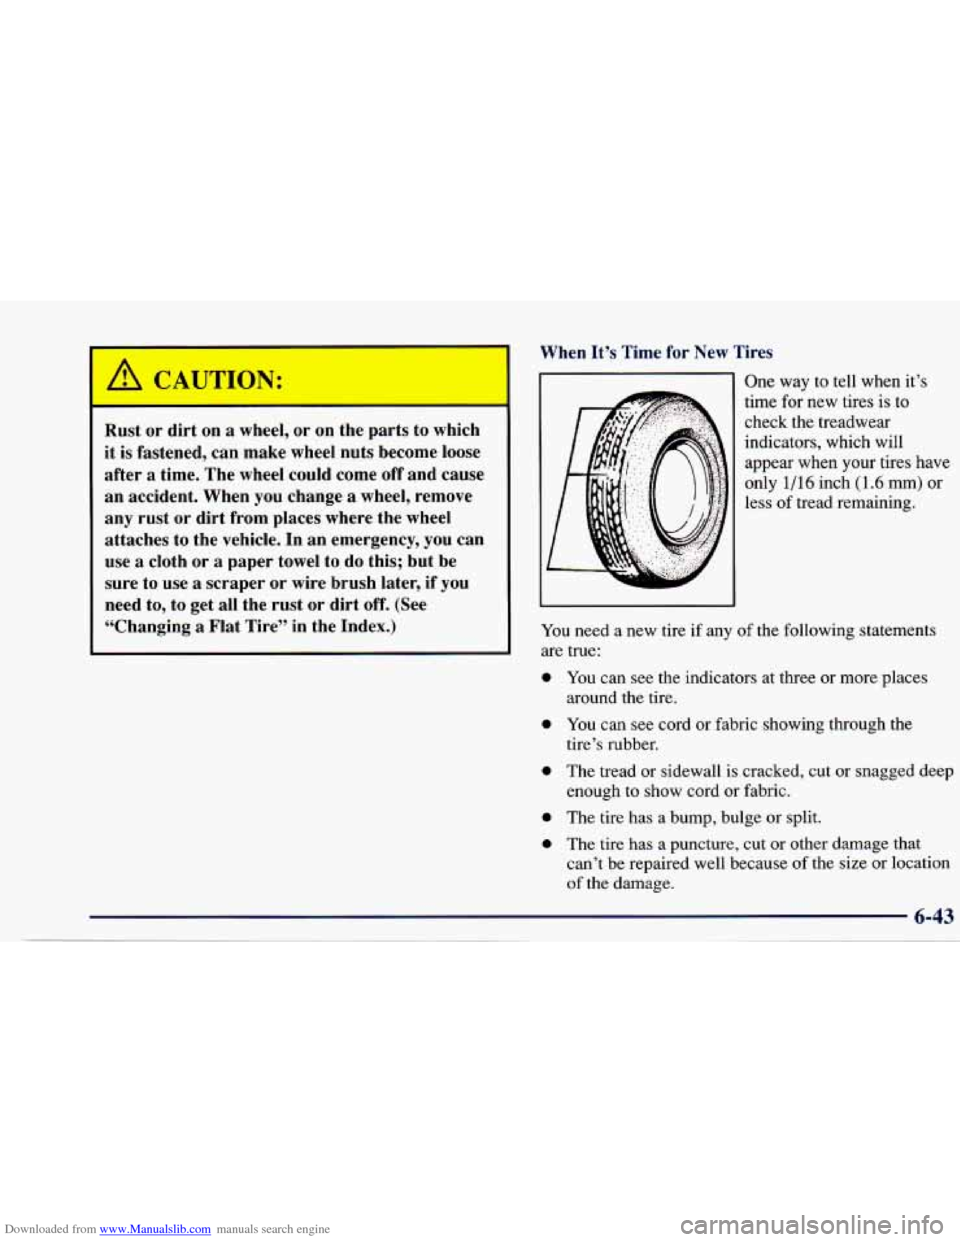
One way to tell when it’s
time for new tires
is to
check the treadwear indicators, which will
appear when your tires have
only
1/16 inch (1.6 mm) or
less of tread remaining.
You need a new tire if any
of the following statements
are true:
0 You can see the indicators at three or more places
0 You can see cord or fabric showing through the
0 The tread or sidewall is cracked, cut or snagged deep
enough to show cord or fabric.
0 The tire has a bump, bulge or split.
0 The tire has a puncture, cut or other damage that
around the tire.
tire’s rubber.
can’t be repaired well because
of the size or location
of the damage.
Page 291 of 388
Downloaded from www.Manualslib.com manuals search engine Don’t use any of these unless this manual says you can.
In many uses, these will damage your vehicle:
Alcohol
0 Laundry Soap
0 Bleach
0 Reducing Agents
Cleaning the Inside of Your Chevrolet
4. Use solvent-type cleaners in a well-ventilated area
only. If you use them, don’t saturate the stained area.
5. If a ring forms after spot cleaning, clean the entire
area immediately or it will set.
Use a vacuum cleaner often to get rid of dust and loose
dirt. Wipe vinyl or leather with a clean, damp cloth.
lour Chevrolet dealer has two cleaners, a solvent-type
spot lifter and a foam-type powdered cleaner. They will
clean normal spots and stains very well. Do not use
them on vinyl
or leather.
Here are some cleaning tips:
1. Always read the instructions on the cleaner label.
2. Clean up stains as soon as you can -- before they set.
3. Use a clean cloth or sponge, and change to a
clean area often.
A soft brush may be used if stains
are stubborn.
Using Foam-Type Cleaner o
1. Vacuum and brush the area to remove any loose dirt.
2. Always clean a whole trim panel or section. Mask
3. Mix Multi-Purpose Powdered Cleaner following the
4. Use suds only and apply with a clean sponge. Don’t
5. As soon as you’ve cleaned the section, use a sponge
surrounding
trim along stitch or welt lines.
directions on the container label.
saturate the material and don’t rub it roughly.
to remove the suds.
6. Rinse the section with a clean, wet sponge.
7. Wipe off what’s left with a slightly damp paper towel
8. Dry it immediately with a blow dryer.
or cloth.
9. Wipe with
a clean cloth.
6-49