Page 122 of 388
Downloaded from www.Manualslib.com manuals search engine Instrument Panel Clusters
Your Chevrolet is equipped with one of these instrument panel clusters, which include indicator warning \
lights and
gages that are explained
on the following pages. Be sure to read about those that apply to the instrument panel cluster
for your vehicle.
Standard Cluster
Page 126 of 388
Downloaded from www.Manualslib.com manuals search engine Safety Belt Reminder Light
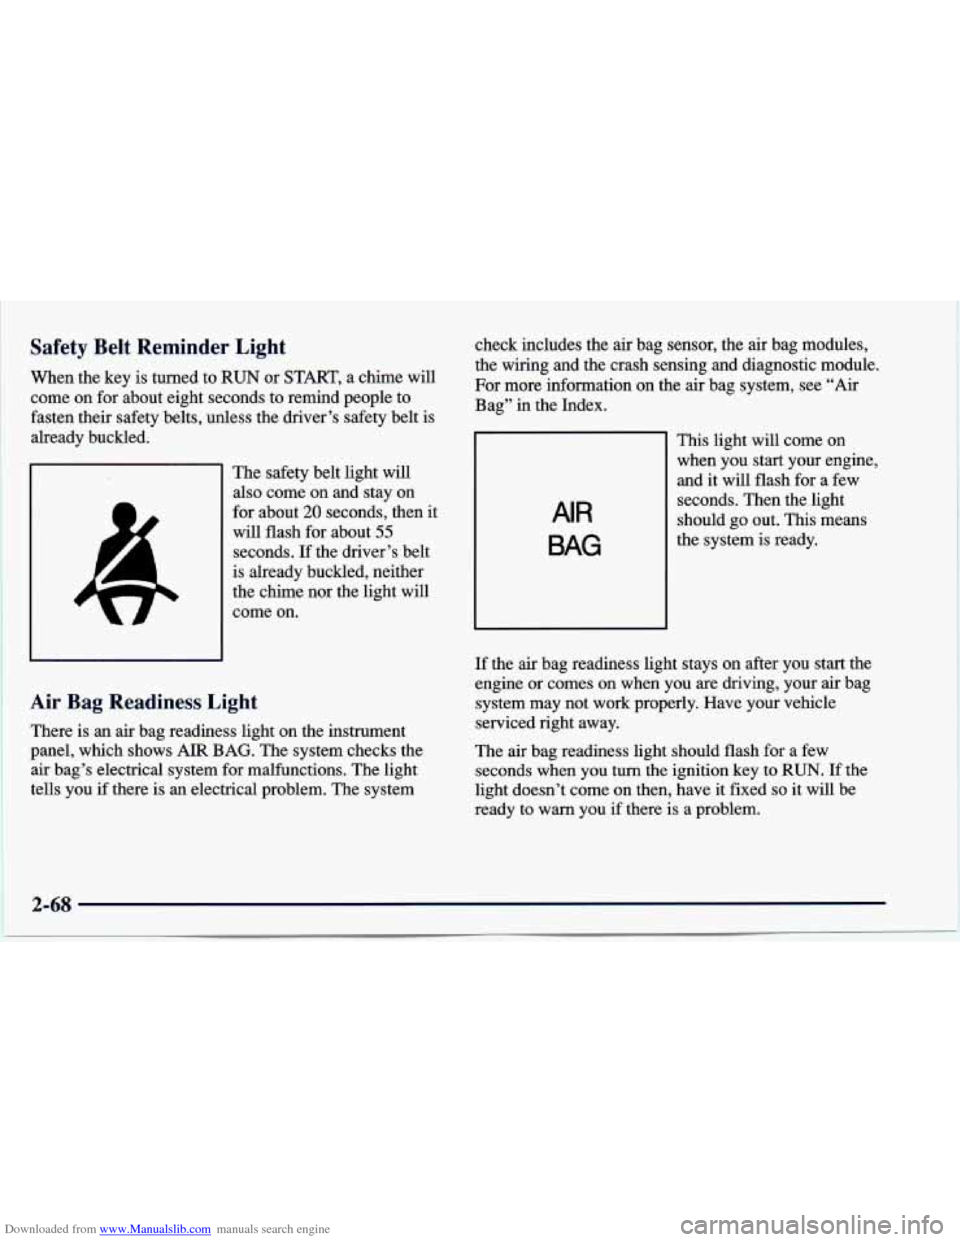
When the key is turned to RUN or START, a chime will
come on for about eight seconds to remind people to
fasten their safety belts, unless the driver’s safety belt is
already buckled.
I The safety belt light will
also come on and stay on
for about
20 seconds, then it
will flash for about
55
seconds. If the driver’s belt
is already buckled, neither
the chime nor the light will
come on.
Air Bag Readiness Light
There is an air bag readiness light on the instrument
panel, which shows AIR BAG. The system checks the
air bag’s electrical system for malfunctions. The light
tells you if there
is an electrical problem. The system check includes
the air bag sensor, the
air bag modules,
the wiring and the crash sensing and diagnostic module.
For more information on the
air bag system, see “Air
Bag” in the Index.
AIR
BAG
This light will come on
when you start your engine,
and it will flash for a few
seconds. Then the light
should go out. This means
the system is ready.
~~~~
If the air bag readiness light stays on after you start the
engine
or comes on when you are driving, your air bag
system may not work properly. Have your vehicle
serviced right away.
The air bag readiness light should flash for a few
seconds when you turn the ignition key to RUN. If the
light doesn’t come on then, have it fixed
so it will be
ready to warn you if there
is a problem.
2-68
Page 138 of 388
Downloaded from www.Manualslib.com manuals search engine Comfort Controls
This section tells you how to make your air system work
for you. The optional climate control system with air
conditioning uses ozone-friendly
R- 134a refrigerant.
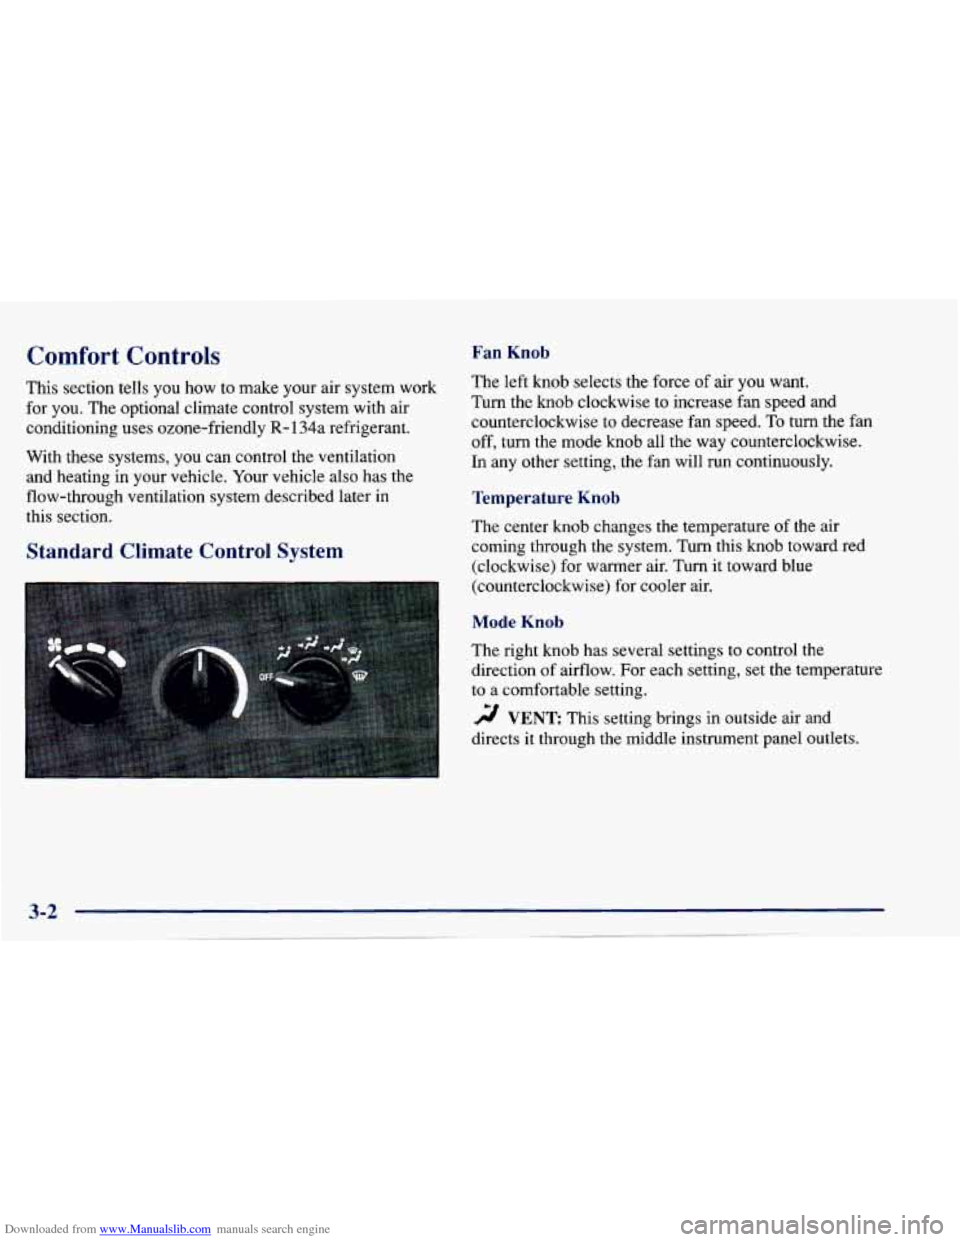
With these systems, you can control the ventilation and heating in your vehicle. Your vehicle also has the
flow-through ventilation system described later in
this section.
Fan Knob
The left knob selects the force of air you want.
Turn the
knob clockwise to increase fan speed and
counterclockwise to decrease fan speed.
To turn the fan
off, turn the mode knob all the way counterclockwise.
In any other setting, the fan will run continuously.
Temperature Knob
The center knob changes the temperature of the air
coming through the system. Turn this knob toward red
(clockwise) for warmer air. Turn it toward blue
(counterclockwise) for cooler air.
Standard Climate Control System
Mode Knob
The right knob has several settings to control the
direction of airflow. For each setting, set the temperature
to a comfortable setting.
2 VENT This setting brings in outside air ana
directs
it through the middle instrument panel outlets.
Page 139 of 388
Downloaded from www.Manualslib.com manuals search engine '!! BI-LEVEL: This setting brings in outside air and
directs it two ways. Some air is directed through the
instrument panel outlets. Most of the air is directed
through the floor ducts and a little to the defrost and side
window vents.
'!! FLOOR: This setting sends most of the air through
the ducts near the
floor. The rest comes out of the
defroster and side window vents.
9 DEFOG: This setting allows half of the air to go
to the floor ducts and half to the defroster and side
window vents.
DEFROST This setting directs most of the air
through the defroster and side window vents. Some of
the air goes to the floor ducts.
Climate Control System with Air
Conditioning (If Equipped)
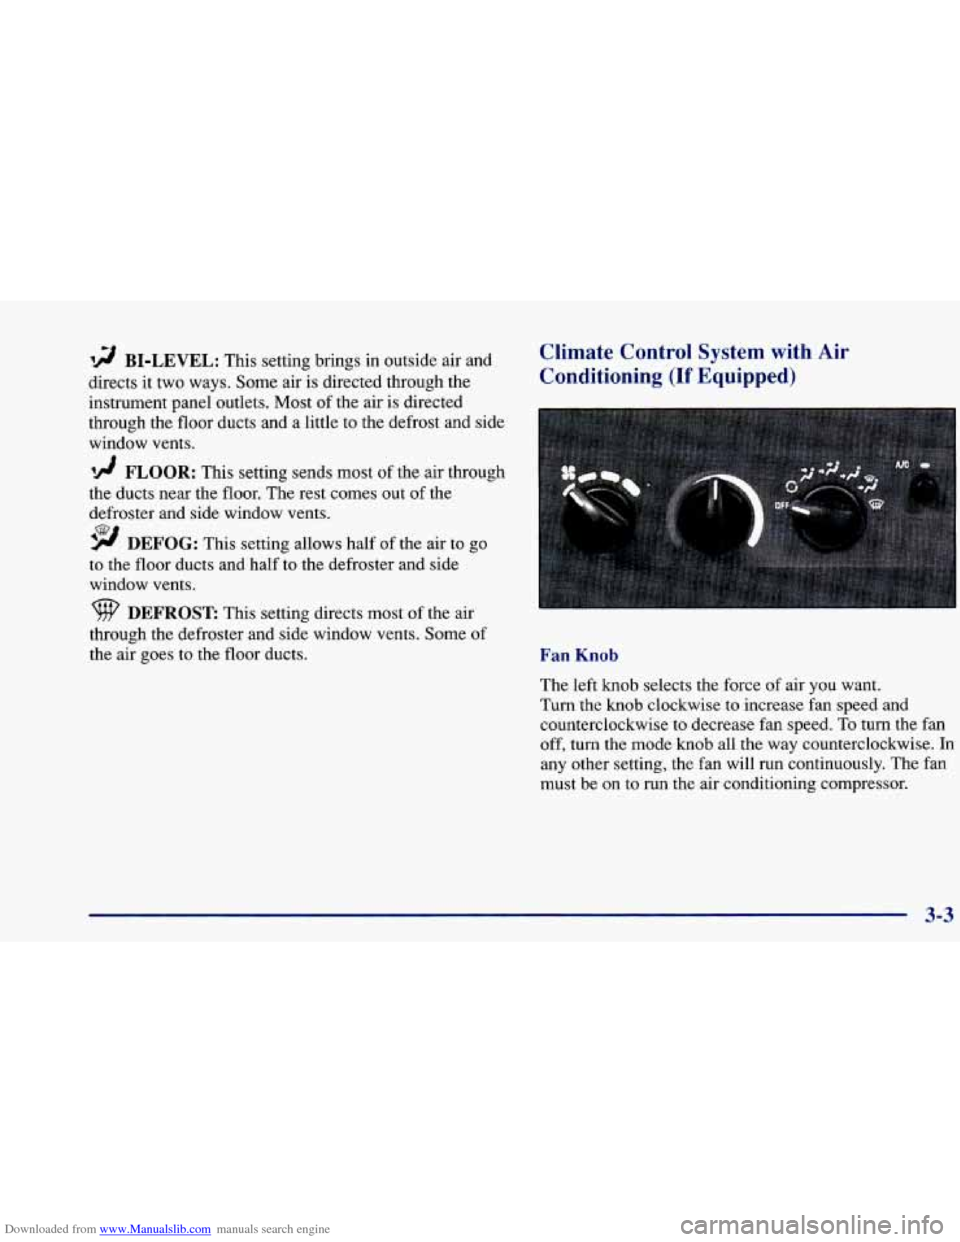
Fan Knob
The left knob selects the force of air you want.
Turn the knob clockwise to increase fan speed and
counterclockwise to decrease fan speed.
To turn the fan
off, turn the mode knob all the way counterclockwise.
In
any other setting, the fan will run continuously. The fan
must be on
to run the air conditioning compressor.
3-3
Page 140 of 388
Downloaded from www.Manualslib.com manuals search engine Temperature Knob
The center knob changes the temperature of the air
coming through the system. Turn this knob toward red
(clockwise) for warmer air. Turn it toward blue
(counterclockwise) for cooler air.
Mode Knob
The right knob has several settings to control the
direction of airflow. For each setting, set the temperature
to a comfortable setting.
0 MAX: This setting recirculates much of the air
inside your vehicle and sends it through the instrument
panel outlets. The air conditioning compressor will run
automatically in this setting when
it is needed to help
cool the air in the vehicle.
2 VENT This setting brings in outside air and
directs it through the instrument panel.
'!! BI-LEVEL: This setting brings in outside air and
directs it two ways. Some air is directed through the
instrument panel outlets. Most of the air
is directed
through the floor ducts and a little to the defrost and side
window vents.
'!! FLOOR: This setting sends most of the air through
the ducts near the floor. The rest comes out
of the
defroster and side window vents.
9 DEFOG: This setting allows half of the air to go
to the floor ducts and half to the defroster and side
window vents.
DEFROST This setting direcrs most of the air
through the defroster and side window vents. Some
of
the air goes to the floor ducts. The air conditioning
compressor will run automatically in this setting when it
is needed to help dry ,the air in the vehicle.
Air Conditioning Compressor Button
Press the A/C button to operate the air conditioner
compressor. The indicator light above the button will
glow when the air conditioning compressor is running.
You don't have
to press the button to run the compressor
in
MAX or DEFROST.
Page 193 of 388
Downloaded from www.Manualslib.com manuals search engine Recreational Vehicle Towing
You can tow your vehicle behind another vehicle for use
at your destination. Be sure to use the proper towing
equipment designed for recreational towing. Follow the
instructions for the towing equipment.
Towing Your Vehicle from the Front
(With a Dolly)
ml
Follow these steps:
1.
2.
3.
4.
5.
6.
Put the front wheels on a dolly.
Set the parking brake.
Open the
fuse Dane1 on the driver’s side o f the I I
instrument panel. Remove the fuse labeled
CLS/PCM. This will keep
your battery from draining
while towing.
Turn the ignition key
to OW to unlock the steering
wheel, see “Ignition Positions” in the Index.
Clamp the steering wheel in a straight-ahead position
with a clamping device designed for towing.
Release the parking brake.
When
you are finished towing, make sure you replace
the CLS/PCM fuse in the instrument panel fuse block.
Page 194 of 388
Downloaded from www.Manualslib.com manuals search engine Towing Your Vehicle From the Front
(Without
a Dolly)
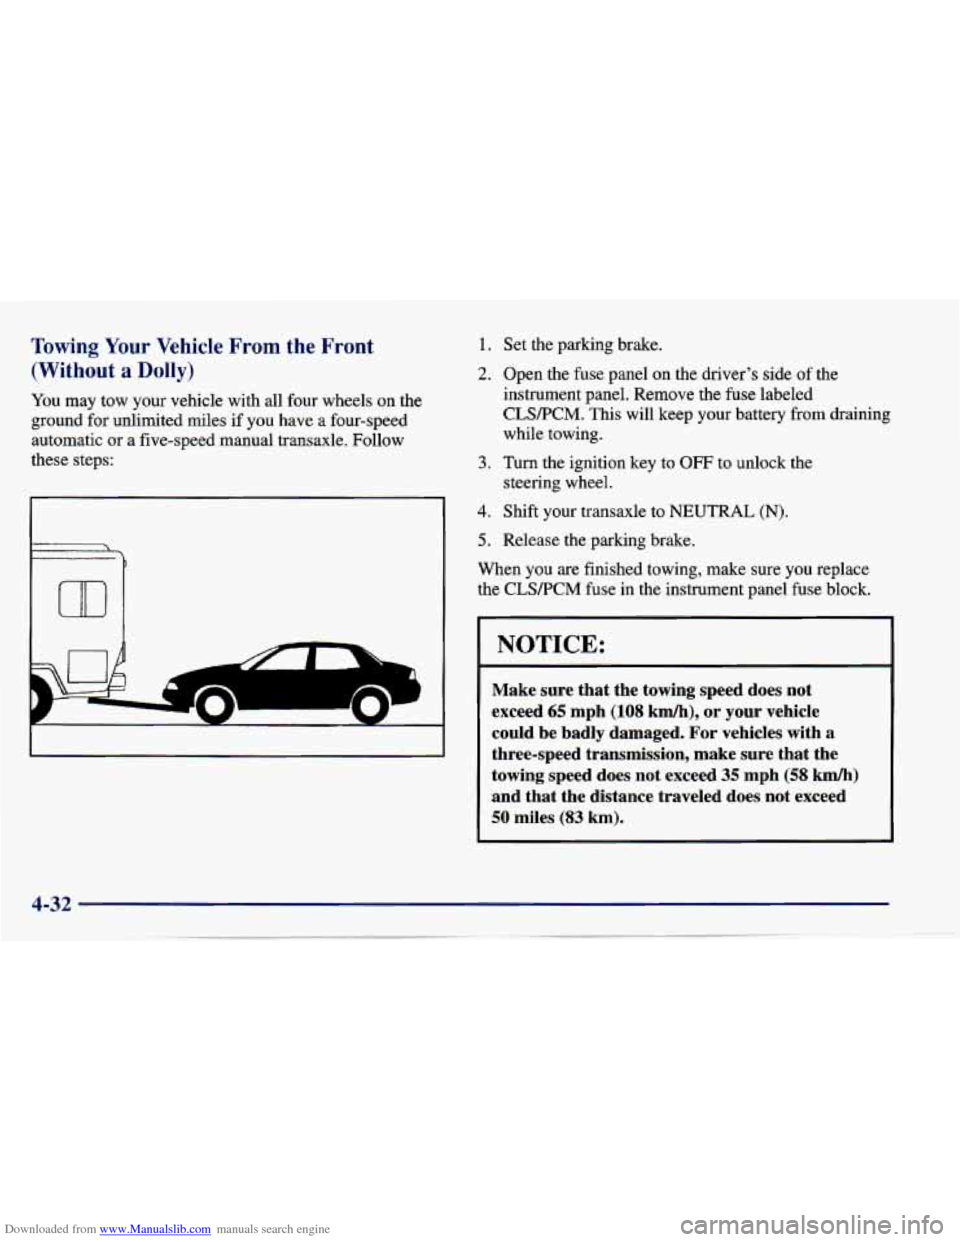
You may tow your vehicle with all four wheels on the
ground for unlimited miles if you have
a four-speed
automatic or
a five-speed manual transaxle. Follow
these steps:
L
1.
2.
3.
4.
5.
Set the parking brake.
Open the fuse panel on
the driver’s side of the
instrument panel. Remove the fuse labeled
CLSPCM. This will keep your battery from draining
while towing.
Turn the ignition key
to OFF to unlock the
steering wheel.
Shift your transaxle to NEUTRAL
(N).
Release the parking brake.
When you
are finished towing, make sure you replace
the CLSRCM fuse in the instrument panel fuse block.
NOTICE:
Make sure that the towing speed does not
exceed
65 mph (108 kmh), or your vehicle
could be badly damaged. For vehicles with
a
three-speed transmission, make sure that the
towing speed does not exceed
35 mph (58 km/h)
and that the distance traveled does not exceed
50 miles (83 km).
Page 203 of 388
Downloaded from www.Manualslib.com manuals search engine Backing Up
Hold the bottom of the steering wheel with one hand.
Then, to move the trailer to the left, just move that hand
to the left. To move the trailer to the right, move your
hand to the right. Always back up slowly and, if possible,
have someone guide you.
Making Turns
1 NOTICE:
Making very sharp turns while trailering could
cause the trailer to come in contact with the
vehicle. Your vehicle could be damaged. Avoid
making very sharp turns while trailering.
When you’re turning with a trailer, make wider turns than
normal.
Do this so your trailer won’t strike soft shoulders,
curbs, road signs, trees or other objects. Avoid jerky or
sudden maneuvers. Signal well
in advance.
Turn Signals When Towing a Trailer
The green arrows on your instrument panel will flash
whenever you signal a turn or lane change. Properly
hooked up, the trailer lamps will also flash, telling other
drivers you’re about to turn, change lanes or stop.
When towing a trailer, the green arrows on your
instrument panel will flash for turns even if the bulbs on
the trailer are burned out. Thus, you may think drivers
behind you are seeing your signal when they are not.
It’s important to check occasionally to be sure the trailer
bulbs are still working.
4-41