1997 CHEVROLET BLAZER clock setting
[x] Cancel search: clock settingPage 140 of 402

Downloaded from www.Manualslib.com manuals search engine Section 3 Comfort Controls and Audio Systems
In this section, you'll find out how to operate the comfort control and audio systems offered with your vehicle. Be
sure to read about the particular systems supplied
with your vehicle.
3-2
3-2
3-3 3-3
3-4
3-5
3-5
3 -6
3-6
3-6
3-6
Comfort Controls
Climate Control System
Air Conditioning
Heating Ventilation System
Defogging and Defrosting
Rear Window Defogger (Option)
Audio Systems
Setting the Clock
Setting the Clock for AM-FM Stereo
with Compact Disc Player and Automatic
Tone Control
AM-FM Stereo 3-8
3- 10
3- 13
3-17
3- 19
3- 19
3-20
3-2 1
3-2 1
AM-FM Stereo with Cassette Tape Player
(If Equipped)
AM-FM Stereo
with Cassette Tape Player
and Equalizer
(If Equipped)
AM-FM Stereo
with Compact Disc Player
and Automatic Tone Control (If Equipped)
Theft-Deterrent Feature
Understanding Radio Reception
Tips About Your Audio System
Care of
Your Cassette Tape Player
Care
of Your Compact Discs
Fixed Mast Antenna
Page 141 of 402

Downloaded from www.Manualslib.com manuals search engine Temperature Knob Comfort Controls
With this system. you can control the heating. cooling
and ventilation in your vehicle.
Climate Control System
1
$8
hl
OF
Fan Control
The switch with the fan symbol changes the fan speed.
To increase the fiu1 speed. move the switch upward
toward
HI. To decrease the fan speed, move the switch
downward toward
LO.
The upper knob regulates the temperature of the air
coming through the system. Turn the knob clockwise
for
wrnw air, Turn the knob co~~nterclockwise for
cooler air.
Mode Knob
The lower knob allows you to choose the direction of
air delivery.
OFF: This setting turns the system off. Some outside air
will still enter the vehicle whenever the vehicle is
moving fot-w;lrd.
XlAX A/C: This setting provides maximuM cooling
with the least amount of work. MAX A/C recirculates
much
of the air inside your vehicle so it cools quickly.
NC: This settins cools the air entering your vehicle and
directs it 1111-ough the instrument panel outlets.
.)/J BI-LEVEL A/C: Air is delivered through the
heater 11oor outlets as well as the instrument panel outlets.
/J VENT: This setting directs airflow through the
instrument panel outlets. The air conditioning
conlpressor
is not working when VENT is selected.
+e
+e
3-2
Page 142 of 402

Downloaded from www.Manualslib.com manuals search engine 0
+’ HEATER: This setting directs warmed air through
the heater floor outlets and windshield defroster outlets.
‘H BLEND: Airflow is divided equally between the
heater floor outlet and the windshield defroster outlets.
DEFROST This setting directs most air through
w.
the windshield defroster outlets and some through the
heater outlets.
Air Conditioning
On hot days, open the windows long enough to let hot
inside air escape. This reduces the time it takes for your
vehicle to cool down. Then keep your windows closed
for the air conditioner
to work its best.
For quick cool-down
on very hot days, use MAX A/C
with the temperature knob turned counterclockwise.
This setting should be used to keep odors and/or dust
from entering the vehicle. For normal cooling on
hot days, use
A/C with the temperature knob
turned counterclockwise. On
cool but sunny days, use BI-LEVEL
A/C to deliver
warm
air to the floor and cooler air to the instrument
panel outlets.
When
the air conditioner is on, you may sometimes
notice slight changes in your vehicle‘s engine speed and
power. This is normal because the system is designed
to cycle
the compressor on and off to keep the
desired temperature.
Heating
The heater works best if you keep your windows closed
while using
it. On cold days, use HEATER with the
temperature knob turned clockwise. BLEND is useful
in
cool weather when you have fog or ice on the
windshield
or side windows.
If you use the optional engine coolant heater before
starting your engine, your heating system will produce
warmer
air faster to heat the passenger compartment in
cold weather. See “Engine Coolant Heater” in the Index.
3-3
Page 145 of 402

Downloaded from www.Manualslib.com manuals search engine Audio Systems
Your Delco" audio system has been designed to operate
easily and give
years of listening pleasure. You will yet
the most etl-joyment out of it if ~OLI acq~laint yo~~t-self
with it first. Find out what yo11r Delco system can do
and how
to operate all its controls. to be sure you're
went
into it.
2 Oettins the most out of the advanced engineering that
Setting the Clock for ANI-FM Stereo
with Compact Disc Player and Automatic
Tone Control
AM-FM Stereo
t "
Playing the Radio
Page 154 of 402

Downloaded from www.Manualslib.com manuals search engine Setting the Tone Adjusting the Speakers
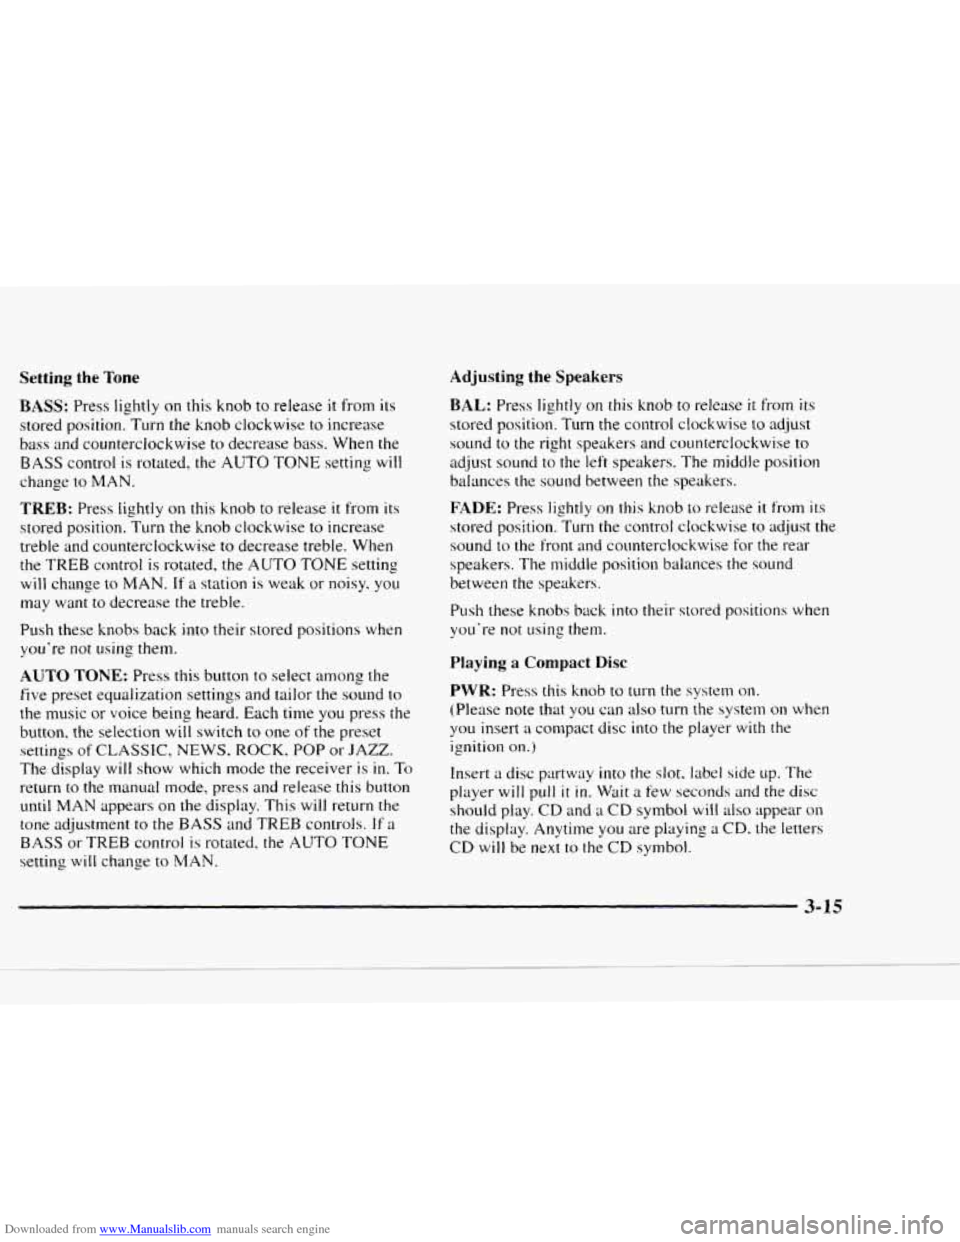
BASS: Press lightly on this knob to release it froln its
stored position. Turn the
knob clockwise to increase
bass and counterclockwise
to decrease bass. When the
BASS control is rotated, the AUTO TONE setting will
change to MAN.
TREB: Press lightly on this knob to release it from its
stored position. Turn the knob clockwise
to increase
treble and counterclockwise
to decrease treble. When
the TREB control
is rotated, the AUTO TONE setting
will change to
MAN. If a station is weak or noisy. you
may want to decrease the treble.
Push these knobs back into their stored positions when
you’re
not using them.
AUTO TONE: Press this button to select among the
five preset equalization settings and tailor the sound
to
the music or voice being heard. Each time you press the
button, the selection will switch
to one of the preset
settings
of CLASSIC, NEWS. ROCK. POP or JAZZ.
The display will show which mode
the receiver is in. To
return to the manual mode, press and release this button
until MAN appears on the display. This will return the
tone adjustment
to the BASS and TREB controls. If a
BASS or TREB control
is rotated, the AUTO TONE
setting will change to MAN.
BAL: Press lightly on this knob to release it from its
stored position. Turn the control clockwise to adjust
sound
to the right speakers and counterclockwise to
adjust sound to the left speakers. The middle position
balances the sound between the speakers.
FADE: Press lightly on this knob to release it from its
stored position. Turn the control clockwise to adjust the
sound to the front and counterclockwise
for the rear
speakers. The middle position balances the sound
between the speakers.
Push these knobs back
into their stored positions when
you’re not using
them.
Playing a Compact Disc
PWR: Press this knob to turn the system on.
(Please note that you can also turn the system on when
you insert
a compact disc into the player with the
ignition
on.)
Insert a disc partway into the slot. label side LIP. The
player
will pull it in. Wait a few seconds and the disc
should play. CD and
a CD symbol will also appear on
the display. Anytime you are playing a CD. the letters
CD will be next
to the CD symbol.
Page 392 of 402

Downloaded from www.Manualslib.com manuals search engine Clock. Setting ................................... 3-6
Clutch. Hydraulic
............................... 6- 19
Comfort Controls
................................ 3- 1
Compact Disc Care ............................. 3-21
Control of
a Vehicle .............................. 4-6
Convenience Net
............................... 2-57
Convex Outside Mirror
.......................... 2-50
Coolant .................................. 5-14. 6-23
Coolant Heater. Engine
.......................... 2- 17
Courtesy Transportation ........................... 8-8
Cruise Control
................................. 2-42
Customer Assistance Information
................... 8- I
Customer Satisfaction Procedure .................... 8-2
Compact Spare Tire
............................. 5-35
Damage.
Finish ............................... 6-56
Damage. Sheet Metal
............................ 6-55
Daytime Running Lamps
......................... 2-46
Daytime Running Lamps Indicator Light
............ 2-80
Dead Battery
................................... 5-3
Defects. Reporting Safety
................... 8- IO. 8- 1 I
Defensive Driving ............................... 4-2
Defogging
..................................... 3-5
Dimensions. Vehicle
............................ 6-64
Dome Lamps
.................................. 2-48
Door Locks
....................................... 2-4
Storage
..................................... 2-56
Drive. Automatic Transmission
.................... 2-20
Defrosting
..................................... 3-5 Drive Axle
Service
..............................
City ........................................ 4-32
Defensive
.................................... 4-2
Drunken
..................................... 4-3
Foreign Countries
.............................. 6-4
Freeway .................................... 4-33
Guidelines
.................................. 4-14
Hill and Mountain Roads
....................... 4-35
InaBlizzard
................................. 4-39
Night
...................................... 4-28
Off-Road
................................... 4-15
OnCurves
................................... 4-9
Rainy Conditions
............................. 4-29
Snowy and Icy Conditions
...................... 4-37
Through Deep Standing Water
................... 4-31
WetRoads
.................................. 4-29
Winter
...................................... 4-37
With
a Trailer ................................ 4-50
Driving On Grades While Towing
a Trailer ........... 4-52
Drunken Driving
................................ 4-3
Easy Entry Seat
................................ 1-7
Electrical Equipment, Adding
................ 3-20. 6-58
Electrical System
............................... 6-58
Endgate
....................................... 2-9
Emergency Release
........................... 2-11
Manual Release .............................. 2-10
Remote Release
.............................. 2-11
9-3