Page 168 of 402

Downloaded from www.Manualslib.com manuals search engine Avoid needless heavy braking. Some people drive in
spurts
-- heavy acceleration followed by heavy
braking
-- rather than keeping pace with traffic. This is a
mistake. Your brakes may not have time to cool between
hard stops. Your brakes
will wear out much faster if you
do a lot of heavy braking. If you keep pace with the
traffic and allow realistic following distances,
you will
eliminate a
lot of unnecessary braking. That means
better braking and longer brake
life.
If your engine ever stops while you‘re driving, brake
normally but don’t
pump your brakes. If you do, the
pedal may get harder
to push down. If your engine
stops,
you will still have some power brake assist. But
you will
use it when you brake. Once the power assist is
used up, it may take longer to stop and the brake pedal
will be harder
to push.
Anti-Lock Brakes (ABS)
Your vehicle has anti-lock brakes (ABS). ABS is an
advanced electronic braking system that will help
prevent a braking skid.
When
you start your engine and begin to drive away,
your anti-lock brake system will check itself.
You may
hear a momentary motor or clicking noise while this test
is going on. This is normal.
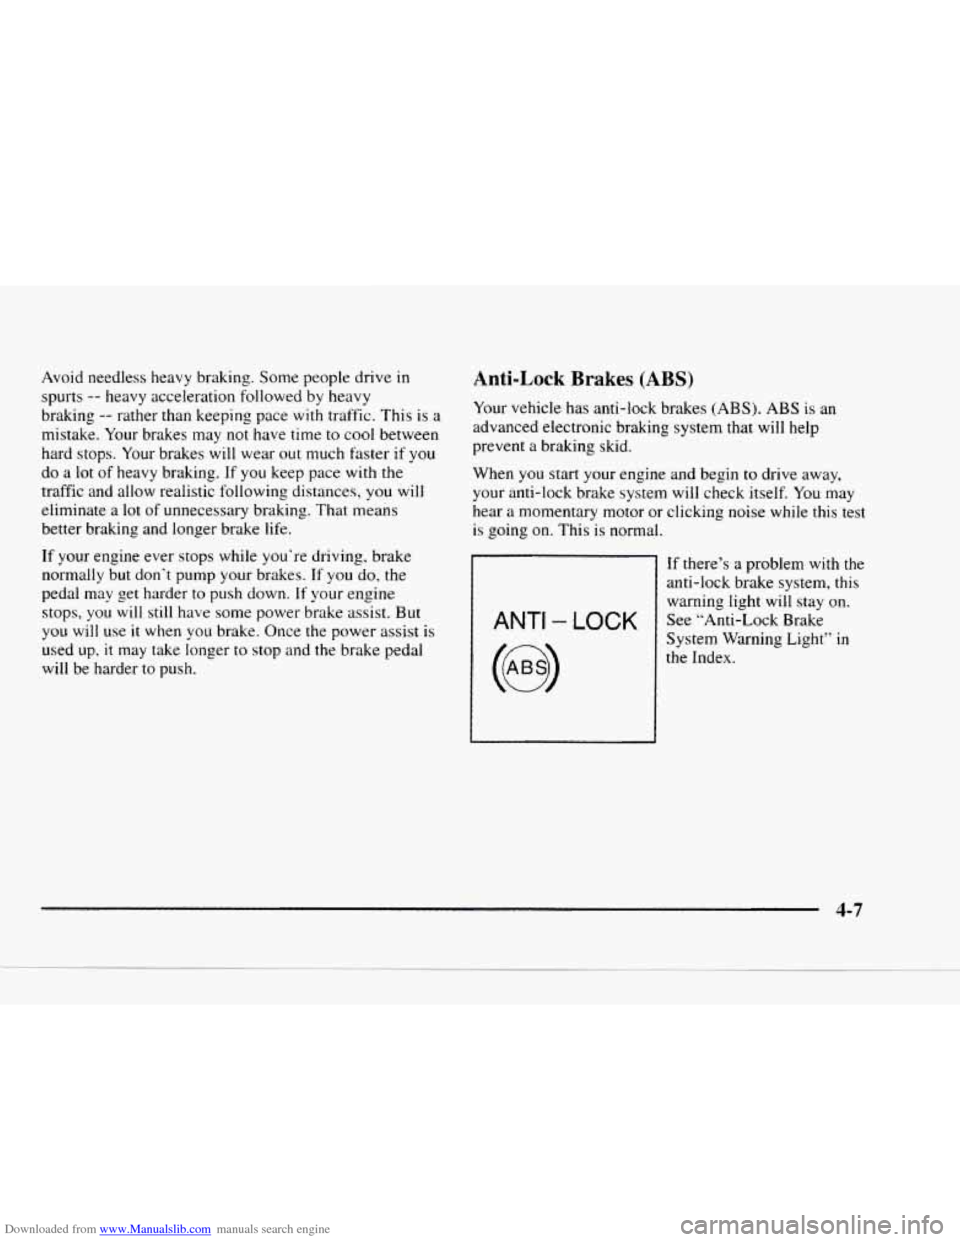
ANTI - LOCK
If there’s a problem with the
anti-lock brake system, this
warning light will stay
on.
See “Anti-Lock Brake
System Warning Light”
in
the Index.
-. 4-7
Page 169 of 402
Downloaded from www.Manualslib.com manuals search engine Here's how anti-lock works. Let's say the road is wet.
You're driving safely. Suddenly an animal
jumps out in
front of you.
You slam on the brakes. Here's what happens with ABS.
A computer senses that wheels are slowing down. If one
of the wheels is about to stop rolling. the computer will
separately work the brakes at each front wheel and at the
rear wheels.
The anti-lock system can change the brake pressure
lister than any driver could.
The computer is
programmed to make the most of available tire and
road conditions.
You can steer around the obstacle while braking hard.
As you brake. your computer keeps receiving updates on
wheel speed and controls braking pressure accordingly.
4-8
Page 175 of 402

Downloaded from www.Manualslib.com manuals search engine If your vehicle starts to slide. ease your foot off the
accelerator pedal and quickly steer the way
you want the
vehicle to
go. If you start steering quickly enough. your
vehicle may straighten
out. Always be ready for a
second skid
if it occurs.
Of course, traction is reduced when water, snow. ice.
gravel or other material is on the road. For safety. you’ll
want to
slow down and adjust your driving to these
conditions.
It is important to slow down on slippery
surfaces because stopping distance will be longer and
vehicle control more limited.
While driving on a surface with reduced traction.
try
your best to avoid sudden steering, acceleration or
braking (including engine braking by shifting to a lower
You may not realize the surface
is slippery until your
vehicle is skidding. Learn to recognize warning
clues
-- such as enough water. ice or packed snow on
the road to make a “mirrored surface“
-- and slow down
when you have any doubt.
t oear). Any sudden changes could cause the tires to slide.
Remember: Any anti-lock brake system
(ABS) helps
avoid only the braking skid.
Driving Guidelines
This multipurpose passenger vehicle is defined as a utility
vehicle
in Consumer Information Regulations issued by
the National Highway Traffic Safety Administration
(NHTSA) of the United States Department of
Transportation. Utility vehicles have higher ground
clearance and a nmower track to make them capable
of
perfolming in a wide variety of off-road applications.
Specific design characteristics give them a higher center of
gravity than ordinary cars.
An advantage of the higher
to anticipate problems. They are
not designed for
cornering at the same speeds as conventional
two-wheel-drive vehicles any more than low-slung
sports
cars are designed to perform satisfactorily under off-road
conditions.
If at all possible, avoid sharp turns or abrupt
maneuvers.
As with other vehicles of this type, failure to
operate this vehicle correctly may result
in loss of control
or vehicle rollover.
2 oround clearance is a better view of the road allowing you
4-14
Page 291 of 402

Downloaded from www.Manualslib.com manuals search engine Front Turn Signal Lamps
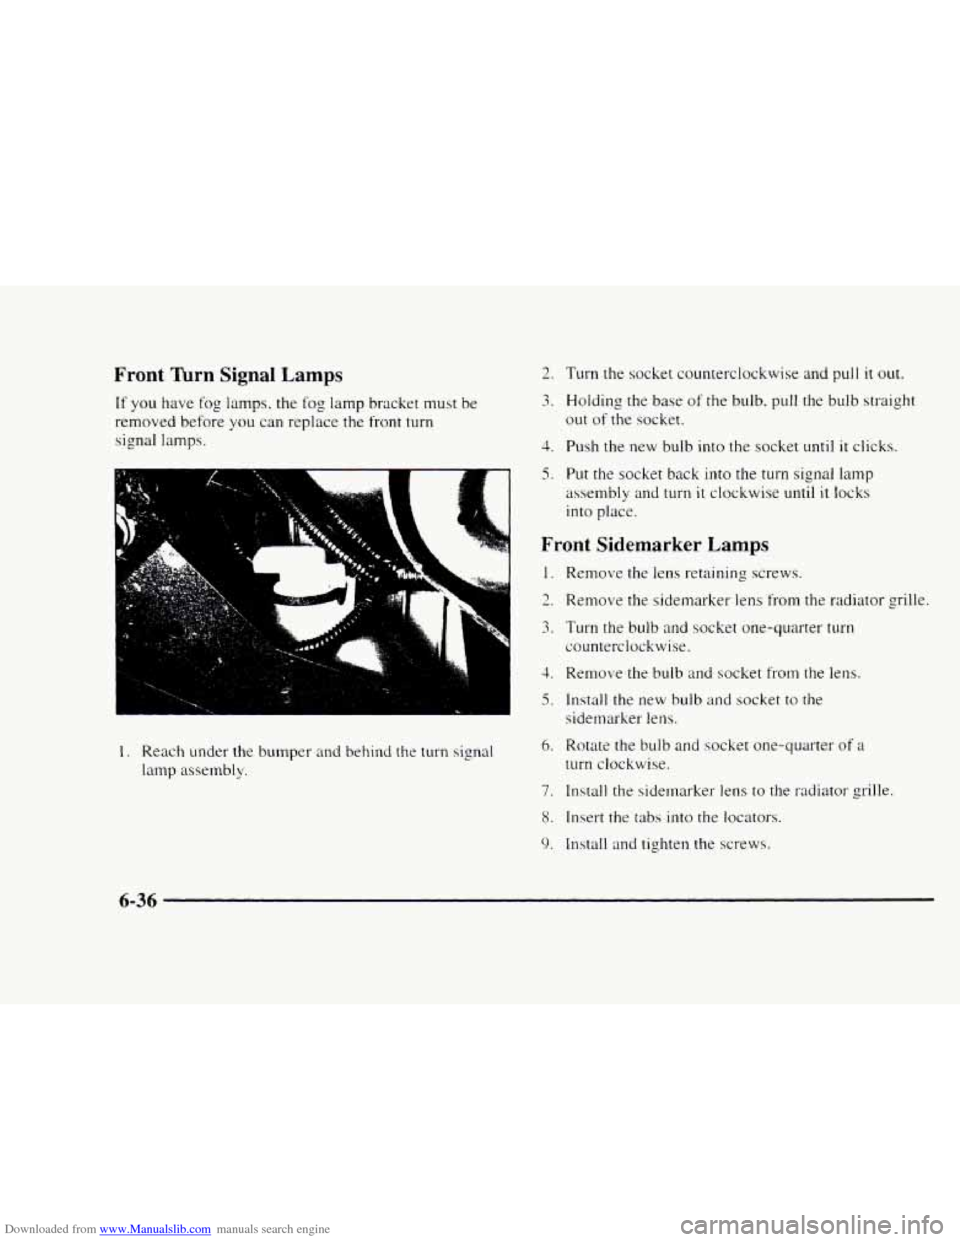
If you have fog lamps. the fog lamp bracket must be
removed before
you can replace the front turn
signal lamps.
U
L 1
2. Turn the socket counterclockwise and pull it out.
3. Holding the base of the bulb, pull the bulb straight
out of the socket.
4. Push the new bulb into the socket until it clicks.
5. Put the socket back into the turn signal lamp
assembly
and turn it clockwise until it locks
into place.
Front Sidemarker Lamps
1.
-. ?
3.
3.
5.
I. Reach under the bumper and behind the turn sipal
lamp assembly. 6.
7.
8.
9.
Remove the lens retaining screws.
Remove the sidemarker lens from the radiator grille.
Turn the bulb
and socket one-quarter turn
counterclockwise.
Remove the bulb
and socket from the lens.
Install the new bulb and socket to the
sidemarker lens.
Rotate the bulb and socket one-quarter
of a
turn clockwise.
Install the sidemarker lens
to the radiator grille.
Insert the tabs
into the locators.
Install
and tighten the screws.
6-36
Page 293 of 402

Downloaded from www.Manualslib.com manuals search engine Front Reading Lamps
1. Use a coin or small screwdriver to unscrew the
center of the overhead console lamp lens while
pressing in
on the lamp assembly.
2. Remove the lamp assembly from the console.
3. Remove the bulb assembly from the lamp assembly.
4. Pull the bulb straight out of the base.
5. Put a new bulb into the bulb base.
6. Install the bulb assembly into the lamp assembly.
7. Place the lamp assembly into the console, turning it
to latch it in place.
8. Install the lens.
Vanity Mirror Lamps
1. Insert the blade of a small screwdriver into the center
slot
at the bottom of the lens.
2. Gently pry the screwdriver down in order to lift out
the lens.
3. Pry out the bulb.
4. Press the new bulb into place.
5. Slide the side tabs of the lens under the side of the
vanity assembly frame.
6. Rotate the lens downward.
7. Snap the lens into the frame.
Windshield Wiper Blade Replacement
See "Normal Maintenance Replacement Parts" in the
Index for the proper type
of replacement blade.
I 1
NOTICE:
Use care when removing or installing a blade
assembly. Accidental bumping can cause the arm
to fall back and strike the windshield.
1. To remove the old wiper blades. lift the wiper arm
until it locks into a vertical position.
6-38