1997 CHEVROLET ASTRO display
[x] Cancel search: displayPage 170 of 404

Downloaded from www.Manualslib.com manuals search engine Playing a Compact Disc in the Single Remote Disc
Player (If Equipped)
If you have this option, you can play one compact disc
(CD) at a time.
To load a CD into the player, hold the disc with the
label side up and insert
it carefully into the player
(approximately halfway). The disc will automatically be
pulled
into the player. If the radio is off and the ignition
is on when a CD is inserted, the radio will turn on and
begin playing the CD. It is possible to load and unload
CDs with the ignition off. To load
a disc with the
ignition
off, press the EJECT button on the remote
player and
then insert the disc. To remove the disc, press
the EJECT button and remove the disc from the player.
A disc that has been ejected but is still sitting in the
remote CD player will be pulled back into the player
after approximately
30 seconds. This protects the disc
and player from damage. The disc will not start playing.
To remove the disc, press the EJECT button and remove
the disc from the player.
All of the compact disc functions are controlled by the
radio buttons except for EJECT. When a disc is in the
player, a CD symbol
will appear on the display. When a
disc
is playing, the letters CD will appear next to the CD
symbol
in the bottom left corner. The track number will
also be displayed.
If the disc comes back out and ERR appears on the
display,
it could be that:
0 The disc is upside down.
0 It is dirty, scratched or wet.
There’s too much moisture in the air. (Wait about an
hour and try again.)
You are driving on a very rough road.
Please contact your dealership
if any error recurs or
cannot be corrected.
3-24
Page 171 of 404

Downloaded from www.Manualslib.com manuals search engine PREV (1): Press this button to go back to the start of
the current track if more than eight seconds have played.
Press PREV again
to go to the previous track on
the disc.
NEXT (3): Press this button to advance to the next track
on the disc.
REV (4): Press and hold this button to quickly reverse
within a track. As the CD reverses, elapsed time will be
displayed to help you find the correct passage.
FWD (6): Press and hold this button to quickly advance
within a track. As the CD advances, elapsed time will be
displayed to help you find the correct passage.
SEEK: Press the left arrow while playing a CD to go
back
to the start of the current track. It will go back to
the current track
if more than eight seconds have played.
Press the left arrow again to
go to previous tracks. Press
the right arrow to go to the next higher track on the disc.
RANDOM: Press P.SCAN to enter the random play
mode. RANDOM
will appear on the display. While in
this mode, the tracks on the discs will be played in
random order. If you press SEEK, PREV or NEXT
while
in the random mode, the previous or next track
will be scanned randomly. Press P.SCAN again to turn
off RANDOM and return to normal operation.
RECALL: Press this button to see what track is
currently playing. Press RECALL again
within five
seconds
to see how long the track has been playing.
When a new track starts
to play, the track number will
also appear. Press RECALL a third time and the time of
day will be displayed.
TAPE AUX: With a disc loaded in the player and the
radio playing, press this button once
to play the compact
disc. To return
to playing the radio, press AM-FM. If
both a cassette tape and CD are loaded, press TAPE
AUX to switch between the tape and compact disc.
EJECT Press this button on the remote player to eject a
compact disc. If you leave a compact disc in the player
while listening
to the radio, it may become warm.
3-25
Page 172 of 404

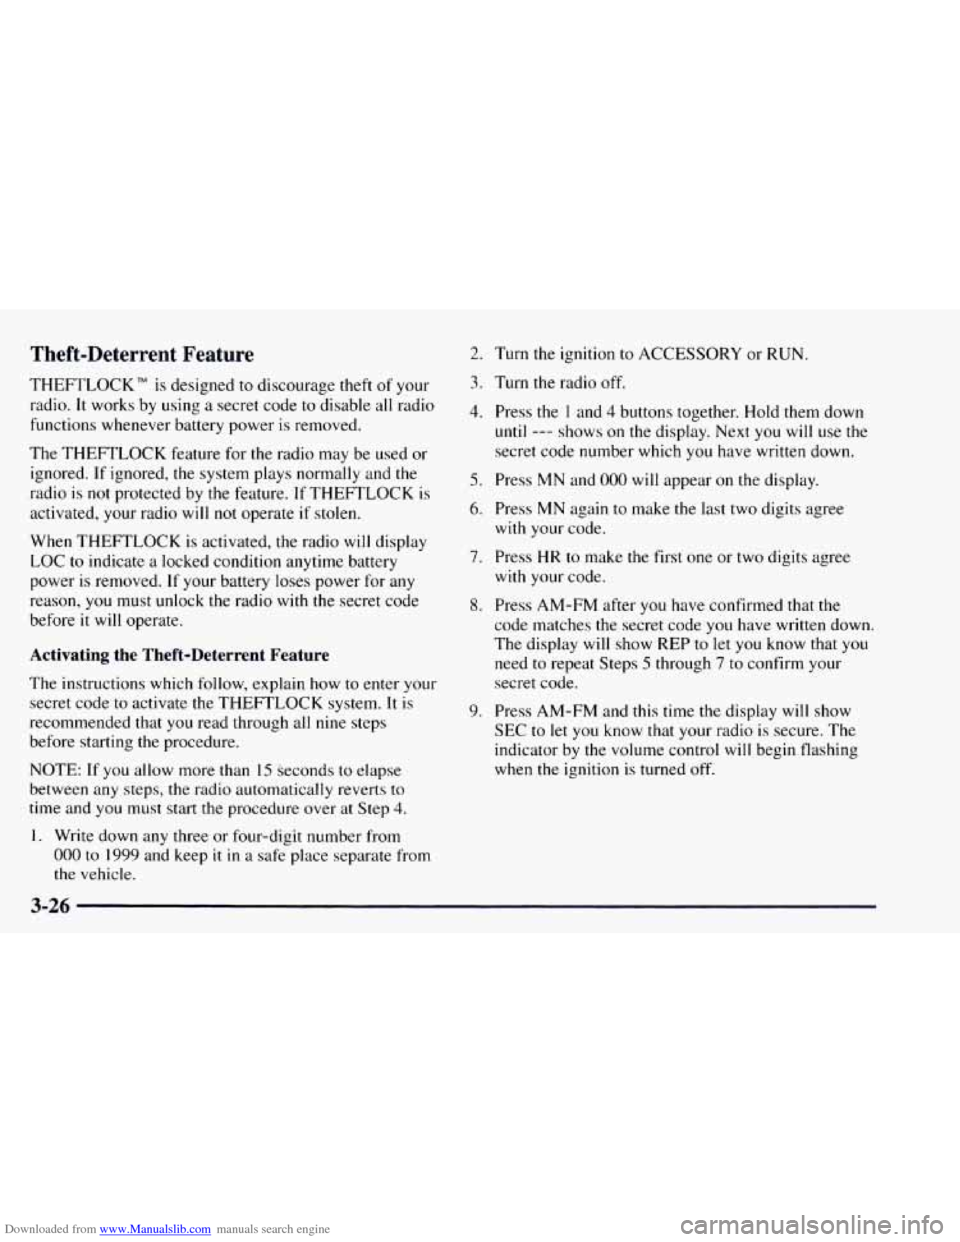
Downloaded from www.Manualslib.com manuals search engine Theft-Deterrent Feature
THEFTLOCK TM is designed to discourage theft of your
radio.
It works by using a secret code to disable all radio
functions whenever battery power
is removed.
The THEFTLOCK feature for the radio may be used or
ignored.
If ignored, the system plays normally and the
radio
is not protected by the feature. If THEFTLOCK is
activated, your radio will not operate if stolen.
When THEFTLOCK is activated, the radio
will display
LOC
to indicate a locked condition anytime battery
power
is removed. If your battery loses power for any
reason,
you must unlock the radio with the secret code
before
it will operate.
Activating the Theft-Deterrent Feature
The instructions which follow, explain how to enter your
secret code to activate the THEFTLOCK system.
It is
recommended that you read through
all nine steps
before starting the procedure.
NOTE:
If you allow more than 15 seconds to elapse
between any steps,
the radio automatically reverts to
time and you must start the procedure over at Step
4.
1. Write down any three or four-digit number from
000 to 1999 and keep it in a safe place separate from
the vehicle.
2. Turn the ignition to ACCESSORY or RUN.
3. Turn the radio off.
4. Press the 1 and 4 buttons together, Hold them down
until --- shows on the display. Next you will use the
secret code number which you have written down.
5. Press MN and 000 will appear on the display.
6. Press MN again to make the last two digits agree
with your code.
7. Press HR to make the first one or two digits agree
with your code.
8. Press AM-FM after you have confirmed that the
code matches the secret code
you have written down
The display will show
REP to let you know that you
need to repeat Steps 5 through 7 to confirm your
secret code.
9. Press AM-FM and this time the display will show
SEC to let you know that your radio is secure. The
indicator by the volume control
will begin flashing
when the ignition is turned off.
3-26
Page 173 of 404

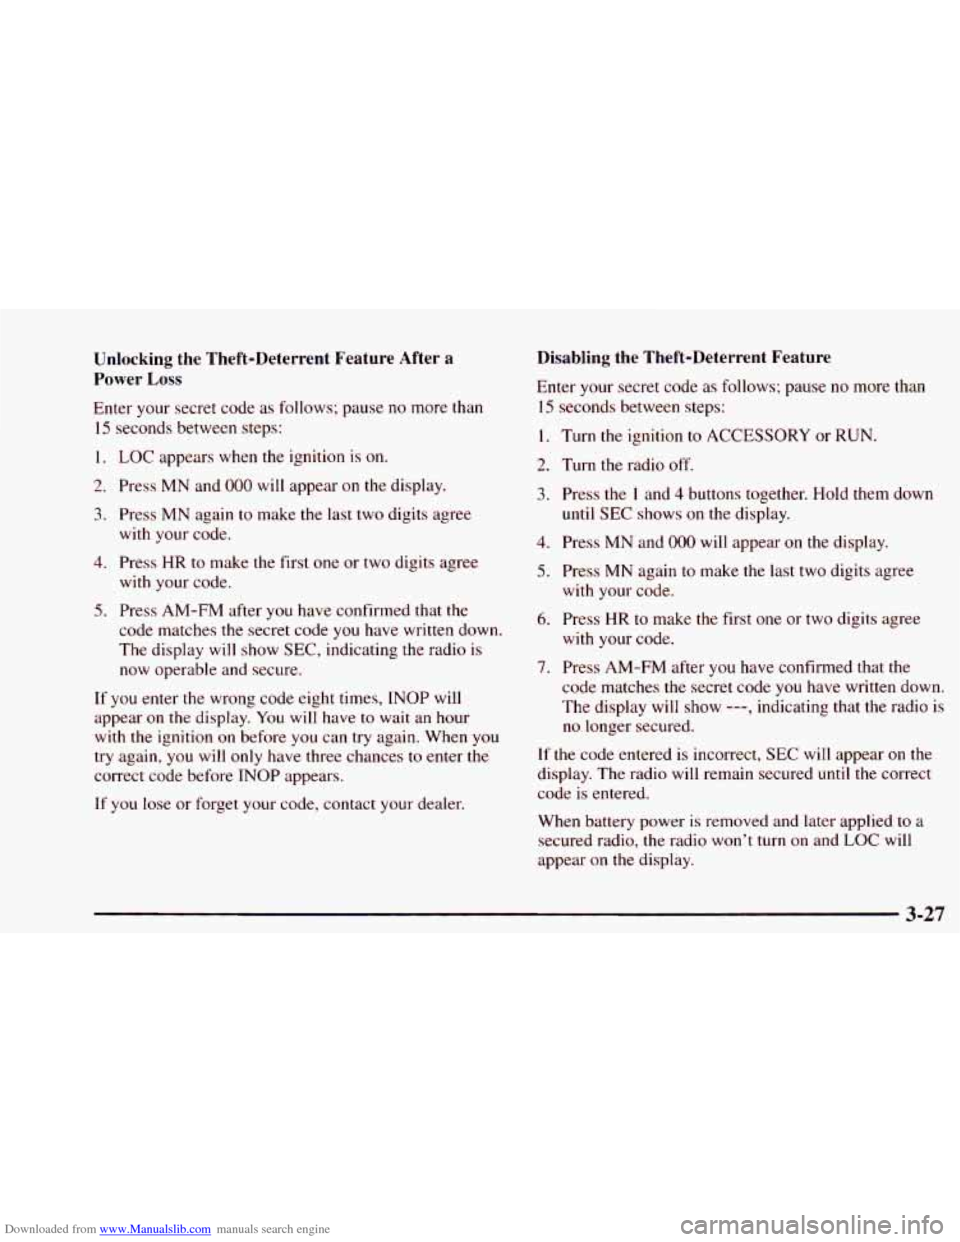
Downloaded from www.Manualslib.com manuals search engine Unlocking the Theft-Deterrent Feature After a
Power
Loss
Enter your secret code as follows; pause no more than
15 seconds between steps:
1. LOC appears when the ignition is on.
2. Press MN and 000 will appear on the display.
3. Press MN again to make the last two digits agree
with your code.
4. Press HR to make the first one or two digits agree
with your code.
5. Press AM-FM after you have confirmed that the
code matches
the secret code you have written down.
The display will show SEC, indicating the radio is
now operable and secure.
If you enter
the wrong code eight times, INOP will
appear
on the display. You will have to wait an hour
with the ignition
on before you can try again. When you
try again, you will only have three chances to enter the
correct code before INOP appears.
If
you lose or forget your code, contact your dealer.
Disabling the Theft-Deterrent Feature
Enter your secret code as follows; pause no more than
15 seconds between steps:
1. Turn the ignition to ACCESSORY or RUN.
2. Turn the radio off.
3. Press the 1 and 4 buttons together. Hold them down
until
SEC shows on the display.
4. Press MN and 000 will appear on the display.
5. Press MN again to make the last two digits agree
with your code.
6. Press HR to make the first one or two digits agree
with your code.
7. Press AM-FM after you have confirmed that the
code matches the secret code
you have written down.
The display will show
---, indicating that the radio is
no longer secured.
If the code entered is incorrect, SEC will appear on the
display. The radio will remain secured
until the correct
code is entered.
When battery power is removed and later applied to
a
secured radio, the radio won’t turn on and LOC will
appear
on the display.
Page 175 of 404

Downloaded from www.Manualslib.com manuals search engine Care of Your Cassette Tape Player
A tape player that is not cleaned regularly can cause
reduced sound quality, ruined cassettes or a damaged
mechanism. Cassette tapes should be stored
in their
cases away from contaminants, direct sunlight and
extreme heat. If
they aren’t, they may not operate
properly or may cause failure
of the tape player.
Your tape player should be cleaned regularly after every
50 hours of use. Your radio may display CLN to indicate
that
you have used your tape player for 50 hours without
resetting the tape clean timer.
If this message appears on
the display,
your cassette tape player needs to be
cleaned.
It will still play tapes, but you should clean it as
soon
as possible to prevent damage to your tapes and
player. If
you notice a reduction in sound quality, try a
known good cassette
to see if it is the tape or the tape
player at fault. If this other cassette has no improvement
in sound quality, clean the tape player. Cleaning
may be done with a scrubbing action,
non-abrasive cleaning cassette with pads which scrub
the tape head as the hubs
of the cleaner cassette turn. It
is normal for the cassette to eject while cleaning. Insert
the cassette at least three times to ensure thorough
cleaning.
A scrubbing action cleaning cassette is
available through your
GM dealership.
You may also choose a non-scrubbing action, wet-type
cleaner which uses
a cassette with a fabric belt to clean
the tape head. This type
of cleaning cassette will not
eject and,
it may not clean as thoroughly as the
scrubbing type cleaner.
After
you clean the player, press and hold EJECT for
five seconds
to reset the CLN indicator. The radio will
display
--- to show the indicator was re: . .
Cassettes are subject to wear and the SOL.L~ quality
may degrade over time. Always make sure the cassette
tape
is in good condition before you have your tape
player serviced.
Page 399 of 404

Downloaded from www.Manualslib.com manuals search engine Shoulder Belt Height Adjuster ..................... 1-20
SIR .......................................... 1-27
Skidding
...................................... 4-13
Sound Equipment. Adding
........................ 3-28
Spare Tire. Compact
............................. 5-35
Specifications and Capacities
...................... 6-67
Speech Impaired. Customer Assistance
............... 8-4
Speedometer
................................... 2-59
Stains. Cleaning
................................ 6-52
Starter Switch Check
............................ 7-45
Starting Your Engine
............................ 2- 17
Steam
........................................ 5-13
In Emergencies ............................... 4- IO
Power ....................................... 4-9
Tips
......................................... 4-9
Wheel. Tilt
.................................. 2-31
Storage Compartments
........................... 2-42
Storage. Vehicle
................................ 6-36
Stuck: In Sand. Mud. Ice or Snow
.................. 5-36
Sunvisors
.................................... 2-51
Sunglasses Storage
.............................. 2-48
Supplemental Inflatable Restraint
.................. 1-27
Symbols. Vehicle .................................. v
Steering ....................................... 4-9
Taillamp Bulb Replacement
...................... 6-41
Tape Player Care
............................... 3-29
Temperature & Compass Display .................. 2-47 Theft
......................................... 2-14
Theft-Deterrent Feature
.......................... 3-26
Thermostat
.................................... 6-30
Third Gear
.................................... 2-21
Tilt Steering Wheel
............................. 2-31
Time. Setting
................................... 3-9
Tire Chains
.................................... 6-50
TireLoading
................................... 4-28
Tire-Loading Information Label
................... 4-28
Tires
......................................... 6-43
Alignment and Balance
........................ 6-48
BuyingNew
................................. 6-46
Chains
..................................... 6-50
ChangingaFlat
.............................. 5-23
Cleaning
.................................... 6-57
Compact Spare
............................... 5-35
Inflation
.................................... 6-44
Inflation Check
............................... 7-43
Inspection and Rotation
........................ 6-45
Loading .................................... 4-28
Pressure
.................................... 6-44
Temperature
................................. 6-48
Traction
.................................... 6-48
Treadwear
................................... 6-47
Uniform Quality Grading
....................... 6-47
Wear Indicators
.............................. 6-46
Wheel Replacement
........................... 6-48
When It’s Time for New
....................... 6-46
THEFTLOCK
................................ 3-26
9-9