1997 CADILLAC SEVILLE manual radio set
[x] Cancel search: manual radio setPage 10 of 370
Downloaded from www.Manualslib.com manuals search engine c
c
c
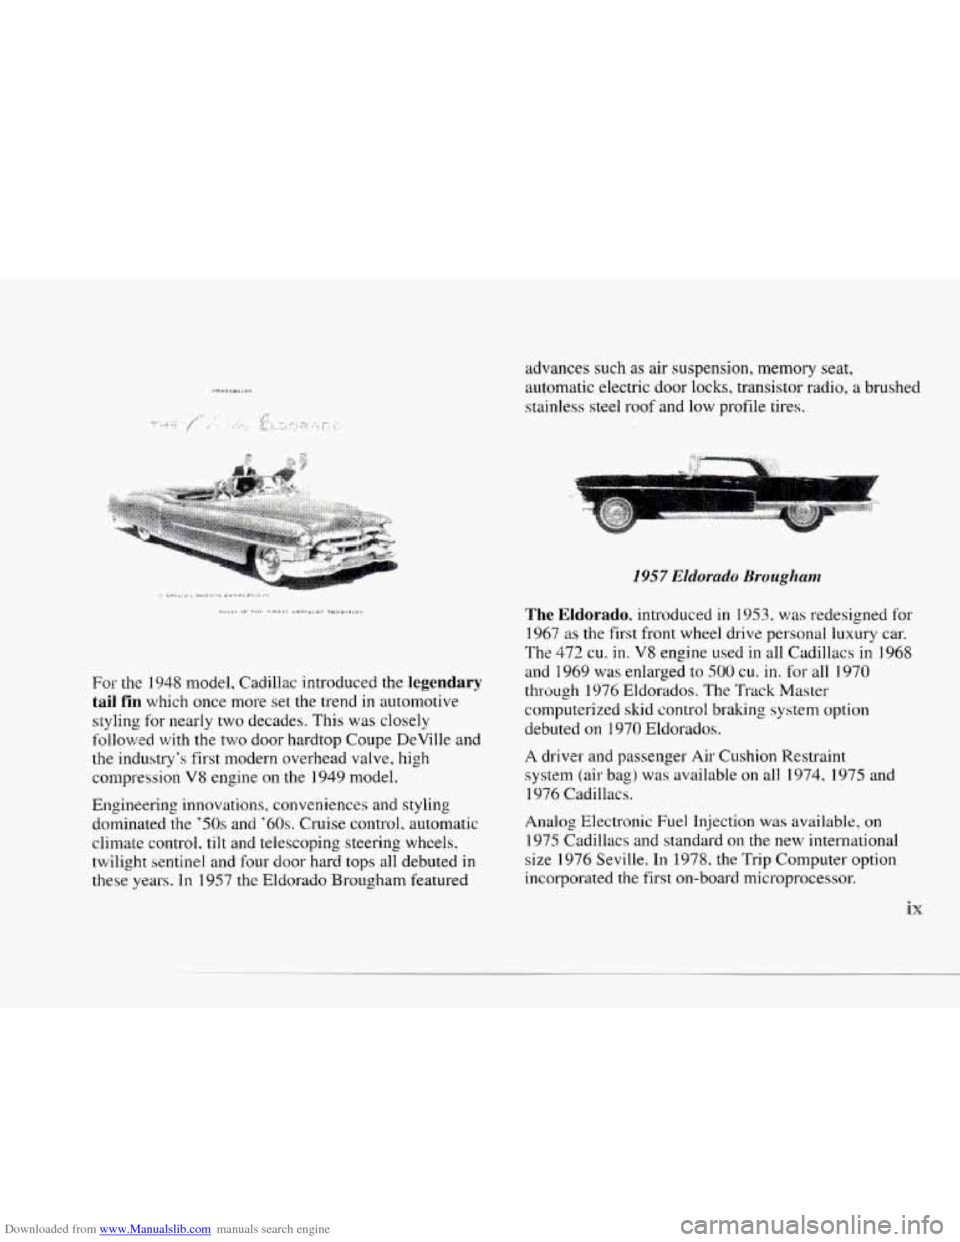
advances such as air suspension, memory seat,
automatic electric door locks. transistor radio,
a brushecl
stainless
steel roof and low profile tires.
For the 1948 model, Cadillac introduced the legendary
tail fin which once more set the trend in automotive
styling for nearly two decades. This
was closely
followed with the two door hardtop Coupe DeVille and
the industry's first modern overhead valve, high
compression
V8 engine on the 1949 model.
Engineering innovations, conveniences
and styling
dominated the
'50s and '60s. Cruise control, automatic
climate control, tilt
and telescoping steering wheels,
twilight sentinel and
four door hard tops all debuted in
these years.
Ir, 1557 the Eldorado Brougham featured
1957 Eldorado Brougham
:.x
The Eldorado, introduced in 1953, was redesigned for
1967
as the first front wheel drive personal luxury car.
The
472 cu. in. V8 engine used in all Cadillacs in I568
and 1965 was enlarged to SO0 cu. in. for all 1970
through 1976 Eldorados. The Track Master
conlputerized skid control braking system option
debuted
on 1970 Eldorados.
A driver and passenger Air Cushion Restraint
system (air bag) was available on
all 1974. I975 and
1976 Cadillacs.
Analog Electronic
Fuel Injection was available, on
1975 Cadillacs and standard 011 the new international
size
1976 Seville. In 1978, the Trip Computer option
incorporated the first on-board microprocessor.
ix
Page 18 of 370
Downloaded from www.Manualslib.com manuals search engine c
.-
c
If you have the optional personalization package, the
power lumbar control can be programmed for memory
recall. For more information, see "Memory Seat and
Mirrors'' later in this section.
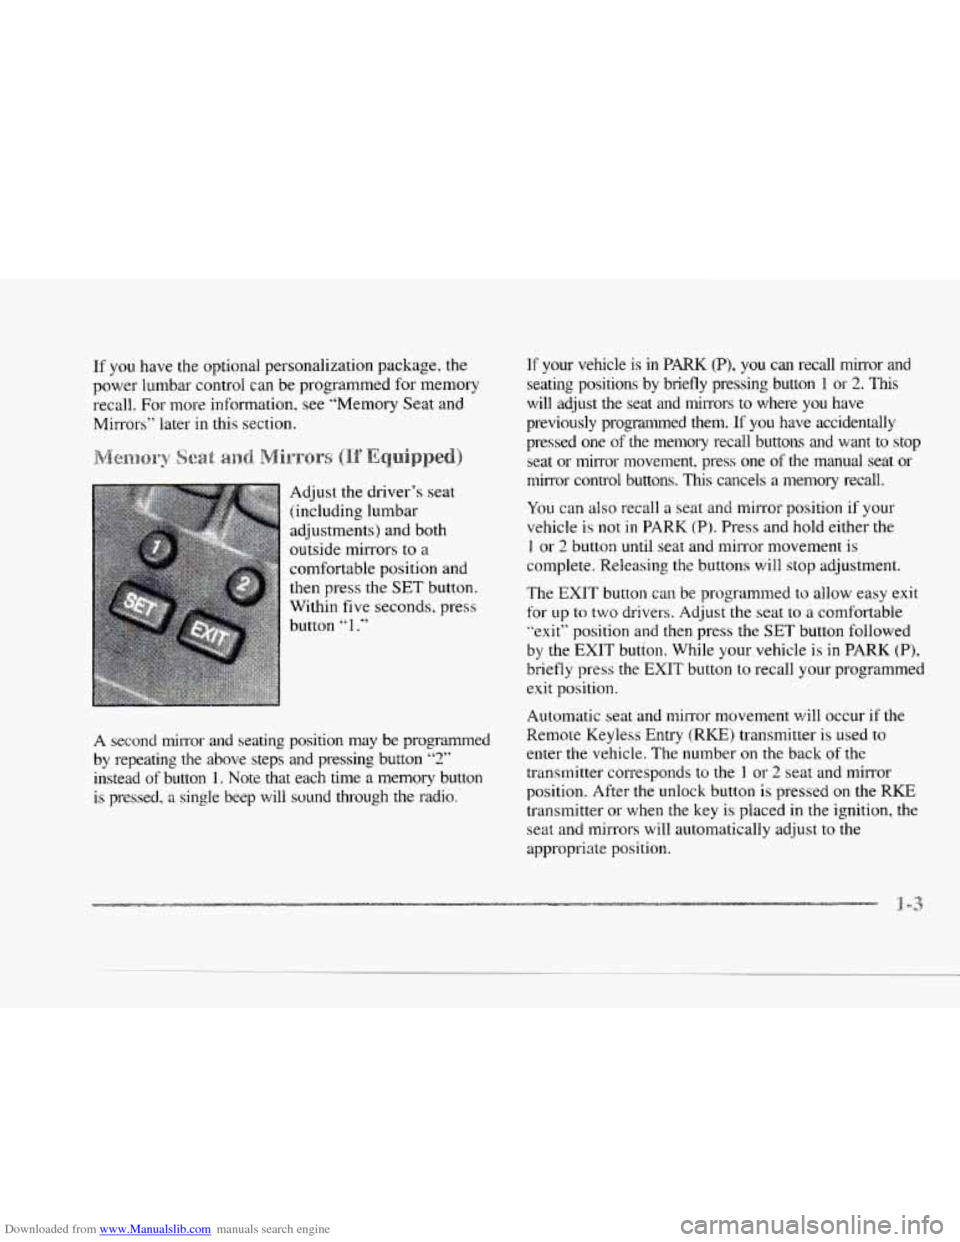
Adjust the driver's seat
(including lumbar
adjustments) and both
outside mirrors
to a
comfortable position and
then press the
SET button.
Within
five seconds, press
button
"1 ."
A second mi~ror and seating position may be programmed
by repeating the above steps and pressing button
"3''
instead of button 1. Note that each time a memory button
is pressed.
a single becp will sound through the radio.
If your vehicle is in PARK (P), you can recall mirror and
seating positions by briefly pressing button
1 or 2. This
will adjust the seat and nlirrors
to where you have
previously programmed them.
If you have accidentally
pressed one
of the memoly recall buttons and want to stop
seat or mirror movement, press one
of the manual seat or
mirror control buttons. This cancels a memory recall.
You can also recall a seat and mirror position if your
vehicle is
not in PARK (P). Press and hold either the
1 or 2 button until seat and mirror movement is
complete. Releasing the buttons will stop adjustment.
The
EXIT button can be programmed to allow easy exit
for up to
two drivers. Adjust the seat to a comfortable
"exit" position and then press the
SET button followed
by the
EXIT button. While your vehicle is in PARK (P).
briefly press the
EXIT button to recall your programmed
exit position.
Automatic seat and mirror movement will occur if the
Remote Keyless Entry (RKE) transmitter is used to
enter the vehicle. The number
on the back of the
transmitter corresponds to the
1 or 2 seat and mixl-or
position. After the unlock button is pressed on the
RKE
transmitter or when the key is placed in the ignition, the
seat and mirrors will automatically adjust to the
appropriate position.
Page 68 of 370
Downloaded from www.Manualslib.com manuals search engine r
r
I
r
r
r
r
f
r
When you want to open a rear door when the security
lock is on:
1. Unlock the door from the inside.
2. Then open the door from the outside.
To cancel the rear door lock:
1. Unlock the door from the inside and open the door
from the outside.
2. Move the lever all the way down.
3. Do the same for the other rear door.
The rear door locks will now work normally.
Leaving your key in any ignition position with any
door open will disable the use of the power door lock
switches. The anti-lockout feature
is disabled when the
ignition is on. If you close the doors, you can lock them
using the
RKE system. It is always recornmended that
you remove the ignition key when locking your vehicle.
Note that the anti-lockout feature can be overridden
by
holding the power door lock switch for three seconds
or longer. If
you are leaving the vehicle, open the door, set the
locks from the inside, get out and close
the door.
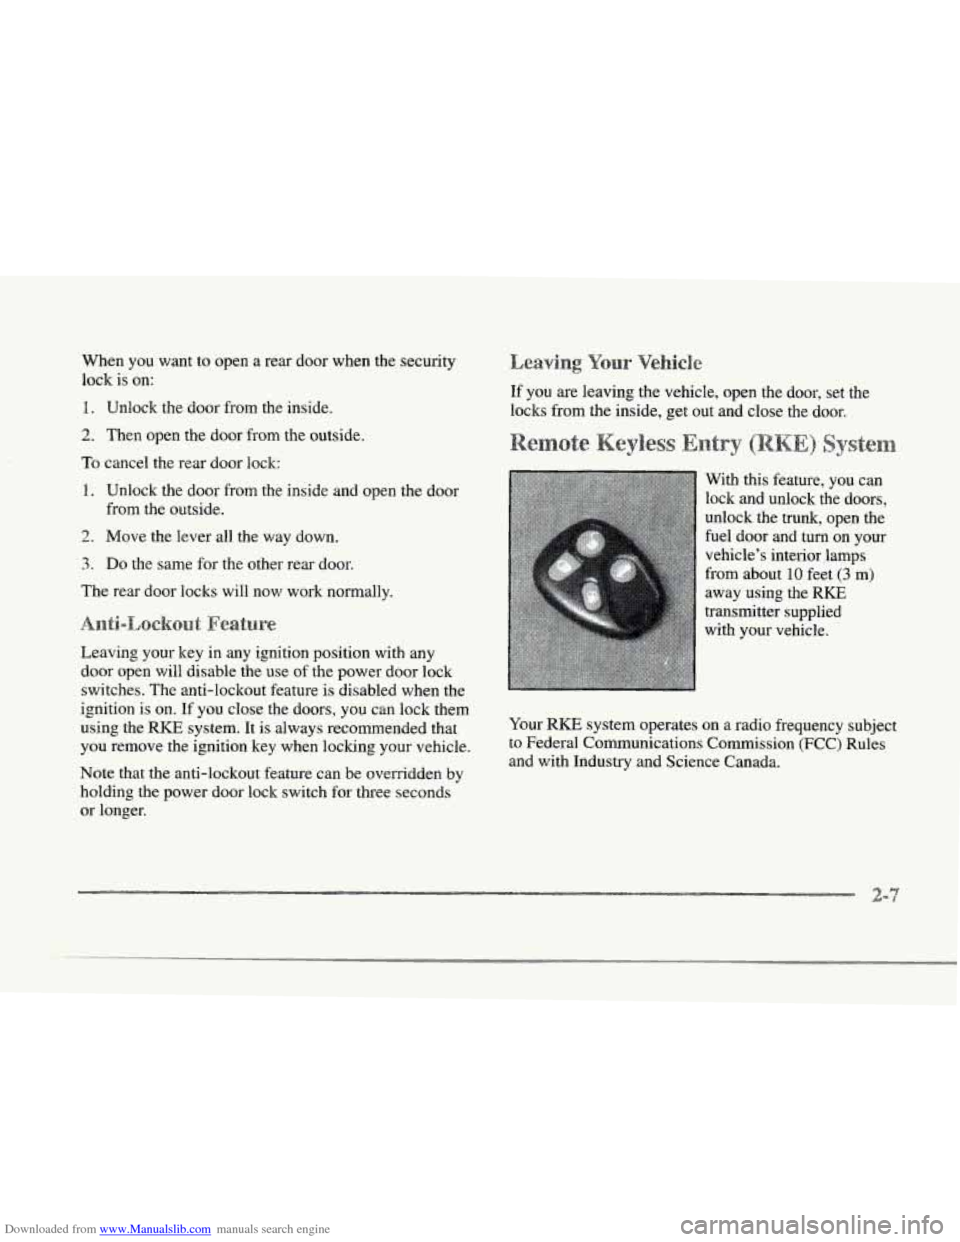
With this feature, you can
lock and unlock the doors,
unlock the trunk, open the
fuel door and turn on your
vehicle’s interior lamps
from about
10 feet (3 m)
away using the
RKE
transmitter supplied
with your vehicle.
Your
RKE system operates on a radio frequency subject
to Federal Communications Commission (FCC) Rules
and with Industry and Science Canada.
-a
Page 71 of 370
Downloaded from www.Manualslib.com manuals search engine This personalization feature enables the driver to
program the exterior lamps
to turn on or to remain off
when using the RKE transmitter to unlock your vehicle.
If exterior lighting is selected, the parking lamps.
taillamps, sidemarker lamps. license plate lamps,
low-beam headlamps, etc. will turn
on for about
20 seconds or until a door is opened or the key is
placed in your vehicle’s ignition.
To begin programming, press the INFORMATION
(INFO) and RESET (INFO RESET’) buttons at the same
time for about two seconds. Exterior lighting is
the third
feature to display. Press the INFORMATION (INFO)
button to “skip” past the first two features
-- DOOR
LOCKS IN GEAR and REMOTE FLASH LIGHTS.
When EXT LIGHTS AT UNLOCK appears, a “yes”
or
“no” response is required. Press the TRIP SET (TRIP
RESET) button to answer
yes 01- press the RESET
(INFO RESET) button
to indicate a no response.
FEATURE
ON displays when a yes response is made
and FEATURE OFF shows after
a no response.
For a list
of the other personalization features available,
see “Memory and Personalization Features” later
in
this section. Your
vehicle may have memory personalization. If
it
does, REMOTE RECALL MEMORY will be the fourth
personalization feature to display
on the DIC system.
Memory settings that have been previously programmed
(HVAC settings, radio preset settings, exterior lighting
choices, remote confirmation choices and programmable
automatic door lock choices) can be recalled by using
the RKE transmitter or by placing the key in your
vehicle’s ignition.
To begin programming, press the INFORMATION
(INFO) and RESET (INFO RESET) buttons at the same
time for about two seconds. As mentioned, memory
recall
is the fourth feature to appear. To “skip” past the
first three personalization features, press the
INFORMATION (INFO) button.
When REMOTE RECALL MEMORY appears,
the
driver is able to recall memory settings when the unlock
button on the RKE transmitter is pressed. Press the
TRIP SET (TRIP
RESET) button to select or press the
RESET (INFO RESET) button to answer no and to
continue
on to the next prompt. (FEATURE ON displays
when a yes response is made and FEATURE OFF shows
when a
no response is made.)
rrl
Page 112 of 370
Downloaded from www.Manualslib.com manuals search engine c
c-
~~~~~~~~~~~~~~~..~ Po\wr=
This feature is designed to protect your vehicle's battery
against drainage from the interior lamps, trunk lamp,
glove
box ianlp, cigarette lighters or the garage door
opener. When
the ignition is turned off, the power
to these features will automatically turn off after
10 minutes (three minutes if a new car has 15 miles
or less). Power will be restored for an additional
10 minutes if any door is opened, the trunk is opened
or the courtesy lamp switch is turned on.
This feature is for long term use and must be
programmed through the
DIC while the ignition is in the
RUN position. Battery guard storage protects the battery
by placing the vehicle in
a storage mode so that the
radio, amplifiers, instrument cluster and RKE will
not
drain the battery over a long period of time.
'To begin programming, press the INFORMATION
(.INFO) and RESET (INFO RESET) buttons at the same
time for about two seconds.
The first message to appear
is DOORS LOCK IN GEAR. Press the INFORMATION
(INFO) button after this prompt is displayed until
STORAGE MODE prompt appears on the DIC. Press
the
TRIP SET (TRIP RESET) button to answsr '.yes" or
press the RESET (INFO RESET) button to indicate a
"no" response.
FEATURE ON appears when a yes response is made
and
FEATlJRE OFF shows when a no response is made.
Since this is the last personalization feature available,
a yes or no response will end out of the DIC display.
Once the battery guard has been programmed. your
vehicle will enter the storage mode about
20 minutes
after the ignition key has been turned
off. The RKE will
also be disabled at this point. The RICE will reactivate
when
a door or the trunk is opened. however. if your
vehicle is
left inactive for another 30 minutes, the RKE
will re-enter the storage mode.
Your vehicle will
stay in the storage mode until the
ignition key
is turned out of LOCK. The system will
"wake-up" when the door key is inserted
into the door,
however, your vehicle
will remain in the storage mode.
The ignition must be out of LOCK before the battery
E Ouard is disabled.
Page 146 of 370
Downloaded from www.Manualslib.com manuals search engine IC-
Press the AVG button to display the average
mile-per-gallon (AVG MPG). You can also display it in
metric units by pressing the
ENGMET button.
When AVG MPG
is selected, the total distance is
divided by the total fuel used.
When the INST button (Instantaneous Fuel Economy) is
selected. you will see what the fuel economy is at that
instant. The computer takes
a new reading twice every
second.
It will show economy up to 70 miles-per-gallon
(or 2 L per- 100 ltm).
To reset the average fuel economy, press the
INFORMATION button until the AVG MPG is
displayed on the DIC. Press and hold the
RESET button
until both the fuel data center and DIC display reads
0.0.
The RANGE display shows how far the computer thinks
you can travel with the fuel that is in the tank. The
computer does
not know what driving conditions will be
like for the rest of your trip,
so the range is estimated
based on
the recent fuel economy. Therefore, the range
reading may change
as your driving habits change.
Going from city
to highway driving may increase the
range reading.
If the range display shows
LO, you should stop for fuel
as soon
as possible. Your computer needs enough data
for the RANGE reading to work. The
DIC display gives you the
status of many of your
vehicle’s systems. The DIC is also used to display driver
personalization features and warninghtatus messages.
Your vehicle may be equipped with the following
features that can be individually customized for up
to two drivers.
0
0
0
0
0
0
0
0
Programmable Automatic Door Locks
Remote Confirmation (for
RKE)
Exterior Lighting (at Unlock)
Remote Recall Memory (for RKE or Key
in
the Ignition)
Battery Guard Storage
Climate Control Personalization
Memory Seat and Mirrors
Radio Personalization
For detailed information, see each feature in the Index.
Page 151 of 370
Downloaded from www.Manualslib.com manuals search engine BATTERY NO CHARGE - 07: This message will
appear if the battery is not being charged. Have the
electrical system checked by your Cadillac dealership
at
your earliest convenience.
BATTERY VOLTS HIGH - 08: This message shov:~
that the electrical charging system is overcharsing :'more
than 16 volts). To avoid being stranded, have the
electrical system checked by your Cadillac dealership.
YOU can reduce the charging overload by
using the
accessories.
TU^ on the lamps and radio. set the climate
control on AUTO and the fan speed
011 HI. and turn the
rear window defogger
on. You can monitor battery
voltage on the
DIC by pressing the INFORMATION
(INFO) button. The normal range
is 11.5 to 15.5 volts
when the engine
is running.
BATTERY VOLTS LOW - 06: This message will
appear when the electrical system
is charging less than
10 volts or if the battery has been drained. If this
message appears immediately after starting, it
is possible
that the generator can still recharge the battery. The
battery should recharge after driving a few miles and
the
message should go out. If this message appears while
driving or after starting your vehicle and stays
on, have
it checked immediately
to determine the cause of this
problem.
To help the generator recharge the battery
quickly, you can reduce the load
on the electrical system
b>. turning off the accessories. You can monitor battery
voltage on the
DIC by pressing the INFORMATION
(INFO) button. The normal range is 11.5
to 15.5 volts.
BRAKE VACUUM PROBLEM -108: The circuit in
the brake booster vacuum has shorted or
is loose when
this message appears. Your vehicle may lose power
brakes but you will
still have the use of manual brakes.
The power brakes will not be affected if the problem is
caused by
a failed sensor. Have your vehicle serviced
immediately at your Cadillac dealership.
CHANGE ENGINE OIL - 82: This means that the life
of the engine oil has expired and it should be changed
within
200 miles. See "Engine Oil" and "Filter
Recommendations" in the Maintenance Schedule booklet.
After an
oil change. the'Oi1 Life Indicator must be reset.
See *'Oil Life Indicator''
in the Index on how to reset it.
CHANGE TRANS FLUID - 47: This message will
appear when it is time
to replace the transaxle fluid. See
the Maintenance Schedule booklet for the proper fluid
and change intervals.
CHECK BRAKE FLUID LEVEL - 37: This message
will display if the ignition
is in the RUN position to
inform the driver that the brake fluid level is low. Check
the brake reservoir level and add fluid as needed. Have
the brake system serviced by a Cadillac technician as
Page 160 of 370
Downloaded from www.Manualslib.com manuals search engine c
c In this section, you'll find out how to operate the comfort control and audio systems offctd with our Cdiilac. Be
sure
to read about the particular systems supplied with your vehicle.
c
c
c
3-2
3-2
3 -6
3-7
3-7
3-7
3-9
3-9
3-10
3-10
3-10
3-
10
3-a
Comfort Controls
Climate Control Panel
Electronic
Solar Sensor
Air Conditioning
Heating
Ventilation System
Defrosting
Rear Window Defogger
HVAC Steering Wheel Controls
Climate Control Personalization
Audio Systems
Setting the
Clock
AM-FM Stereo with Cassette Tape Player and
Optional Compact Disc
Player
3- 17
3-2 1
3-25
3-25
3-25
3-26
3-26
3-27
3-28
3-28
3-14 Bose'" AM-Fh;? Stcrco v:ith C''l3hctte Tape
and Compact
Disc Play-
Boss T"' AM-FM Stereo with C'wctte
TT'ape and Compact Disc Pl;~yc.~- with Digital
Signal Processing
Trunk Mounted
CD Changer
Radio Personalization
Theft-Deterrent Feature
Audio Steering Wheel Controls
Understanding Radio Reception
Tips About Your Audio System
Care
of Your Cassette Tape Player
Care
of Your Compact Discs
Power Antenna Mast Care
c 3-:1