Page 235 of 420
Towing Your Vehicle
Try to have a Buick dealer or a professional towing
service tow your Park Avenue. See “Roadside
Assistance’’ in the Index.
If your vehicle has been changed or modified since it
was factory-new by adding after-market items like fog
lamps, aero skirting, or special tires and wheels, these
instructions and illustrations may not be correct.
Before you do anything, turn on the hazard
warning flashers.
When you call, tell the towing service:
That your vehicle can only be towed with certain
equipment, as described later in this section.
0 That your vehicle has front-wheel drive.
The make, model and year of your vehicle.
0 Whether you can still move the shift lever.
0 If there was an accident, what was damaged.
When the towing service arrives, let the tow operator
know that this manual contains detailed towing
instructions and illustrations. The operator may want to
see them.
I
To help avoid injury to you or others:
Never let passengers ride in a vehicle that is
0 Never tow faster than safe or posted speeds.
Never tow with damaged parts not
fully secured.
Never get under your vehicle after it has
been lifted by the tow truck.
Always secure the vehicle on each side with
separate safety chains when towing it.
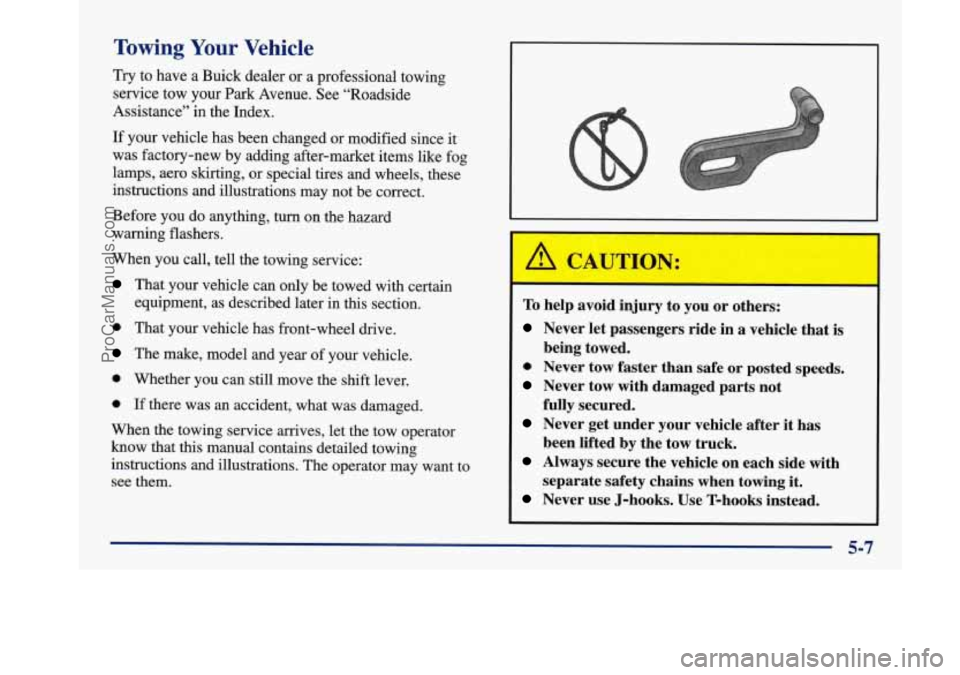
Never use J-hooks. Use T-hooks instead.
being towed.
5-7
ProCarManuals.com
Page 236 of 420
A vehicle can fall from a car carrier if it isn’t
adequately secured. This can cause a collision,
serious personal injury and vehicle damage. The
vehicle should be tightly secured with chains or
steel cables before it is transported.
Don’t use substitutes (ropes, leather straps,
canvas webbing, etc.) that can be cut by sharp
edges underneath the towed vehicle. Always use
T-hooks inserted in the T-hook slots. Never use
J-hooks. They will damage drivetrain and
suspension components.
When your vehicle is being towed, have the ignition
key in the
OFF position. The steering wheel should be
clamped in a straight-ahead position, with a clamping
device designed for towing service.
Do not use the
vehicle’s steering column lock for this. The transaxle
should
be in NEUTRAL (N) and the parking
brake released.
Don’t have your vehicle towed on the front wheels,
unless you must.
If the vehicle must be towed on the
front wheels, be sure to follow the speed and distance
restrictions later in
this section .or your transaxle will be
damaged.
If these limits must be exceeded, then the
front wheels have to be supported on a dolly.
5-8
ProCarManuals.com
Page 237 of 420
Front Towing
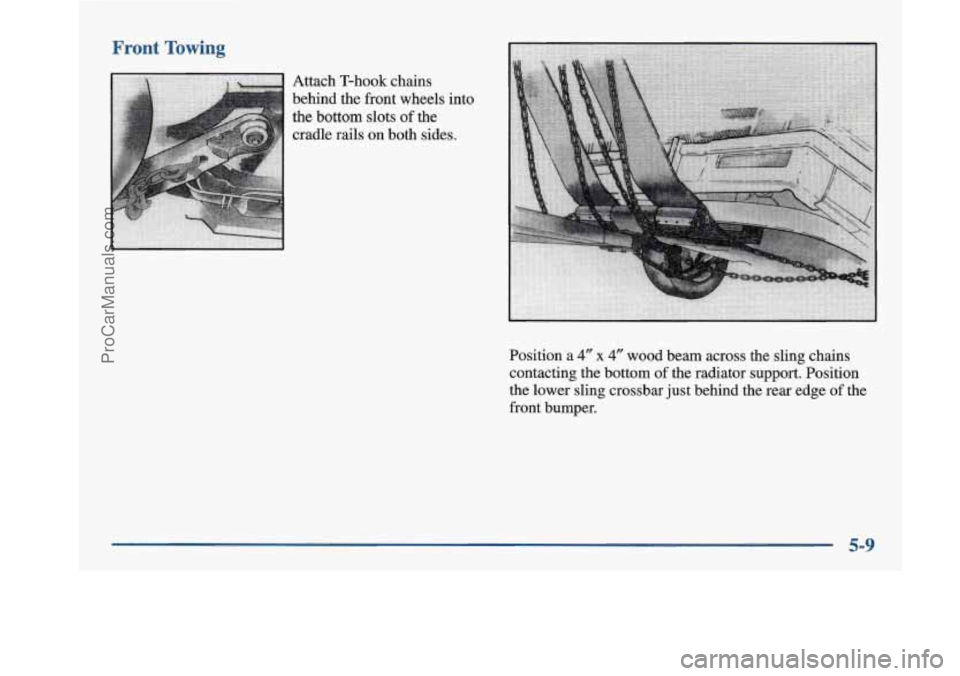
Attach T-hook chains
behind the front wheels into
the bottom slots
of the
cradle rails on both sides.
Position a
4" x 4" wood beam across the sling chains
contacting the bottom
of the radiator support. Position
the lower sling crossbar just behind the rear edge of the
front bumper.
5-9
ProCarManuals.com
Page 238 of 420
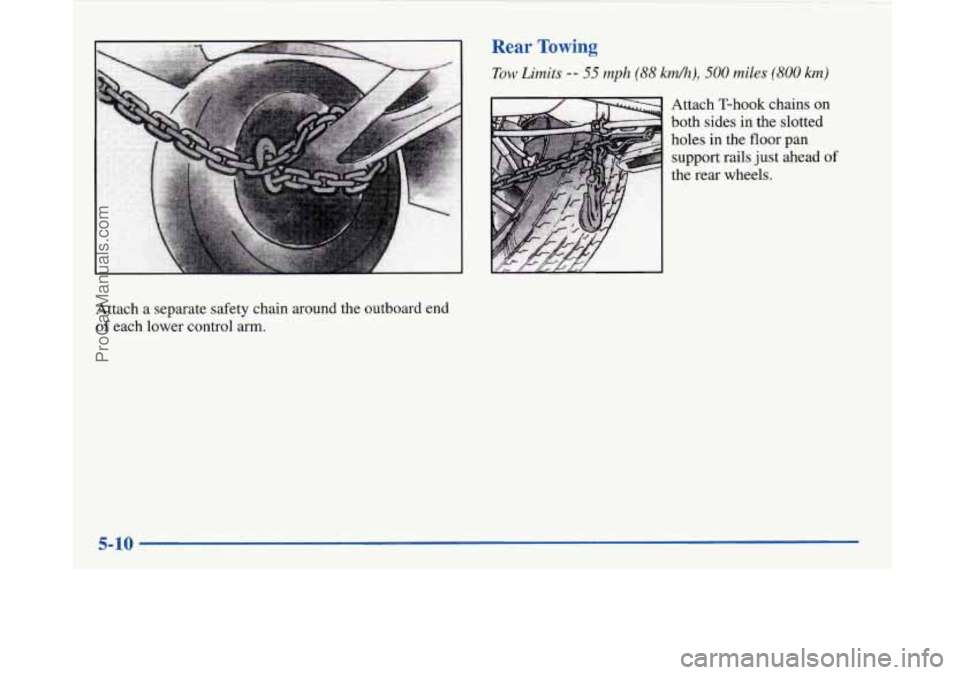
Attach a separate safety chain around the outboard end
of each lower control arm.
Rear Towing
Tow Limits -- 55 rnph (88 kd), 500 miles (800 krn)
Attach T-hook chains on
both sides in the slotted
holes
in the floor pan
support rails just ahead of
the rear wheels.
5-10
ProCarManuals.com
Page 250 of 420
If a Tire Goes Flat
It’s unusual for a tire to “blow out” while you’re driving,
especially if you maintain your tires properly. If air goes
out of a tire, it’s much more likely to leak out slowly.
But if you should ever have a “blowout,” here are a few
tips about what to expect and what to do:
If a front tire fails, the flat tire will create a drag that
pulls the vehicle toward that side. Take your foot
off the
accelerator pedal and grip the steering wheel firmly.
Steer to maintain lane position, and then gently brake to
a stop well out of the traffic lane.
A rear blowout, particularly on a curve, acts much like a
skid and may require the same correction you’d use in a
skid. In any rear blowout, remove your foot from the
accelerator pedal. Get the vehicle under control by
steering the way you want the vehicle to go. It may be
very bumpy and noisy, but you can still steer. Gently
brake to a stop
-- well off the road if possible.
If a tire goes flat, the next part shows
how to use your
jacking equipment to change a flat tire safely.
Changing a Flat Tire
If a tire goes flat, avoid further tire and wheel damage
by driving slowly to a level place. Turn
on your hazard
warning flashers.
Changing a tire can cause an injury. The vehicle
can slip
off the jack and roll over you or other
people. You and they could be badly injured.
Find a level place to change your tire.
To help
prevent the vehicle from moving:
1. Set the parking brake firmly.
2. Put the shift lever in PARK (P).
3. Thrn off the engine.
To be even more certain the vehicle won’t move,
you can put blocks at the front and rear of the
tire farthest away from the one being changed.
That would be the tire on the other side of the
vehicle, at the opposite end.
5-22
ProCarManuals.com
Page 251 of 420
The following steps will tell you how to use the jack and
change a tire.
Removing the Spare Tire and Tools
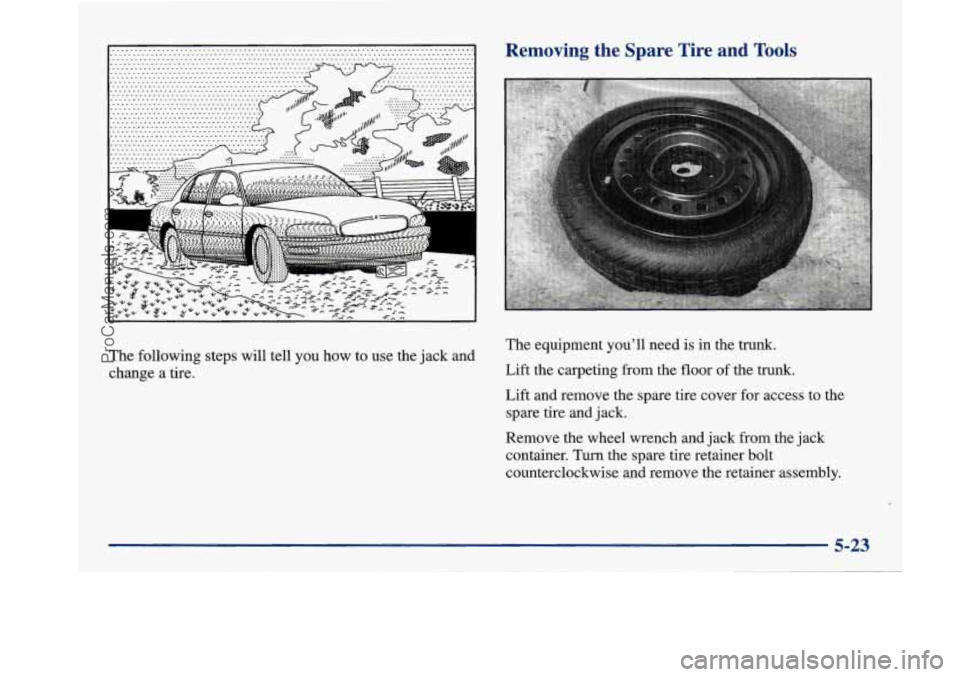
The equipment you’ll need is in the trunk.
Lift the carpeting from the floor of the trunk.
Lift and remove the spare tire cover for access to the
spare tire and jack.
Remove the wheel wrench and jack from the jack
container. Turn the spare tire retainer bolt
counterclockwise and remove the retainer assembly.
5-23
ProCarManuals.com
Page 252 of 420
I
A
Remove the spare tire from the trunk. See “Compact
Spare Tire” later in this section for more information
about the compact spare.
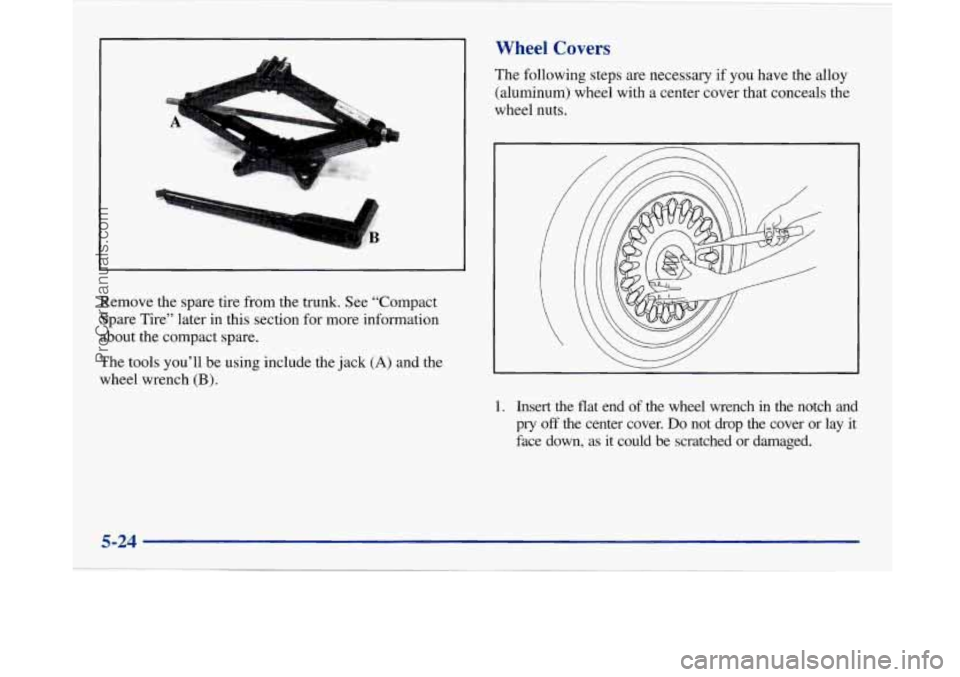
The tools you’ll be using include the jack
(A) and the
wheel wrench
(B).
Wheel Covers
The following steps are necessary if you have the alloy
(aluminum) wheel with a center cover that conceals the
wheel nuts.
1. Insert the flat end of the wheel wrench in the notch and
pry
off the center cover. Do not drop the cover or lay it
face down, as it could be scratched or damaged.
5-24
ProCarManuals.com
Page 253 of 420
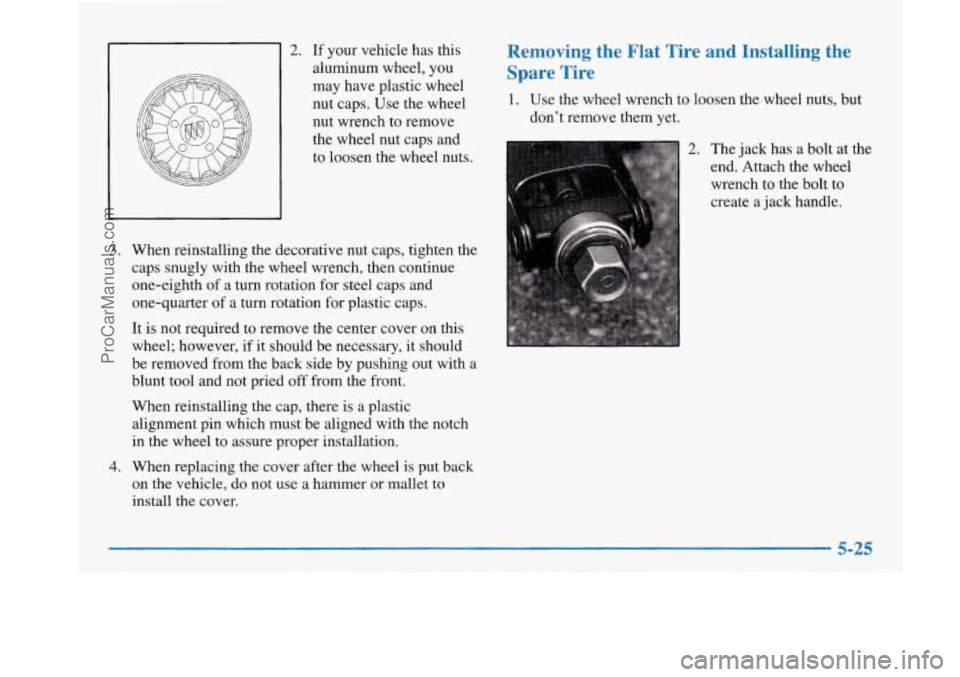
2. If your vehicle has this
aluminum wheel, you
may have plastic wheel
nut caps. Use the wheel
nut wrench to remove
the wheel nut caps and
to loosen the wheel nuts.
3. When reinstalling the decorative nut caps, tighten the
caps snugly with the wheel wrench, then continue
one-eighth
of a turn rotation for steel caps and
one-quarter of a turn rotation for plastic caps.
It
is not required to remove the center cover on this
wheel; however, if it should be necessary, it should
be removed from the back side by pushing out with a
blunt tool and not pried
off from the front.
When reinstalling the cap, there
is a plastic
alignment pin which must be aligned with the notch
in the wheel to assure proper installation.
4. When replacing the cover after the wheel is put back
on the vehicle, do not use
a hammer or mallet to
install the cover.
Removing the Flat Tire and Installing the
Spare Tire
1. Use the wheel wrench to loosen the wheel nuts, but
don’t remove them yet.
2. The jack has a bolt at the
end. Attach the wheel
wrench to the bolt to
create a jack handle.
5-25
ProCarManuals.com