1997 BUICK PARK AVENUE change wheel
[x] Cancel search: change wheelPage 225 of 420

Backing Up
Hold the bottom of the steering wheel with one hand.
Then, to move the trailer to the left, just move that hand
to the left.
To move the trailer to the right, move your
hand to the right. Always back up slowly and, if
possible, have someone guide you.
Making Turns
I NOTICE:
Making very sharp turns while trailering could
cause the trailer to come in contact with the
vehicle. Your vehicle could be damaged. Avoid
making very sharp turns while trailering.
When you’re turning with a trailer, make wider turns than
normal.
Do this so your trailer won’t strike soft shoulders,
curbs, road signs, trees or other objects. Avoid jerky or
sudden maneuvers. Signal well in advance.
Turn Signals When Towing a Trailer
The green arrows on your instrument panel will flash
whenever you signal a turn or lane change. Properly
hooked up, the trailer lamps will also flash, telling other
drivers you’re about to turn, change lanes or stop.
When towing a trailer, the green arrows on your
instrument panel will flash for turns even if the bulbs on
the trailer are burned out. Thus, you may think drivers
behind you are seeing your signal when they are not. It’s
important to check occasionally
to be sure the trailer
bulbs are still working.
Your vehicle has bulb warning lights. When you plug a
trailer lighting system into your vehicle’s lighting
system, its bulb warning lights may not let you know if
one of your lamps goes out.
So, when you have a trailer
lighting system plugged in, be sure to check your
vehicle and trailer lamps from time to time to be sure
they’re all working. Once you disconnect the trailer
lamps, the bulb warning lights again can tell you if
one of your vehicle lamps is out.
ProCarManuals.com
Page 235 of 420
Towing Your Vehicle
Try to have a Buick dealer or a professional towing
service tow your Park Avenue. See “Roadside
Assistance’’ in the Index.
If your vehicle has been changed or modified since it
was factory-new by adding after-market items like fog
lamps, aero skirting, or special tires and wheels, these
instructions and illustrations may not be correct.
Before you do anything, turn on the hazard
warning flashers.
When you call, tell the towing service:
That your vehicle can only be towed with certain
equipment, as described later in this section.
0 That your vehicle has front-wheel drive.
The make, model and year of your vehicle.
0 Whether you can still move the shift lever.
0 If there was an accident, what was damaged.
When the towing service arrives, let the tow operator
know that this manual contains detailed towing
instructions and illustrations. The operator may want to
see them.
I
To help avoid injury to you or others:
Never let passengers ride in a vehicle that is
0 Never tow faster than safe or posted speeds.
Never tow with damaged parts not
fully secured.
Never get under your vehicle after it has
been lifted by the tow truck.
Always secure the vehicle on each side with
separate safety chains when towing it.
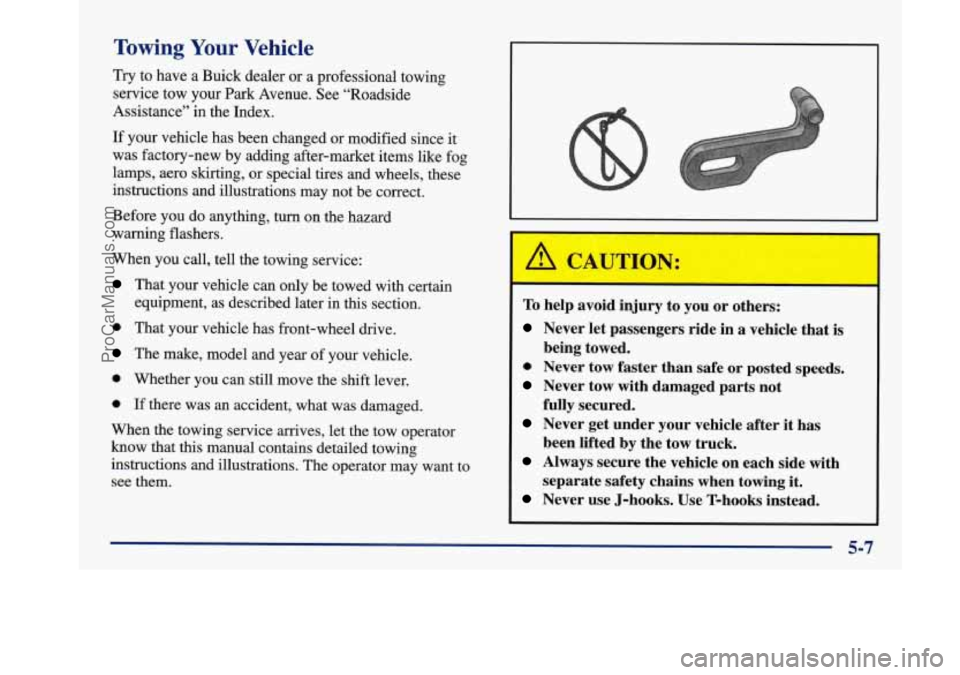
Never use J-hooks. Use T-hooks instead.
being towed.
5-7
ProCarManuals.com
Page 250 of 420
If a Tire Goes Flat
It’s unusual for a tire to “blow out” while you’re driving,
especially if you maintain your tires properly. If air goes
out of a tire, it’s much more likely to leak out slowly.
But if you should ever have a “blowout,” here are a few
tips about what to expect and what to do:
If a front tire fails, the flat tire will create a drag that
pulls the vehicle toward that side. Take your foot
off the
accelerator pedal and grip the steering wheel firmly.
Steer to maintain lane position, and then gently brake to
a stop well out of the traffic lane.
A rear blowout, particularly on a curve, acts much like a
skid and may require the same correction you’d use in a
skid. In any rear blowout, remove your foot from the
accelerator pedal. Get the vehicle under control by
steering the way you want the vehicle to go. It may be
very bumpy and noisy, but you can still steer. Gently
brake to a stop
-- well off the road if possible.
If a tire goes flat, the next part shows
how to use your
jacking equipment to change a flat tire safely.
Changing a Flat Tire
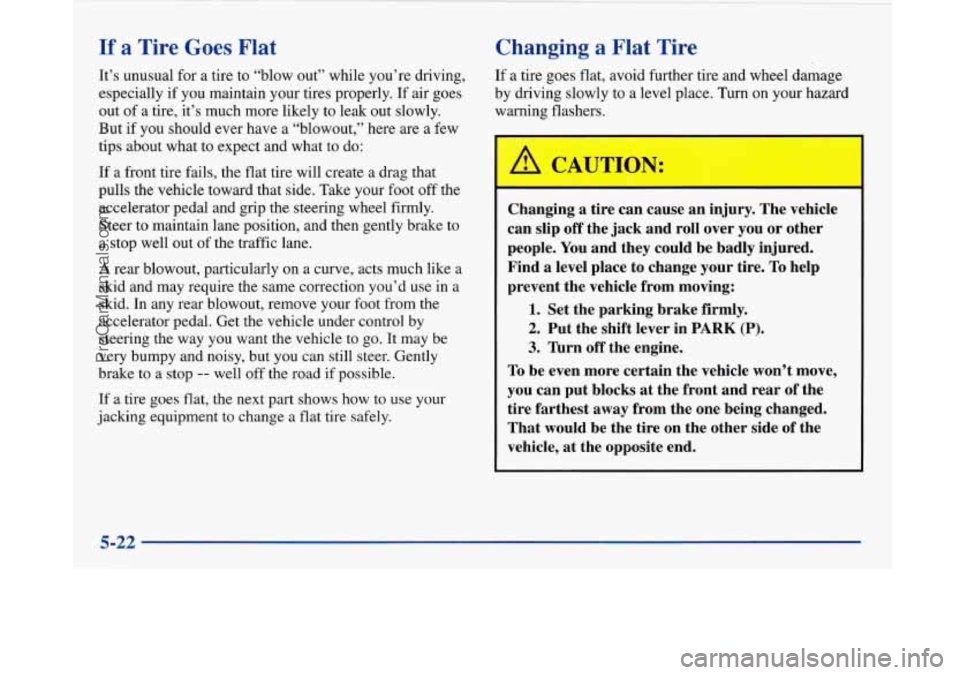
If a tire goes flat, avoid further tire and wheel damage
by driving slowly to a level place. Turn
on your hazard
warning flashers.
Changing a tire can cause an injury. The vehicle
can slip
off the jack and roll over you or other
people. You and they could be badly injured.
Find a level place to change your tire.
To help
prevent the vehicle from moving:
1. Set the parking brake firmly.
2. Put the shift lever in PARK (P).
3. Thrn off the engine.
To be even more certain the vehicle won’t move,
you can put blocks at the front and rear of the
tire farthest away from the one being changed.
That would be the tire on the other side of the
vehicle, at the opposite end.
5-22
ProCarManuals.com
Page 251 of 420
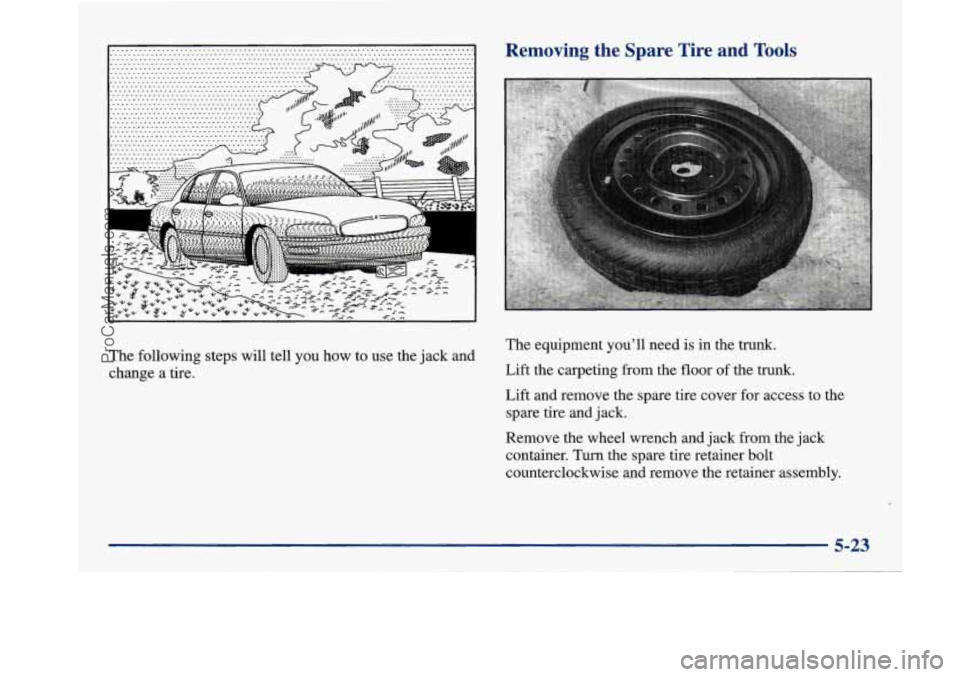
The following steps will tell you how to use the jack and
change a tire.
Removing the Spare Tire and Tools
The equipment you’ll need is in the trunk.
Lift the carpeting from the floor of the trunk.
Lift and remove the spare tire cover for access to the
spare tire and jack.
Remove the wheel wrench and jack from the jack
container. Turn the spare tire retainer bolt
counterclockwise and remove the retainer assembly.
5-23
ProCarManuals.com
Page 256 of 420
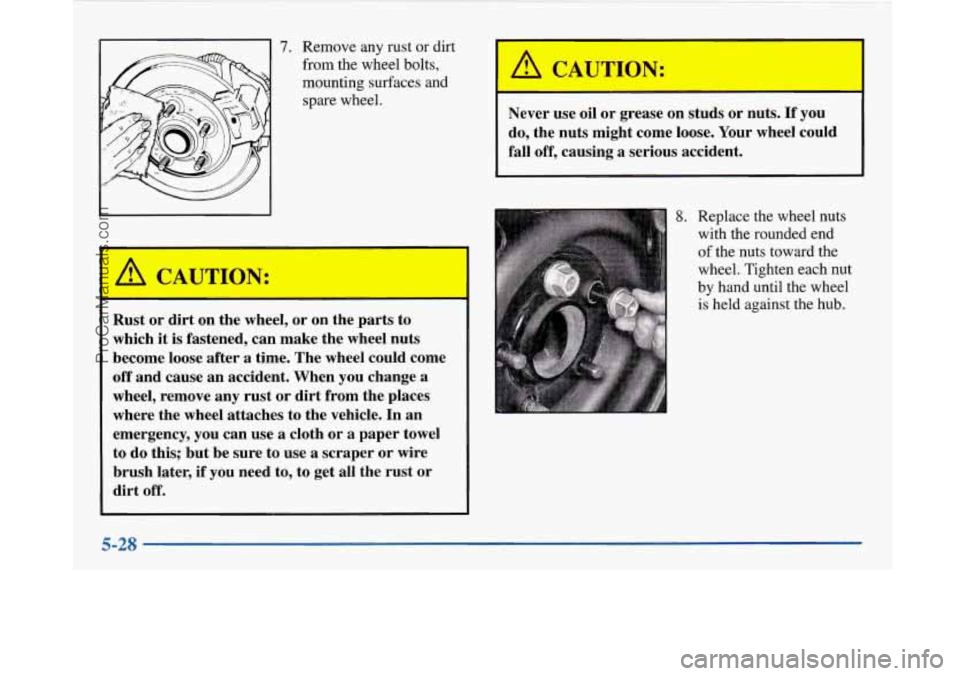
' 7. Remove any rust or dirt
from the wheel bolts,
mounting surfaces and spare wheel.
Rust or dirt on the wheel, or on the parts to
which
it is fastened, can make the wheel nuts
become loose after
a time. The wheel could come
off and cause an accident. When
you change a
wheel, remove any
rust or dirt from the places
where the wheel attaches
to the vehicle. In an
emergency,
you can use a cloth or a paper towel
to do this; but be sure to use
a scraper or wire
brush later, if you need to, to get all the rust
or
dirt off.
/1 CAUTMN:
Never use oil or grease on studs or nuts. If you
do, the nuts might come loose. Your wheel could
fall off, causing a serious accident.
8. Replace the wheel nuts
with the rounded end
of the nuts toward the
wheel. Tighten each nut
by hand until the wheel
is held against the hub.
A CAUTION: I
I
5-28
~
ProCarManuals.com
Page 297 of 420

Some driving conditions or climates may cause a brake
squeal when the brakes are first applied or lightly
applied. This does not mean something is wrong with
your brakes.
Properly torqued wheel nuts are necessary to help
prevent brake pulsation. When tires are rotated, inspect
brake pads for wear and evenly torque wheel nuts in the
proper sequence to GM specifications.
Your rear drum brakes don’t have wear indicators, but if
you ever hear a rear brake rubbing noise, have the rear
brake linings inspected.
Also, the rear brake drums should
be removed and inspected each time the tires
are removed
for rotation
or changing. When you have the front brakes
replaced, have the rear brakes inspected, too.
Brake linings should always be replaced as complete
axle sets.
See “Brake System Inspection’’ in Section
7 of this
manual under Part
C “Periodic Maintenance
Inspections”.
Brake Pedal Travel
See your dealer if the brake pedal does not return to
normal height, or if there is a rapid increase in pedal
travel. This could be a sign of brake trouble.
Brake Adjustment
Every time you apply the brakes, with or without the
vehicle moving, your brakes adjust for wear.
Replacing Brake System Parts
The braking system on a modern vehicle is complex. Its
many parts have to be of top quality and work well
together
if the vehicle is to have really good braking.
Your vehicle was designed and tested with top-quality
GM brake parts. When you replace parts of your braking
system
-- for example, when your brake linings wear
down and you have to have new ones put in
-- be sure
you get new approved GM replacement parts.
If you
don’t, your brakes may no longer work properly. For
example, if someone puts in brake linings that are wrong
for your vehicle, the balance between your front and
rear brakes can change
-- for the worse. The braking
performance you’ve come to expect can change in many
other ways if someone puts in the wrong replacement
brake parts.
6-33
ProCarManuals.com
Page 315 of 420
After the tires have been rotated, adjust the front and rear
inflation pressures as shown on the Tire-Loading
Information label. Make certain that
all wheel nuts are
properly tightened. See “Wheel Nut Torque”
in the Index.
When It’s Time for New Tires
Rust or dirt on a wheel, or on the parts to which
it is fastened, can make wheel nuts become loose
after a time. The wheel could come off and cause
an accident. When you change a wheel, remove
any rust or dirt from places where the wheel
attaches to the vehicle. In an emergency, you can
use a cloth or a paper towel to do this; but be
sure to use a scraper or wire brush later, if you
need to, to get all the rust or dirt off. (See
“Changing a Flat Tire” in the Index.)
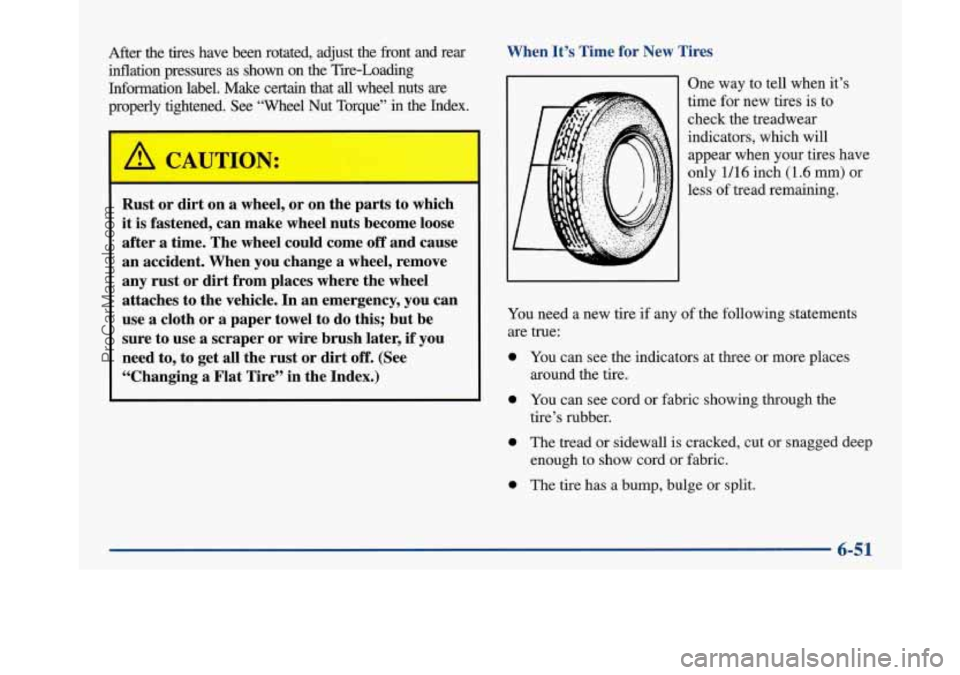
One way to tell when it’s
time for new tires is to
check the treadwear
indicators, which will appear when your tires have
only
1/16 inch (1.6 mm) or
less
of tread remaining.
You need a new tire if any of the following statements
are true:
0 You can see the indicators at three or more places
0 You can see cord or fabric showing through the
around
the tire.
tire’s rubber.
0 The tread or sidewall is cracked, cut or snagged deep
enough to show cord
or fabric.
0 The tire has a bump, bulge or split.
6-51
ProCarManuals.com
Page 340 of 420
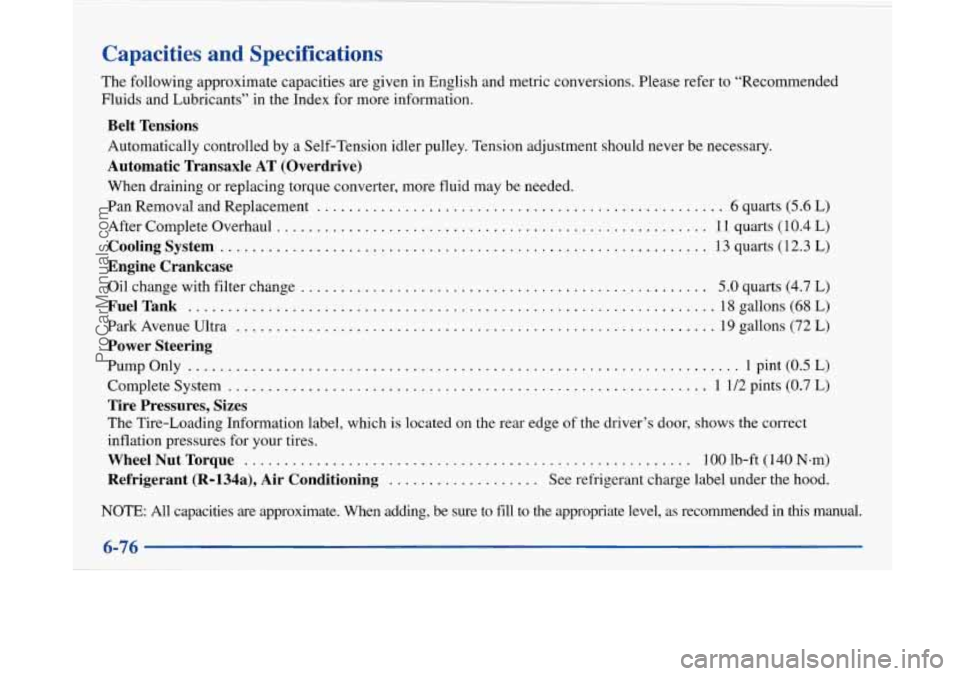
Capacities and Specifications
The following approximate capacities are given in English and metric conversions. Please refer to “Recommended
Fluids and Lubricants” in the Index for more information.
Belt Tensions
Automatically controlled by a Self-Tension idler pulley. Tension adjustment should never be necessary.
Automatic Transaxle AT (Overdrive)
When draining or replacing torque converter, more fluid may be needed.
Pan Removal and Replacement
................................................... 6 quarts (5.6 L)
After Complete Overhaul
...................................................... 11 quarts (10.4 L)
Cooling System ............................................................. 13 quarts (12.3 L)
Oil change with filter change ................................................... 5.0 quarts (4.7 L)
Park Avenue Ultra
............................................................ 19 gallons (72 L)
Engine Crankcase
FuelTank
......................,...........................................18gall\
ons (68L)
Power Steering
PumpOnly .....................................................................lpi\
nt (0.5L)
Tire Pressures, Sizes
The Tire-Loading Information label, which is located on the rear edge of the driver’s door, shows the correct
inflation pressures for your tires.
WheelNutTorque ........................................................ lOOlb-ft(140N~m)
Complete System
............................................................ 1
1/2 pints (0.7 L)
Refrigerant (R-l34a), Air Conditioning ................... See refrigerant charge label under the hood.
NOTE: All capacities are approximate. When adding, be sure to \
fill to the appropriate level, as recommended
in this manual.
ProCarManuals.com