1997 BUICK CENTURY turn signal
[x] Cancel search: turn signalPage 12 of 406
Vehicle Symbols
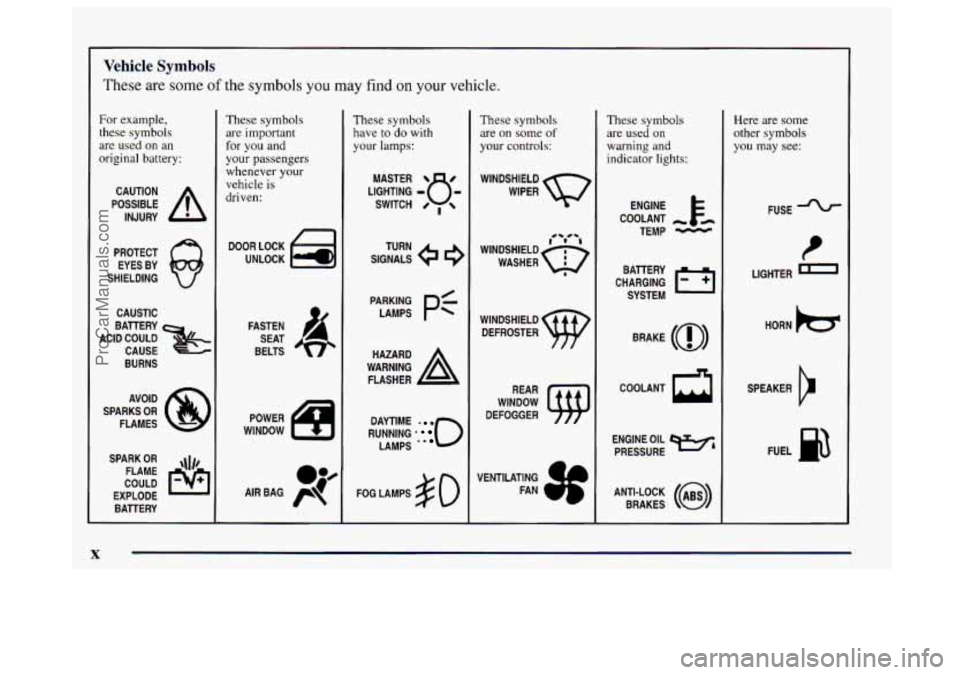
These are some of the symbols you may find on your vehicle.
For example,
these symbols
are used on an
original battery:
POSSIBLE A
CAUTION
INJURY
PROTECT EYES
BY
SHIELDING
CAUSTIC
BATTERY
CAUSE
BURNS
ACID COULD
&
AVOID
SPARKS
OR
FLAMES
SPARK
OR ,\I/,
COULD FLAME
EXPLODE BATTERY
. K
These symbols
are important
for you and
your passengers
whenever your
vehicle is
driven:
DOOR LOCK
UNLOCK
FASTEN SEAT
BELTS
These symbols have to do with
your lamps:
SIGNALS e
TURN
WARNING
A
HAZARD
FLASHER
RUNNING
' 0
DAYTIME rn
LAMPS .*
FOG LAMPS $0
These symbols
are on some
of
your controls:
WINDSHIELD
WIPER
WINDSHIELD DEFROSTER
WINDOW
DEFOGGER
These symbols are used
on
warning and
indicator lights:
ENGINE t
COOLANT - tm
TEMP -
CHARGING I-1
BATTERY
SYSTEM
BRAKE
(0)
COOLANT a
ENGINE OIL e,
PRESSURE
ANTI-LOCK
(@)
BRAKES
1
Here are some
other symbols
you may see:
FUSE
t
LIGHTER
HORN
)cr
SPEAKER
b
FUEL p3
ProCarManuals.com
Page 77 of 406

Section 2 Features and Controls
Here you can learn about the many standard and optional features on your Buick, and information on starting, shifting
and braking. Also explained are the instrument panel and the warning systems that tell you
if everything is working
properly
-- and what to do if you have a problem.
2-2
2-4
2-9
2- 14
2-15
2-16 2-17
2-17
2- 19
2-20
3-22
2-26
2-27
2-29
2-30
2-30
2-3 1
Keys
Door Locks
Remote Keyless Entry TrUnk
Theft
PASS-Key@ I1
New Vehicle “Break-In”
Ignition Positions Starting Your Engine
Engine Coolant Heater
Automatic Transaxle Operation
Parking Brake
Shifting Into PARK
(P)
Shifting Out of PARK (P)
Parking Over Things That Burn
Engine Exhaust
Running Your Engine While
You’re Parked 2-32
2-33
2-33
2-34
2-4 1
2-44
2-46
2-49
2-50
2-50
2-5 1.
2-52
2-52
2-53
2-54
2-55 Windows
Horn
Tilt Steering Wheel
Turn SignalMultifunction Lever
Exterior Lamps
Interior Lamps
Mirrors
Storage Compartments
Ashtrays and Lighter
Sun Visors
Auxiliary Power Connection
Sunroof
Cellular Phone Provisions
Instrument Panel
-- Your Information System
Instrument Panel Cluster
Warning Lights, Gages and Indicators
2-1
ProCarManuals.com
Page 86 of 406
This device complies with RSS-210 of Industry and
Science Canada. Operation is subject to the following
two conditions:
(1) this device may not cause
interference, and
(2) this device must accept any
interference received, including interference that may
cause undesired operation
of the device.
Changes or modifications to this system by other than
an authorized service facility could void authorization to
use this equipment.
This system has a range of about 3 feet (1 m) up to
30 feet (9 m). At times you may notice a decrease in
range. This is normal for any remote keyless entry system.
If the transmitter does not work or if
you have to stand
closer to your vehicle for the transmitter to work,
try this:
Check to determine if battery replacement is
necessary. See the instructions that follow.
Check the distance. You may be too far from your
vehicle. You may need to stand closer during rainy
or snowy weather.
Check the location. Other vehicles or objects may be
blocking the signal. Take a few steps to the left or
right, hold the transmitter higher, and try again.
If, you’re still having trouble, see your Buick dealer
or a qualified technician for service.
Operation
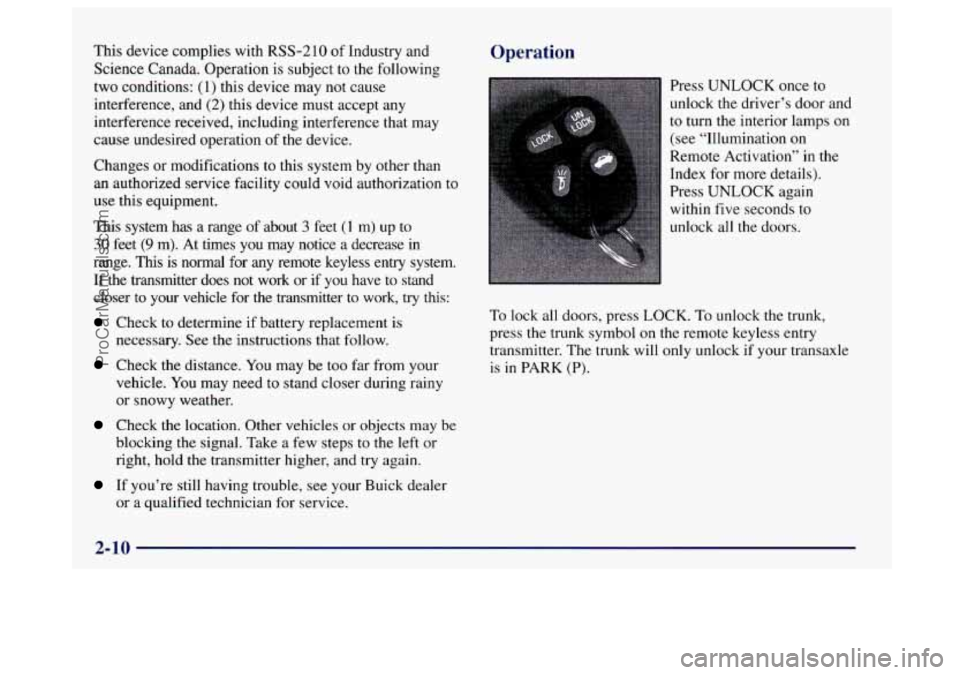
Press UNLOCK once to
unlock the driver’s door and
to turn the interior lamps on
(see “Illumination on
Remote Activation” in the
Index for more details).
Press
UNLOCK again
within five seconds to
unlock all the doors.
To lock all doors, press LOCK. To unlock the trunk,
press the trunk symbol on the remote keyless entry
transmitter.
The trunk will only unlock if your transaxle
is in PARK (P).
2-10
ProCarManuals.com
Page 110 of 406
Turn SignaUMultifunction Lever
L
Lr
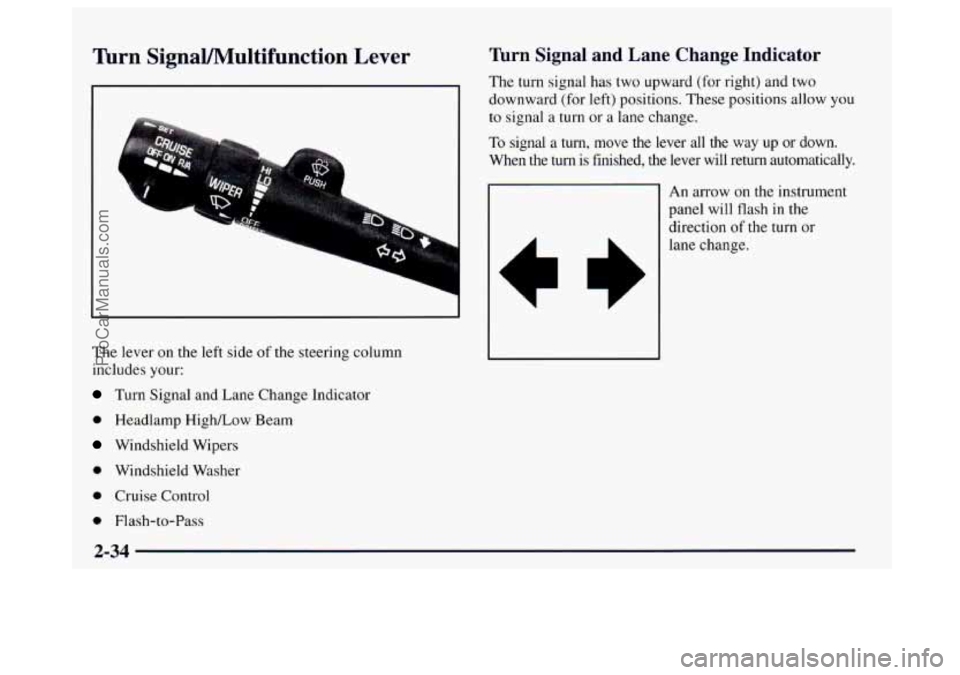
The lever on the left side of the steering column
includes your:
Turn Signal and Lane Change Indicator
0 Headlamp HighLow Beam
Windshield Wipers
0 Windshield Washer
0 Cruise Control
0 Flash-to-Pass
Turn Signal and Lane Change Indicator
The turn signal has two upward (for right) and two
downward (for left) positions. These positions allow
you
to signal a turn or a lane change.
To signal a turn, move the lever all the way up or down.
When the
turn is finished, the lever will return automatically.
An arrow on the instrument
panel will flash in the
direction of the turn
or
lane change.
2-34
ProCarManuals.com
Page 111 of 406
To signal a lane change, just raise or lower the lever
until the arrow starts
to flash. Hold it there until you
complete your lane change. The lever will return by
itself when you release
it.
As you signal a turn or a lane change, if the arrow
flashes faster than normal, a signal bulb may be burned
out and other drivers won’t see your turn signal.
If a bulb is burned out, replace it to help avoid an
accident. If
the arrows don’t go on at all when you
signal a turn, check for burned-out bulbs and then check
the fuse (see “Fuses and Circuit Breakers’’
in the Index).
A chime will sound if you leave your turn signal on for
more than
3/4 mile (1.2 km).
Headlamp High/Low Beam
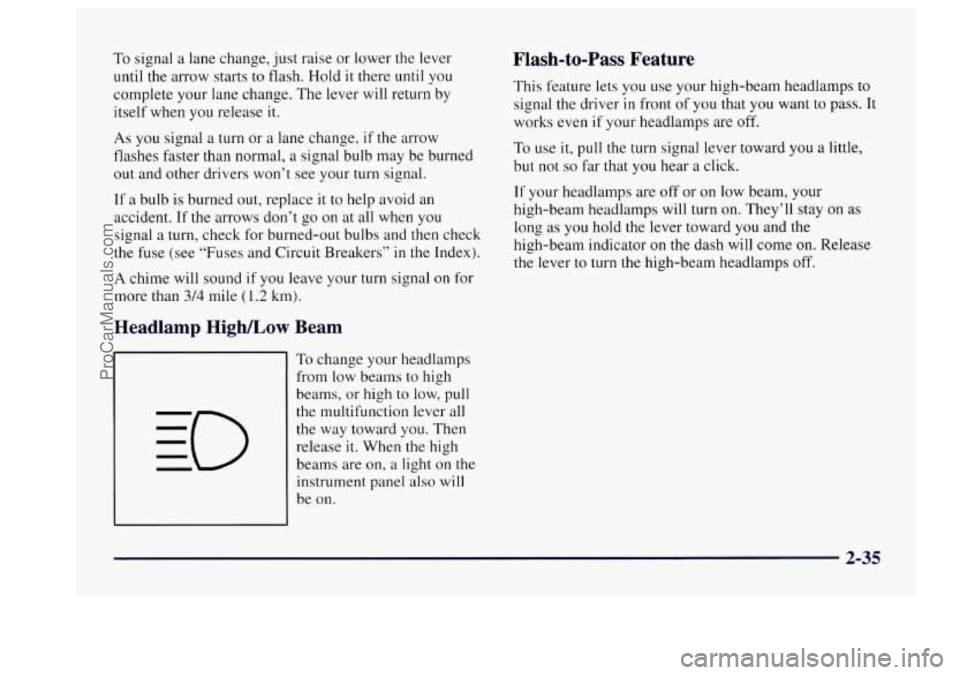
To change your headlamps
from low beams to high
beams, or high
to low, pull
the multifunction lever all
the way toward you. Then
release
it. When the high
beams are on, a light on
the
instrument panel also will
be on.
Flash-to-Pass Feature
This feature lets you use your high-beam headlamps to
signal the driver in front of you that you want to pass. It
works even if your headlamps are
off.
To use it, pull the turn signal lever toward you a little,
but not
so far that you hear a click.
If your headlamps are off or on low beam, your
high-beam headlamps will turn
on. They’ll stay on as
long as you hold the lever toward you and the
high-beam indicator
on the dash will come on. Release
the lever to turn the high-beam headlamps off.
2-35
ProCarManuals.com
Page 118 of 406
Daytime Running Lamps / Automatic
Headlamp Control
Daytime Running Lamps (DRL) can make it easier for
others to see the front
of your vehicle during the day.
DRL can be helpful
in many different driving
conditions, but
they can be especially helpful in the
short periods after dawn and before sunset.
A light sensor on top of the instrument panel makes the
DRL work,
so be sure it isn’t covered.
The DRL system
will make your front turn signal lamps
come on when:
0 The ignition is on,
The headlamp switch is off and
0 The parking brake is released.
When the DRL are on, only your your front turn signal
lamps will be on. The headlamps, taillamps, sidemarker
and other lamps won’t be
on. Your instrument panel
won’t be lit up either. When it’s
dark enough outside, your front turn signal
lamps will turn off and your vehicle’s headlamps and
parklamps will turn on. The other lamps that come on
with your headlamps will also come on.
When it’s bright enough outside, your headlamps will go
off and your front turn signal lamps will come on.
To idle your vehicle with the DRL off, set the parking
brake while the ignition is in
OFF or LOCK. Then start
your vehicle. The DRL, headlamps and parklamps will
stay off
until you release the parking brake.
As with any vehicle, you should turn on the regular
headlamp system when you need
it.
2-42
ProCarManuals.com
Page 178 of 406
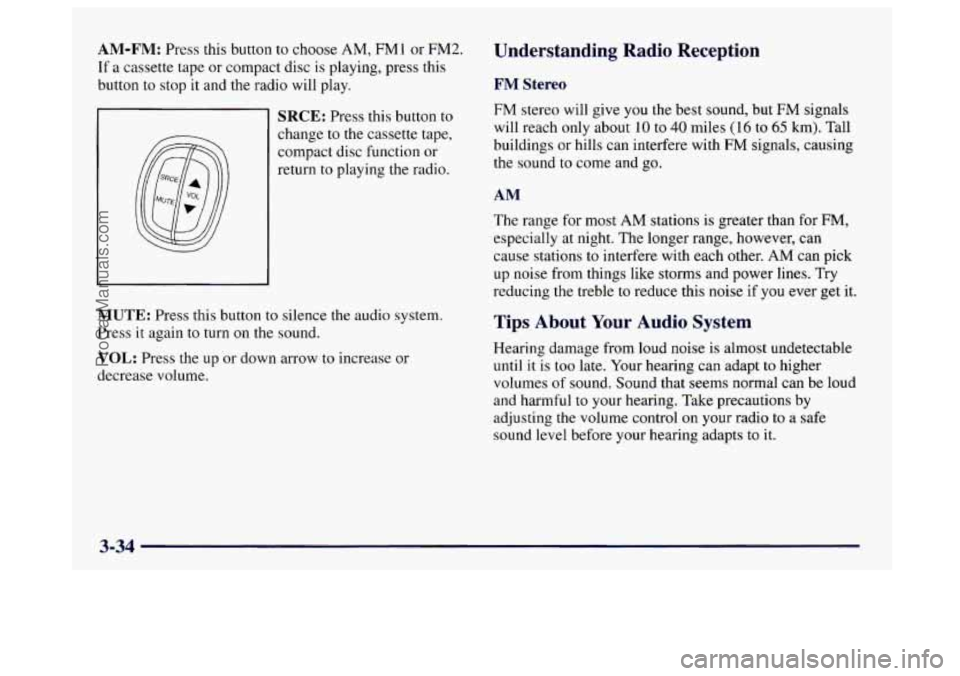
AM-FM: Press this button to choose AM, FM1 or FM2.
If a cassette tape or compact disc is playing, press this
button to stop it and the radio will play.
SRCE: Press this button to
change to the cassette tape,
compact disc function or
return
to playing the radio.
MUTE: Press this button to silence the audio system.
Press it again to turn on the sound.
VOL: Press the up or down arrow to increase or
decrease volume.
Understanding Radio Reception
FM Stereo
FM stereo will give you the best sound, but FM signals
will reach only about 10 to
40 miles (16 to 65 km). Tall
buildings or hills can interfere with FM signals, causing
the sound to come and go.
AM
The range for most AM stations is greater than for FM,
especially
at night. The longer range, however, can
cause stations to interfere with each other.
AM can pick
up noise from things like storms and power lines. Try
reducing the treble to reduce this noise
if you ever get it.
Tips About Your Audio System
Hearing damage from loud noise is almost undetectable
until
it is too late. Your hearing can adapt to higher
volumes
of sound. Sound that seems normal can be loud
and harmful to your hearing. Take precautions by
adjusting
the volume control on your radio to a safe
sound level before your hearing adapts to
it.
3-34
ProCarManuals.com
Page 180 of 406
Cleaning may be done with a scrubbing action,
non-abrasive cleaning cassette with pads which scrub
the tape head as the hubs of the cleaner cassette turn.
A
scrubbing action cleaning cassette is available through
your dealership.
You may also choose a non-scrubbing action, wet-type
cleaner which uses a cassette with a fabric belt to clean
the tape head. This type
of cleaning cassette may not
clean as thoroughly as the scrubbing type cleaner.
After you clean the player, press and hold EJECT for
five seconds to reset the
CLN indicator. The radio will
display
--- to show the indicator was reset.
Cassettes are subject to wear and the sound quality
may degrade over time. Always make sure the cassette
tape is in good condition before you have your tape
player serviced.
Care of Your Compact Discs
Handle discs carefully. Store them in their original cases
or other protective cases and away from direct sunlight
and dust. If the surface
of a disc is soiled, dampen a
clean, soft cloth in a mild, neutral detergent solution and
clean it, wiping from the center to the edge.
Be sure never to touch the signal surface when handling
discs. Pick up discs by grasping the outer edges or the
edge of the hole and the outer edge.
Fixed Mast Antenna
The fixed mast antenna can withstand most car washes
without being damaged. If the mast should ever become
slightly bent, you can straighten
it out by hand. If the
mast is badly bent, as it might be by vandals, you should
replace it.
Check every once in a while to be sure the mast
is still
tightened to the fender.
3-36
ProCarManuals.com