1997 BUICK CENTURY buttons
[x] Cancel search: buttonsPage 90 of 406
Resynchronizing Your Remote Keyless
Entry Transmitter
After you have changed the battery in your transmitter,
you will need
to resynchronize the transmitter. To do
this, press the
LOCK and UNLOCK buttons on the
transmitter together and hold for approximately seven
seconds
or until three brief horn chirps are heard. You
will also need to use
this procedure if your vehicle has
lost battery power for an extended period
of time.
Trunk
It can be dangerous to drive with the trunk open
because carbon monoxide
(CO) gas can come into
your vehicle. You can’t see or smell
CO. It can
cause unconsciousness and even death.
If you must drive with the trunk open or if
electrical wiring or other cable connections must
pass through the seal between the body and
the trunk:
Make sure all windows are shut.
Turn the fan on your heating or cooling
system to
its highest speed with the setting
on VENT. That will force outside air into
your vehicle. See “Comfort Controls” in
the Index.
instrument panel, open them all the way.
If you have air outlets on or under the
See C4Engine Exhaust” in the Index.
2-14
ProCarManuals.com
Page 123 of 406
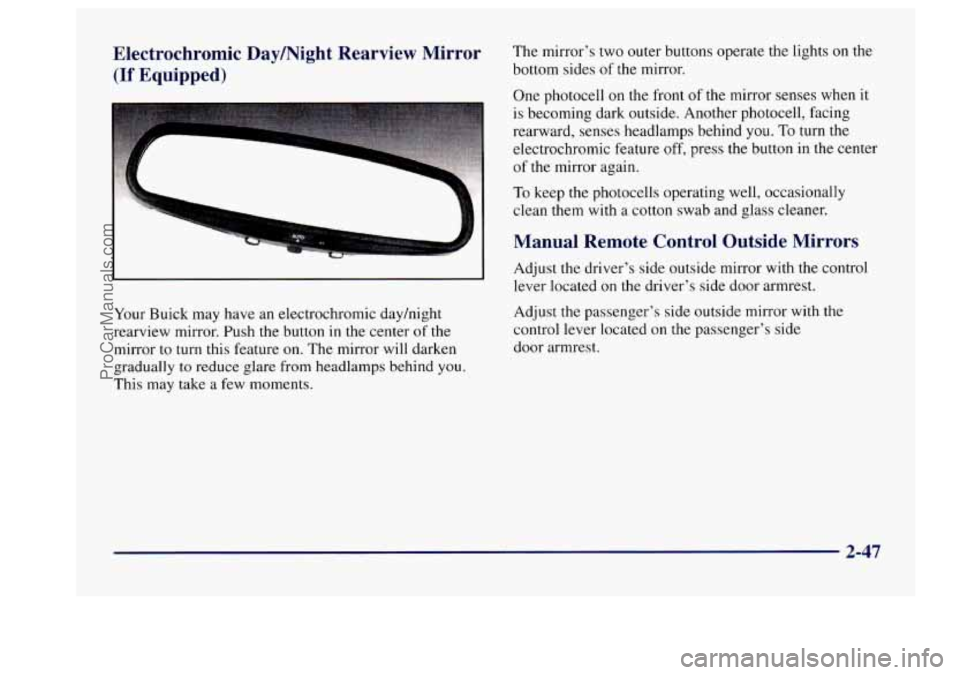
Electrochromic Daymight Rearview Mirror The mirror's two outer buttons operate the lights on the
(If Equipped) bottom sides of the mirror.
One photocell
on the front of the mirror senses when it
is becoming dark outside. Another photocell, facing
rearward, senses headlamps behind you.
To turn the
--
electrochromic feature off, press the button in the center
of the mirror again.
To keep the photocells operating well, occasionally
clean them
with a cotton swab and glass cleaner.
Manual Remote Control Outside Mirrors
Your Buick may have an electrochromic dayhight
rearview mirror. Push the button
in the center of the
mirror to turn this feature on. The mirror will darken
gradually to reduce glare from headlamps behind you.
This may take
a few moments. Adjust
the driver's side outside
mirror with the control
lever located on the driver's side door armrest.
Adjust
the passenger's side outside mirror with the
control lever located on the passenger's side
door armrest.
2-47
ProCarManuals.com
Page 124 of 406
Power Outside Mirrors (Option)
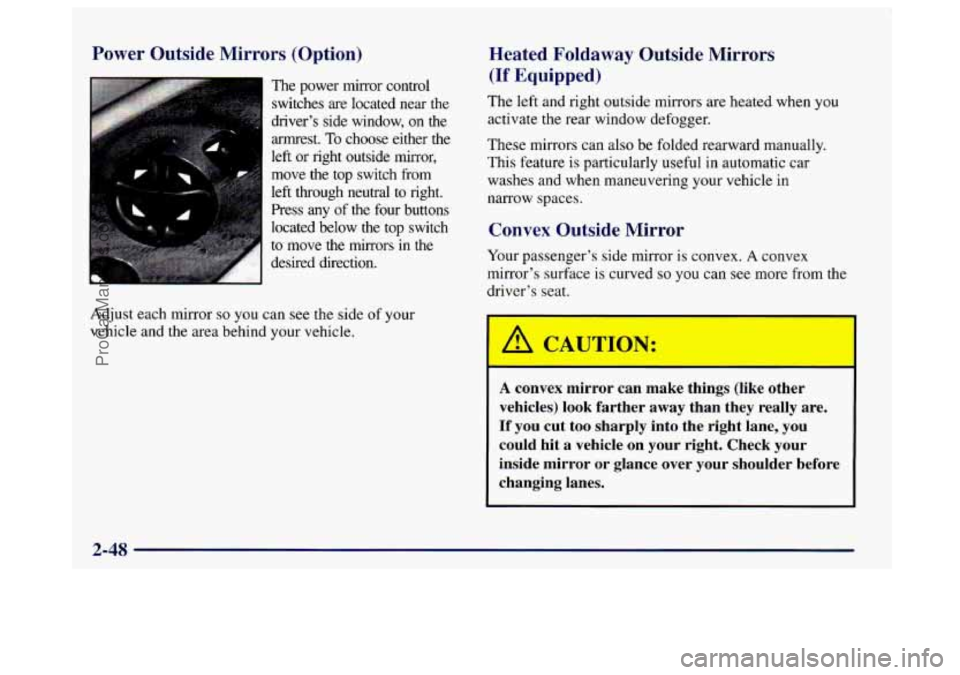
The power mirror control
switches are located near the
driver’s side window,
on the
annrest. To choose either the
left or right outside mirror,
move the top switch from
left through neutral
to right.
Press any
of the four buttons
located below the top switch
to move the mirrors in the
I desired direction.
Adjust each mirror
so you can see the side of your
vehicle and the area behind your vehcle.
Heated Foldaway Outside Mirrors
(If Equipped)
The left and right outside mirrors are heated when you
activate the rear window defogger.
These mirrors can also be folded rearward manually.
This feature is particularly useful in automatic car
washes and when maneuvering your vehicle in
narrow spaces.
Convex Outside Mirror
Your passenger’s side mirror is convex. A convex
mirror’s surface is curved
so you can see more from the
driver’s seat.
A convex mirror can make things (like other
vehicles) look farther away than they really are.
If you cut too sharply into the right lane, you
could hit a vehicle on your right. Check your
inside mirror or glance over your shoulder before
changing lanes.
2-48
ProCarManuals.com
Page 152 of 406
Passenger’s Temperature Control
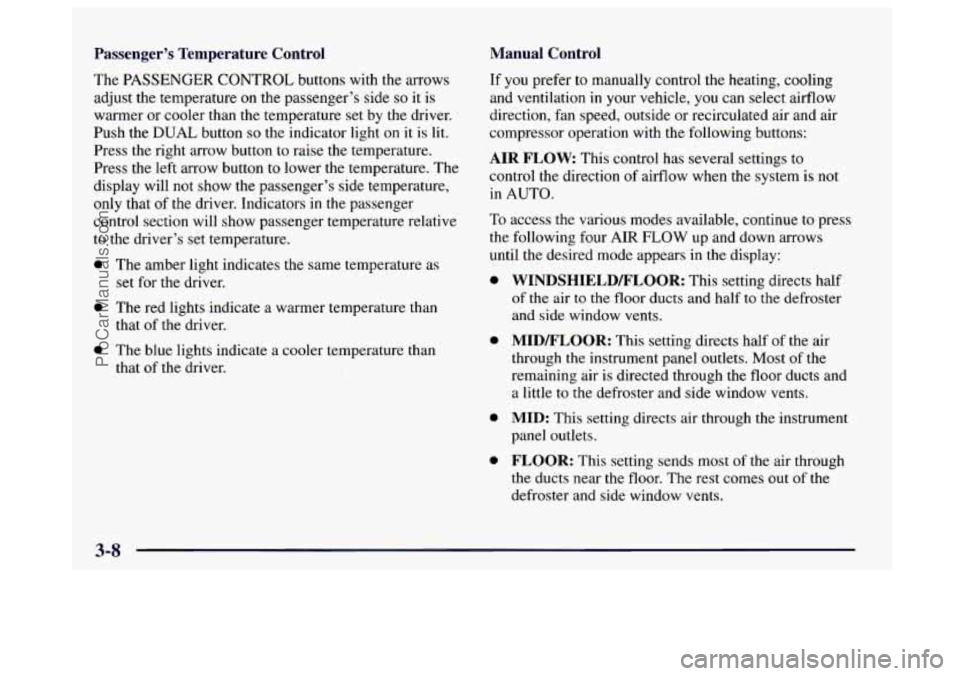
The PASSENGER CONTROL buttons with the arrows
adjust the temperature on the passenger’s side
so it is
warmer or cooler than
the temperature set by the driver.
Push the
DUAL button so the indicator light on it is lit.
Press the right arrow button to raise the temperature.
Press the left arrow button to lower the temperature. The
display will not show the passenger’s side temperature,
only that of the driver. Indicators in the passenger
control section will show passenger temperature relative
to the driver’s set temperature.
0 The amber light indicates the same temperature as
set for the driver.
0 The red lights indicate a warmer temperature than
that of the driver.
0 The blue lights indicate a cooler temperature than
that of the driver.
Manual Control
If you prefer to manually control the heating, cooling
and ventilation
in your vehicle, you can select airflow
direction, fan speed, outside or recirculated air and air
compressor operation with the following buttons:
AIR FLOW: This control has several settings to
control the direction of aifflow when the system is not
in AUTO.
To access the various modes available, continue to press
the following four
AIR FLOW up and down arrows
until the desired mode appears in the display:
0
0
0
0
WINDSHIELD/FLOOR: This setting directs half
of the air to the floor ducts and half to the defroster
and side window vents.
MID/FLOOR: This setting directs half of the air
through the instrument panel outlets. Most of the
remaining air
is directed through the floor ducts and
a little
to the defroster and side window vents.
MID: This setting directs air through the instrument
panel outlets.
FLOOR: This setting sends most of the air through
the ducts near the floor. The rest comes out of the
defroster and side window vents.
3-8
ProCarManuals.com
Page 158 of 406
PUSHBUTTONS: The six numbered pushbuttons let
you return to your favorite stations.
You can set up to
18 stations (six AM, six FM1 and six
FM2). Just:
1.
2.
3.
4.
5.
Turn the radio on.
Press the AM-FM button to select the band.
Tune in the desired station.
Press and hold
one of the six numbered buttons. The
sound will mute. When it returns, release the button.
Whenever you press that numbered button, the
station you set will return.
Repeat the steps for each pushbutton.
P SCAN: Press this button to listen to each of your
preset stations for a few sec0nd.s. The radio will go
to
the first preset station, stop for a few seconds, then go
on to the next preset station. Press
P SCAN again to stop
scanning. The radio will not stop at a preset station if the
station
is weak.
Setting the Tone
BASS:
Press this knob lightly so it extends. Turn the
knob
to increase or decrease bass.
TREB: Press this knob lightly so it extends. Turn the
knob to increase or decrease treble. If a station is weak
or noisy, you may want to decrease the treble.
Push these knobs back into their stored positions when
you’re not using them.
Adjusting the Speakers
BAL:
Turn the control behind the upper knob to move
the sound to the left or right speakers. The middle
position balances the sound between the speakers.
FADE: Turn the control behind the lower knob to move
the sound to the front or rear speakers. The middle
position balances the sound between the speakers.
3-14
ProCarManuals.com
Page 160 of 406
PUSHBUTTONS: The six numbered pushbuttons let
you return to your favorite stations. You can set up to
18 stations (six AM, six FM 1 and six FM2). Just:
1. Turn the radio on.
2. Press AM-FM to select the band.
3. Tune in the desired station.
4. Press and hold one of the six numbered buttons. The
sound will mute. When it returns, release the button.
Whenever you press that numbered button, the
station
you set will return.
5. Repeat the steps for each pushbutton.
P SCAN: Press this button to listen to each of your
preset stations for a few seconds. The radio will go to
the first preset station, stop for a few seconds, then
go
on to the next preset station. Press P SCAN again to stop
scanning. The radio will
not stop at a preset if the station
is weak.
Setting the Tone
BASS:
Press this knob lightly so it extends. Turn the
knob
to increase or decrease bass.
TREB: Press this knob lightly so it extends. Turn the
knob to increase or decrease treble. If a station is weak
or noisy, you may want to decrease the treble.
Push these knobs back into their stored positions when
you’re not using them.
Adjusting the Speakers
BAL: Turn the control behind the upper knob to move
the sound
to the left or right speakers. The middle
position balances the sound between the speakers.
FADE: Turn the control behind the lower knob to move
the sound to the front or rear speakers. The middle
position balances the sound between the speakers.
Playing a Cassette Tape
The longer side with the tape visible should face to the
right. If the ignition and the radio are on, the tape can be
inserted and will begin playing. If
you hear nothing or
hear a garbled sound,
the tape may not be in squarely.
Press EJECT to remove the tape and start over.
3-16
ProCarManuals.com
Page 163 of 406
RECALL: Press this button briefly to recall the station
being played or
to display the clock. To change what is
normally shown on the display (station or time), press
this button until you see the display
you want, then hold
the button until the display flashes. If you press the
button when the ignition is off, the clock will show for a
few seconds.
Finding a Station
AM-FM:
Press this button to switch between AM, FMl
and FM2. The display shows your selection.
TUNE: Press the up or down arrow to choose
radio stations.
SEEK: Press the up or down arrow to go to the next
higher or lower station and stay there. The sound will
mute while seeking.
SCAN: Press one of the SEEK arrows for two seconds
and SCAN will appear on the display. Use SCAN to
listen to stations for a few seconds. The radio will go to
a station, stop for a few seconds, then go on to the next
station. Press one of the
SEEK buttons again to stop
scanning. The sound will mute while scanning.
PUSHBUTTONS: The six numbered pushbuttons let
you return to your favorite stations. You can set up to
18 stations (six AM, six FM 1 and six FM2). Just:
1.
2.
3.
4.
5.
6.
Turn the radio on.
Press AM-FM to select the band.
Tune in the desired station.
Press
TONE to select the setting you prefer.
Press and hold one
of the six numbered buttons. The
sound will mute. When it returns, release the button.
Whenever
you press that numbered button, the
station you set will return and the tone you selected
will be automatically selected for that button.
Repeat the steps for each pushbutton.
P SCAN: Press this button to listen to each of your
preset stations for a few seconds. The radio will go
to
the first preset station, stop for a few seconds, then go
on to the next preset station. Press P SCAN again to stop
scanning. If a preset station has weak reception, the
radio will not stop at the preset station.
3-19
ProCarManuals.com
Page 164 of 406
AUTO SET Press this button and the system will seek
and
set the 12 strongest FM or the 6 strongest AM
stations on your preset buttons (depending
on which
band (AM or FM) you are listening to). AUTO SET will
flash while seeking and will remain on until this
function is complete. To return
to the stations you
manually set, press AUTO SET again.
Setting the Tone
BASS:
Press this knob lightly so it extends. Turn the
knob
to increase or decrease bass.
TREB: Press this knob lightly so it extends. Turn the
knob to increase or decrease treble. If a station is weak
or noisy, you may want to decrease the treble.
Push these knobs back into their stored positions when
you’re not using them.
TONE: This feature allows you to choose preset bass
and treble equalization settings designed for classical,
pop, rock, jazz, talk and country/western stations.
CLASS will appear on the display when you first press
TONE. Each time you press it, another setting will
appear
on the display. Press it again after C & W
appears and MANUAL will appear. Tone control will
return to the BASS and TREB knobs. Also, if you use
the
BASS and TREB knobs, control will return to them
and MANUAL will appear.
Adjusting the Speakers
BAL:
Press this knob lightly so it extends. Turn the
knob to move
the sound to the left or right speakers.
The middle position balances the sound between
the speakers.
FADE: Press this knob lightly so it extends. Turn the
knob to move the sound to the front or rear speakers.
The middle position balances the sound between
the speakers.
Push these knobs back into their stored positions when
you’re not using them.
Playing a Cassette Tape
The longer side with the tape visible should face to the
right.
If the ignition and the radio are on, the tape can be
inserted and will begin playing. If
you hear nothing or
hear a garbled sound, the tape may not be in squarely.
Press EJECT
to remove the tape and start over.
While the tape is playing, use
the VOLUME, FADE,
BAL, BASS and TREB controls just as you do for the
radio. Other controls may have different functions when
a tape
is inserted. The display will show an arrow to
show which side of the tape is playing.
3-20
ProCarManuals.com