Page 6 of 274
(for
example , Radio operation instructions).
and the supplement should be read
''Vehicle operation ". T here you will see how
For safety reasons please note also the information regarding additional acces
sories, modifications and parts replace ment on page 153.
The oth er chap ters are also impo rtant cause correc t op eration of t he vehicle -in
ad dition to pro per care and mainten ance -
serves to mai ntain the value of th e
ditions for upholding warranty claims . Notes
explaining this manual
:
This manual describes
the equipment
concern safety and are highlighted like this throughout this manual.
Texts identified by this symbol and
terisk may be sta nd ard on certain models
and opti ona l o n ot he rs.
Page 10 of 274

page
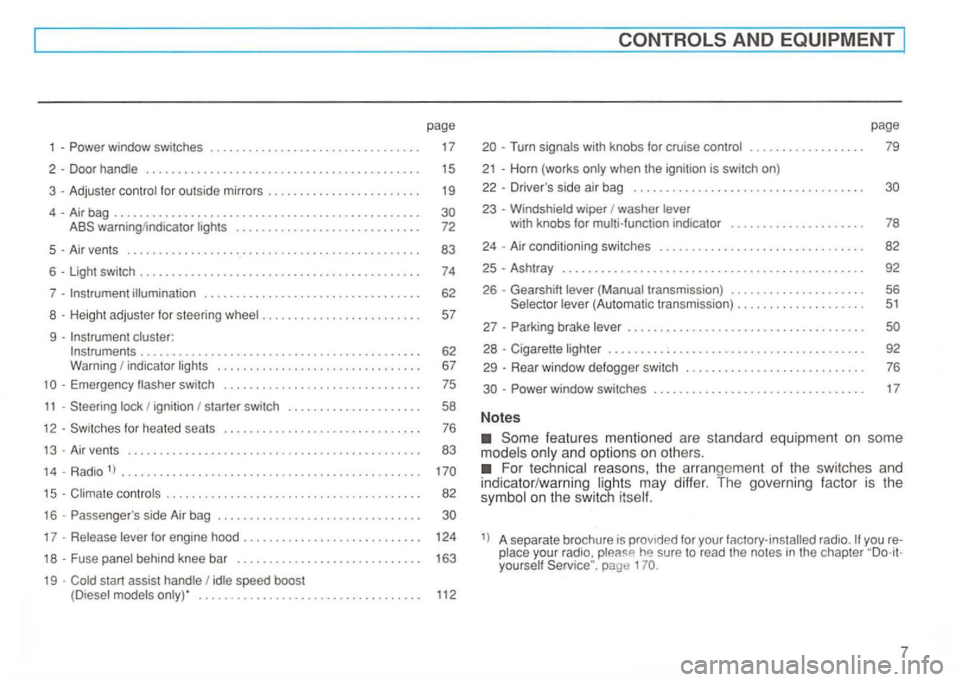
window switches . . . . . . . . . . . . . . . . . . . . . . . . . . . . . 17
2 -Door handle . . . . . . . . . . . . . . . . . . . . . . . . . . . . . . . . . . . . . . . . . . . 15
3 -Adjuster control for outside mirrors . . . . . . . . . . . . . . . . . . . . . . . . 19
4 -Air bag . . . . . . . . . . . . . . . . . . . . . . . . . . . . . . . . . . . . . . . . . . . . . . . . . . . . . . 72
5 -Air vents . . . . . . . . . . . . . . . . . . . . . . . . . . . . . . . . . . . . . . . . . . . . . . 83
6 -Light switch . . . . . . . . . . . . . . .. .. . . . .. .. . . . . . . . . . .. . . . . . . . . 7 4
7 -
illumination . . . . . . . . . . . . . . . . . . . . . . . . . . . . . . . . . . 62
8 -Height adjuster for steering wheel . . . . . . . . . . . . . . . . . . . . . . . . . 57
9 -
cluster: . . . . . . . . . . . . . . . . . . . . . . . . . . . . . . . . . . . . . . . . . . . . 62 Warning indicator lights . . . . . . . . . . . . . . . .
-Steering lock ignition starter switch . . . . . . . . . . . . . .
. . . . . . . . . . . . . . 83
14-1
) . . . . . . . .
15 -Climate controls . . . . . . . . . . . . . . . . . . . . . . . . . . . . . . . . . . . . . . . . 82
16 -
side Air bag . . . . . . . . . . . . . . . . . . . . . . . . . . . . . . . .
idle speed boost
( D1esel models . . . . . . . . . . . . . . . . . . . . . . . . . . . . . . . . . . . 112
-Turn signals with knobs for cruise control ................. .
21 -Horn (works only when the ignition is switch on)
22 -Driver 's side air bag ................................... .
23 -Windshield wiper washer lever
w ith knobs for multi -function indicator .................... .
24 -Air conditioning switches ...............•........•.......
25 -Ashtray .............................•.................
26 -Gearshift lever (Manual transmission) .................... .
Selector lever (Automatic transmission) ............... .... .
27 -
29 -Rear window defogge r switch ................•...........
-
78
82
92
56 51
For technical reasons, the arrangement of the switches and
indica to r/warnin g lig hts may differ. The govern ing factor is the symbol on the sw itch itself.
1
) A separate brochure is prov1ded for your you place your radio , yourself Service".
7
Page 11 of 274
Airbag system High beam 71
temperature 69
Generator Turn
pressure 69 71
BRAKE or Brake 71 CHECK Light
Page 13 of 274
AND EQ UIPMENT
K eys
A - Mas te r key
T his key fits locks on the vehic le.
B-Secondary key
Your Volkswagen comes with three keys:
This key is only for the doors, and the
you have to leave a key wit h somebo dy
else , it may be adv isa ble to giv e them this
key only.
This tag gives the key numbe r.
For your prot ection ag ain st th eft:
R ecord the key number and keep it in a
safe place , suc h as your wallet. Do not keep
i t in the vehicle.
thor ized Volkswagen dealer with the key
number to obtain a du pl ica te key.
Master key with light*
To sw itch on light , press the button in the center of the key head (arrow 1) and hold.
To replace battery or bulb:
a coin into the slit on the side of the
key head (arrow 2) and twist to open.
so as not to pollute the environment.
Always heed
Page 33 of 274

AND
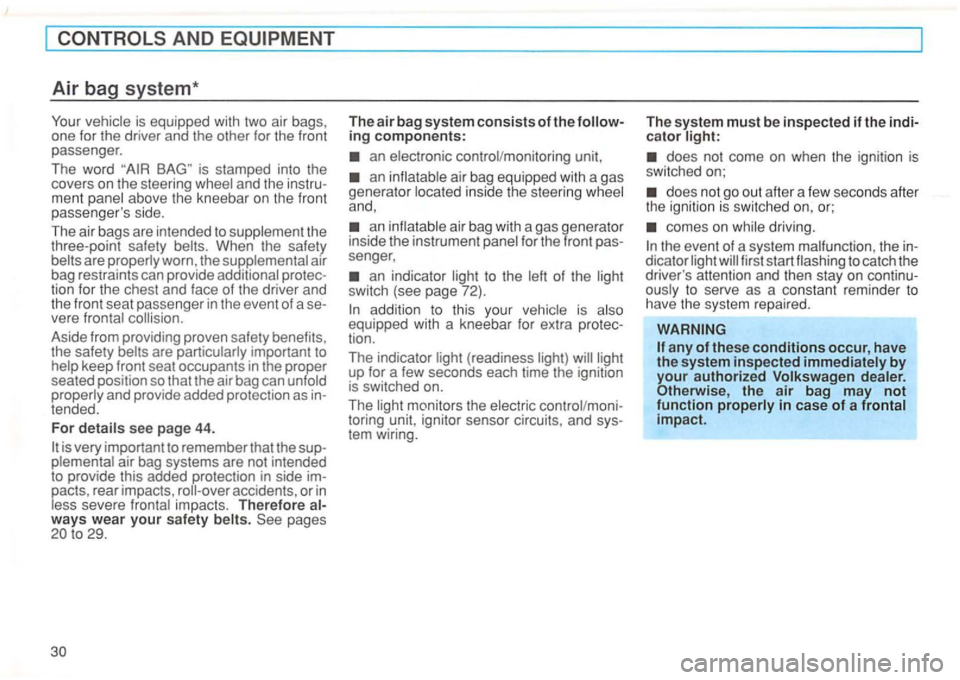
is stamped into the
covers on the stee ring wheel and the instru
ment panel above the kneebar on the front
passenger 's side.
The air bag s are intended
to supplement the
three-point safety belts. When the sa fety
belts are properly worn, the supplemental air
bag resiraints can provide additiona l protec
tion for the chest and
face of the driver and
the front seat passe nger in the even t o f a se
vere frontal collision.
Aside from providing proven safety benefits ,
the safety belts are particularly important to
help keep front seat occupants in the proper
seated position so that the air bag can unfold
prope rly and provide added protection as in
tended.
Fo r
details see page 44.
The air bag system consists of the following components:
an electron ic control /mon itoring unit,
an inflatable air bag equipped with a gas
genera tor located inside the steering wheel
and,
an inf latable air bag with a gas generator
inside the instrument panel for the front pas
sen
ger,
an indicator light to the left of the light
swi tch (see page 72).
addition to this your vehicle is also
equipped with a kneebar for extra protec
tion.
The indicator light (readi ness light) will light
up for a few seconds each time the ignition
is switched on.
The light monitors the electric control/mon i
toring unit, ignitor sensor circuits, and sys
tem wiring. The
system must b
e inspected if the indi
c ator light:
comes on while drivi ng.
any of these conditions occur, have the system inspected immediately by your authorized Volkswagen dealer. Otherwise, the air bag may not function properly in case of a frontal impact.
Page 50 of 274
Folding seat back
First fold back rear seat backrest.
tween the backrest and seat cushion and
then cannot be used.
Lugg age compartment cover
Unhook the retaining straps from the rear
window frame.
th e release knobs on the seatback
and tilt the seatback slightly forward. Place
the cover behind the seatback with the peted side facing the luggage compartment.
Place the retaining straps between the
seatback and the whee l housings.
When reinstalling, slide the cover
gage compartment cover, always hold
the cover in a horizontal position to avoid
damaging the head liner.
47
Page 53 of 274
AND
case one of the two brake circuits fails,
increased brake pedal travel is required to
bring the vehicle
to a
You shoul d always be able to depress
the acce lerato r and the clutch pedals the
way down to the
use floor mats which the
The parking brake is located between
t he front seats.
up
tion is on, the brake warning light light up.
Depress brake pedal and whil e leasing parking brake. To release the ing brake , pull the lever slightly up, depress the release button (a rrow) , and then push the lever the way down . When the ing brake is released , the brake warning
light go out.
WARN ING
overheat
the rear brakes , reduce their effective ness an d cause excessiv e
wear .
(Automatic transmi ssion) or move the gearshift lever to or ( man ual transmission) . also turn the
w hee ls t oward th e curb.
Page 57 of 274

stop and the engine is running at id le speed.
Stuck in snow, mud or sand
When alternating between forward and re
verse in an effort to free the vehicle, depress
the accelerator pedal slightly while the tran
smiss ion is in gear, and release the accele ra
t o r p ed al whi le sh ifti ng. D o not race th e engine a nd avo id spinni ng th e wheels.
Do
not repeat back and forth with wheels spinning at high engine
speed and heavy throttle, as serious damage may be caused to the Automati c transmission and othe r crit ical parts.
54
Parking
a very steep incline, however, you
should first depress the brake pedal, en
gage the parking bra ke and the n move the
selector lever completely to posit ion P. By
do ing
this , the mechanism and it be easier to rele ase
the park ing brake .
Stopping
When stopping briefly, a t a traffic light for
example , it is not necessary to move these
l ec t
or lever to N (Neutra l).
The driving pos itions must never be used
for holding the vehicle on a hill. Always use
your foot brake when stopped on inclines.