1996 PONTIAC BONNEVILLE clock
[x] Cancel search: clockPage 62 of 387
To replace the battery:
1. Insert a coin into the notch near the keyring. Turn the
coin counterclockwise to separate the two halves
of
the transmitter.
2. Once the transmitter is separated, use a pencil to
remove the old battery.
Do not use a metal object.
3. Remove and replace the battery. Replace it as the
instructions inside the cover indicate.
Trunk
Be. sure not to touch any of the black boxes or the
green surfaces. Any static transferred from your
body to these areas may cause the transmitter to
be inoperative.
no moisture can enter.
4. Snap the transmitter back together tightly to be sure
5. Resynchronize the transmitter by pressing and holding
the LOCK and UNLOCK buttons for about eight
seconds.
You must be within range of the vehicle.
When the transmitter has been resynchronized, the
horn will clwp
and the exterior lamps will flash once.
Trunk Lock Release
To unlock the trunk from the outside, insert the door key
and turn it.
Remote Trunk Release (Option)
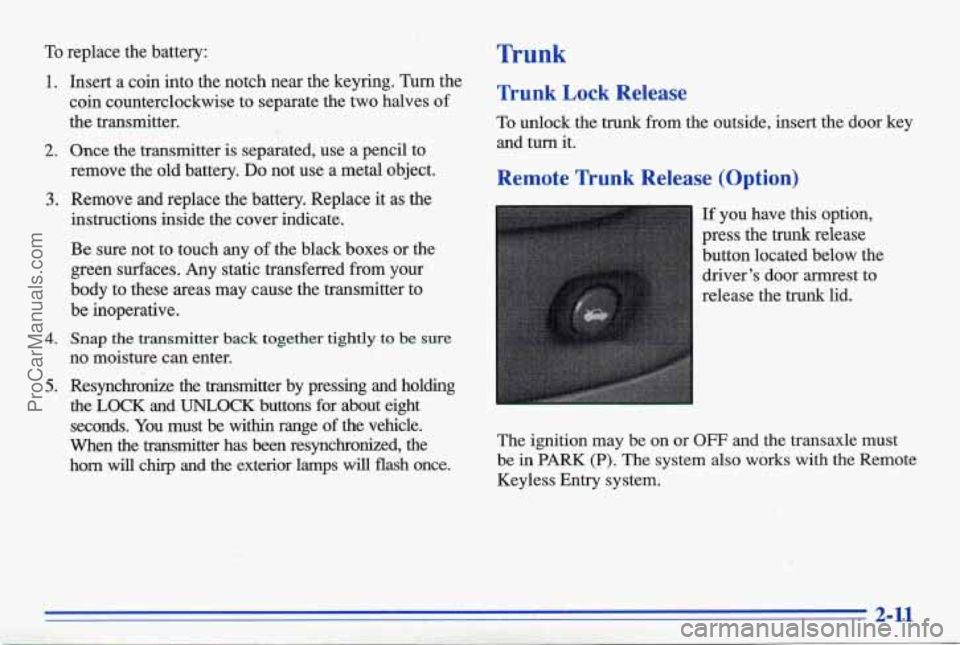
If you have this option,
press the trunk release
button located below the
driver’s door armrest to
release the
trunk lid. I -. ’ .’-
The ignition may be on or OFF and the transaxle must
be in
PARK (P). The system also works with the Remote
Keyless Entry system.
ProCarManuals.com
Page 95 of 387
To operate twilight sentinel, turn the control to MAX for
the three minute delay.
Turn it the other way to reduce
the delay. Turn the control to MIN to turn twilight
sentinel
off.
,. Also, it's possible that your headlamps my go out if
': ,_ .:'. * , . :' you drive from a dark area into a bright area like a
' lighted parking lot. If this happens, turn on your
headlamps with the regular headlamp switch.
Interior Lamps
Instrument Panel .Intensity/Brightness
Control
You can brighten or dim your instrument cluster lights
by
turning the headlamp switch. Turn the switch
clockwise to brighten the instrument cluster lights
and
displays. Turn the switch clockwise all the way t'o turn
on the interior courtesy lamps. Turn the switch
counterclockwise to dim the instrument cluster lights
and displays and to turn off the courtesy lamps.
Delayed Illumination
When you open the door, the interior lamps will come
on. When you
close the door with the ignition off, the
interior lamps will stay on
for 25 seconds or until the
ignition
is turned to an on position. Please note that locking the doors
will override the delayed illumination
feature and the lamps will
turn off right away.
Theater Dimming
This feature allows for a thee to five-second fade out of
the courtesy lamps instead of immediate turn off.
Exit Lighting
With this feature, the interior lamps will come on for
25 seconds after you remove the key from the ignition.
This will give you time to fhd the door pull handle or
lock switches.
Illuminated Entry (Option)
When you lift the handle of either front door, a Imp
will glow around the door lock. This will help you insert
the door key at night.
The lamps inside your vehicle will also go on. These
lamps will
go off after about 25 seconds, or when you
start
your engine. These lamps will also go on when
you press any button on the optional Remote Keyless
Entry transmitter.
If a door is left ajar, your interior lamps will turn off
after 10 minutes to save your battery.
ProCarManuals.com
Page 138 of 387
Section 3 Comfort Controls and Audio Systems
In this section you'll find out how to operate the comfort Standard Climate Control System
control and audio systems offered with your Pontiac. Be
sure to read about the particular systems supplied with
your vehicle.
Comfort Controls
This section tells you how to make yo'ur air system
work
for you. Your comfort control system uses
ozone-friendly R- 134a refrigerant.
With these systems, you can control the heating,
cooling and ventilation in your Pontiac.
Your vehicle
also has a flow-through ventilation system described
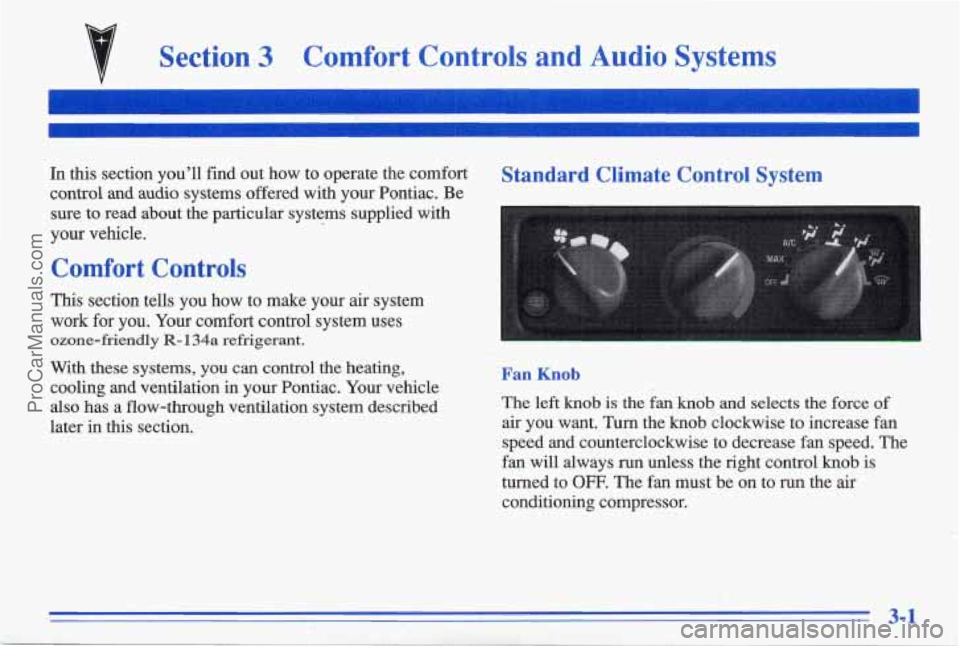
later in this section. Fan Knob
The left knob is the fan knob and selects the force of
air you want. Turn the knob clockwise to increase fan
speed and counterclockwise to decrease fan speed. The
fan
will always run unless the right control knob is
turned to
OFF. The fan must be on to run the air
conditioning compressor.
3-1
ProCarManuals.com
Page 146 of 387
After 10 minutes it will turn off by itself or press the
button during the heating cycle to turn
it off. If you need
additional warming time, push the button again. The
system will then operate for five minutesbefore going
off by itself.
Do not attach a temporary vehicle license, tape or decals
across the defogger grid on the rear window.
I NOTICE:
Don't use a razor blade or something else sharp
on the inside of the rear window. If you do, you
could cut or damage the warming grid, and the
repairs wouldn't be covered
by your warranty.
Audio Systems
Your Delco@ audio system has been designed to operate
easily
and give years of listening pleasure. You will get
the most enjoyment out
of it if you acquaint yourself
with itfirst. Find out what your Delco system can do
and'how to operate all its controls, to
be sure you're
getting the most out
of the advanced engineering that
went into it.
Setting the Clock for AM-FM Stereo
Press SET. Within five seconds, press and hold the
SEEK down arrow until the correct hour appears on the
display. Press
and hold the SEEK up arrow until the
correct minute appears on the display.
Setting the Clock for All Systems Except
AM-FM Stereo
Press and hold HR until the correct hour appears. Press
and hold MIN until the correct minute appears. There
will be a two-second delay before the clock goes into
time-set mode, and the colon on the display will blink
while
in this mode.
.. . . . i .,,*.$'
3-9
ProCarManuals.com
Page 147 of 387
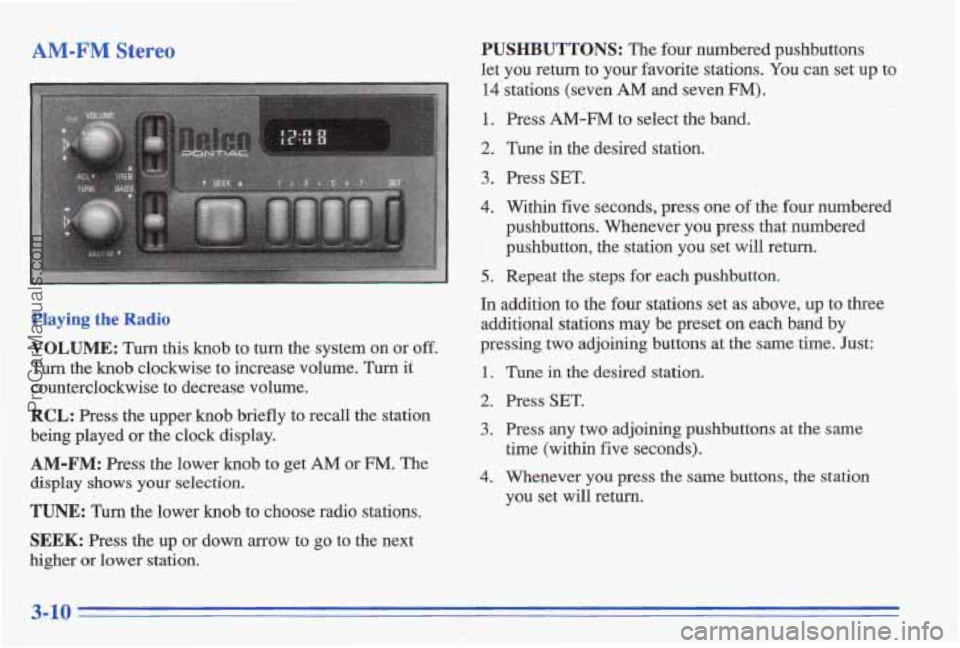
reo
1.
I ' Playing the I
VOLUME: Turn this knob to turn the system on or off.
Turn the knob clockwise to increase volume. Turn it
counterclockwise to decrease volume.
RCL: Press the upper knob briefly to recall the station
being played or the clock display.
AM-FM: Press the lower knob to get AM or FM. The
display shows your selection.
TUNE: Turn the lower knob to choose radio stations.
SEEK: Press the up or down arrow to go to the next
higher or lower station.
PUSHBUTTONS: The four numbered pushbuttons
let you return to your favorite stations.
You can set up to
14 stations (seven AM and seven FM).
1. Press AM-FM to select the band.
2. Tune in the desired station. 1
3. Press SET.
4. Within five seconds, press one of the four numbered
pushbuttons. Whenever you press that numbered
', pushbutton, the station you set will return.
5.. Repeat the steps for each pushbutton.
In addition to the four stations set as above, up to three
additional stations may be preset on each band by
pressing
two adjoining buttons at the same time. Just:
1.
2.
3.
4.
Tune iil the desired station.
Press
SET.
Press any two adjoining pushbuttons at the same
time (within five seconds).
Whenever
you press the same buttons, the station
you set
will return.
ProCarManuals.com
Page 148 of 387
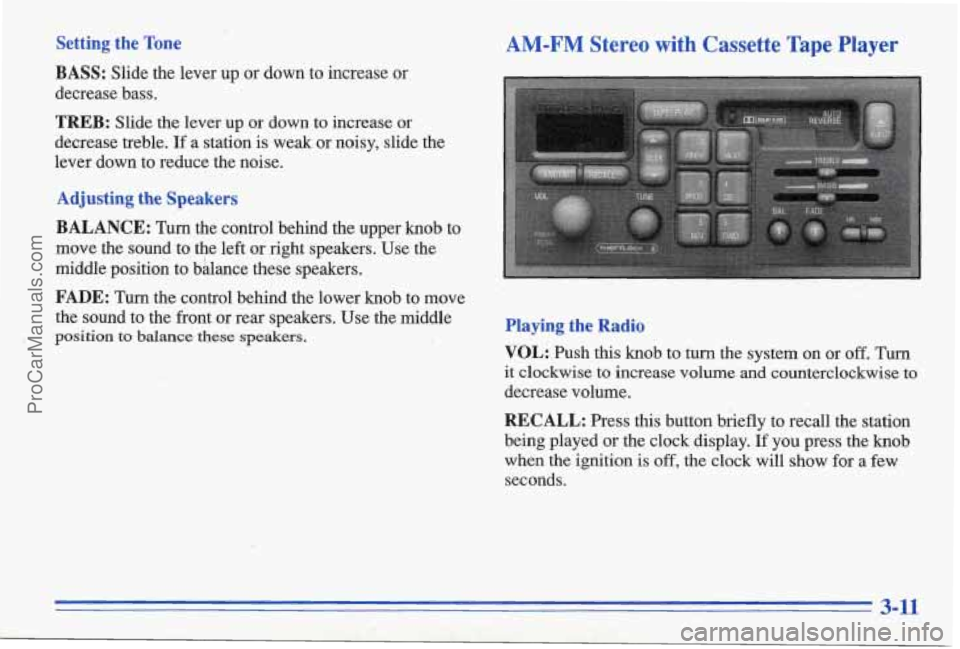
Setting the Tone
BASS:
Slide the lever up or down to increase or
decrease bass.
TREB: Slide the lever up or down to increase or
decrease treble. If a station is weak or noisy, slide the
lever down to reduce the noise.
Adjusting the Speakers
BALANCE:
Turn the control behind the upper knob to
move the sound to the left or right speakers. Use the
middle position to bhance these speakers.
,i;.< . :-; ;:&
FADE: Turn the control behind the lower knob to move
the sound to the front or rear speakers. Use the middle
position to balance these speakers.
. , I&<, . ._', . - , -
AM-FM Stereo with Cassette Tape Player
Playing the Radio
VOL:
Push this knob to turn the system on or off. Turn
it clockwise to increase volume and counterclockwise to
decrease volume.
RECALL: Press this button briefly to recall the station
being played or the clock display.
If you press the knob
when the ignition is
off, the clock will show for a few
seconds.
3-11
ProCarManuals.com
Page 150 of 387
Playing a Cassette Tape
You tape player is built to work best with tapes that are
30 to 45 minutes long on each side. Tapes longer than
that are
so thin they may not work well in this player.
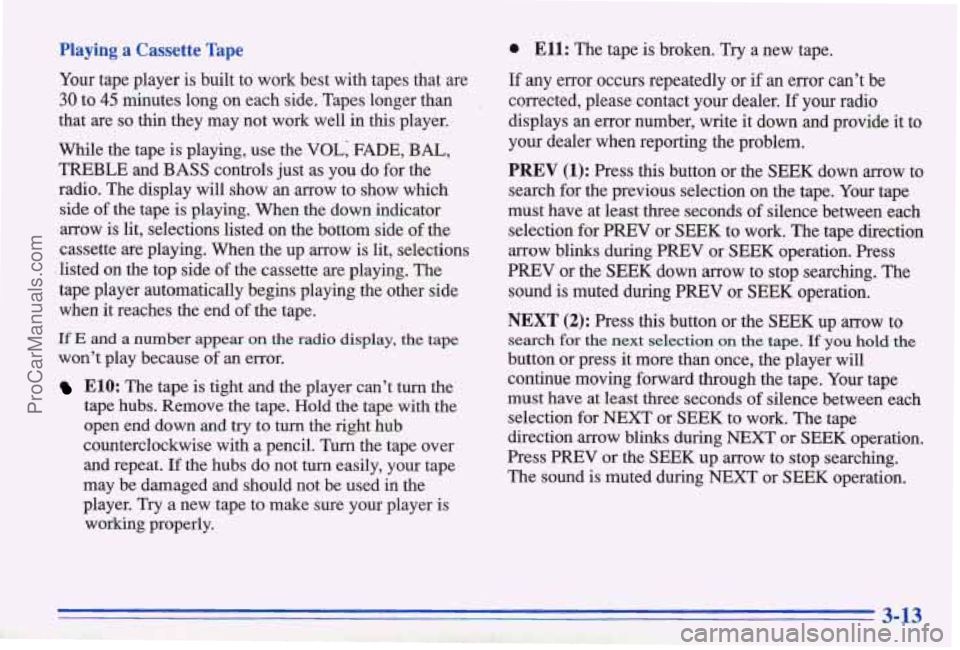
While the tape is playing, use the VOL; FADE, BAL,
TREBLE and BASS controls just as you do for the
radio. The display
will show an arrow to show which
side
of the tape is playing. When the down indicator
arrow is lit, selections listed
on the bottom side of the
cassette are playing. When the up arrow is lit, selections
listed on the top side of the cassette are playing. The
tape player automatically begins playing the other side
when
it reaches the end of the tape.
If E and a number appear on the radio display, the tape
won't play because of an error.
ElO: The tape is tight and the player can't turn the'
tape hubs. Remove the tape. Hold the tape
with the
open end down and
try to turn the right hub
counterclockwise'with
a pencil. Turn the tape over
and repeat.
If the hubs do not turn easily, your tape
may be damaged and should not be used in the
player. Try a new tape to make sure your player is
working properly.
0 Ell: The tape is broken. Try a new tape.
If any error occurs repeatedly or if an error can't be
corrected, please contact your dealer.
If your radio
displays an error number, write it down and provide it to
your dealer when reporting the problem.
PREV (1): Press this button or the SEEK down arrow to
search for the previous selection
on the tape. Your tape
must have at least three seconds of silence between each
selection for PREV or SEEK to work. The tape direction
arrow blinks during PREV or SEEK operation. Press
PREV or the SEEK down arrow to stop searching. The
sound
is muted during PREV or SEEK operation.
NEXT (2): Press this button or the SEEK up arrow to
search for the next selection on the tape. If you hold the
button or press it more than once, the player will
continue moving forward through the tape. Your tape
must have at least three seconds
of silence between each
selection for NEXT or SEEK to work. The tape
direction arrow blinks during
NEXT or SEEK operation.
Press PREV
or the SEEK up arrow to stop searching.
The sound is muted during NEXT or
SEEK operation.
3-13
ProCarManuals.com
Page 152 of 387
AM-FM Stereo with Cassette Tape Player
and? Equalizer
Playing the Radio
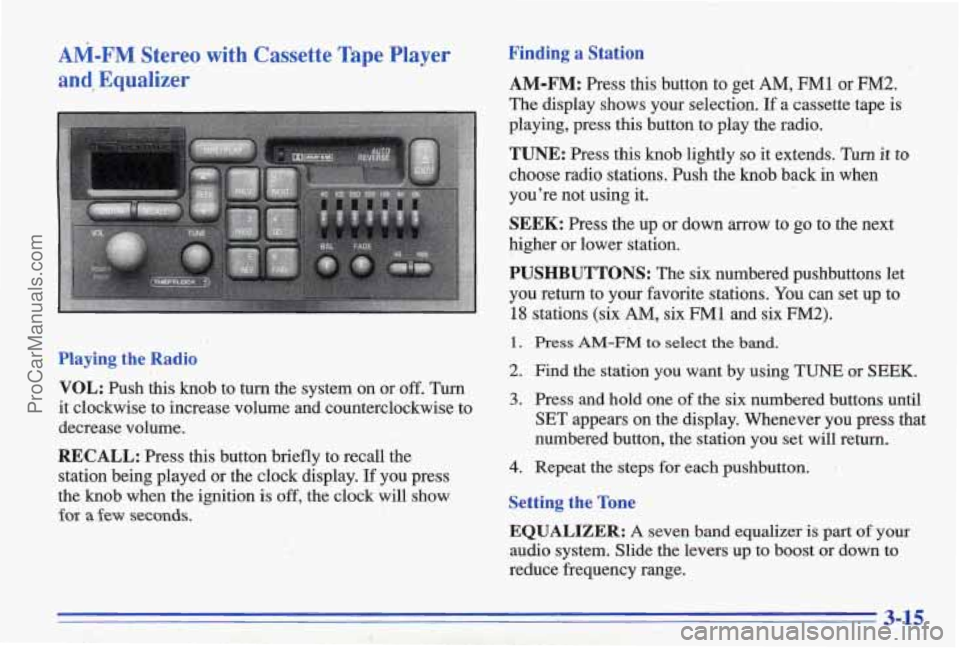
VOL:
Push this knob to turn the system on or off. Turn
it clockwise to increase volume and counterclockwise to
decrease volume.
RECALL: Press this button briefly to recall the
station being played or
the clock display. If you press
the knob when the
ignition is off, the clock will show
for a few seconds.
Finding a Station
AM-FM: Press this button to get AM, FM1 or FM2.
The display shows your selection. If a cassette.tape is
playing, press this button to play the radio.
TUNE: Press this knob lightly so it extends. Turn it to
choose radio stations. Push the knob back in when
you’re not using it.
SEEK: Press the up or down arrow to go to the next
higher or lower station.
PUSHBUTTONS: The six numbered pushbuttons let
you return to
your favorite stations. You can set up to
18 stations (six AM, six FM1 and six FM2).
1. Press AM-FM to select the band.
2. Find the station you want by using TUNE or SEEK.
3. Press and hold one of the six numbered buttons until
SET appears on the display. Whenever you press
that
numbered button, the station you set will return.
4. Repeat the steps for each pushbutton.
Setting the Tone
EQUALIZER: A seven band equalizer is part of your
audio system. Slide the levers up to boost or down to
reduce frequency range.
3-15
ProCarManuals.com