1996 PONTIAC BONNEVILLE instrument panel
[x] Cancel search: instrument panelPage 109 of 387
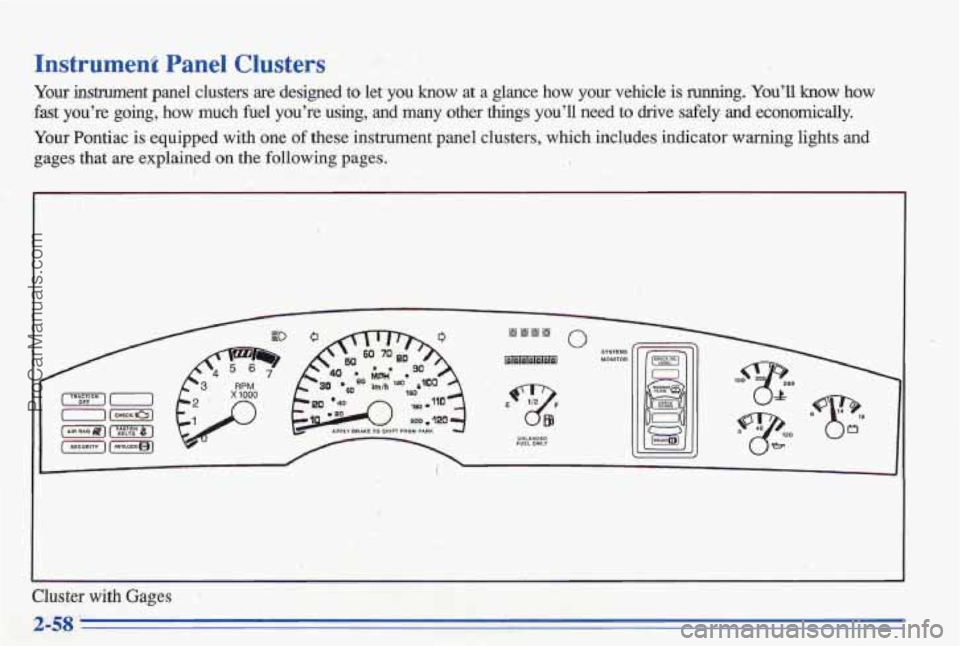
Instrument Panel Clusters
Your -ent panel clusters are designed to let you know at a glance how your vehicle is running. You’ll how how
fast you’re
going, how much fuel you’re using, and many other things you’ll need to drive safely and economically.
Your Pontiac
is equipped with one of these instrument panel clusters, which includes indicator warning\
lights and
gages that
are explained on the following pages.
m111
izlamam
0
FUEL ONLY UNLEIDEO 5%
Cluster with Gages
ProCarManuals.com
Page 114 of 387
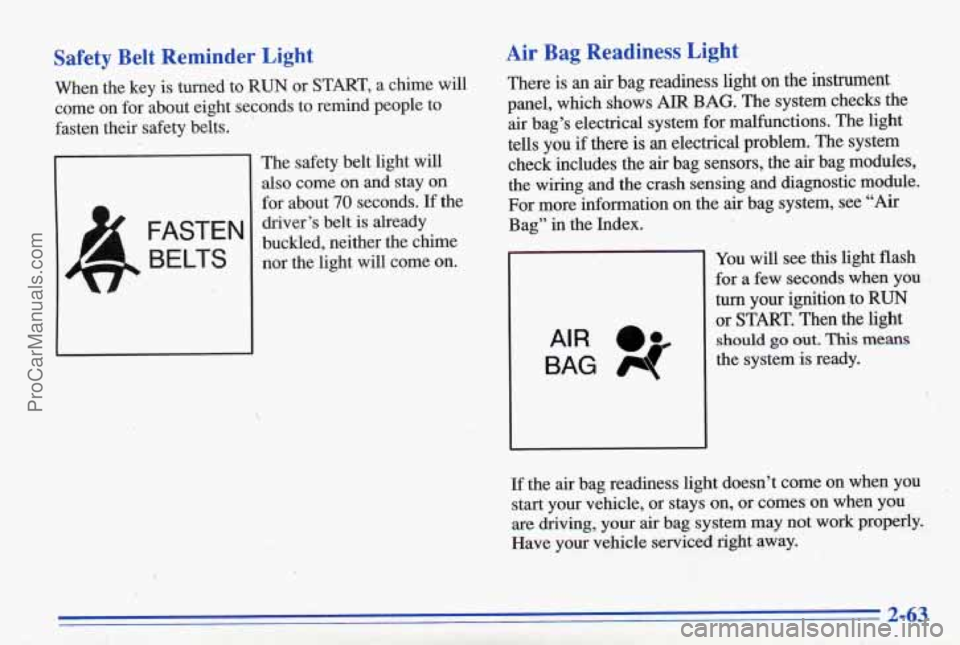
Safety Belt Reminder Light
When the key is turned to RUN or START, a chime will
come on for about eight seconds to remind people to
fasten their safety belts.
’
The safety belt light will
also come
on and stay on
for about 70 seconds. If the
driver’s belt
is already
buckled, neither the chime nor the light will come on.
Air Bag Readiness Light
There is an air bag readiness light on the instrument
panel, which shows
AIR BAG. The system checks the
air bag’s electrical system for malfunctions. The light
tells you
if there is an electrical problem. The system
check includes the
air bag sensors, the air bag moduIes,
the wiring and the crash sensing ahd diagnostic module.
For more infomation on the air bag system, see “Air
Bag” in the Index.
BAG 4
AIR @a
You will see this light flash
for a few seconds when you
turn your ignition to ,RUN
or STmT. Then the light
should go out. This means
the system is ready.
If the air bag readiness light doesn’t come on when you
start your vehicle, or stays on, or comes on when you
are driving, your air bag system may not work properly.
Have your vehicle serviced right away.
ProCarManuals.com
Page 127 of 387
Head-Up. Display (Opth)
If the HUD image is too bright, or too high in
.your field
of view, it may take you more time to
see things
you need to see when it's dark outside.
Be sure to keep
the HUD image dim and placed
low
in your field of view.
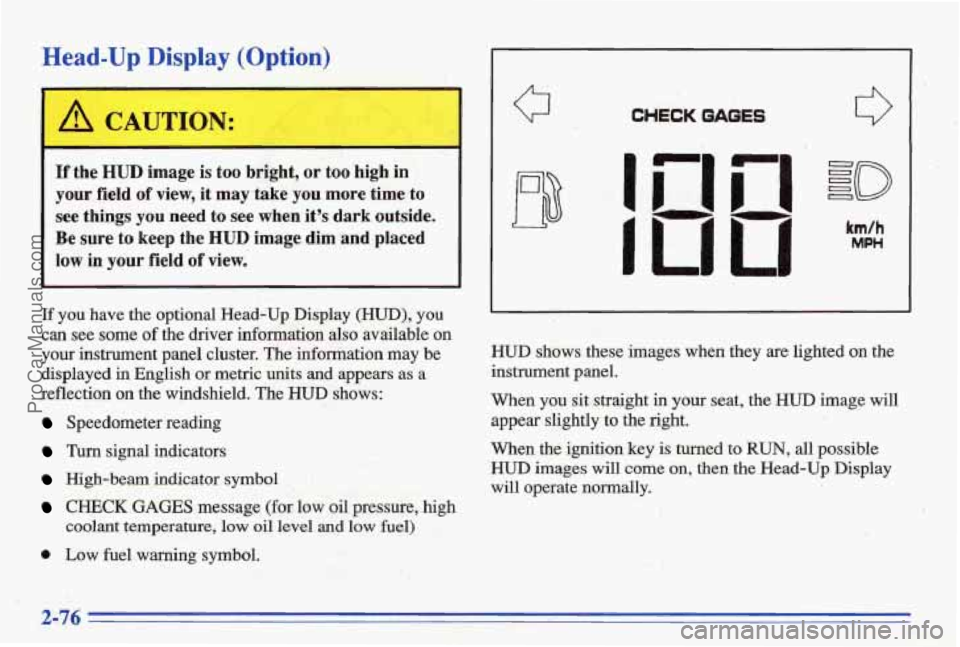
If you have the optional Head-Up Display (HUD), you
can see some
of the driver information also mailable on
your instrument panel cluster. The infomation may be
displayed in English or metric units and appears
as a
reflection on the wjndshield. The
HUD shows:
Speedometer reading
Turn signal indicators
High-beam indicator symbol
CHECK GAGES message (for law oil pressure, high
coolant temperature,
low oil level and low fuel)
0 Low fuel warning symbol.
Q CHECK GAGES
I
I
km/h
MPH
HWD shows these images when they are lighted on the
instrument
panel.
When you sit straight in your seat, the HUD image will
appear slightly to the right.
When
the ignition key is turned to RUN, all possible
HUD images will come on, then the Head-Up Display
will operate
normally,,
2-76
ProCarManuals.com
Page 128 of 387
If you never look at your instrument panel, you may not
see something important, such as
a warning light. So
be sure to scan your displays and controls and the
driving environment just as you would
in a vehicle
without
HUD.
NOTICE:
Although the HUD image appears to be near the
front
of the vehicle, do not use it as a parking aid. ’
The HUD was not designed for that purpose. If you
try to use it that way, such as in a parking lot, you
may misjudge distance and run into something.
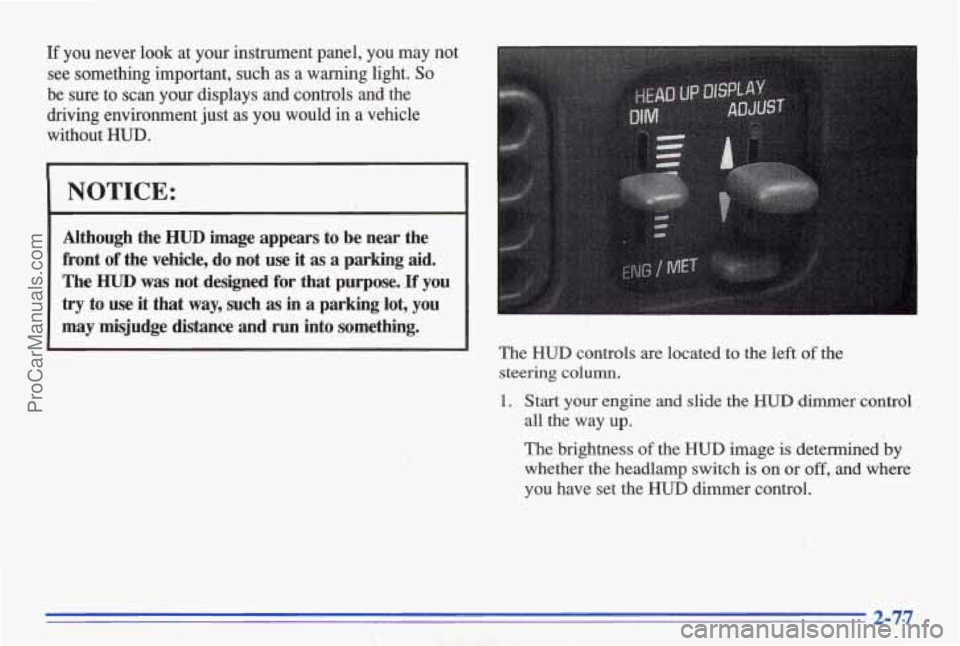
The HUD controls are located to the left of the
steering
column.
1. Start your engine and slide the HUD dimmer control
all the way
up.
The brightness of the HUD image is determined by
whether the headlamp switch is on or off, and where
you have set the HUD dimmer control.
2-77
ProCarManuals.com
Page 129 of 387
2. Adjust the seat, if necessary, b’efore setting the
height control.
Slide the
ADJUST (image height) cimtrol all the way
up,
raising the image as far ,as possible. Then slide
the HUD image height control down so the image is
as low as possible but in full view.
image
is no brighter than necessary. To turn the HUD
off, slide the HUB dimmer coptrol all the way down.
If the sun comes out, or it becomes cloudy, ur if you turn
on your headlamps, you may need to adjust them
brightness using the HUD ciirrmer co&ol. Polarizing
sunglasses could make
the HUD image harder to see.
Pushing $he uptional ENG/MET (English/metric) button
on the instrument panel cluster will switch the HUD
speedometer from English (conventional) to metric
units, or back again.
Clean the inside
of the windshield as needed to remove
any dirt or film -that reducesthe sharpness CJT clarity of
the HUD image.
3. Slide the dimmer control downward until the HUD
Spray household glass cleaner on a soft, clean cloth.
Wipe the
HUD lens gently, then dry it. Do not spray
cleaner directly on the lens, because the cleaner
fluid
could leak inside the unit if you do.
If you can’t see the HUD image when the ignition is on,
check
to see if:
0 The headlamps are on.
Anything is covering the HUD unit.
0 The HUD dimmer control is adjusted correctly.
The HUD image is adjusted to the proper height.
0 A fuse in the fuse panel may be blown. See “Fuses
and Circuit Breakas” in the Index.
If the F€WR image is not clear it could be too bright,
move the HUD dimmer control further downward. You
may need to clean the windshield and HUD lens.
Your windshield is part of the
HUD system. If you ever
have
to have a new windshield, be sure to get one
designed for WUD. If you don’t, the HUD image may
look blurred and out
of focus.
ProCarManuals.com
Page 139 of 387
Temperature Knob 12 BI-LEVEL: This setting directs air into your
The center control regulates the temperature
of the air vehicle in two ways. Cool air is directed to the upper
coming through the system. Turn it toward the blue area
portion of your body through the middle instrument
for cooler
air. Turn it toward the red area for wmer air. panel outlets while warmed. air is directed to the floor. CI
Mode Knob
The right control has settings for air conditioning and
non-air conditioning modes. The mode control allows
you to choose the direction of air delivery.
MAX: This setting provides maximum cooling with the
least amount of work. MAX recircdates much of the air
inside your vehicle so it cools quickly.
Mc: his setting cools the air entering your vehicle
and directs it through the instrument panel outlets.
The
air conditioning compressor operates in all air
conditioner positions.
d VENT: This setting directs airflow through the
middle instrument panel outlets. The air conditioning' compressor is not
working when VENT is selected.
I! HEATER: This se&ng directs warmed air through
the floor outlets. Some warm
air is' diverted to the
windshield to minimize fogging.
w.
+H DEFOG: his setting directs &to ~e HEATER
outlets and toward the windshield.
9 DEFROST: This setting directs most of the air
toward the windshield.' . .. . .. . ,' i
3-2
ProCarManuals.com
Page 141 of 387
Pressing the AUTO button will display the requested
temperature, fan speed'and
air delivery mode for five
seconds, then change to display the outside air
temperature. Be careful not to put anything over the
sensor located in the middle
of the instrument panel near
the windshield, or over the sensor
in the gnlle above the
radio. These sensors are used by the automatic system to
regulate temperature.
The exterior temperature display sensor is in front
of the
car, near the radiator. This displayed temperature is most
accurate when the vehicle
is moving. During stops, or
while idling, the display shows the previous driving
temperature for best system control.
To avoid blowing cold air in cold weather, the system
will delay turning
on the fan until warm air is available.
The length
of delay depends on outside air temperature,
engine coolant temperature, and time since the engine
was last started. Pushing the
fan button will override this
delay and change the fan to a selected single speed.
If you leave your vehicle, the system will remember the
control setting the next time you start your engine.
Manual Operation
You may also manually adjust the delivery mode or
fan speed.
'!! HEAT: Manually selecting HEAT by cycling
through the
MODE settings will deliver air to the floor
outlets.
+# DEFOG: Manually selecting DEFOG by cycling
through the
MODE settings will deliver air to the floor
and windshield outlets.
12 BI-LEVEL: Manually selecting BI-LEVEL by
cycling through the MODE setting will deliver warm air
to the floor and cooler air to the middle instrument panel outlets.
OFF: Press this button to turn the system off. Fresh air
will continue to flow through the vehicle, and the
system
will try to maintain the previously set
temperature. The outside temperature will show in the
display when the system
is OFF.
w.
ProCarManuals.com
Page 142 of 387
A/C: Press this button to turn the air conditioning
on and
off. The system will cool and dehumidify the
air inside the vehicle.
In the AUTO mode, the display
will show that
A/C is active, but the air conditioning
compressor
only operates when the system determines
it
is needed.
RECIRC,: Press this button to limit the amount of fresh
air entering your vehicle. You may use this setting to
limit odors entering your vehicle. Press
REClRC to
change to a manual
MODE and air will recirculate for
10 minutes. RECIRC will show on the display and then
return to
EXT TEMP display.
DEFROST: Press this button to clear the windshield.
The system will automatically control the fan speed
if
you select defrost from AUTO.
OF O C: ‘Press this button to display the temperature in
degrees Fahrenheit or Celsius.
Air Conditioning
On hot days, open the windows long enough to let hot
inside
air escape. This reduces the time it takes for your
vehicle to cool down. Then keep your windows closed
for the air conditioner to work its best.
If you have the standard system, for quick cool-down on
very hot days,
use MAX with the temperature knob in
the blue area. If this setting is used for long periods of
time, the air in your vehicle may become too cold and
dry. For normal cooling on hot days, use A/C with the
temperature
knob in. the blue area. This setting cools the
air entering your vehicle and directs it through the
instrument panel outlets.
If you have the electronic system, press the A/C button
to
turn the system on. The system will cool and
dehumidify the air inside the vehicle.
Also while in
AUTO mode, the system will use FtECIRC as necessary
to cool the air.
&1 cool but sunny days, with the standard system through
manual operation of the electron& system, use BI-LEVEL
to deliver warm air to the floor and cooler air to the
middle instrument panel outlets. To warrn or cool the
air
delivered, push the TE- button up or down.
When the air conditioner is on, you may sometimes notice
slight changes
in your vehicle’s engine speed and power.
This is normal because the system is designed to cycle the
cornpressor on
and off to keep the desired temperature.
ProCarManuals.com