Page 6 of 235

1 Instruments and controls
Meters and gauges .............................................. 1-3
Warning/indicator lights and chimes .................... 1-6
Theft warning........................................................ 1-9
Windshield wiper lever and washer switch ........ 1-10
Rear window wiper and washer switches .......... 1-11
Rear window defogger switch ............................ 1-12
Headlight control switch ..................................... 1-12
Autolamp switch ................................................. 1-13
Spotlights ............................................................ 1-15
Turn signal switch .............................................. 1-15
Cornering light .................................................... 1-16
Instrument brightness control ............................. 1-16
Hazard warning flasher switch ........................... 1-16Cigarette lighter (accessory) and ashtray .......... 1-17
Rear power point ................................................ 1-18
Coin tray ............................................................. 1-18
Compact disc and audio cassette
storage compartment ......................................... 1-19
Power window .................................................... 1-19
Sunroof (If so equipped) .................................... 1-20
Manual rear windows ......................................... 1-21
Power rear windows ........................................... 1-21
Clock................................................................... 1-22
Interior lights ....................................................... 1-23
ZX
Page 27 of 235
The digital clock displays time when the
ignition key is in ACC or ON.
If the power supply is disconnected, the
clock does not indicate the correct time.
Readjust the time.How to view the clock mode
Push the CLK button to alternate the radio
frequency and the time in the display. In the
clock mode, press any radio function to
automatically display the radio frequency forapproximately ten seconds before changing
back to the clock mode.
How to set the clock
1. Turn the radio on. (Time is displayed
while the radio is off).
2. Push and hold the CLK button; then,
press the SEEK button either
orto adjust the hours, and press the
TUNE button eitherorto
adjust the minutes.
NOTE: The clock displays 12-hour time with
no A.M./P.M. indications.
AIC0580
CLOCK
1-22
ZX
Page 40 of 235
Key operation
To unlock the rear door, turn the key coun-
terclockwise. To open the rear door, lift up
on the opener handle near the license plate.
To close, lower and push the rear door
down securely.
To lock the rear door without the key, set the
lock lever to the lock position following the
``Push to Lock'' instructions near the latch,
then close the rear door securely.
WARNING
Do not drive with the rear door or glass
open. This could allow dangerous ex-
haust gases to be drawn into the ve-
hicle.
APD0824
REAR DOOR LOCK
2-11
ZX
Page 41 of 235
To lock the rear door with the key, turn the
key clockwise as shown in the illustration.
Turning the key fully clockwise unlocks the
rear window on models equipped with the
flip-up rear window. The rear wiper auto-
matically lowers when the key is turned fully
clockwise. Do not force the wiper to lower
by hand.
To close the rear window, firmly push on the
window until it locks in place.
The rear door cannot be opened if the
flip-up rear window is raised.
APD0802
2-12
ZX
Page 44 of 235

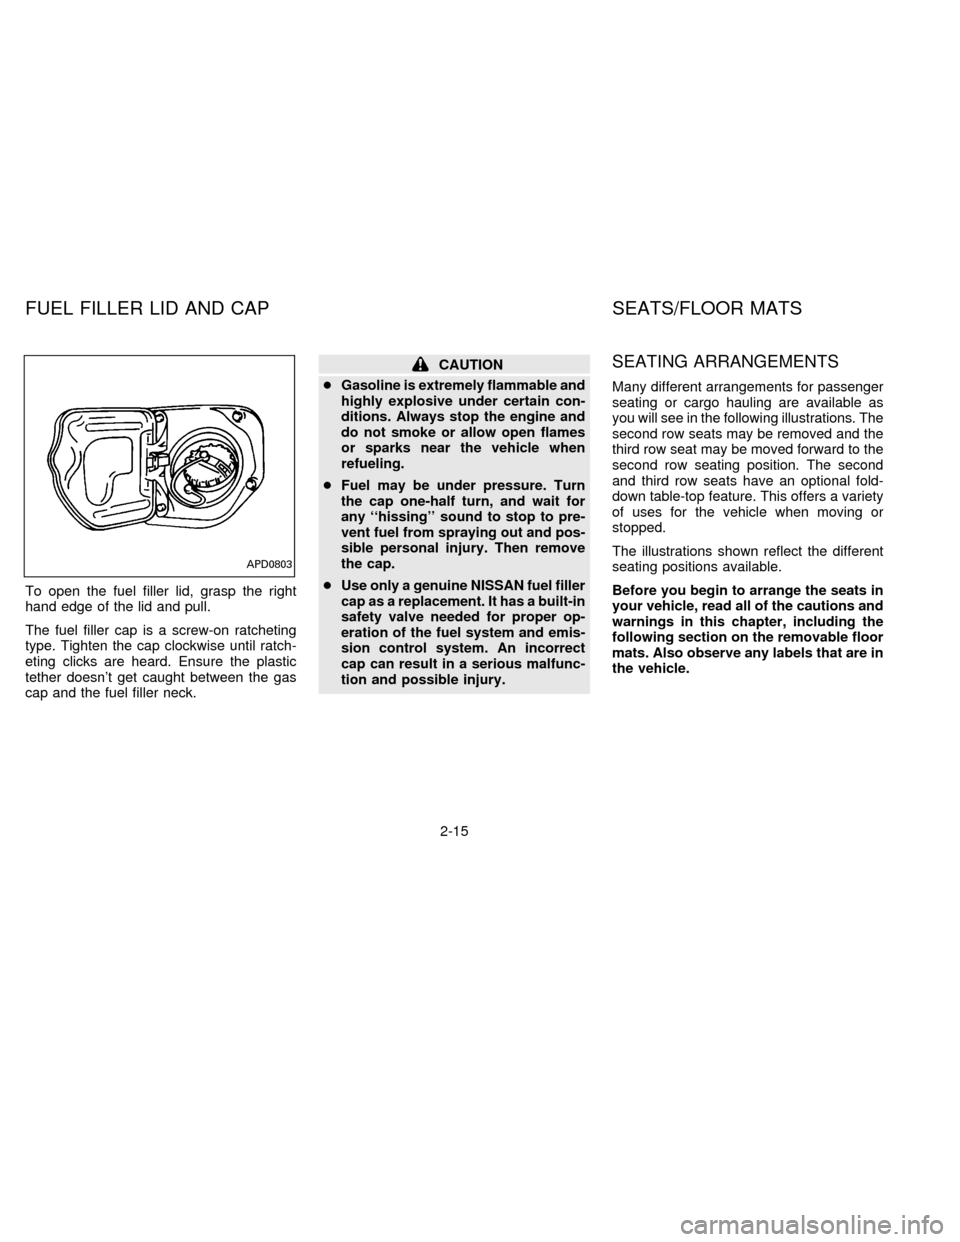
To open the fuel filler lid, grasp the right
hand edge of the lid and pull.
The fuel filler cap is a screw-on ratcheting
type. Tighten the cap clockwise until ratch-
eting clicks are heard. Ensure the plastic
tether doesn't get caught between the gas
cap and the fuel filler neck.
CAUTION
cGasoline is extremely flammable and
highly explosive under certain con-
ditions. Always stop the engine and
do not smoke or allow open flames
or sparks near the vehicle when
refueling.
cFuel may be under pressure. Turn
the cap one-half turn, and wait for
any ``hissing'' sound to stop to pre-
vent fuel from spraying out and pos-
sible personal injury. Then remove
the cap.
cUse only a genuine NISSAN fuel filler
cap as a replacement. It has a built-in
safety valve needed for proper op-
eration of the fuel system and emis-
sion control system. An incorrect
cap can result in a serious malfunc-
tion and possible injury.SEATING ARRANGEMENTS
Many different arrangements for passenger
seating or cargo hauling are available as
you will see in the following illustrations. The
second row seats may be removed and the
third row seat may be moved forward to the
second row seating position. The second
and third row seats have an optional fold-
down table-top feature. This offers a variety
of uses for the vehicle when moving or
stopped.
The illustrations shown reflect the different
seating positions available.
Before you begin to arrange the seats in
your vehicle, read all of the cautions and
warnings in this chapter, including the
following section on the removable floor
mats. Also observe any labels that are in
the vehicle.
APD0803
FUEL FILLER LID AND CAP SEATS/FLOOR MATS
2-15
ZX
Page 120 of 235
To turn the radio on, turn the ignition key to
ACC or ON. If you listen to the radio with the
engine not running, turn the key to the ACC
position.
Radio reception is affected by station signal
strength, distance from radio transmitter,
buildings, bridges, mountains and other ex-
ternal influences. Intermittent changes in
reception quality normally are caused by
these external influences.
Clock
For information on setting the clock, refer to
the section ``Instruments and controls''.
AM-FM RADIO WITH CASSETTE
PLAYER
Radio operation
Push the VOL-PUSH ON knob to turn the
radio on. Push the VOL-PUSH ON knob
once more to turn the radio off.
Turn the knob to adjust the volume.
Inserting a cassette tape into the cassette
player while the radio is on turns the radio
off and turns the cassette player on.
RADIO
3-15
ZX
Page 126 of 235

Manual antenna
The manual antenna on your vehicle re-
mains in the up position at all times. The
antenna cannot be shortened, but can be
removed. When you need to remove the
antenna, turn its base counterclockwise.
Power antenna (If so equipped)
The power antenna automatically extends
when the radio is turned on, and retracts
when turned off or when a tape or CD is
played. If the radio is left on, the antenna
retracts and extends with the ignition key
OFF-ON operation.
CAUTION
Before turning the radio on, make sure
that there is no one near the antenna
outlet and there is enough space for it
to extend.
To prevent damage, be sure that the
power antenna is fully retracted before
the vehicle enters an automated car
wash.Dirt and other foreign matter on the
power antenna rod may interrupt its
operation. Clean the rod periodically
with a damp cloth. This type of cleaning
is especially important during the win-
ter seasons in areas where road salt
and other chemicals may be spread on
the road surfaces and splashed onto
the antenna rod.
ANTENNA
3-21
ZX
Page 136 of 235

cMake sure the area around the vehicle is
clear.
cMaintenance items listed here should be
checked periodically, for example, each
time you check engine oil.
cCheck that all windows and lights are
clean.
cVisually inspect tires for their appearance
and condition. Also check tires for proper
inflation.
cLock all doors.
cPosition seat and adjust head restraints.
cAdjust inside and outside mirrors.
cFasten seat belts and ask all passengers
to do likewise.
cCheck the operation of warning lights
when key is turned to the ON position.The automatic transmission in your vehicle
is electronically controlled by a microcom-
puter to produce maximum power and
smooth operation.
Shown on the following pages are the rec-
ommended operating procedures for this
transmission. Follow these procedures for
maximum vehicle performance and driving
enjoyment.
Starting the vehicle
cAfter starting the engine, fully depress the
foot brake pedal before shifting the selec-
tor lever to the R, N, D, 2 or 1 position. Be
sure the vehicle is fully stopped before
attempting to shift the selector lever.
This automatic transmission is designed
so the foot brake pedal MUST be de-
pressed before shifting from P to any drive
position while the ignition switch is ON.
The shift lever cannot be moved out of P
and into any of the other gear positions if
the ignition key is turned to ACC, LOCK,
or if the key is removed from the switch.
When the battery charge is low, the shift
lever can be moved if the ignition switch
is in the ACC position.1. Keep the foot brake pedal depressed and
shift into a driving gear.
2. Release the parking brake and foot
brake, then gradually start the vehicle in
motion.
cCold engine idle speed is high, so use
caution when shifting into a forward
or reverse gear before the engine has
warmed up.
cAvoid revving up the engine while the
vehicle is stopped. This could cause
unexpected vehicle movement.
Driving precautions
To help prevent transmission damage:
cDo not depress the accelerator pedal
while shifting from P or N to: R, D, 2 or
1. Always depress the brake pedal
until shifting is completed.
cNever shift to P or R while the vehicle
is moving.
cWhen stopping the vehicle on an up-
hill grade, do not hold the vehicle by
depressing the accelerator pedal. The
foot brakes should be used for this
purpose.
BEFORE STARTING THE
ENGINEDRIVING WITH AN
AUTOMATIC TRANSMISSION
4-5
ZX