1996 NISSAN FRONTIER clock
[x] Cancel search: clockPage 6 of 198

1 Instruments and controls
Meters and gauges ............................................ 1-2
Speedometer and odometer .............................. 1-3
Tachometer (If so equipped) .............................. 1-3
Engine coolant temperature gauge .................... 1-4
Fuel gauge ......................................................... 1-4
Instrument cluster clock (If so equipped) ........... 1-5
Warning/indicator lights and chimes .................. 1-6
Headlight and turn signal switch ...................... 1-10
Windshield wiper and washer switch ............... 1-11
Instrument brightness control ........................... 1-12
Hazard warning flasher switch ......................... 1-12
Cigarette lighter (accessory) and ash tray ....... 1-13
Cup holder (If so equipped) ............................. 1-13
Interior light and cargo light ............................. 1-14
Map light (If so equipped) ................................ 1-14
Manual window ................................................. 1-15
Power window (If so equipped) ........................ 1-15
Rear sliding window (If so equipped) ............... 1-16
Opera window (If so equipped) ........................ 1-17
Sunroof (If so equipped) .................................. 1-17
ZX
Page 10 of 198

The digital clock displays time regardless of
ignition switch position. When the ignition
key is in the ACC or ON position, the clock
illuminates.
Adjusting the time
Turn the adjust knob counterclockwise to
advance the hour display.
Turn the adjust knob clockwise to advance
the minute display.
Resetting the time
To reset the time to the time signal, push the
adjust knob.
For example, if the adjust knob is depressed
while the time is between 8:00 and 8:29, the
display resets to 8:00. If depressed while it
is between 8:30 and 8:59, the display resets
to 9:00.
Once the power supply is disconnected, the
clock starts to operate from the time 1:00. It
may be necessary to adjust the time.
SIC0047A
INSTRUMENT CLUSTER CLOCK
(If so equipped)
1-5
ZX
Page 20 of 198

The side windows can be opened or closed
by turning the hand crank on each door. To
open the window, turn the crank counter-
clockwise. To close the window, turn the
crank clockwise.The power window operates when the igni-
tion key is ON.
To open or close the window, press the
switch and hold it down. The main switch
(driver's switches) also opens or closes the
passenger side window.
Locking passenger's window
When the lock button is pushed in, only the
driver side window can be opened or
closed. Push it in again to cancel.The passenger switch opens or closes the
passenger's window. To open or close the
window, hold the switch down.
AIC630AIC0741AIC0718
MANUAL WINDOW POWER WINDOW
(If so equipped)
1-15
ZX
Page 23 of 198

Closing
Pull the handle forward to unlock, then push
the handle up completely.
Removing the sunshade
1. Turn each knob counterclockwise while
lifting the sunshade upward.
2. Slide the shade backward to remove it.
Installing the sunshade
1. Insert two hooks on front edge of sun-
shade into holders on the roof.
2. Align two bolts on rear edge of sunshade
with lock nuts, then securely tighten the
bolts.
Do not remove or install the sunshade
while driving.
IC0198AIC0706
1-18
ZX
Page 30 of 198

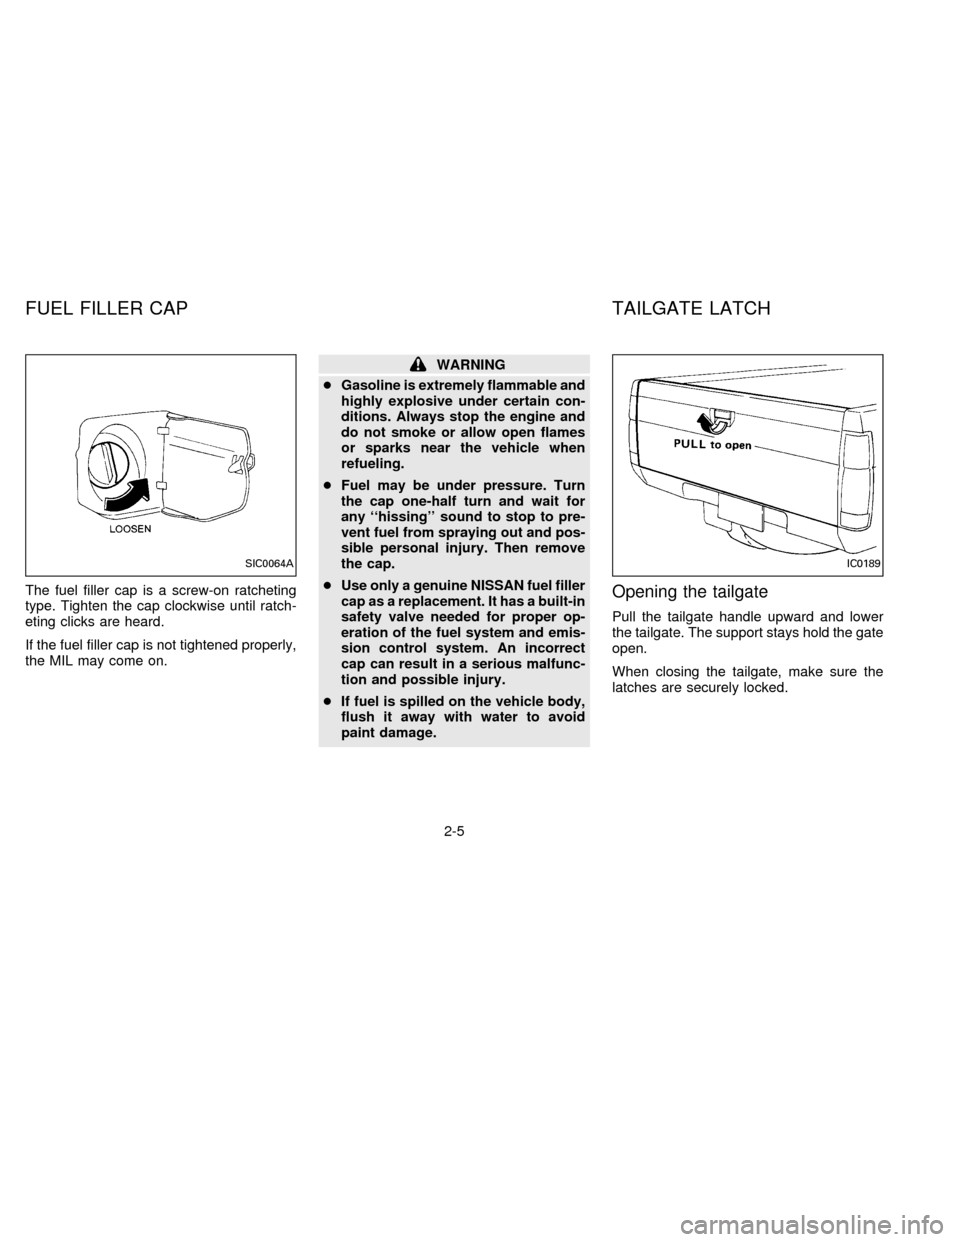
The fuel filler cap is a screw-on ratcheting
type. Tighten the cap clockwise until ratch-
eting clicks are heard.
If the fuel filler cap is not tightened properly,
the MIL may come on.
WARNING
cGasoline is extremely flammable and
highly explosive under certain con-
ditions. Always stop the engine and
do not smoke or allow open flames
or sparks near the vehicle when
refueling.
cFuel may be under pressure. Turn
the cap one-half turn and wait for
any ``hissing'' sound to stop to pre-
vent fuel from spraying out and pos-
sible personal injury. Then remove
the cap.
cUse only a genuine NISSAN fuel filler
cap as a replacement. It has a built-in
safety valve needed for proper op-
eration of the fuel system and emis-
sion control system. An incorrect
cap can result in a serious malfunc-
tion and possible injury.
cIf fuel is spilled on the vehicle body,
flush it away with water to avoid
paint damage.
Opening the tailgate
Pull the tailgate handle upward and lower
the tailgate. The support stays hold the gate
open.
When closing the tailgate, make sure the
latches are securely locked.
SIC0064AIC0189
FUEL FILLER CAP TAILGATE LATCH
2-5
ZX
Page 64 of 198

AM-FM ELECTRONIC TUNING
RADIO WITH CASSETTE
PLAYER
RADIO OPERATION
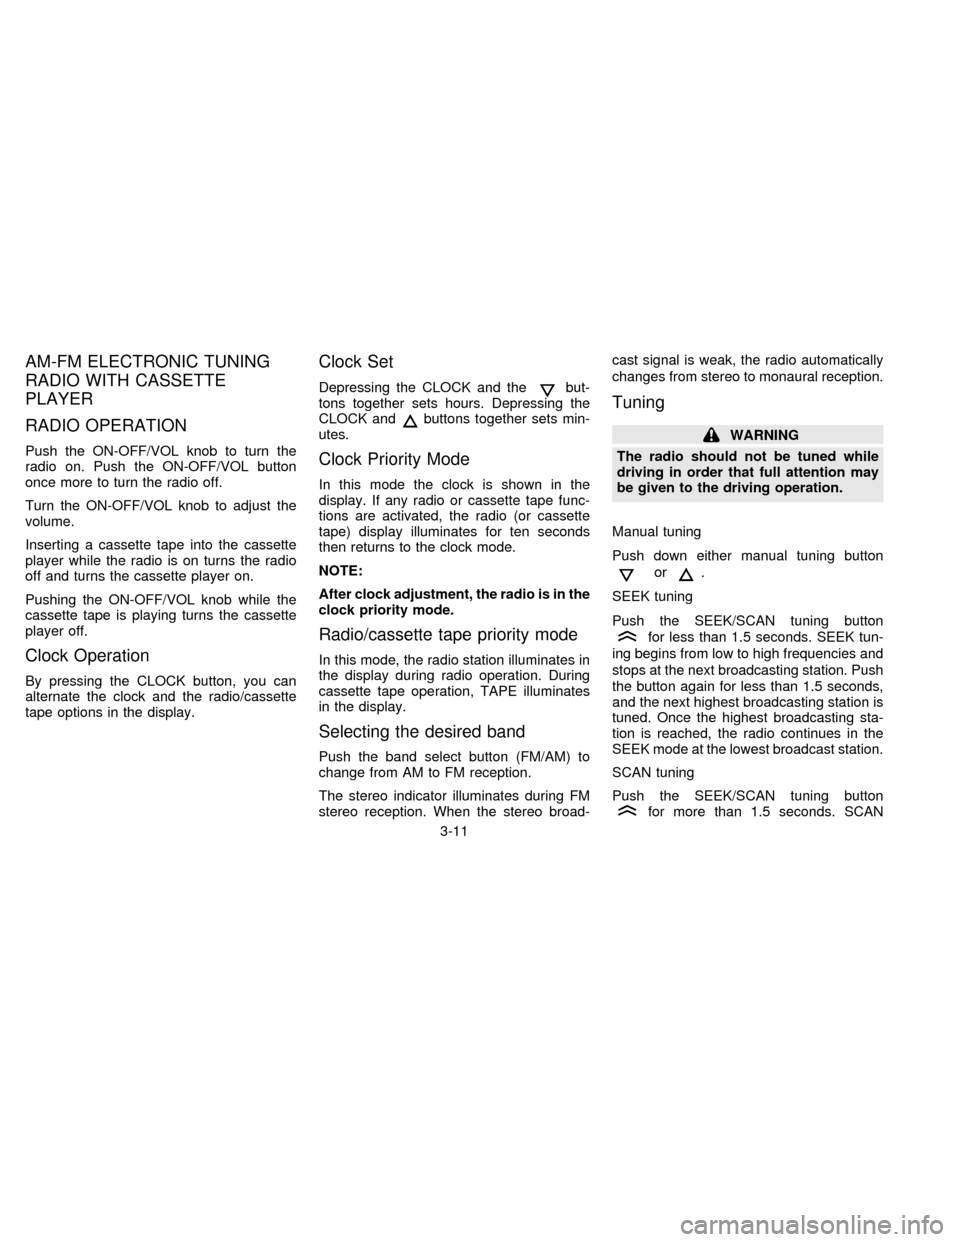
Push the ON-OFF/VOL knob to turn the
radio on. Push the ON-OFF/VOL button
once more to turn the radio off.
Turn the ON-OFF/VOL knob to adjust the
volume.
Inserting a cassette tape into the cassette
player while the radio is on turns the radio
off and turns the cassette player on.
Pushing the ON-OFF/VOL knob while the
cassette tape is playing turns the cassette
player off.
Clock Operation
By pressing the CLOCK button, you can
alternate the clock and the radio/cassette
tape options in the display.
Clock Set
Depressing the CLOCK and thebut-
tons together sets hours. Depressing the
CLOCK and
buttons together sets min-
utes.
Clock Priority Mode
In this mode the clock is shown in the
display. If any radio or cassette tape func-
tions are activated, the radio (or cassette
tape) display illuminates for ten seconds
then returns to the clock mode.
NOTE:
After clock adjustment, the radio is in the
clock priority mode.
Radio/cassette tape priority mode
In this mode, the radio station illuminates in
the display during radio operation. During
cassette tape operation, TAPE illuminates
in the display.
Selecting the desired band
Push the band select button (FM/AM) to
change from AM to FM reception.
The stereo indicator illuminates during FM
stereo reception. When the stereo broad-cast signal is weak, the radio automatically
changes from stereo to monaural reception.
Tuning
WARNING
The radio should not be tuned while
driving in order that full attention may
be given to the driving operation.
Manual tuning
Push down either manual tuning button
or.
SEEK tuning
Push the SEEK/SCAN tuning button
for less than 1.5 seconds. SEEK tun-
ing begins from low to high frequencies and
stops at the next broadcasting station. Push
the button again for less than 1.5 seconds,
and the next highest broadcasting station is
tuned. Once the highest broadcasting sta-
tion is reached, the radio continues in the
SEEK mode at the lowest broadcast station.
SCAN tuning
Push the SEEK/SCAN tuning button
for more than 1.5 seconds. SCAN
3-11
ZX
Page 67 of 198

The cassette tape automatically changes
direction to play the other side when the first
side is complete. At this time, the arrow in
the display window changes direction.
Fast forwarding or rewinding the
tape
Push either the FF (fast forward) or REW
(rewind) button for the desired direction.
The
orsymbol illuminates in the
display. To stop the FF or REW function,
press the PLAY/STOP button.
Automatic Program Search (APS)
fast forwarding or APS rewinding
the tape
Push either the APS FF or APS REW button
while the tape is playing. The tape runs
quickly, stops, then plays the next selection.
The
orsymbol illuminates in
the display.
This system searches for the blank intervals
between selections. If there is a blank inter-
val within one program or there is no interval
between programs, the system may not
stop in the desired or expected location.
Changing the direction of tape play
Push the PROG (program) select button.
The
orsymbol illuminates in the
display window to indicate which program
side is playing.
PLAY/STOP button
Push the PLAY/STOP button to stop cas-
sette tape play and turn the audio system
off. Press the PLAY/STOP button again to
resume cassette tape play.
Also use the PLAY/STOP button to resume
play when the tape is in the fast forward or
rewind mode.
Dolby NR (noise reduction)
Push theDOLBY NR button for
Dolby NR encoded tapes to reduce high
frequency tape noise. The indicator light
comes on.
Dolby NR is manufactured under license
from Dolby Laboratories Licensing Corpora-
tion. DOLBY NR and the double-D symbol
are trademarks of Dolby Laboratories Li-
censing Corporation.
If in the clock priority mode when the
button is pressed,and TAPE il-luminate in the display window for about ten
seconds. The clock mode than returns to
the display window.
Metal or chrome tape usage
The cassette player is automatically set to
high performance play when playing a metal
or chrome cassette tape. The indicator
METAL comes on when playing a metal or
chrome cassette tape.
Ejecting the cassette tape
Push the EJECT button.
The cassette tape automatically comes out.
Precautions on cassette player op-
eration
cTo maintain good quality sound, NIS-
SAN recommends using cassette
tapes of 60 minutes or shorter in
length.
cCassette tapes should be removed
from the player when not in use. Store
cassettes in their protective cases,
away from direct sunlight, heat, mois-
ture and magnetic sources.
3-14
ZX
Page 73 of 198

Metal or chrome tape usage
The cassette player is automatically set to
high performance play when playing a metal
or chrome cassette tape.
The indicator will come on when playing a
metal or chrome cassette tape.
Ejecting the cassette tape
Push the EJECT button. The tape automati-
cally comes out.
Precautions on cassette player op-
eration
cTo maintain good quality sound, NIS-
SAN recommends using cassette
tapes of 60 minutes or shorter in
length.
cCassette tapes should be removed
from the player when not in use. Store
cassettes in their protective cases,
away from direct sunlight, heat, mois-
ture and magnetic sources.
cDirect sunlight can cause the cassette
to become deformed. The use of a
deformed cassette may cause the cas-
sette to jam in the player.cDo not use a cassette that has a label
which is peeling and loose. If used,
the label could jam in the player.
cIf a cassette has loose tape, insert a
pencil through one of the cassette
hubs and rewind the tape firmly
around the hubs. Loose tape may
cause tape jamming and wavering
sound quality.
cOver a period of time, the playback
head, capstan and pinch roller may
gather a tape coating residue as the
tape passes over the head. This resi-
due accumulation can cause a weak
or wavering sound and should be re-
moved periodically with a head clean-
ing tape. If the residue is not removed
periodically, the player may need to
be disassembled for cleaning.The antenna cannot be shortened but can
be removed. Turn its base counterclockwise
to remove the antenna.
CAUTION
Be sure to remove the antenna before
washing the vehicle in an automatic car
wash, or the antenna may be damaged.
MANUAL ANTENNA
3-20
ZX