Page 119 of 198

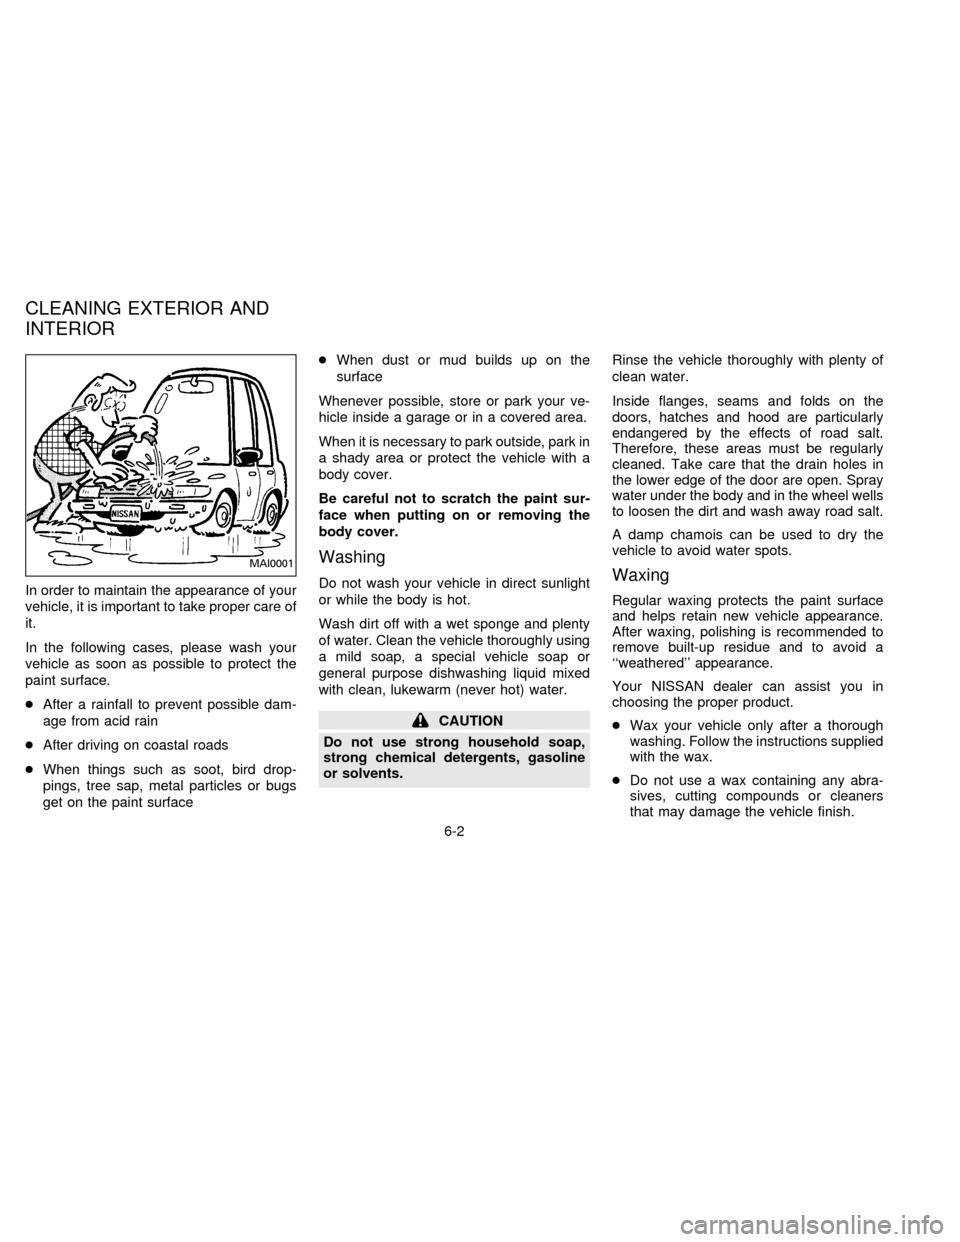
In order to maintain the appearance of your
vehicle, it is important to take proper care of
it.
In the following cases, please wash your
vehicle as soon as possible to protect the
paint surface.
cAfter a rainfall to prevent possible dam-
age from acid rain
cAfter driving on coastal roads
cWhen things such as soot, bird drop-
pings, tree sap, metal particles or bugs
get on the paint surfacecWhen dust or mud builds up on the
surface
Whenever possible, store or park your ve-
hicle inside a garage or in a covered area.
When it is necessary to park outside, park in
a shady area or protect the vehicle with a
body cover.
Be careful not to scratch the paint sur-
face when putting on or removing the
body cover.
Washing
Do not wash your vehicle in direct sunlight
or while the body is hot.
Wash dirt off with a wet sponge and plenty
of water. Clean the vehicle thoroughly using
a mild soap, a special vehicle soap or
general purpose dishwashing liquid mixed
with clean, lukewarm (never hot) water.
CAUTION
Do not use strong household soap,
strong chemical detergents, gasoline
or solvents.Rinse the vehicle thoroughly with plenty of
clean water.
Inside flanges, seams and folds on the
doors, hatches and hood are particularly
endangered by the effects of road salt.
Therefore, these areas must be regularly
cleaned. Take care that the drain holes in
the lower edge of the door are open. Spray
water under the body and in the wheel wells
to loosen the dirt and wash away road salt.
A damp chamois can be used to dry the
vehicle to avoid water spots.
Waxing
Regular waxing protects the paint surface
and helps retain new vehicle appearance.
After waxing, polishing is recommended to
remove built-up residue and to avoid a
``weathered'' appearance.
Your NISSAN dealer can assist you in
choosing the proper product.
cWax your vehicle only after a thorough
washing. Follow the instructions supplied
with the wax.
cDo not use a wax containing any abra-
sives, cutting compounds or cleaners
that may damage the vehicle finish.
MAI0001
CLEANING EXTERIOR AND
INTERIOR
6-2
ZX
Page 124 of 198

7 Do-it-yourself operations
Maintenance precautions ................................... 7-2
Engine compartment check locations ................ 7-3
Engine cooling system ....................................... 7-4
Engine oil ............................................................ 7-6
Automatic transmission fluid .............................. 7-9
Power steering fluid .......................................... 7-11
Brake and clutch fluid ....................................... 7-11
Window washer fluid ........................................ 7-12
Battery .............................................................. 7-13
Drive belts ........................................................ 7-14
Spark plug replacement ................................... 7-14
Air cleaner housing filter .................................. 7-15
Wiper blades .................................................... 7-16
Parking brake check ......................................... 7-17
Brake pedal ...................................................... 7-18
Brake booster ................................................... 7-19
Clutch pedal ..................................................... 7-19
Fuses ................................................................ 7-20
Light bulbs ........................................................ 7-20
Bulb replacement ............................................. 7-22
Wheels and tires .............................................. 7-24
Clutch housing ..................................... 7-29
ZX
Page 132 of 198

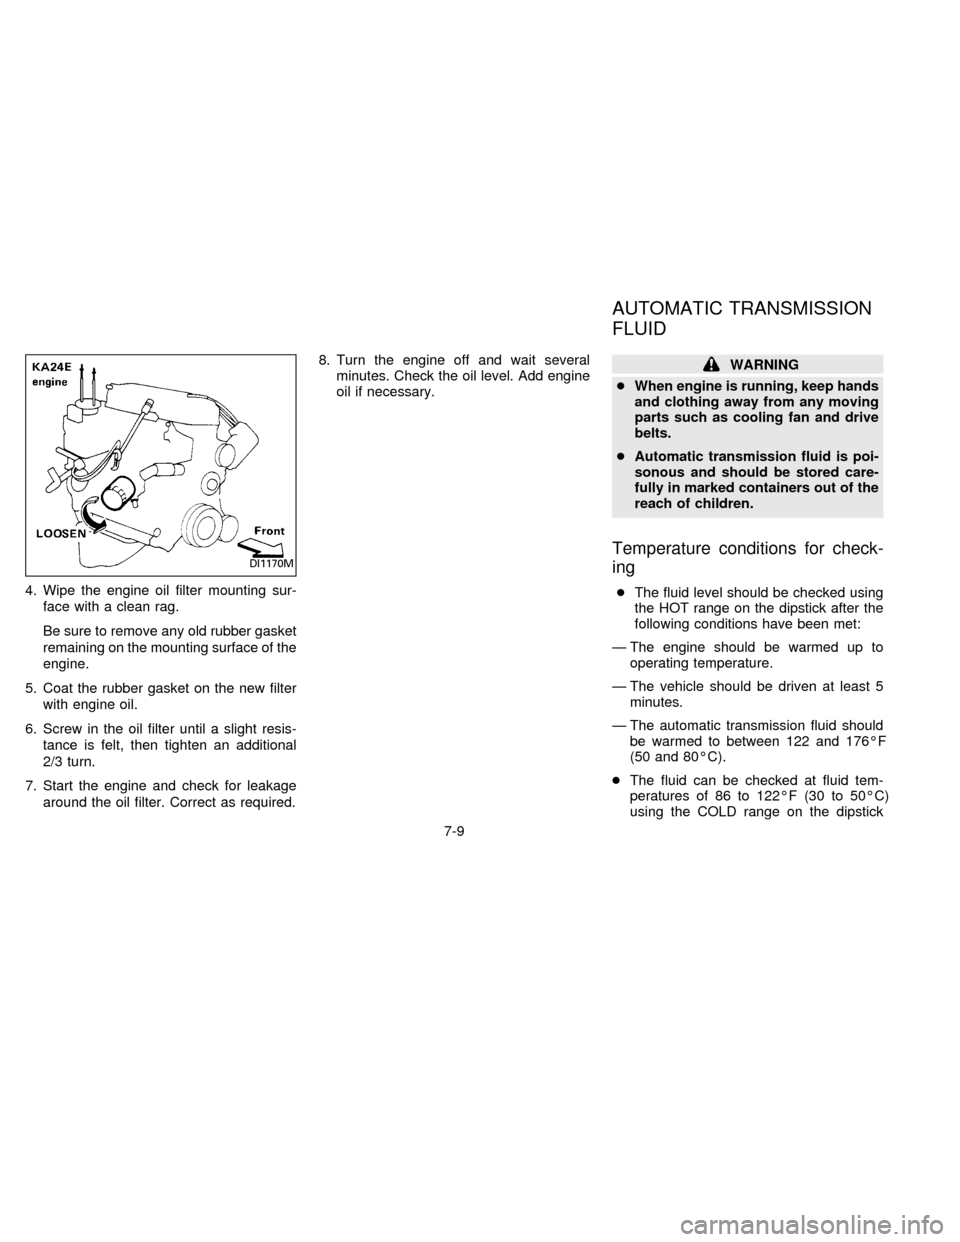
4. Wipe the engine oil filter mounting sur-
face with a clean rag.
Be sure to remove any old rubber gasket
remaining on the mounting surface of the
engine.
5. Coat the rubber gasket on the new filter
with engine oil.
6. Screw in the oil filter until a slight resis-
tance is felt, then tighten an additional
2/3 turn.
7. Start the engine and check for leakage
around the oil filter. Correct as required.8. Turn the engine off and wait several
minutes. Check the oil level. Add engine
oil if necessary.
WARNING
cWhen engine is running, keep hands
and clothing away from any moving
parts such as cooling fan and drive
belts.
cAutomatic transmission fluid is poi-
sonous and should be stored care-
fully in marked containers out of the
reach of children.
Temperature conditions for check-
ing
cThe fluid level should be checked using
the HOT range on the dipstick after the
following conditions have been met:
Ð The engine should be warmed up to
operating temperature.
Ð The vehicle should be driven at least 5
minutes.
Ð The automatic transmission fluid should
be warmed to between 122 and 176ÉF
(50 and 80ÉC).
cThe fluid can be checked at fluid tem-
peratures of 86 to 122ÉF (30 to 50ÉC)
using the COLD range on the dipstick
DI1170M
AUTOMATIC TRANSMISSION
FLUID
7-9
ZX
Page 134 of 198
Check the power steering fluid level.
The fluid level should be checked using the
HOT range on the dipstick at fluid tempera-
tures of 122 to 176ÉF (50 to 80ÉC) or using
the COLD range on the dipstick at fluid
temperatures of 32 to 86ÉF (0 to 30ÉC).
CAUTION
cDo not overfill.
cThe recommended fluid is type
DEXRON
TMII or equivalent.Check the brake fluid level in the reservoir.
If the fluid level is below the MIN line or the
brake warning light comes on, addDOT 3
fluid up to the MAX line.
Check the clutch fluid level in the reservoir
(manual transmission only). If the fluid level
is below the MIN line, addDOT 3fluid up to
the MAX line.
If fluid must be added frequently, the system
should be thoroughly checked by your NIS-
SAN dealer.
ADI0700ADI0712ADI0716
POWER STEERING FLUID BRAKE AND CLUTCH FLUID
7-11
ZX
Page 135 of 198

For further brake and clutch fluid specifica-
tion information, refer to ``Capacities and
recommended fuel/lubricants'' in the ``Tech-
nical and consumer information'' section of
this manual.
CAUTION
cUse only new fluid from a sealed
container. Old, inferior or contami-
nated fluid may damage the brake
and clutch systems. The use of im-
proper fluids can damage the brake
system and affect the vehicle's stop-
ping ability.
cDo not spill the fluid on any painted
surfaces. This will damage the paint.
If fluid is spilled, wash with water.
For USA
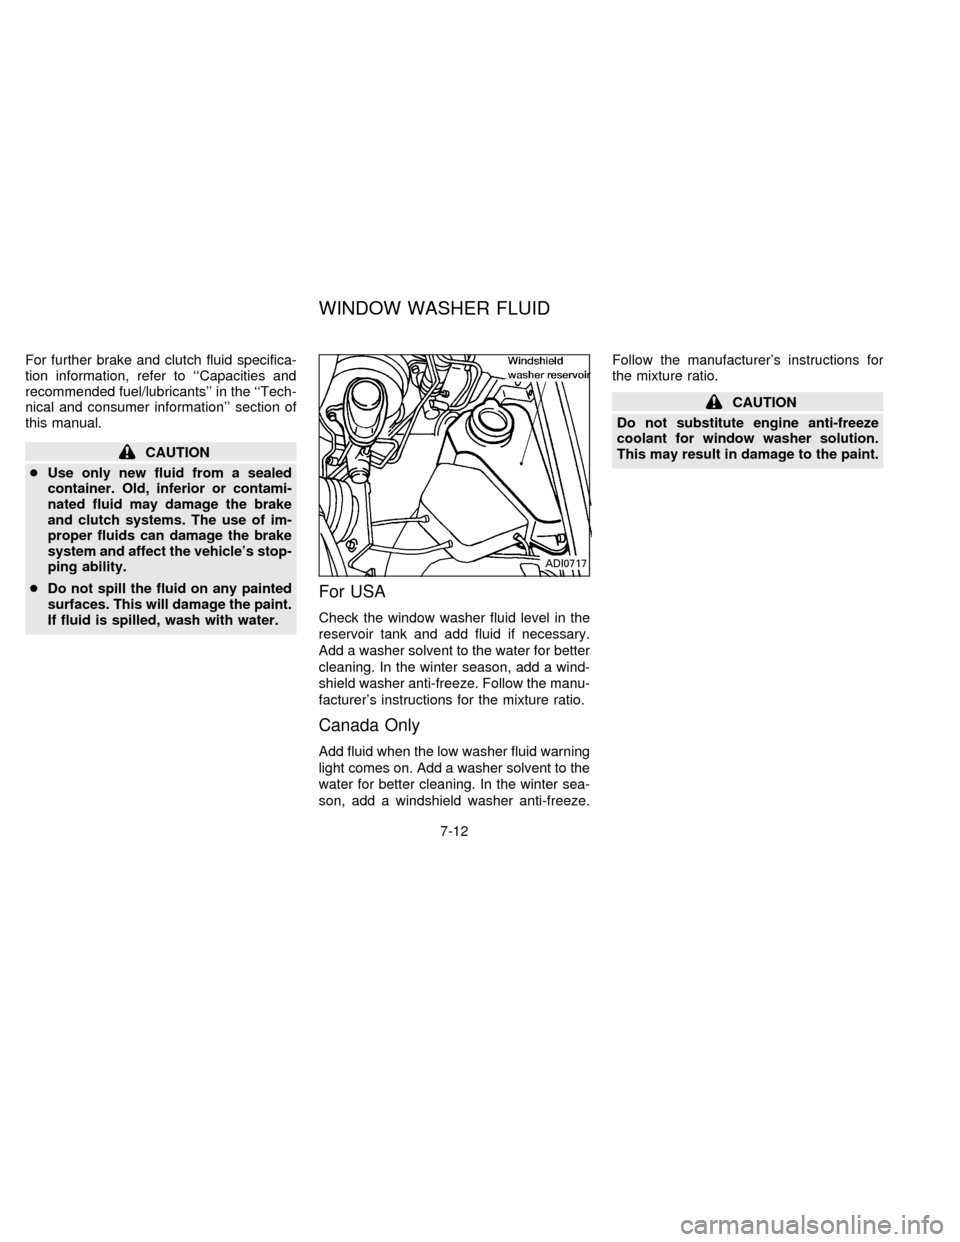
Check the window washer fluid level in the
reservoir tank and add fluid if necessary.
Add a washer solvent to the water for better
cleaning. In the winter season, add a wind-
shield washer anti-freeze. Follow the manu-
facturer's instructions for the mixture ratio.
Canada Only
Add fluid when the low washer fluid warning
light comes on. Add a washer solvent to the
water for better cleaning. In the winter sea-
son, add a windshield washer anti-freeze.Follow the manufacturer's instructions for
the mixture ratio.
CAUTION
Do not substitute engine anti-freeze
coolant for window washer solution.
This may result in damage to the paint.
ADI0717
WINDOW WASHER FLUID
7-12
ZX
Page 141 of 198

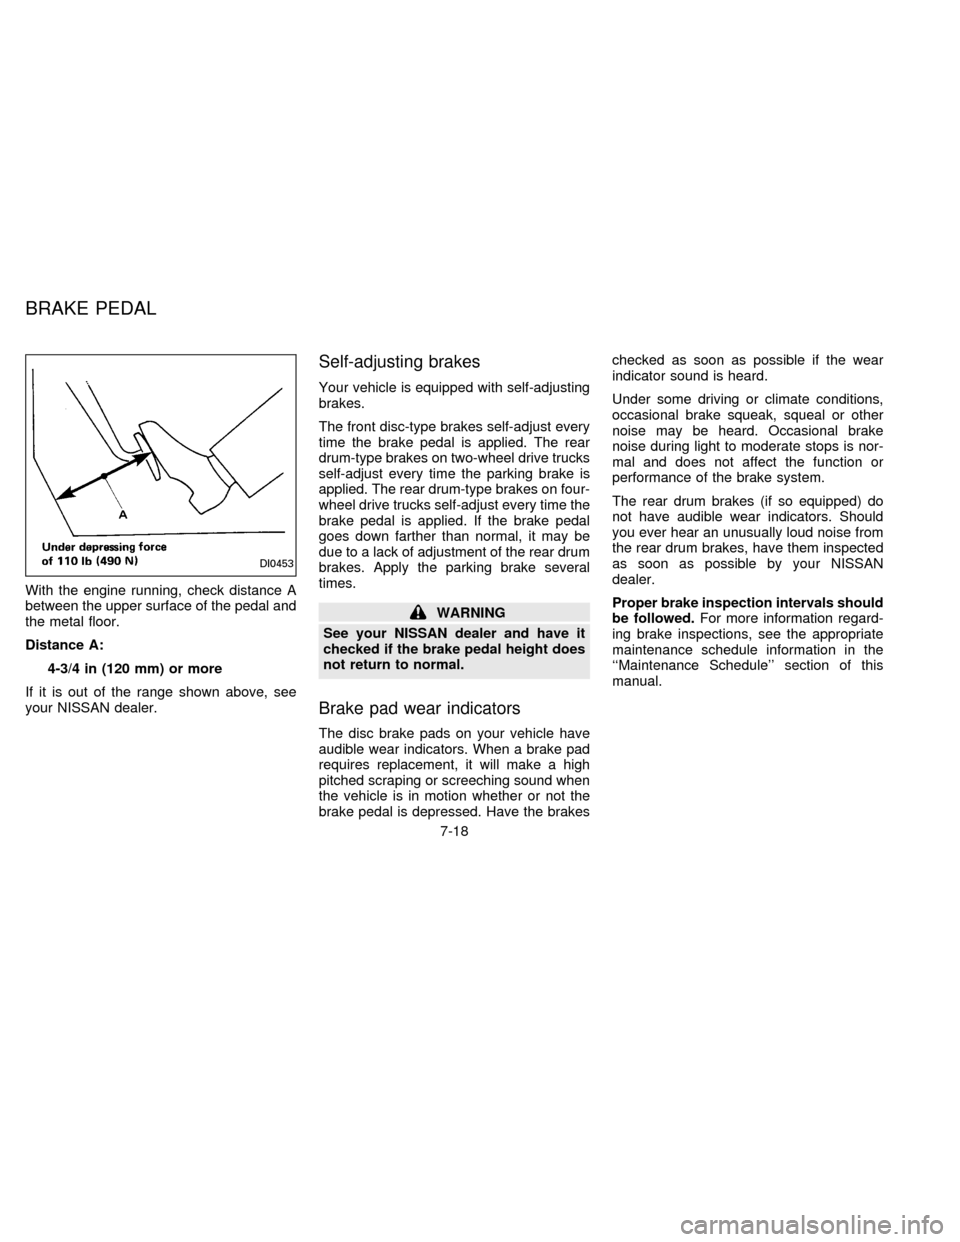
With the engine running, check distance A
between the upper surface of the pedal and
the metal floor.
Distance A:
4-3/4 in (120 mm) or more
If it is out of the range shown above, see
your NISSAN dealer.
Self-adjusting brakes
Your vehicle is equipped with self-adjusting
brakes.
The front disc-type brakes self-adjust every
time the brake pedal is applied. The rear
drum-type brakes on two-wheel drive trucks
self-adjust every time the parking brake is
applied. The rear drum-type brakes on four-
wheel drive trucks self-adjust every time the
brake pedal is applied. If the brake pedal
goes down farther than normal, it may be
due to a lack of adjustment of the rear drum
brakes. Apply the parking brake several
times.
WARNING
See your NISSAN dealer and have it
checked if the brake pedal height does
not return to normal.
Brake pad wear indicators
The disc brake pads on your vehicle have
audible wear indicators. When a brake pad
requires replacement, it will make a high
pitched scraping or screeching sound when
the vehicle is in motion whether or not the
brake pedal is depressed. Have the brakeschecked as soon as possible if the wear
indicator sound is heard.
Under some driving or climate conditions,
occasional brake squeak, squeal or other
noise may be heard. Occasional brake
noise during light to moderate stops is nor-
mal and does not affect the function or
performance of the brake system.
The rear drum brakes (if so equipped) do
not have audible wear indicators. Should
you ever hear an unusually loud noise from
the rear drum brakes, have them inspected
as soon as possible by your NISSAN
dealer.
Proper brake inspection intervals should
be followed.For more information regard-
ing brake inspections, see the appropriate
maintenance schedule information in the
``Maintenance Schedule'' section of this
manual.
DI0453
BRAKE PEDAL
7-18
ZX
Page 143 of 198
Passenger compartment
If the electrical equipment does not operate,
check for an open fuse.
1. Be sure the ignition key and the headlight
switch are OFF.
2. Remove the fuse box cover.
3. Remove the fuse with the fuse puller.
4. If the fuse is open, replace it with a new
fuse.
Never use a fuse of higher amperage
rating than that specified on the fuse box
cover.5. If a new fuse opens again, have the
electrical system checked and repaired
by your NISSAN dealer.
HEADLIGHTS
Sealed beam type
The headlight is a sealed beam type. The
lens, reflector and filament are of a unitized
construction.
Removing and replacing
1. Disconnect the negative (-) battery cable.
2. Remove the clips attaching the radiator
grille, remove the front clearance lights,
then remove the grille by pulling it up-
ward.
ADI0723ADI0724
FUSES LIGHT BULBS
7-20
ZX
Page 144 of 198
3. Remove the screws holding the headlight
retaining ring and take off the headlight.
4. After removing the headlight from the
headlight housing, remove the wiring
connector from the rear end of the bulb.
Be careful not to disturb the aiming ad-
justment screws.
5. When installing the new unit, be sure that
TOP in raised letters on the lens is on the
upper side.
cUse the same number and wattage as
originally installed:Halogen light
Wattage 65/35
Bulb No. H6059
Incandescent light
Wattage 65/55
Bulb No. 6052
cWhen aiming adjustment is neces-
sary, contact your NISSAN dealer.
DI0075
7-21
ZX