1996 NISSAN ALTIMA air condition
[x] Cancel search: air conditionPage 4 of 183
ContentsInstruments and controls
Pre-driving checks and adjustments
Heater, air conditioner and audio system
Starting and driving
In case of emergency
Appearance and interior care
Do-it-yourself operations
Maintenance schedule
Technical and consumer information
Index
1
2
3
4
5
6
7
8
9
10
Page 9 of 183
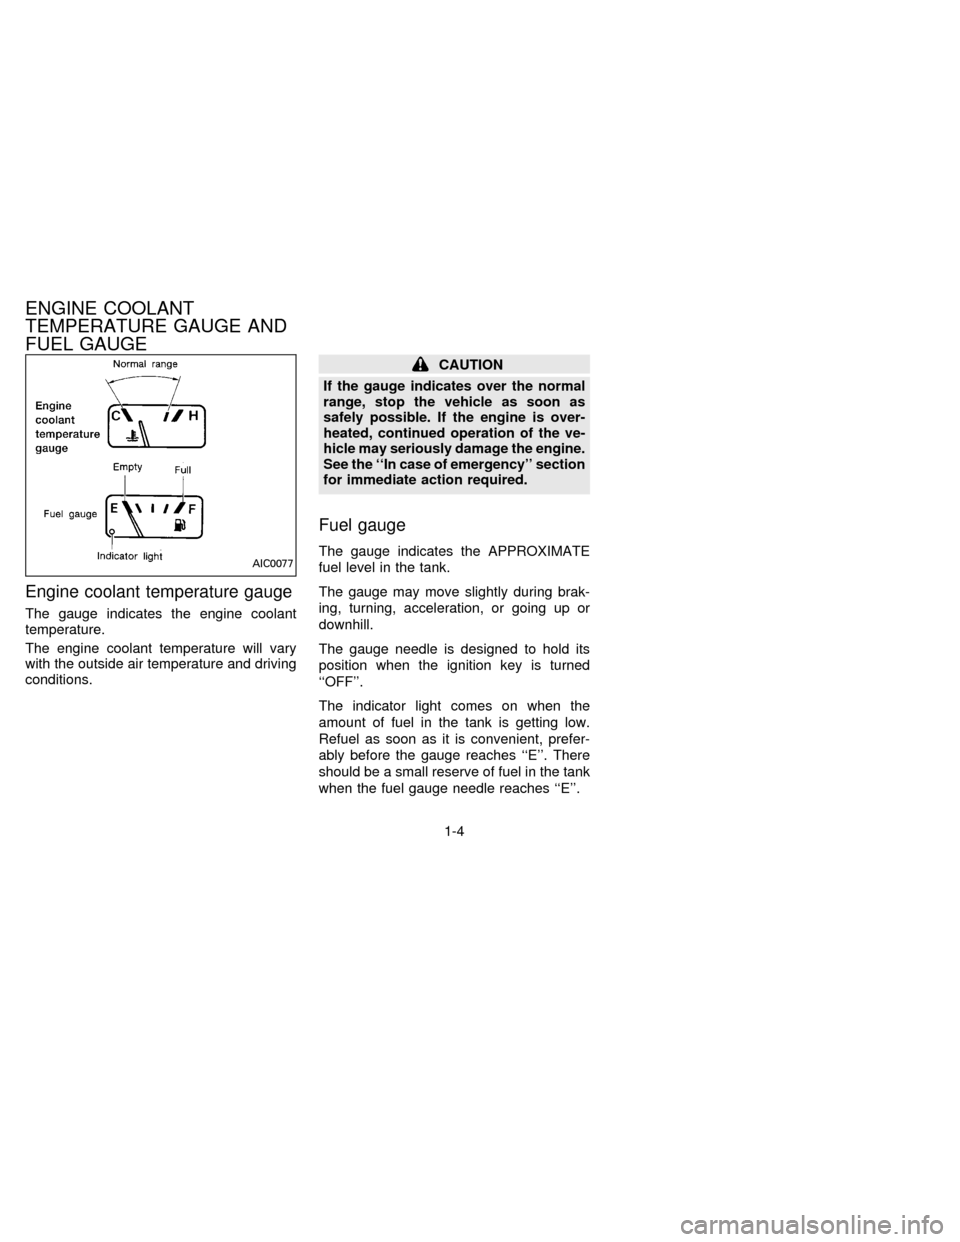
Engine coolant temperature gauge
The gauge indicates the engine coolant
temperature.
The engine coolant temperature will vary
with the outside air temperature and driving
conditions.
CAUTION
If the gauge indicates over the normal
range, stop the vehicle as soon as
safely possible. If the engine is over-
heated, continued operation of the ve-
hicle may seriously damage the engine.
See the ``In case of emergency'' section
for immediate action required.
Fuel gauge
The gauge indicates the APPROXIMATE
fuel level in the tank.
The gauge may move slightly during brak-
ing, turning, acceleration, or going up or
downhill.
The gauge needle is designed to hold its
position when the ignition key is turned
``OFF''.
The indicator light comes on when the
amount of fuel in the tank is getting low.
Refuel as soon as it is convenient, prefer-
ably before the gauge reaches ``E''. There
should be a small reserve of fuel in the tank
when the fuel gauge needle reaches ``E''.AIC0077
ENGINE COOLANT
TEMPERATURE GAUGE AND
FUEL GAUGE
1-4
ZX
Page 11 of 183
CAUTION
Do not continue driving if the belt is
loose, broken or missing.
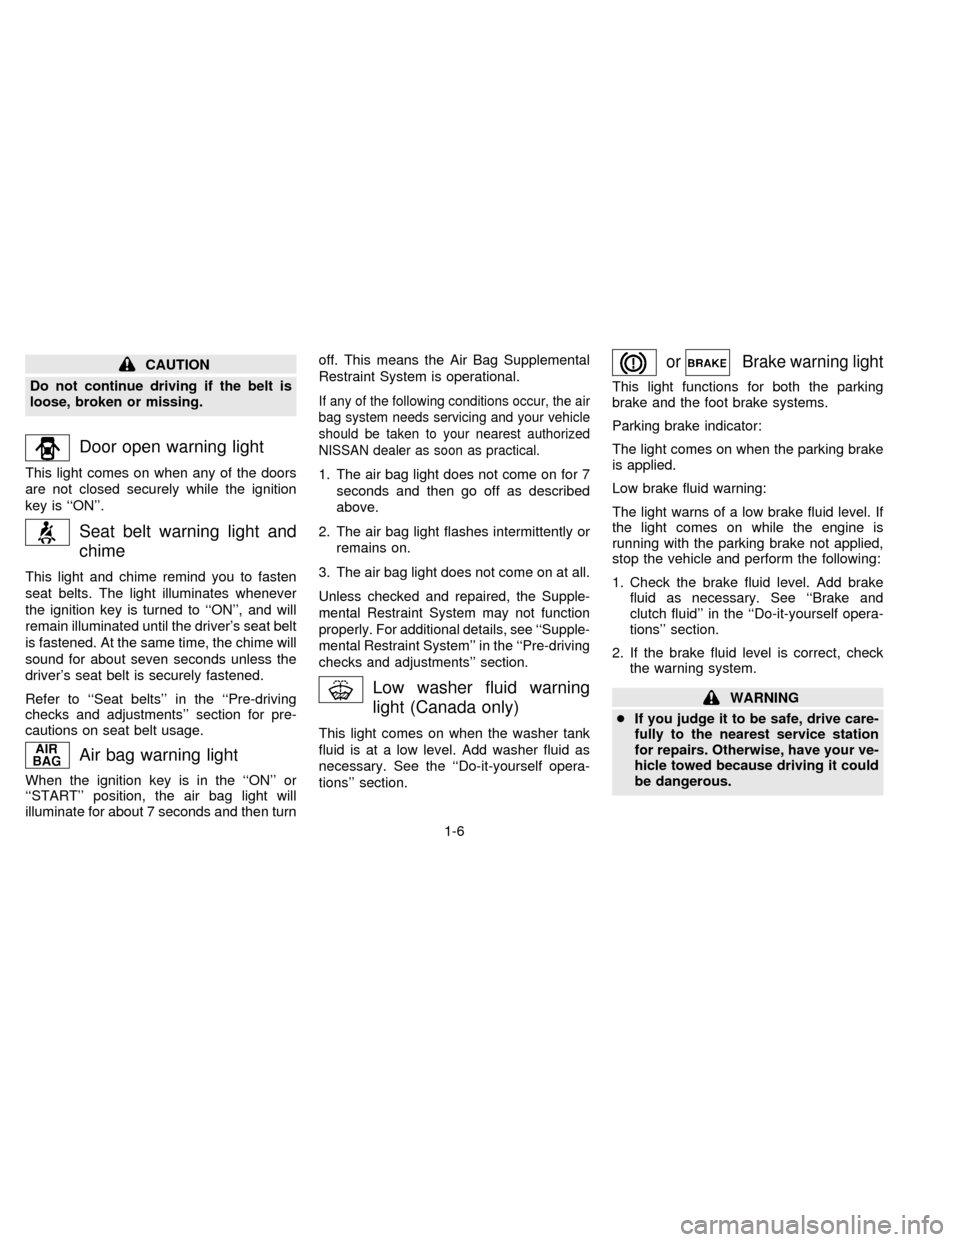
Door open warning light
This light comes on when any of the doors
are not closed securely while the ignition
key is ``ON''.
Seat belt warning light and
chime
This light and chime remind you to fasten
seat belts. The light illuminates whenever
the ignition key is turned to ``ON'', and will
remain illuminated until the driver's seat belt
is fastened. At the same time, the chime will
sound for about seven seconds unless the
driver's seat belt is securely fastened.
Refer to ``Seat belts'' in the ``Pre-driving
checks and adjustments'' section for pre-
cautions on seat belt usage.
Air bag warning light
When the ignition key is in the ``ON'' or
``START'' position, the air bag light will
illuminate for about 7 seconds and then turnoff. This means the Air Bag Supplemental
Restraint System is operational.
If any of the following conditions occur, the air
bag system needs servicing and your vehicle
should be taken to your nearest authorized
NISSAN dealer as soon as practical.
1. The air bag light does not come on for 7
seconds and then go off as described
above.
2. The air bag light flashes intermittently or
remains on.
3. The air bag light does not come on at all.
Unless checked and repaired, the Supple-
mental Restraint System may not function
properly. For additional details, see ``Supple-
mental Restraint System'' in the ``Pre-driving
checks and adjustments'' section.
Low washer fluid warning
light (Canada only)
This light comes on when the washer tank
fluid is at a low level. Add washer fluid as
necessary. See the ``Do-it-yourself opera-
tions'' section.
orBrake warning light
This light functions for both the parking
brake and the foot brake systems.
Parking brake indicator:
The light comes on when the parking brake
is applied.
Low brake fluid warning:
The light warns of a low brake fluid level. If
the light comes on while the engine is
running with the parking brake not applied,
stop the vehicle and perform the following:
1. Check the brake fluid level. Add brake
fluid as necessary. See ``Brake and
clutch fluid'' in the ``Do-it-yourself opera-
tions'' section.
2. If the brake fluid level is correct, check
the warning system.
WARNING
cIf you judge it to be safe, drive care-
fully to the nearest service station
for repairs. Otherwise, have your ve-
hicle towed because driving it could
be dangerous.
1-6
ZX
Page 41 of 183
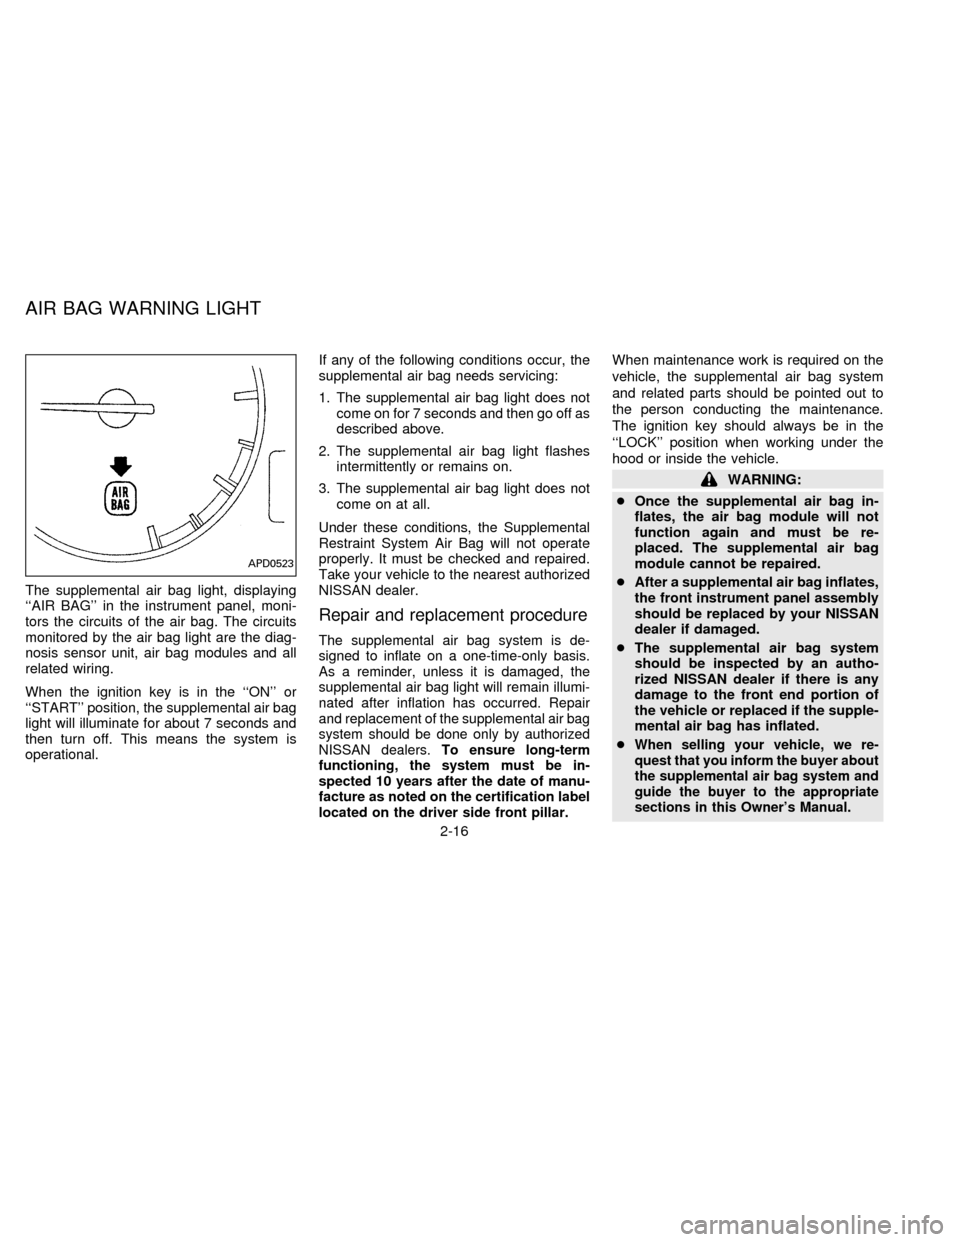
The supplemental air bag light, displaying
``AIR BAG'' in the instrument panel, moni-
tors the circuits of the air bag. The circuits
monitored by the air bag light are the diag-
nosis sensor unit, air bag modules and all
related wiring.
When the ignition key is in the ``ON'' or
``START'' position, the supplemental air bag
light will illuminate for about 7 seconds and
then turn off. This means the system is
operational.If any of the following conditions occur, the
supplemental air bag needs servicing:
1. The supplemental air bag light does not
come on for 7 seconds and then go off as
described above.
2. The supplemental air bag light flashes
intermittently or remains on.
3. The supplemental air bag light does not
come on at all.
Under these conditions, the Supplemental
Restraint System Air Bag will not operate
properly. It must be checked and repaired.
Take your vehicle to the nearest authorized
NISSAN dealer.
Repair and replacement procedure
The supplemental air bag system is de-
signed to inflate on a one-time-only basis.
As a reminder, unless it is damaged, the
supplemental air bag light will remain illumi-
nated after inflation has occurred. Repair
and replacement of the supplemental air bag
system should be done only by authorized
NISSAN dealers.To ensure long-term
functioning, the system must be in-
spected 10 years after the date of manu-
facture as noted on the certification label
located on the driver side front pillar.
When maintenance work is required on the
vehicle, the supplemental air bag system
and related parts should be pointed out to
the person conducting the maintenance.
The ignition key should always be in the
``LOCK'' position when working under the
hood or inside the vehicle.
WARNING:
cOnce the supplemental air bag in-
flates, the air bag module will not
function again and must be re-
placed. The supplemental air bag
module cannot be repaired.
cAfter a supplemental air bag inflates,
the front instrument panel assembly
should be replaced by your NISSAN
dealer if damaged.
cThe supplemental air bag system
should be inspected by an autho-
rized NISSAN dealer if there is any
damage to the front end portion of
the vehicle or replaced if the supple-
mental air bag has inflated.
c
When selling your vehicle, we re-
quest that you inform the buyer about
the supplemental air bag system and
guide the buyer to the appropriate
sections in this Owner's Manual.
APD0523
AIR BAG WARNING LIGHT
2-16
ZX
Page 58 of 183

3 Heater, air conditioner and audio system
Ventilators............................................................. 3-2
Heater and air conditioner (manual) .................... 3-2
Air flow charts....................................................... 3-6
Heater and air conditioner (automatic)
(If so equipped) .................................................... 3-8
Radio .................................................................. 3-10
Clock-radio ......................................................... 3-10
AM-FM radio with cassette player ..................... 3-11
AM-FM radio with cassette player and
compact disc player ........................................... 3-16
Antenna .............................................................. 3-21
CB radio or car phone........................................ 3-22
ZX
Page 59 of 183

Open or close (side vents only), and adjust
the air flow direction of ventilators.
CONTROLS
Fan control dial
This dial turns the fan on and off, and
controls fan speed. 1 is low, 4 is high.
Air flow control buttons
These buttons allow you to select the air
flow outlets.
Ð Air flows from center and side
ventilators.
HA1073
AHA0030
VENTILATORS HEATER AND AIR CONDITIONER (MANUAL)
3-2
ZX
Page 60 of 183
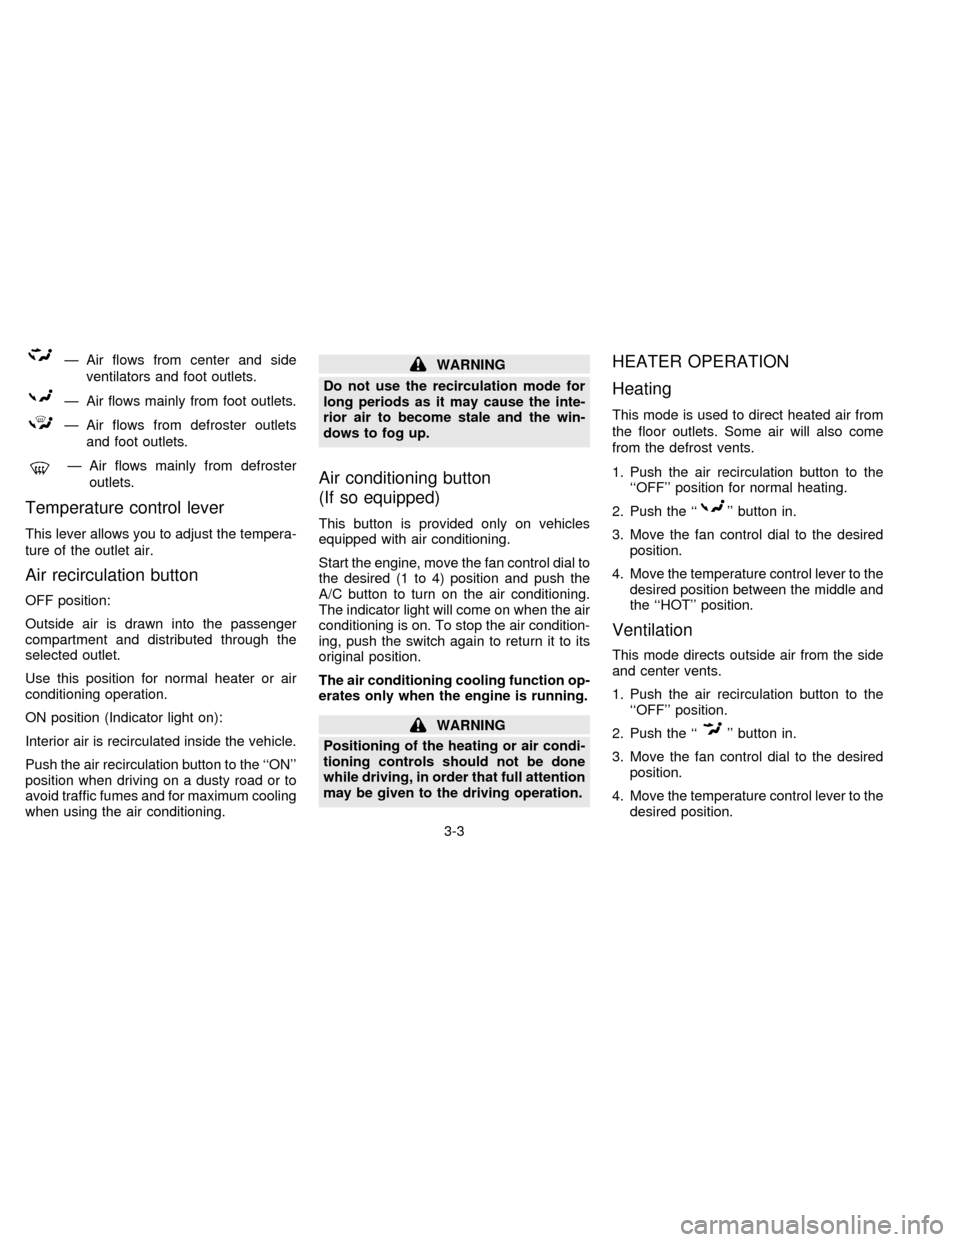
Ð Air flows from center and side
ventilators and foot outlets.
Ð Air flows mainly from foot outlets.
Ð Air flows from defroster outlets
and foot outlets.
Ð Air flows mainly from defroster
outlets.
Temperature control lever
This lever allows you to adjust the tempera-
ture of the outlet air.
Air recirculation button
OFF position:
Outside air is drawn into the passenger
compartment and distributed through the
selected outlet.
Use this position for normal heater or air
conditioning operation.
ON position (Indicator light on):
Interior air is recirculated inside the vehicle.
Push the air recirculation button to the ``ON''
position when driving on a dusty road or to
avoid traffic fumes and for maximum cooling
when using the air conditioning.
WARNING
Do not use the recirculation mode for
long periods as it may cause the inte-
rior air to become stale and the win-
dows to fog up.
Air conditioning button
(If so equipped)
This button is provided only on vehicles
equipped with air conditioning.
Start the engine, move the fan control dial to
the desired (1 to 4) position and push the
A/C button to turn on the air conditioning.
The indicator light will come on when the air
conditioning is on. To stop the air condition-
ing, push the switch again to return it to its
original position.
The air conditioning cooling function op-
erates only when the engine is running.
WARNING
Positioning of the heating or air condi-
tioning controls should not be done
while driving, in order that full attention
may be given to the driving operation.
HEATER OPERATION
Heating
This mode is used to direct heated air from
the floor outlets. Some air will also come
from the defrost vents.
1. Push the air recirculation button to the
``OFF'' position for normal heating.
2. Push the ``
'' button in.
3. Move the fan control dial to the desired
position.
4. Move the temperature control lever to the
desired position between the middle and
the ``HOT'' position.
Ventilation
This mode directs outside air from the side
and center vents.
1. Push the air recirculation button to the
``OFF'' position.
2. Push the ``
'' button in.
3. Move the fan control dial to the desired
position.
4. Move the temperature control lever to the
desired position.
3-3
ZX
Page 61 of 183
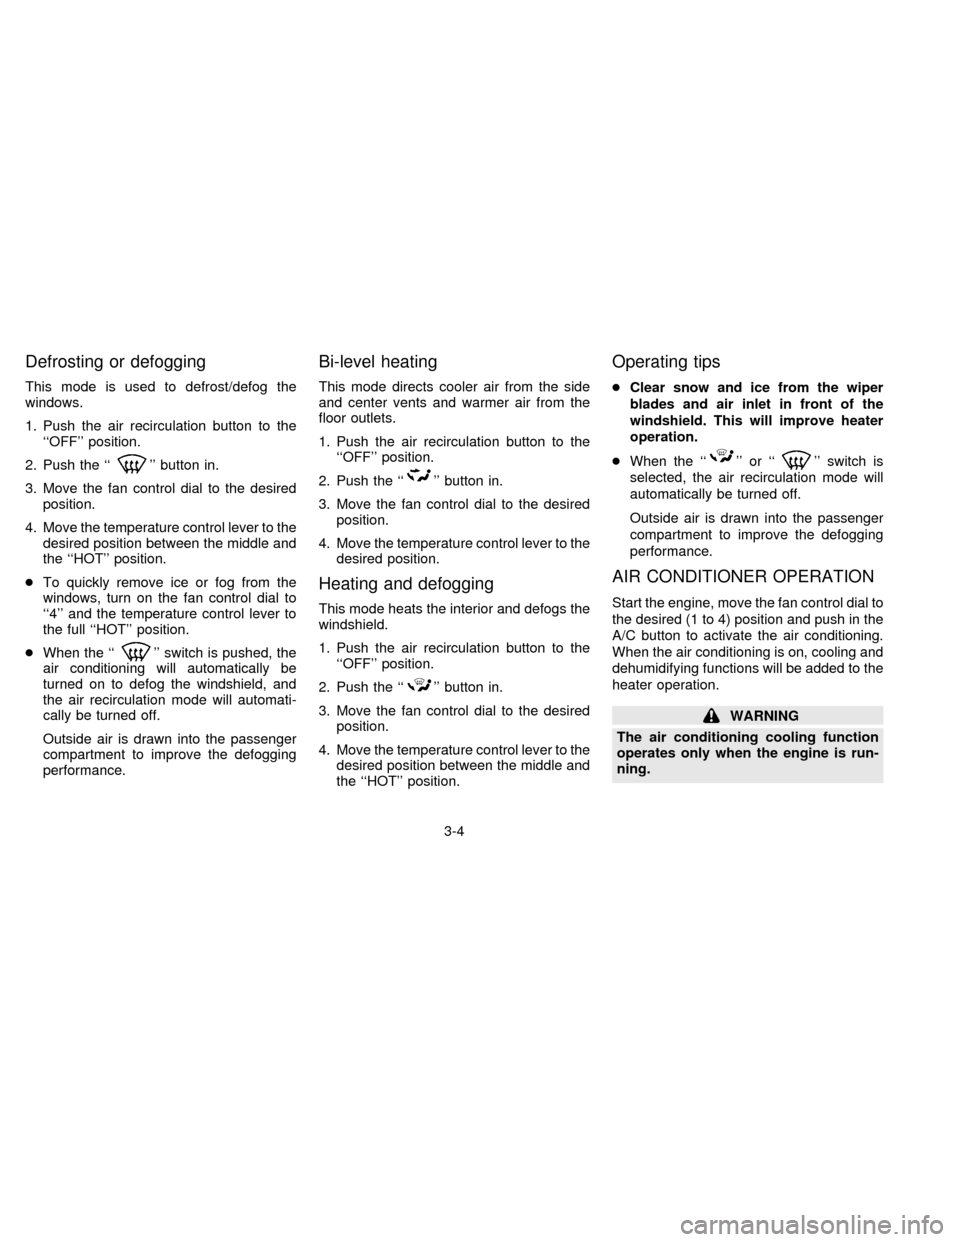
Defrosting or defogging
This mode is used to defrost/defog the
windows.
1. Push the air recirculation button to the
``OFF'' position.
2. Push the ``
'' button in.
3. Move the fan control dial to the desired
position.
4. Move the temperature control lever to the
desired position between the middle and
the ``HOT'' position.
cTo quickly remove ice or fog from the
windows, turn on the fan control dial to
``4'' and the temperature control lever to
the full ``HOT'' position.
cWhen the ``
'' switch is pushed, the
air conditioning will automatically be
turned on to defog the windshield, and
the air recirculation mode will automati-
cally be turned off.
Outside air is drawn into the passenger
compartment to improve the defogging
performance.
Bi-level heating
This mode directs cooler air from the side
and center vents and warmer air from the
floor outlets.
1. Push the air recirculation button to the
``OFF'' position.
2. Push the ``
'' button in.
3. Move the fan control dial to the desired
position.
4. Move the temperature control lever to the
desired position.
Heating and defogging
This mode heats the interior and defogs the
windshield.
1. Push the air recirculation button to the
``OFF'' position.
2. Push the ``
'' button in.
3. Move the fan control dial to the desired
position.
4. Move the temperature control lever to the
desired position between the middle and
the ``HOT'' position.
Operating tips
cClear snow and ice from the wiper
blades and air inlet in front of the
windshield. This will improve heater
operation.
cWhen the ``
'' or ``'' switch is
selected, the air recirculation mode will
automatically be turned off.
Outside air is drawn into the passenger
compartment to improve the defogging
performance.
AIR CONDITIONER OPERATION
Start the engine, move the fan control dial to
the desired (1 to 4) position and push in the
A/C button to activate the air conditioning.
When the air conditioning is on, cooling and
dehumidifying functions will be added to the
heater operation.
WARNING
The air conditioning cooling function
operates only when the engine is run-
ning.
3-4
ZX