Page 24 of 320

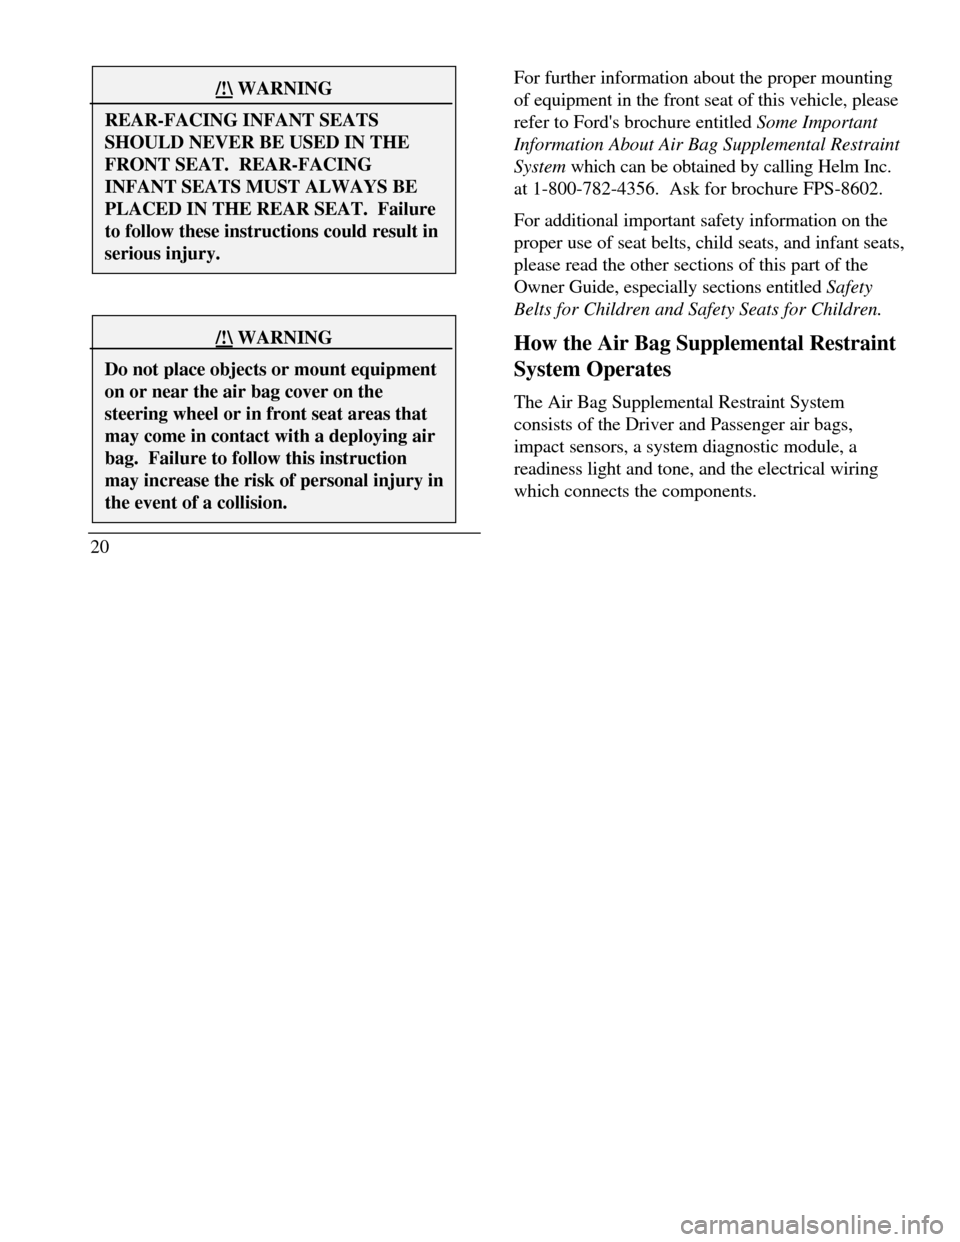
/!\ WARNINGREAR-FACING INFANT SEATSSHOULD NEVER BE USED IN THEFRONT SEAT. REAR-FACINGINFANT SEATS MUST ALWAYS BEPLACED IN THE REAR SEAT. Failureto follow these instructions could result inserious injury./!\ WARNINGDo not place objects or mount equipmenton or near the air bag cover on thesteering wheel or in front seat areas thatmay come in contact with a deploying airbag. Failure to follow this instructionmay increase the risk of personal injury inthe event of a collision.20For further information about the proper mounting
of equipment in the front seat of this vehicle, please
refer to Ford's brochure entitled Some Important
Information About Air Bag Supplemental Restraint
System which can be obtained by calling Helm Inc.
at 1-800-782-4356. Ask for brochure FPS-8602.
For additional important safety information on the
proper use of seat belts, child seats, and infant seats,
please read the other sections of this part of the
Owner Guide, especially sections entitled Safety
Belts for Children and Safety Seats for Children.
How the Air Bag Supplemental Restraint
System Operates
The Air Bag Supplemental Restraint System
consists of the Driver and Passenger air bags,
impact sensors, a system diagnostic module, a
readiness light and tone, and the electrical wiring
which connects the components.
Page 25 of 320
The driver air bag is in the center of the steering
wheel and is indicated by the letters SRS. The right
front passenger seat air bag is in the upper right-
hand section of the instrument panel ledge above
the glove compartment. The letters SRS appear
there. Both air bags are designed to stay out of
sight until they are activated.The location of air bags and warning labels
21
Page 44 of 320
Starting Your ContinentalIgnition
Understanding the Positions of the
IgnitionThe positions of the key in the ignitionACCESSORY allows some of your vehicle's
electrical accessories such as the radio and the
windshield wipers to operate while the engine is not
running.
NOTE:Your vehicle is also equipped with an
accessory timer. This allows some of your
accessories to remain on for up to I 0 minutes after
the ignition is turned to the OFF position. The
accessory timer is cancelled if any door is opened, the
dimmer switch is used, or the ignition is turned to the
ON position.
The automatic transaxle gearshift must be in P (Park)
to move the key to the LOCK position.
LOCK locks the steering wheel. It also locks the
gearshift lever.
LOCK is the only position that-allows you to remove
the key. The LOCK feature helps to protect your
vehicle from theft.
41
Page 45 of 320

OFF allows you to shut off the engine and all
accessories without locking the steering wheel, or the
gearshift lever.
ON allows You to test your vehicle's warning lights
(except the brake system warning light) to make sure
they work before you start the engine. The key returns
to the ON position once the engine is started and
remains in this position while the
engine runs.
START cranks the engine. Release the key once the
engine starts so that you do not damage the starter. The
key should return to ON when You release it. The
START position also allows You to test the Brake
Warning Light.
42Removing the Key From the Ignition
1.Put the gearshift in P (Park)-
2.Set the parking brake fully.
3.Turn the ignition key to LOCK.
4.Remove the key.
If the key is stuck in the LOCK position, move the
steering wheel left or right until the key turns freely.
If the driver's door is open while the key is still in the
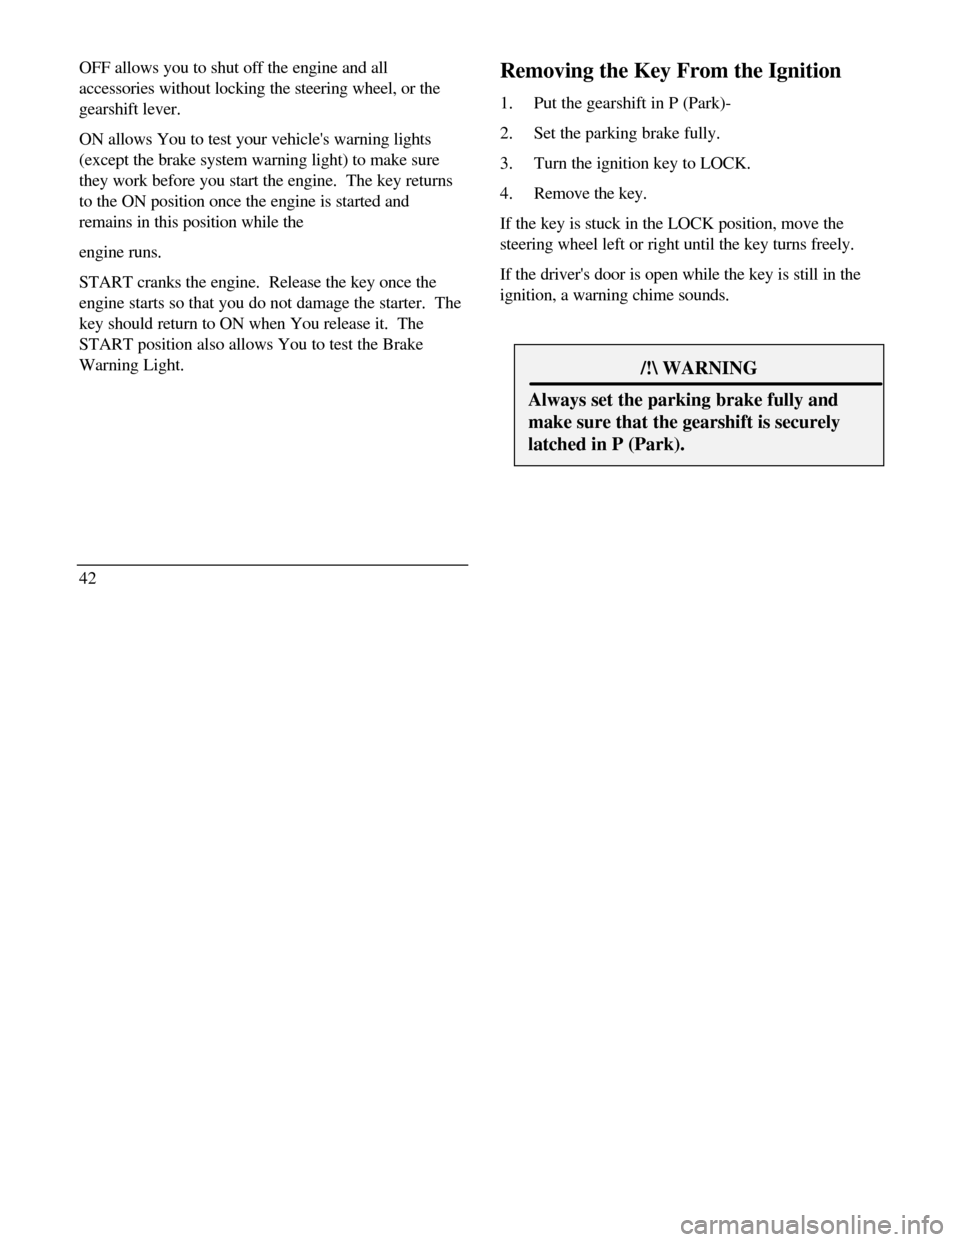
ignition, a warning chime sounds./! WARNINGAlways set the parking brake fully andmake sure that the gearshift is securelylatched in P (Park).
Page 47 of 320

3.Make sure that the gearshift is in P (Park) and the
parking brake is set before you turn the key.
Before you start your vehicle, you should test the
warning lights on the instrument panel to make sure that
they work. Refer to the Warning Lights and Gauges
chapter.
Starting Your Engine
To start your engine:
1.Follow the steps under Preparing to Start Your
Vehicle at the beginning of this section.
2.Turn the ignition key to the ON position.
3. DO NOT depress the accelerator pedal when
starting your engine. DO NOT use the accelerator
while the vehicle is parked.
444. Turn the key to the START position (cranking)
until the engine starts. Allow the key to return to
the ON position after the engine has started.
If you have difficulty in turning the key, rotate the
steering wheel slightly because it may be binding.
For a cold engine: At temperatures 10° °F (-12° °C) and below: If the
engine does not start in fifteen (15) seconds on the
first try, turn the key to OFF, wait approximately
ten (10) seconds so you do not flood the engine,
then try again. At temperatures above 10° °F (-12° °C): If the
engine does not start in five (5) seconds on the
first try, turn the key to OFF, wait approximately
ten (10) seconds so you do not flood the engine,
then try again.
Page 85 of 320
The high beam indicator light on the instrument
cluster will not be on.
NOTE:If you have a vehicle with an
automatic lighting system, the DRL system is
active until the automatic system turns on the
headlamps.
NOTE:You may notice that the lights
flicker when the vehicle is turned on or off. This
is a normal condition./!\WARNINGThe Daytime Running Light (DRL)system will not illuminate the taillamps and parking lamps. Turn onyour headlamps at dusk. Failure to doso may result in a collision.Turning On the Exterior Lights
To turn on the headlamps, parking lamps, side
markers, and tail lamps, use the rotary switch
that is to the left of the steering wheel.
82The knob for the exterior lights
To turn on the parking lamps, tail lamps,
and license plate lamps, turn the knob
clockwise to the first position.
For more information about how the high
beams work, refer to the Steering Column
Controls chapter.
Page 87 of 320

If the autolamp is active, the headlamp system
will come on immediately after starting your
vehicle. If your vehicle is running before you
activate the autolamp, there may be a 15 second
delay before the headlights illuminate.
2.Turn the ignition key to ON or start your
vehicle.
3.Find the autolamp switch to the left of the
steering wheel on the instrument panel.
4. Push the autolamp switch up toward the
MAX position. As you press this switch, the
autolamp system's status will be displayed in
the message center. The system can be
turned OFF or can be set to provide light for
up to three (3) minutes after you turn your
vehicle off.
84Do not put any articles on top of the photocell
that is located in the top left corner of the
instrument panel. This photocell controls the
autolamp. If you cover it, the photocell reacts
as if it is nighttime, and the lamps turn on.
To turn the autolamp off, push the switch down
until the message center display reaches OFF.
Turning On Interior
Lights/Instrument Panel Illumination
You can brighten or dim the lights in the
instrument panel and the compass display
in the inside rearview mirror (if
equipped) with the PANEL DIM switch
located on the instrument panel.
Page 92 of 320
Steering Column ControlsThe controls on the steering column and wheel
are designed to give you easy access to the
controls while you are driving.
The Turn Signal Lever
You can use the turn signal lever on the left side
of the steering column to: operate the turn signals and cornering lamps turn the high beams on/off flash the lights turn the windshield wipers and washer on/offThe turn signal lever
Turn Signals
Move the lever up to signal a right turn. Move it
down to signal a left turn. The corresponding
indicator light in the instrument cluster will flash.
89