Page 168 of 404

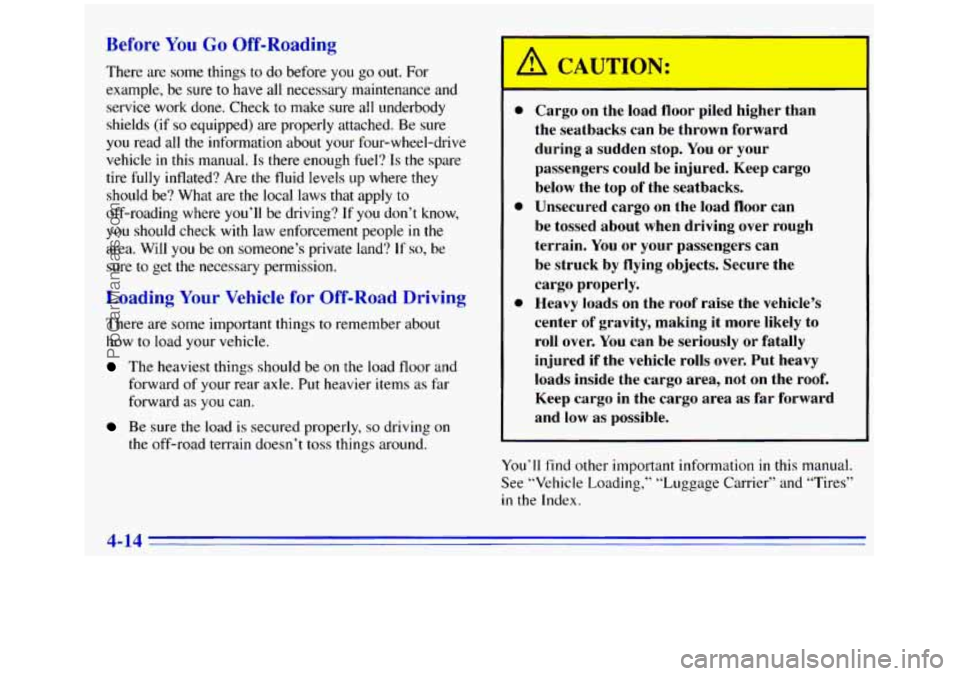
Before You Go Off-Roading
There are some things to do before you go out. For
example,
be sure to have all necessary maintenance and
service work done. Check
to make sure all underbody
shields (if
so equipped) are properly attached. Be sure
you read all the information about your four-wheel-drive
vehicle in
this manual. Is there enough fuel? Is the spare
tire fully inflated? Are
the fluid levels up where they
should be? What are the local laws that apply
to
off-roading where you’ll be driving? If you don’t know,
you should check with law enforcement people in the
area. Will you be on someone’s private land? If so, be
sure to get the necessary permission.
Loading Your Vehicle for Off-Road Driving
There are some important things to remember about
how
to load your vehicle.
The heaviest things should be on the load floor and
forward
of your rear axle. Put heavier items as far
forward
as you can.
Be sure the load is secured properly, so driving on
the off-road terrain doesn’t toss things around.
4 CAUTION: ‘ ’
0
0
e
Cargo on the load floor piled higher than
the seatbacks can be thrown forward
during a sudden stop.
You or your
passengers could be injured. Keep cargo
below the top of the seatbacks.
Unsecured cargo
on the load floor can
be tossed about when driving over rough
terrain.
You or your passengers can
be struck by flying objects. Secure the
cargo properly. Heavy
loads on the roof raise the vehicle’s
center of gravity, making it more likely to
roll over.
You can be seriously or fatally
injured if the vehicle rolls over. Put heavy
loads inside the cargo area, not on the roof.
Keep cargo in the cargo
area as far forward
and low as possible.
You’ll find other important information
in this manual.
See “Vehicle Loading,” “Luggage Carrier” and “Tires”
in the Index.
4-14
ProCarManuals.com
Page 239 of 404
Follow these instructions to lower the spare tire:
1.
2.
3.
A. Hoist Assembly
B. Ratchet
C. Jack Handle
D. Hoist Shaft
E. Valve Stem,
Pointed Down
E Spare Tire
Ci. Retainer
H. Hoist Cable
4.
One side of the ratchet has an IJP marking. The
other side has a
DOWN marking. Assenlble the
ratchet
to the hook near the end of the jack handle
(as illustrated) with the DOWN marking facing you.
Insert the other end through the hole in the rear
bumper and into the hoist shaft.
Turn the ratchet to lower the spare tire
to the ground.
Continue to
turn the ratchet until the spare tire can be
plrlled out from under the vehicle.
When the tire has been lowered.
tilt the retainer at
the end
of the cable so it can be pulled up through
the wheel opening.
Put the spare tire near the flat tire.
ProCarManuals.com
Page 241 of 404
If your vehicle has wheel
nut caps, use the wheel
wrench and ratchet
to
remove them. Turn the
wheel wrench
counterclockwise,
with
DOWN fdcing you. to
remove the wheel nut caps.
Then take
off the hub cap.
If the wheel also has a trim ring, LISI: the wheel wrench
to pry along the edge and remove
it.
If the wheel has a smooth center piece or a center piece
with recessed nuts, place the wheel wrench in the slot on
the wheel and gently pry
out.
Removing
the Spare w Flat Tire and Inst-'
1. Use the ratchet and
wheel wrench to loosen
all the wheel nuts. Turn
the wheel wrench
counterclockwise, with
DOWN fdcing you. to
loosen the wheel nuts.
Don't remove the wheel
nuts yet.
2. Position the jack under the vehicle.
Getting under a vehicle when it isjacked up is
dangerous. If the vehicle slips off the jack, you
could be badly injured or killed. Never get under
a vehicle
when it is supported only by a jack.
ProCarManuals.com
Page 242 of 404
NOTICE:
Raising your vehicle with the jack improperly
positioned will damage the vehicle
or may allow
the vehicle to fall off the jack. Be sure to fit the
jack lift head into the proper location before raising your vehicle.
Front Position Rear Position
Front
Position
Rear
Position
3. With UP on the ratchet facing you, raise the vehicle
by rotating
the ratchet and wheel wrench clockwise.
Raise the vehicle
far enough off the ground so there
is enough room for the spare tire to fit.
5-26
ProCarManuals.com
Page 243 of 404
4. Remove all the wheel
nuts and take off the
flat tire.
5. Remove any rust or dirt
from the wheel bolts,
mounting surfaces and
spare wheel. Rust or dirt on the
wheel, or on the parts to
which
it is fastened, can make the wheel nuts
become loose after
a time. The wheel could come
off and cause an accident. When you change
a
wheel, remove any rust or dirt from the places
where the wheel attaches
to the vehicle. In an
emergency, you can use a cloth or a paper towel
to do this; but be sure to use
a scraper or wire
brush
later, if you need to, to get all the rust or
dirt off.
I A CAUTIO^:
Never use oil or grease on studs or nuts. If you
do, the nuts might come loose. Your wheel could
fall
off, causing a serious accident.
5-27
ProCarManuals.com
Page 245 of 404

NOTICE:
Improperly tightened wheel nuts can lead to
brake pulsation and rotor damage. To avoid
expensive brake repairs, evenly tighten the wheel
nuts in the proper sequence and to the proper
torque specification.
9. Put the wheel trim back on. For vehicles with plastic
wheel
nut caps, tighten the caps until they are finger
tight, then tighten them an additional one-half turn
with the ratchet and wheel wrench.
Storing a Flat or Spare Tire aqd Tools
Storing a jack, a tire or other equipment in the
passenger compartment
of the vehicle could
cause injury. In a sudden stop or collision, loose
equipment could strike someone. Store all these
in the proper place.
Store the flat tire where the spare tire was stored.
For an underbody spare tire carrier, stow
the tire under
the rear of the vehicle
in the spare tire carrier. To stow
the tire:
1.
2.
3.
4.
5.
Put the tire on the ground at the rear of the vehicle
with the valve stem pointed down and
to the rear.
Tilt
the retainer downward and through the wheel
opening. Make sure that the retainer is
fully seated
across the underside
of the wheel.
Attach the ratchet,
with the UP mark facing you,
near the hook at the end of the jack handle. Insert the
other end, on an angle, through the hole
in the rear
bumper and
into the hoist shaft.
Raise
the tire fully against the underslue 01 le
vehicle. Continue turning the ratchet
until mere are
two “clicks”
or “ratchets.” The spare tire hoist
cannot
be over-tightened.
Grasp and push against
the tire to be sure it is stored
securely and
does not move.
f 29
ProCarManuals.com
Page 246 of 404
Lower Raise
~~
H U
A. Hoist Assembly
B. Ratchet
C. Jack Handle
D. Hoist Shaft
E. Valve Stern,
Pointed Down
E Flat or Spare Tire
G. Retainer
H. Hoist Cable
Return the jack, ratchet, wheel wrench and jack extensions
to their location behind the passenger’s seat. Secure the
items and replace the jack cover, if there is one.
G
2 and 4-Door Models
A. Nut
B. Jack
C. Jack Handle
Extension
D. Wheel Wrench
E. Jack and Tool
Storage Box
E Ratchet
G. Jack Handle
H. Tool Retainer
5-30
ProCarManuals.com
Page 303 of 404

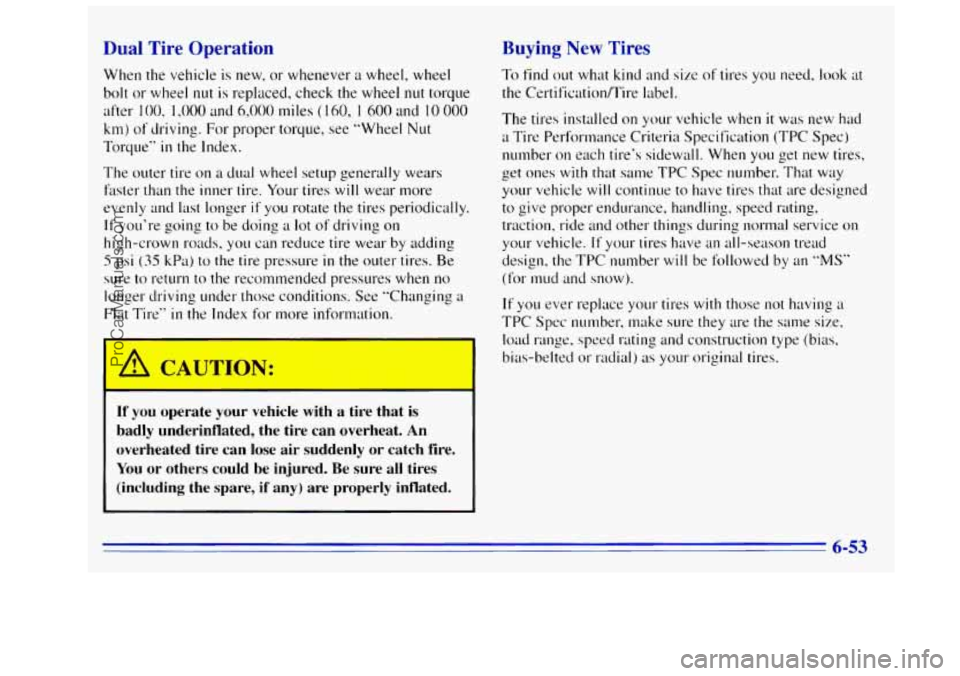
Dual Tire Operation
When the vehicle is new, or whenever a wheel, wheel
bolt or wheel nut is replaced, check the wheel nut torque
after
100, 1,000 and 6,000 miles ( 160, I 600 and IO 000
km) of driving. For proper torque, see "Wheel Nut
Torque" in the Index.
The outer tire on a dual wheel setup generally wears
faster than the inner tire. Your tires will wear more
evenly and last longer
if you rotate the tires periodically.
If you're going to be doing a lot of driving on
high-crown roads,
you can reduce tire wear by adding
5 psi (35 kPa) to the tire pressure in the outer tires. Be
sure to return to the recommended pressures when no
longer driving under those conditions. See "Changing
a
Flat Tire" in the Index for more information.
A CAUTION:
I
If you operate your vehicle with a tire that is
badly underinflated, the tire can overheat. An
overheated tire can lose air suddenly or catch fire.
You or others could be injured. Be sure
all tires
(including the spare, if any) are properly inflated.
Buying New Tires
To find out what kind and size of tires you need, look at
the Certificntion/Tire label.
Tlze tires installed
on your vehicle when it was new had
a Tire Performance Criteria Specification (TPC Spec)
number
on each tire's sidewall. When you get new tires,
get ones
with that same TPC Spec number. That way
your vehicle
will continue to have tires that are designed
to give proper endurance, handling, speed rating,
traction, ride and other things during normal service
on
your vehicle. If your tires have an all-season tread
design,
the TPC number will be followed by an "MS"
(for mud and snow).
If you ever replace your tires with those not having a
TPC
Spec number, make sure they are the same size,
load range, speed rating and construction type
(bias,
bias-belted or radial) as your original tires.
6-53
ProCarManuals.com