1996 GMC SIERRA lights
[x] Cancel search: lightsPage 7 of 404

Vehicle Symbols
These are some of the symbols you may find on your vehicle.
For example,
these symbols
are used on an
original battery:
POSSIBLE A
CAUTION
INJURY
PROTECT EYES BY
SHIELDING
CAUSTIC
ACID COULD BATTERY
CAUSE
BURNS
These symbols
are important
for you and
your passengers
whenever your
vehicle is
driven:
DOOR LOCK
UNLOCK
FASTEN SEAT
BELTS
These symbols
have
to do with
your lights:
SIGNALS e e3
TURN
WARNING
A
HAZARD
FLASHER
These symbols are
on some of
your controls:
WINDSHIELD
DEFROSTER
These symbols are used on
warning and
indicator lights:
COOLANT
TEMP
-
CHARGING I-1
BAllERY
SYSTEM
BRAKE
(0)
Here are some
other symbols
you may see:
FUSE
LIGHTER
AVOID
SPARKS
OR
FLAMES
SPARK
OR ,\I/,
COULD FLAME
EXPLODE BATTERY POWER
WINDOW RUNNING
0
DAYTIME -
LAMPS '*'
FOG LAMPS # 0
VENTILATING
FAN
1
-3
COOLANT a
ENGINE OIL e,
PRESSURE HORN
)tr
SPEAKER v
FUEL B
V
ProCarManuals.com
Page 86 of 404

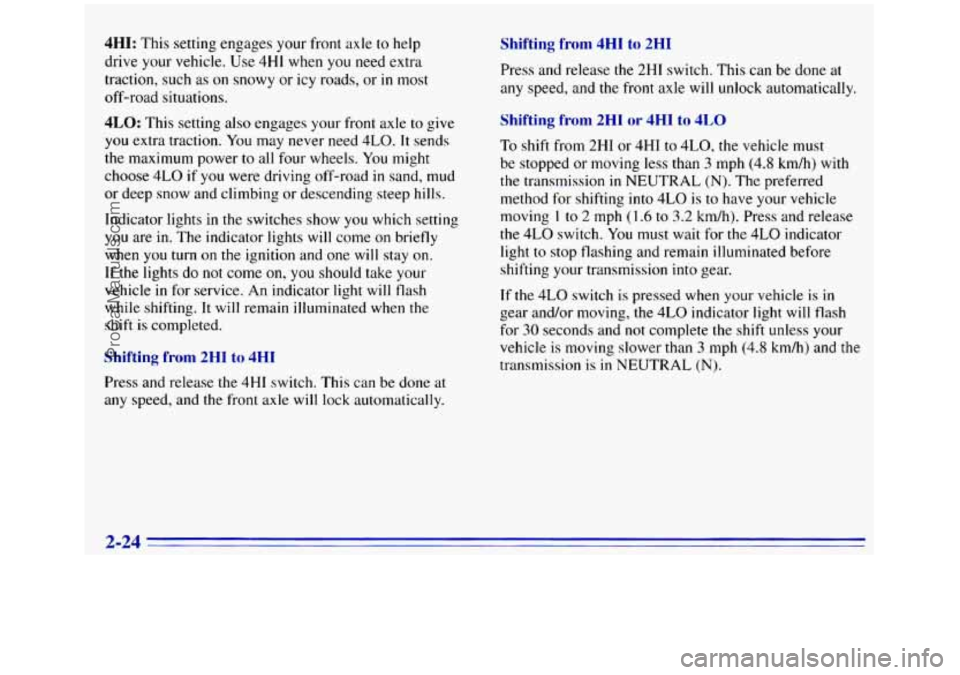
4HI: This setting engages your front axle to help
drive your vehicle.
Use 4HI when you need extra
traction, such
as on snowy or icy roads, or in most
off-road situations.
4LO: This setting also engages your front axle to give
you extra traction. You may never need 4LO. It sends
the maximum power
to all four wheels. You might
choose 4LO
if you were driving off-road in sand, mud
or deep snow and climbing
or descending steep hills.
Indicator lights
in the switches show you which setting
you are in. The indicator lights will come on briefly
when you turn
on the ignition and one will stay on.
If the lights do not come
on, you should take your
vehicle
in for service. An indicator light will flash
while shifting.
It will remain illuminated when the
shift is completed.
Shifting from 2HI to 4HI
Press and release the 4HI switch. This can be done at
any speed, and the front axle will lock automatically.
Shifting from 4HI to 2HI
Press and release the 2HI switch. This can be done at
any speed, and
the front axle will unlock automatically.
Shifting from 2H1 or 4HI to 4LO
To shift from 2HI or 4HI to 4L0, the vehicle must
be stopped or moving less than
3 mph (4.8 kmh) with
the transmission in NEUTRAL
(N). The preferred
method for shifting
into 4LO is to have your vehicle
moving
1 to 2 mph (1.6 to 3.2 km/h). Press and release
the 4LO switch. You must wait for the 4LO indicator
light to stop flashing and remain illuminated before
shifting
your transmission into gear.
If the 4LO switch
is pressed when your vehicle is in
gear and/or moving, the 4LO indicator light
will flash
for 30 seconds and not complete the shift unless your
vehicle
is moving slower than 3 mph (4.8 km/h) and the
transmission is
in NEUTRAL (N).
2-24
ProCarManuals.com
Page 101 of 404

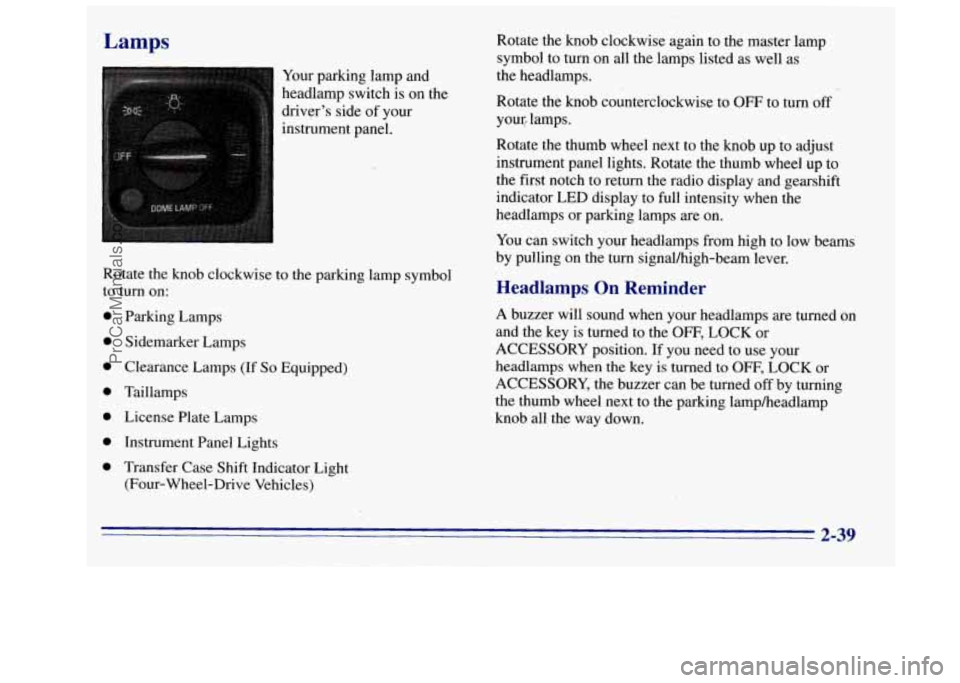
Lamps
Your parking lamp and
headlamp switch is on the
driver's side of your
instrument panel.
0
0
0
0
0
0
0
Parking Lamps
Sidemarker Lamps
Clearance Lamps
(If So Equipped)
Taillamps
License Plate Lamps Instrument Panel Lights
Transfer Case Shift Indicator Light
(Four-Wheel-Drive Vehicles) Rotate the knob clockwise again
to the master lamp
symbol to turn on all the lamps listed as well as
the headlamps.
Rotate the knob counterclockwise to
OFF to turn off
your, lamps.
Rotate the thumb wheel next
to the knob up 'to adjust
instrument panel lights. Rotate the thumb wheel up to
the first notch to return the radio display and gearshift
indicator LED display to full intensity when the
headlamps or parking lamps are on.
You can switch your headlamps from high to low beams
by pulling on the
turn signalhigh-beam lever.
Headlamps On Reminder
A buzzer will sound when your headlamps are turned on
and the key is turned to the
OFF, LOCK or
ACCESSORY position.
If you need to use your
headlamps when the key is turned to
OFF, LOCK or
ACCESSORY, the buzzer can be turned off by turning
the thumb wheel next to the parking lampheadlamp
knob all the way down.
2-39
ProCarManuals.com
Page 104 of 404

Interior Lamps
Instrument Panel Intensity Control
The instrument panel intensity control is located to the
right of the headlamp switch.
Rotate the thumb wheel up to adjust instrument panel
lights. Rotate the thumb wheel up
to the first notch to
return the radio display and gearshift indicator
LED
display to full intensity when the headlamps or parking
lamps are
on. To turn on the dome lamps (with the
vehicle doors closed) rotate the thumb wheel up to the
second notch position.
Illuminated Entry
Your vehicle may be equipped with an illuminated
entry feature.
When the doors are opened, the dome lamps will come
on if the dome lamp button
is out. When all the doors
are closed, or the dome lamp button
is pressed in, the
lamps
will stay on for a short period of time and will
then
go out.
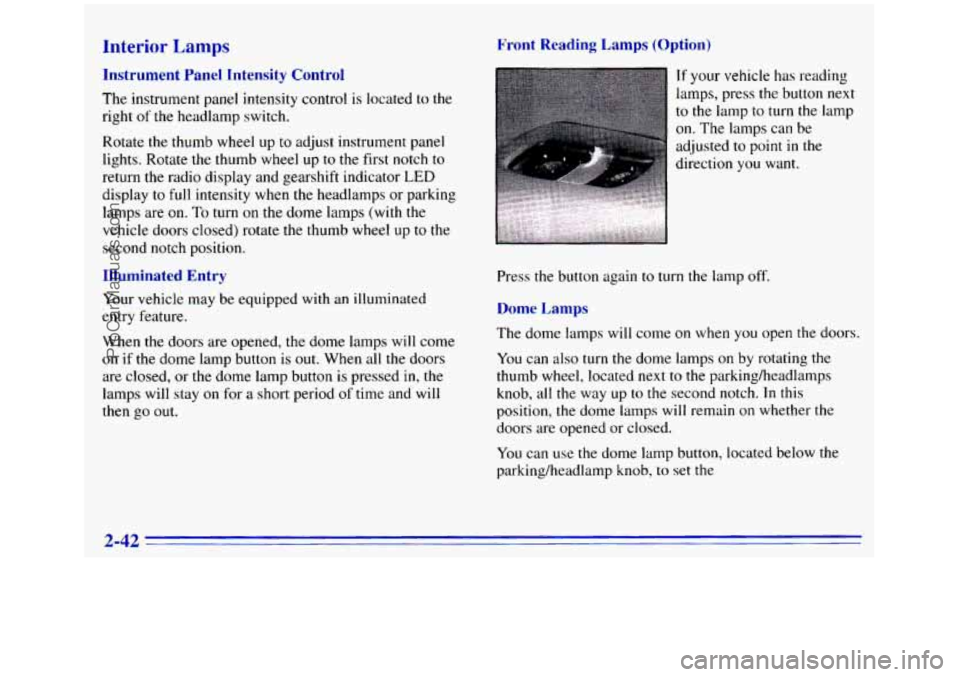
Front Reading Lamps (Option)
If your vehicle has reading
lamps, press the button next
to the lamp
to turn the lamp
on. The lamps can be
adjusted to point
in the
direction you want.
Press the button again
to turn the lamp off.
Dome Lamps
The dome lamps will come on when you open the doors.
You can also turn the dome lamps on by rotating the
thumb wheel, located next
to the parking/headlamps
knob, all the way up to
the second notch. In this
position, the dome lamps will remain
on whether the
doors are opened or closed.
You can use the dome lamp button, located below the
parking/headlamp knob,
to set the
2-42
ProCarManuals.com
Page 106 of 404

Electrochromic Inside Rearview Mirror
with Compass (Option)
Your vehicle may have an electrochromic inside
rearview mirror.
When on, the mirror automatically dims to the proper
level
to minimize glare from lights behind you after dark.
The mirror also includes an eight point compass
display
in the upper right
corner of the mirror face.
When
on, the compass
automatically calibrates
as the vehicle
is driven.
To use the electrochromic mirror only, move the switch
at the bottom
of the mirror to the M position. To use the
electrochromic mirror
as well as the compass. move the
switch to the
C/M position. To turn both features off,
move the switch to the
OFF position. When
the ignition is on and the mirror switch is
in the
CIM position, the compass display'will show two
character boxes for approximately two seconds. If, after
two seconds, the display does
not show a compass
heading
(N for North, for example), there may be a
strong magnetic field interfering with the compass. Such
interference may include magnetic antenna mounts,
a
magnetic note pad holder, or a similar magnetic item. If
removing these items does not correct the condition, see
your
GM dealer for assistance.
When cleaning the mirror, use a paper towel or similar
material dampened
with glass cleaner. Do not spray
glass cleaner directly on the mirror
as that may cause
liquid cleaner to enter the mirror housing.
Compass Varia~ 3
Under certain circumstances, as during a long distance
cross-country trip,
it will be necessary to adjust the
compass
to compensate for compass variance. Compass
variance
is the difference between earth's magnetic
north and true geographic north.
If not adjusted to
account for compass variance, your compass
could give
hlse readings.
2-44
ProCarManuals.com
Page 120 of 404

Warning Lights, Gages and Indicators
This part describes the warning lights and gages that
may be on your vehicle. The pictures will help
you
locate them.
Warning lights and gages can signal
that something is
wrong before it becomes serious enough to cause an
expensive repair or replacement. Paying attention to
your warning lights and gages could also save
you or
others from injury.
Warning lights come on when there may be
or is a
problem with one of your vehicle’s functions.
As you
will see in the details on the next few pages, some
warning lights come
on briefly when you start the
engine just
to let you know they’re working. If you are
familiar with this section, you should not be alarmed
when this happens.
Gages can indicate when there may be or is a problem
with one
of your vehicle’s functions. Often gages and
warning lights work together
to let you know when
there’s a problem with your vehicle. When
one of the warning lights comes on and stays on
when
you are driving, or when one of the gages shows
there may be a problem, check the section that
tells you
what to do about it. Please follow this manual’s advice.
Waiting to do repairs can be costly
-- and even
dangerous.
So please get to know your warning lights
and gages. They’re a big help.
Safety Belt Reminder Light
When the key is turned to RUN or START, a tone will
come on for about eight seconds to remind people
to
fasten their safety belts, unless the driver’s safety belt is
already buckled.
-
The safety belt light will
on for about 20 seconds,
also
come
on and stay
then
it will flash for about
belt is already buckled,
55 seconds. If the driver’s
neither the tone nor
the
light will come on.
2-58
-
ProCarManuals.com
Page 171 of 404

When you drive over obstacles or rough terrain, keep a
firm grip on the steering wheel. Ruts, troughs or other
surfax features can jerk the wheel out of your hands
if
you’re not prepared.
When you drive over bumps, rocks, or other obstacles,
your wheels can leave the ground.
If this happens, even
with one or two wheels, you can’t control the vehicle as
well or at all.
Because you will be on an unpaved surface, it‘s
especially important to avoid sudden acceleration,
sudden turns or sudden braking.
In a way, off-road driving requires a different kind of
alertness from driving on paved roads and highways.
There are
no road signs, posted speed limits or signal
lights. You have
to use your own good judgment about
what
is safe and what isn’t.
Drinking and driving can be very dangerous
on any
road. And
this is certainly true for off-road driving. At
the very time you need special alertness and driving
skills,
your reflexes, perceptions and judgment can be
affected by even a
small amount of alcohol. You could
have a serious -- or even fatal -- accident if you drink
and drive
or ride with a driver who has been drinking.
See “Drunken Driving”
in the Index.
Driving on Off-Road Hills
Off-road driving often takes you up, down or across a
hill. Driving safely on hills requires good judgment and
an understanding
of what your vehicle can and can’t do.
There are some hiIls that simply can’t be driven,
no
matter how well built the vehicle.
I
Many hills are simply too steep for any vehicle. If
you drive up them, you will stall. If you drive
down them, you can’t control your speed.
If you
drive across them, you
will roll over. You could be
seriously injured or killed.
If you have any doubt
about the steepness, don’t drive the hill.
4-17
ProCarManuals.com
Page 183 of 404

Here are some tips on night driving.
0 Drive defensively.
0 Don’t drink and drive.
0 Adjust your inside rearview mirror to reduce the
glare from he.adlamps behind
you.
0 Since you can’t see as well, you may need to
slow down and keep more space between you
and other vehicles.
Slow down, especially on higher speed roads. Your
headlamps can light
up only so much road ahead.
0 In remote areas, watch for animals.
0 If you’re tired, pull off the road in a safe place
and rest.
ght Vis- -
No one can see as well at night as in the daytime. But as
we get older these differences increase. A 50-year-old
driver may require at least twice as much light
to see the
same thing at night
as a 20-year-old.
What you
do in the daytime can also affect your night
vision. For example,
if you spend the day in bright
sunshine you are wise to wear sunglasses.
Your eyes will have less trouble
adjusting
to night. But if you’re
driving, don’t wear sunglasses at night. They may cut
down on glare from headlamps, but they also make a lot
of things invisible.
You can be temporarily blinded by approaching
headlamps. It can take
a second or two, or even several
seconds, for your eyes
to readjust to the dark. When you
are faced with severe glare (as from a driver who
doesn’t lower the high beams,
or a vehicle with
misaimed headlamps), slow down
a little. Avoid staring
directly
into the approaching headlamps.
Keep your windshield and all the glass on your vehicle
clean
-- inside and out. Glare at night is made much
worse by dirt on the glass. Even
the inside of the glass
can build up
a film caused by dust. Dirty glass makes
lights dazzle and flash more than clean glass would,
making the pupils
of your eyes contract repeatedly.
Remember that your headlamps light
up far less of a
roadway when
you are in a turn or curve. Keep your
eyes moving; that way, it’s easier
to pick out dimly
lighted objects. Just as your headlamps should
be
checked regularly for proper aim, so should your eyes
be examined regularly. Some drivers suffer from night
blindness
-- the inability to see in dim light -- and aren’t
even aware
of it.
4-29
ProCarManuals.com