Page 93 of 403

Downloaded from www.Manualslib.com manuals search engine If you move the lever all the way up or down and
the arrow flashes at twice the normal rate, a signal
bulb may be burned out and other drivers may not see
your turn signal.
If a bulb is burned out, replace it to help avoid an
accident. If the arrows don’t go on at all when you
signal a turn, check for burned-out bulbs and a blown
fuse (see “Fuses” in the Index).
Headlamp HighLow Beam Changer
To change the headlamps from low beam to high or high
to low, pull the turn signal lever all the way toward you.
Then release it.
When the high beams
are
on, this light on the
instrument panel also
will be on.
Windshield Wipers
You control the windshield
wipers by turning the knob
with the wiper symbol on it.
For a single wiping cycle, turn the knob to MIST. Hold
it there until the wipers start, then let go. The wipers will
stop after
one cycle. If you want more cycles, hold the
knob on MIST longer.
You can set the wiper speed for a long
or short delay
between wipes. This can be very useful in light rain
or
snow. Turn the knob to choose the delay time. The
closer
to LOW, the shorter the delay.
For steady wiping at
low speed, turn the knob to
the
LOW position. For high-speed wiping, turn the
knob further, to
HIGH. To stop the wipers, move the.
knob to OFF.
2-30 -
Page 103 of 403

Downloaded from www.Manualslib.com manuals search engine Compass Operation
When the ignition is on and the mirror switch is in the
C/M position, the compass display will show two
character boxes for approximately two seconds. If, after
two seconds, the display does not show a compass
heading (“N” for North, for example), there may be a
strong magnetic field interfering with the compass. Such
interference may include magnetic antenna mounts, a
magnetic note pad holder, or a similar magnetic item. If
removing these items does not correct the condition,
see
your GM dealer for assistance.
When cleaning the mirror, use a paper towel or similar
material dampened with glass cleaner.
Do not spray
glass cleaner directly on the mirror as that may cause
liquid cleaner
to enter the mirror housing.
Compass Variance
Under certain circumstances, as during a long distance
cross-country trip, it will be necessary to adjust the
compass to compensate for compass variance. Compass
variance is the difference between earth’s magnetic
North and true geographic North. If not adjusted to
account for compass variance, your compass could give
false readings.
To adjust for compass variance:
1. Use the CAL switch located at the bottom of the
mirror housing near the
odoff switch. A safety pin
or a paper clip can be used to press the button. Press
and hold the CAL switch for five seconds until a
.
zone number appears in the display.
2. Find your current location and variance zone number
on the following zone map.
2-40
Page 105 of 403

Downloaded from www.Manualslib.com manuals search engine Convex Outside Mirror
Your passenger’s side mirror may be convex. A convex
mirror’s surface is curved
so you can see more from the
driver’s seat.
I A CAUTION:
A convex mirror can make things (like other
vehicles) look farther away than they really are.
If you cut too sharply into the right lane, you
could hit a vehicle on your right. Check your
inside mirror
or glance over your shoulder before
changing lanes.
Storage Compartments
Your vehicle has a variety of storage compartments
designed to store small items.
Glove Box
To open your glove box, move the switch button toward
the passenger side and pull the door open.
Two cup depressions are provided at the top
of the
instrument panel to hold cups or other containers when
the vehicle is not moving.
Center Floor Console
Your vehicle may have a console compartment between
the bucket seats.
To open it, lift the latch handle and swing the door open.
Your console also has a
cupholder that swings out
for the back seat passengers
to use.
2-42
Page 111 of 403
Downloaded from www.Manualslib.com manuals search engine Cargo Security Shade @-Door Utility Model)
An improperly stored cargo cover could be
thrown about the vehicle during a collision or
sudden maneuver.
You or others could be
injured.
If you remove the cover, always store it
outside
of the vehicle. When you put it back,
always be sure that it is securely reattached.
I
If you have a cargo security shade, you can use it to
cover items in the cargo area of your vehicle.
To use the shade, pull the shade handle toward the rear
of the vehicle. Latch the shade posts into the retaining
sockets on the cargo area trim panels.
To return the shade to the shade holder, pull up on the
shade handle
to release the shade posts from the
retaining sockets. Let the shade move forward and latch
the shade posts into the front-most retaining sockets.
2-48
Page 112 of 403

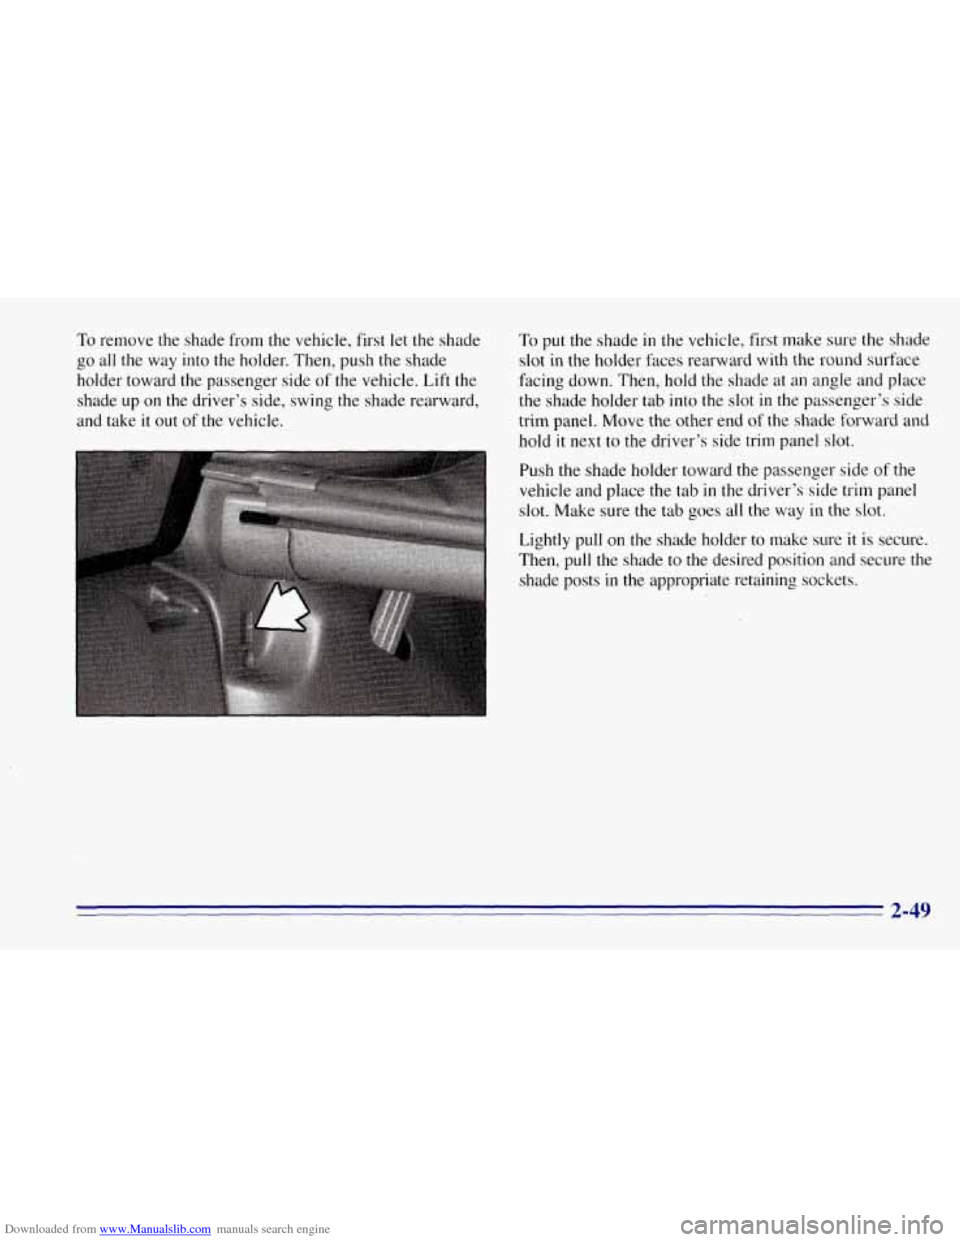
Downloaded from www.Manualslib.com manuals search engine To remove the shade from the vehicle, first let the shade
go all the way into the holder. Then, push the shade
holder toward the passenger side of the vehicle. Lift the To
put the shade in the vehicle, first make sure the shade
slot in the holder faces rearward with the round surface
facing down. Then, hold the shade at
an angle and place
shade up on the driver’s side, swing the shade rearward, the shade holder tab into
the slot in the passenger’s side
and take it out of the vehicle. trim panel. Move the other end
of the shade forward and
hold it next
to the driver’s side trim panel slot.
Push the shade holder toward the passenger side
of the
vehicle and place the tab in the driver’s side trim panel
slot. Make sure the tab goes all the way in
the slot.
Lightly pull on the shade holder to make sure it is secure.
Then, pull the shade
to the desired position and secure the
shade posts in the appropriate retaining sockets.
2-49
Page 113 of 403
Downloaded from www.Manualslib.com manuals search engine Cargo Tie Downs
There are cargo tie downs in the rear cargo area that
allow you to strap cargo in and keep it from moving
inside the vehicle.
When not using the tie downs, flip them down out
of
the way.
Luggage Carrier (Option)
If you have the optional luggage carrier, you can load
things on top of your vehicle.
The luggage carrier has slats and side rails attached
to
the roof, and crossrails which tan be moved towards the
front or the rear in the side rails to help secure cargo. Tie
the load to the side rails or side rail supports.
NOTICE:
Loading cargo that weighs more than 200 lbs.
(90.6 kg) on the luggage carrier may damage
your vehicle. When you carry large things, never
let them hang over the rear or the sides
of your
vehicle. Load your cargo
so that it rests on the
slats and does not scratch or damage the vehicle.
Put the cargo against the side rails and fasten it
securely to the luggage carrier.
2-50 ,
Page 124 of 403

Downloaded from www.Manualslib.com manuals search engine Brake System Warning Light
Your vehicle’s hydraulic brake system is divided into
two parts. If one part isn’t working, the other part can
still work and stop you. For good braking, though, you
need both parts working well.
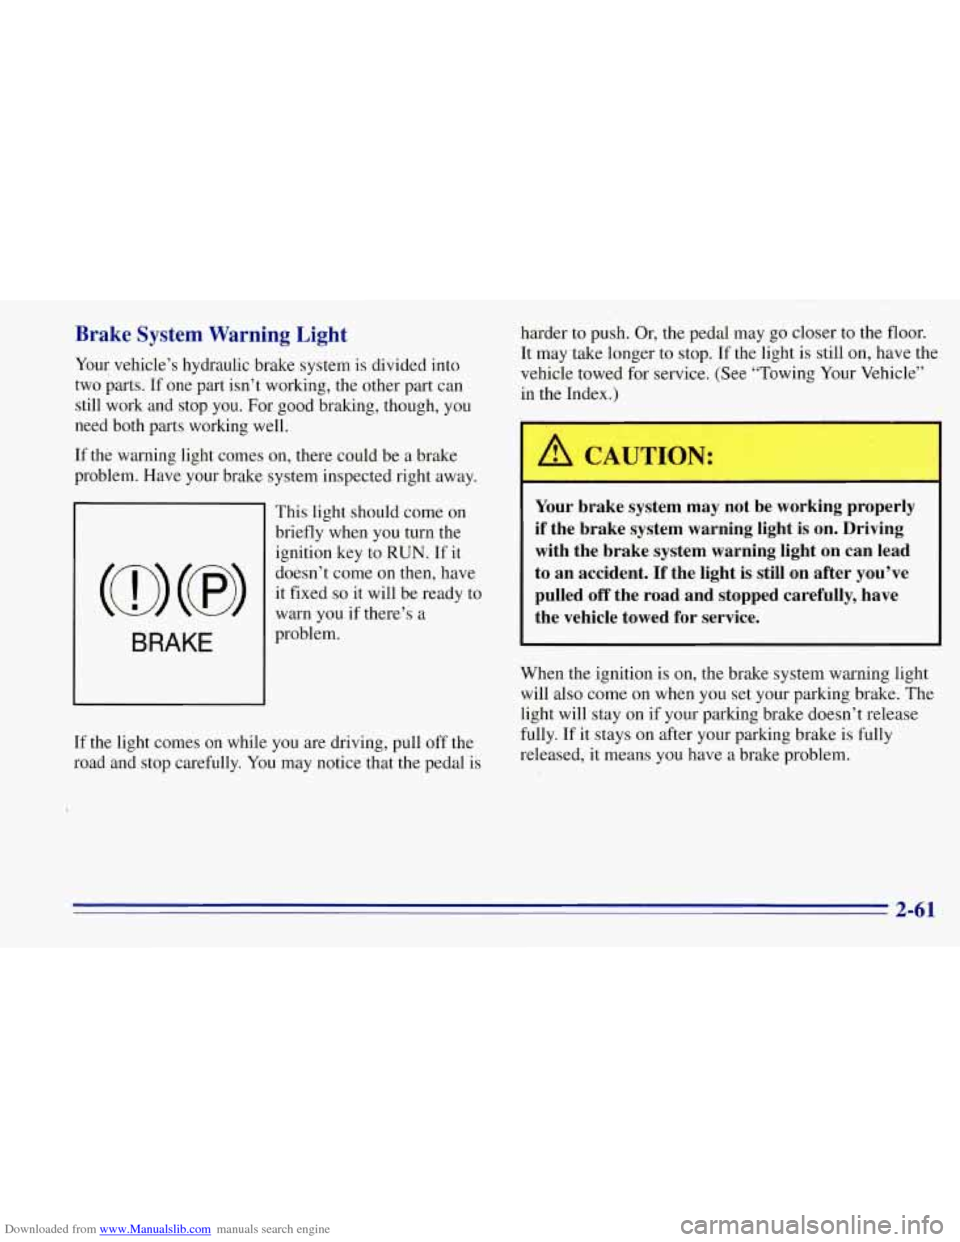
If the warning light comes on, there could be a brake
problem. Have your brake system inspected right away.
BRAKE
This light should come on
briefly when you turn the
ignition key to
RUN. If it
doesn’t come on then, have
it fixed
so it will be ready to
warn you if there’s a
problem.
If the light comes on while you are driving, pull off the
road and stop carefully. You may notice that the pedal
is
harder to push. Or, the pedal may go closer to the floor.
It may take longer to stop. If the light is still on, have the
vehicle towed for service. (See “Towing Your Vehicle”
in the Index.)
A CAUTION:
Your brake system may not be working properly
if the brake system warning light is on. Driving
with the brake system warning light
on can lead
to an accident. If the light is still on after you’ve
pulled off the road and stopped carefully, have
the vehicle towed for service.
When the ignition is on, the brake system warning light
will also come on when you set your parking brake. The
light will stay on if your parking brake doesn’t release
fully. If it stays on after your parking brake is fully
released, it means
you have a brake problem.
2-61
Page 127 of 403

Downloaded from www.Manualslib.com manuals search engine If the Light Is Flashing
The following may prevent more serious damage to
your vehicle:
Reduce vehicle speed.
‘ Avoid hard accelerations.
Avoid steep uphill grades.
0 If towing a trailer, reduce the amount of cargo being
hauled as soon as it is possible.
If the light stops flashing and remains on steady, see “If
the Light Is On Steady” following.
If the light continues to flash, when it is.safe to do
so,
stop the vehicle. Put your vehicle -in PARK (P). Turn the
‘key off, wait at least
10 seconds and restart the engine.
If the light remains on steady, see “If the Light Is On
Steady” following. If the light is still flashing follow the
previous steps, and drive the vehicle to your dealer
or
qualified service center for service.
If the Light Is On Steady I
You may be able to correct the emission system
malfunction by considering the following:
Did you just put
fuel into your vehicle?
If so, reinstall the fuel cap, making sure to fully install
the cap. The diagnostic system can determine if the fuel
cap has been left off
or improperly installed. This will
allow fuel to evaporate into the atmosphere. A few
driving trips should turn the light off.
.
Did you just drive through a deep puddle of water?
If
so, your electrical system may be wet. The condition
will usually be corrected when the electrical system
dries out.
A few driving trips should turn the light off.
Are you low
on fuel?
As your engine starts to run out of fuel, your engine may
not run as efficiently as designed since small amounts of
air are’sucked into the fuel line causing a misfire. The
system can detect this. Adding fuel should correct this
condition. Make sure to install the fuel cap properly. It
will take a few driving trips to turn the light off.
2-64