1996 CHEVROLET SUBURBAN brakes
[x] Cancel search: brakesPage 228 of 486
Turn Signals When Towing a Trailer
When you tow a trailer, your vehicle has to have extra wiring (included in
the optional trailering package). The green arrows
on your instrument panel
will flash whenever
you signal a turn or lane change. Properly hooked up,
the trailer lamps will
also flash, telling other drivers you’re about to turn,
change lanes or stop.
When towing a trailer, the green arrows on your instrument panel will flash
for turns even if the bulbs
on the trailer are burned out. Thus, you may think
drivers behind you are seeing your signal when they are not. It’s important
to check occasionally to be sure the trailer bulbs are still working.
Driving On Grades
Reduce speed and shift to a lower gear before you start down a long or steep
downgrade. If
you don’t shift down, you might have to use your brakes so
much that they would get hot and no longer work well.
On
a long uphill grade, shift down and reduce your speed to around 45 mph
(70 kdh) to reduce the possibility of engine and transmission overheating.
If
you have an automatic transmission you should use DRIVE (3) (or, as
you need to, a lower gear) when towing a trailer. Operating your vehicle in
DRIVE (3) when towing a trailer will minimize heat build-up and extend
the life
of your transmission.
If
you have a manual transmission and you are towing a trailer, it’s better
not to use FIFTH (5) gear. Just drive in FOURTH (4) gear (or, as you need
to,
a lower gear).
When towing at high altitude
on steep uphill grades, consider the following:
Engine coolant will boil at a lower temperature than at normal altitudes. If
you turn your engine off immediately after towing at high altitude on steep
uphill grades, your vehicle may show signs similar
to engine overheating.
To avoid this, let the engine run while parked (preferably on level ground)
with the automatic transmission
in PARK (P) (or the manual transmission
out of gear and the parking brake applied) for a few minutes before turning
the engine off.
If you do get the overheat warning, see “Engine
Overheating” in the Index.
Parking on Hills
You really should not park your vehicle, with a trailer attached, on a hill. If
something goes wrong, your rig could start to move. People can be injured,
and both your vehicle and
the trailer can be damaged.
But
if you ever have to park your rig on a hill, here’s how to do it:
1. Apply your regular brakes, but don’t shift into PARK (P) yet, or in gear
for a manual transmission.
ProCarManuals.com
Page 229 of 486
2. Have someone place chocks under the trailer wheels.
3. When the wheel chocks are in place, release the regular brakes until the
chocks absorb the load.
4. Re-apply the regular brakes. Then apply your parking brake, and then
shift to
PARK (P), or REVERSE (R) for a manual transmission.
5. If you have a four-wheel-drive vehicle, be sure the transfer case is in a
drive gear-not
in NEUTRAL (N).
6. Release the regular brakes.
When You Are Ready to Leave After Parking on a Hill
1. Apply your regular brakes and hold the pedal down while you:
Start your engine;
Shift into a gear; and
Release the parking brake.
2. Let up on the brake pedal.
3. Drive slowly until the trailer is clear of the chocks.
4. Stop and have someone pick up and store the chocks.
ProCarManuals.com
Page 318 of 486
Brakes
Brake Master Cylinder
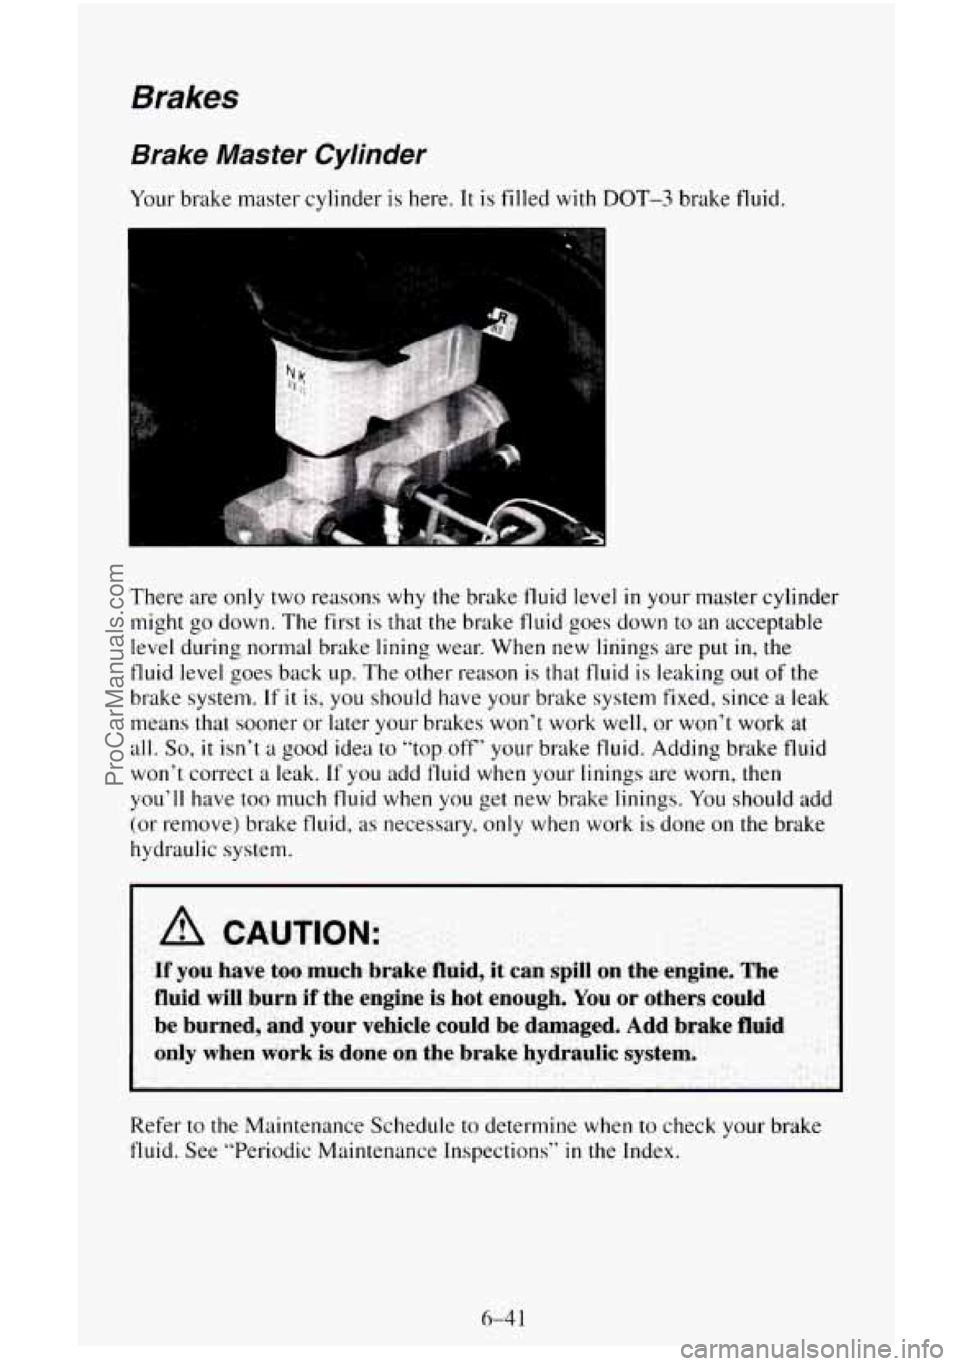
Your brake master cylinder is here. It is filled with DOT-3 brake fluid.
I L m
There are only two reasons why the brake fluid level in your master cylinder
might
go down. The first is that the brake fluid goes down to an acceptable
level during normal brake lining wear. When new linings are put
in, the
fluid level goes back up. The other reason is that fluid is leaking out of the
brake system.
If it is, you should have your brake system fixed, since a leak
means that sooner or later your brakes won’t
work well, or won’t work at
all.
So, it isn’t a good idea to “top off” your brake fluid. Adding brake fluid
won’t correct a leak.
If you add fluid when your linings are worn, then
you’ll have
too much fluid when you get new brake linings. You should add
(or remove) brake fluid, as necessary, only when work is done on
the brake
hydraulic system.
I
Refer to the Maintenance Schedule to determine when to check your brake
fluid. See “Periodic Maintenance Inspections’’
in the Index.
ProCarManuals.com
Page 320 of 486
Brake Wear
Your vehicle has front disc brakes and rear drum brakes.
Disc brake pads
have built-in wear indicators that make a high-pitched
warning sound when the brake pads are worn and new pads are needed. The
sound may come and
go or be heard all the time your vehicle is moving
(except when you are pushing on the brake pedal firmly).
I NOTICE:
Continuing to drive with worn-out brake pads could result in
costly brake repair.
Some driving conditions or climates may cause a brake squeal when the
brakes are first applied or lightly applied. This does not mean something is
wrong with your brakes.
Your rear drum brakes don’t have wear indicators, but
if you ever hear a
rear brake rubbing noise, have the rear brake linings inspected. Also, the
rear brake drums should be removed and inspected each time the tires are
removed for rotation or changing. When
you have the front brakes replaced,
have
the rear brakes inspected, too.
Brake linings should always be replaced as complete axle sets.
Brake Pedal Travel
See your dealer if the brake pedal does not return to normal height, or if
there
is a rapid increase in pedal travel. This could be a sign of brake
trouble.
Brake Adjustment
Every time you make a brake stop, your disc brakes adjust for wear.
If your brake pedal goes down farther than normal, your rear drum brakes
may need adjustment. Adjust them by backing up and firmly applying the
brakes a few times.
6-43
ProCarManuals.com
Page 321 of 486
Replacing Brake System Parts
The braking system on a modern vehicle is complex. Its many parts have to
be of top quality and work well together
if the vehicle is to have really good
braking. Vehicles we design and test have top-quality
GM brake parts in
them, as your vehicle does when it is new. When you replace parts of your
braking system
- for example, when your brake linings wear down and
you have to have new ones put in - be sure you get new genuine GM
replacement parts. If you don’t, your brakes may no longer work properly.
For example, if someone puts in brake linings that are wrong for your
vehicle, the balance between your front and rear brakes can change
- for
the worse. The braking performance you’ve come to expect can change
in
many other ways if someone puts in the wrong replacement brake parts.
Front Shock Absorbers
The front shock absorbers of your vehicle do many things. They help the
vehicle ride smoothly and also control the travel of the suspension system.
When the shock absorbers are serviced, any replacement shock absorbers
must be the same
as the original equipment shock absorbers in both
extended length and strength.
I NOTICE:
If you use shock absorbers that are not the same as the original
shock absorbers, the shock absorbers or suspension system
could be damaged.
Windshield Wiper Blade Inserts
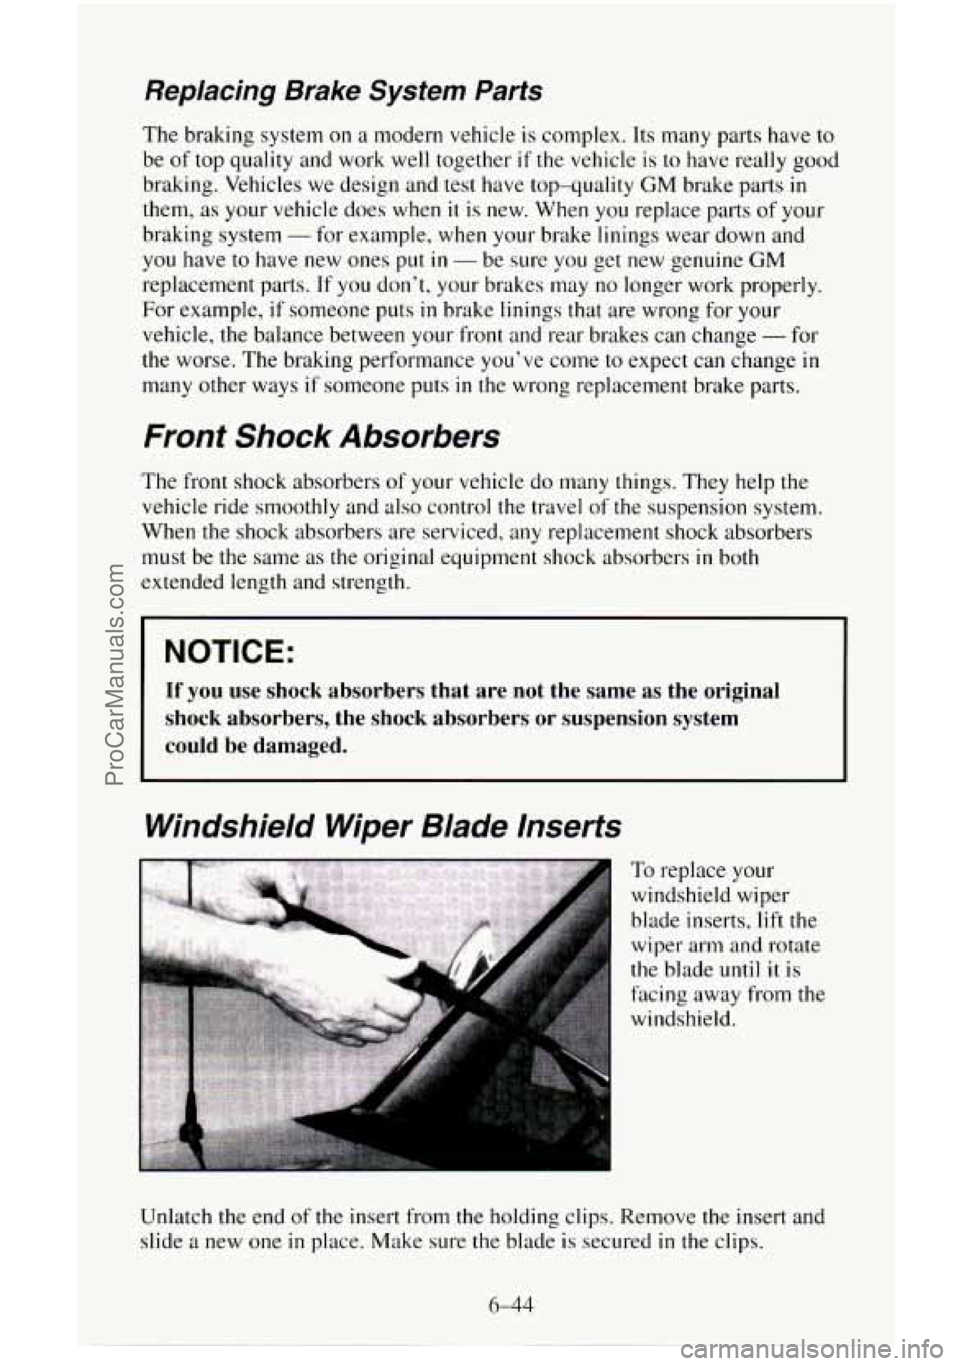
To replace your
windshield wiper
blade inserts, lift the
wiper arm and rotate
the blade until
it is
facing away from
the
windshield.
Unlatch the end of the insert from the holding clips. Remove the insert
and
slide a new one in place. Make sure the blade is secured in the clips.
6-44
ProCarManuals.com
Page 458 of 486
Parking Brake and Automatic Transmission PARK (P)
Mechanism Check
Park on a fairly steep hill, with the vehicle facing downhill. Keeping your
foot on the regular brake, set the parking brake.
0 To check the parking brake: With the engine running and transmission
in NEUTRAL
(N), slowly remove foot pressure from the regular brake
pedal.
Do this until the vehicle is held by the parking brake only.
0 To check the PARK (P) mechanism’s holding ability: Shift to PARK
(P). Then release all brakes.
Lap and Shoulder Belts Condition and Operation
Inspect belt system, including: webbing, buckles, latch plates, retractors,
guide
loops and anchors. Have a belt assembly replaced if the webbing has
been cut or otherwise damaged.
ProCarManuals.com
Page 474 of 486
Index
A
Adding Equipment to Your Air Bag-Equipped Vehicle (See “Supplemental
Inflatable Restraint System (SIR)”) Air Bag (See “Supplemental Inflatable Restraint System (SIR)”)
Readiness Light (See “Lights”)
Air Cleaner (See “Engine-Air Cleaner”)
Air Conditioning (See “Heater/Air Conditioning Controls”)
Antenna
....................................................... 3-28
Anti-Lock Brakes (See “Brakes”)
Appearancecare
............. i .................................. 6-62
Materials Chart
............................................... 6-71
Arbitration Program (See “Better Business Bureau Mediation”)
Audiosystems
................................................... 3-9
Care of Your Cassette Player and Tape
............................. 3-27
Care of Compact Discs
......................................... 3-28
ETR@ AM-FM Stereo Audio Cassette System
...................... 3-12
ETR@ AM-FM Stereo Audio Cassette ATC System
.................. 3-14
ETR@ AM-FM Stereo Audio Compact Disc (CD) ATC System
......... 3-19
Remote Cassette Player
...................................... 3-25
ETR@’AM-FM Stereo Audio System
.............................. 3-10
THEFTLOCK Theft Deterrent Feature
........................ 3-17, 3-23
Understanding Radio Reception
.................................. 3-26
Automatic Transmission (See “Transmission”)
Axle Front (See “Four-wheel Drive”)
LockingRe ar
................................................. 2-25
Rear
........................................................ 6-31
B
Battery ........................................................ 6-45
Belts (See “Safety Belts”)
Better Business Bureau Mediation
.................................... 8-3
Blizzard (See “Driving-If You’re Caught in a Blizzard”)
Brakes Adjustment
.................................................. 643
Anti-Lock (ABS)
.............................................. 4-5
Anti-Lock Warning Light (See “Lights”)
Hydro-Boost Brake System (Hydraulic Pump)
...... ......... 6-39
Master Cylinder
.............................................. 6-41
Parking ..................................................... 2-26
PedalTravel ................................................. 6-43
Replacingparts
............................................... 6-44
System Warning Light (See “Lights”)
To Check Brake Fluid
........................................ 6-42
Trailer (See “Trailer-Brakes”)
Transmission Shift Interlock (BTSI)
............................... 2-21
Wear
....................................................... 6-43
Braking
......................................................... 4-5
In Emergencies
................................................ 4-7
Break-In. New Vehicle ............ .......................... 2-10
1
ProCarManuals.com
Page 479 of 486

K
Key Lock Cylinders ......................................... 645. 7.93
Keyless Entry System
............................................. 2-8
Key Release Button
.............................................. 2-12
Keys
........................................................... 2-1
L
Labels
Lamps Certificationmire
(See “Certificatioflire Label”)
Center High Mounted Stop Lamp (CHMSL)
........................ 2-82
Daytime Running Lamps
....................................... 2-49
Dome
....................................................... 2-50
Headlights (See “Headlamps”)
Lamp and Bulb Data
........................................... 6-82
Reading
..................................................... 2-50
Replacement (See “Bulb Replacement”)
UnderhoodReelLamp
......................................... 2-51
Lights
Air Bag Readiness Light
........................................ 2-70
Anti-Lock Brake System Warning Light
........................... 2-72
Brake System Warning Light
.................................... 2-71
Charging System Warning Light
.................................. 2-75
Check Gages Warning Light
..................................... 2-76
Daytime Running Lamps (DRL) Indicator Light ................ 2-49, 2-76
Headlamp High Beam Indicator Light
............................. 2-77
Headlights (See “Headlamps”)
Low Coolant Warning Light ................................ 2-74, 6-36
Safety Belt Reminder Light
..................................... 2-70
Service Throttle Soon (Light Duty Diesel Engines)
................... 2-73
ShiftLight
.............................................. 2-24, 2-77
Turn Signal and Lane Change Indicator Light
.................. 2-40, 2-78
Water
in Fuel (Diesel Engine) .................................... 2-73
Loading Your Vehicle
............................................ 4-37
Lock Cylinders (See “Key Lock Cylinders”)
Loss of Control (See “Driving-Loss of Control”)
Lubrication (See “Recommended Fluids and Lubricants”)
Luggagecarrier
................................................. 2-85
GlowPlugsLight
............................................. 2-74
Malfunction Indicator (Service Engine Soon)
.................. 2-75, 6-54
TraileringPackage
............................................ 4-39
M
Malfunction Indicator Lamp (See “Lights”)
Maintenance (See “Scheduled Maintenance Services”)
Master Cylinder (See “Brakes”)
Mirrors
ConvexOutside
............................................. 2-54
Electric Outside Rearview Mirrors
................................ 2-54
Electrochromic Inside Rearview Mirror with Compass
................ 2-52
Znside
....................................................... 2-52
6
ProCarManuals.com