1996 CHEVROLET S10 transmission oil
[x] Cancel search: transmission oilPage 65 of 375
Downloaded from www.Manualslib.com manuals search engine 4. After you’ve used the coolant heater, be sure to
store the cord as it was before
to keep it away
from moving engine parts. If you don’t,
it could
be damaged.
How long should you keep the coolant heater plugged
in? The answer depends
on the outside temperature, the
kind
of oil you have, and so.me other things. Instead of
trying to list everything here, we ask that
you contact
your
GM dealer in the area where you’ll be parking your
vehicle. The dealer can give you the best advice for that
particular area.
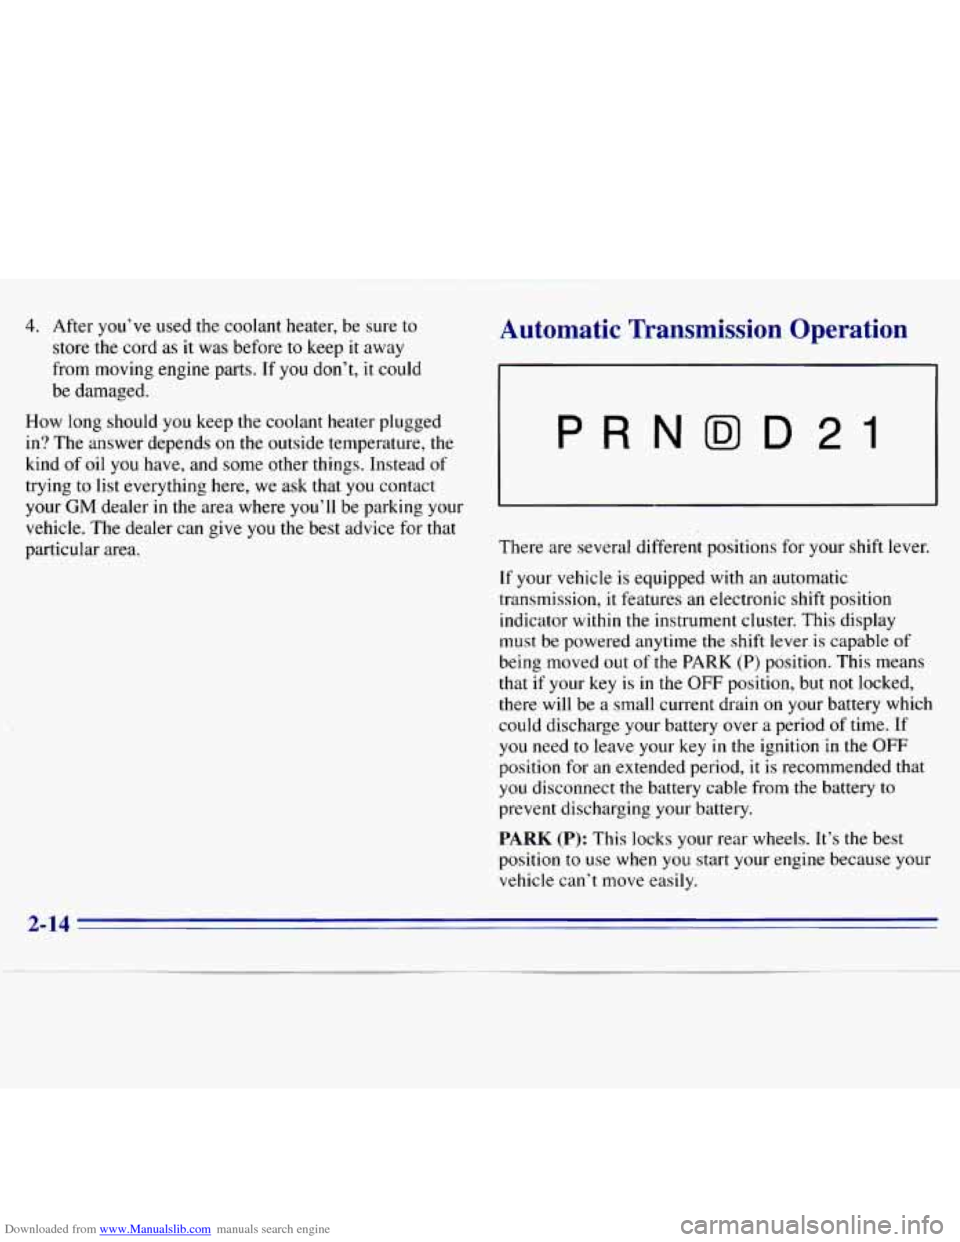
Automatic Transmission Operation
. --
P RNDD 21
There are several different positions for your shift lever.
If your vehicle is equipped with an automatic
transmission, it features an electronic shift position
indicator within the instrument cluster. This display
must be powered anytime
the shift lever is capable of
being moved out of the PARK (P) position. This means
that
if your key is in the OFF position, but not locked,
there will be a small current drain on your battery which
could discharge your battery over a period
of time. If
you need to leave your key in the ignition in the OFF
position for an extended period, it is recommended that
you disconnect the battery cable from the battery to
prevent discharging your battery.
PARK (P): This locks your rear wheels. It’s the best
position
to use when you start your engine because your
vehicle can’t move easily.
2-14
Page 185 of 375
Downloaded from www.Manualslib.com manuals search engine Turn Signals When Towing a Trailer
When you tow a trailer, your vehicle has to have extra
wiring and a heavy-duty turn signal flasher (included
in
the optional trailering package).
The green arrows on your instrument panel will flash
whenever you signal a turn or lane change. Properly
hooked up, the trailer lamps will also flash, telling other
drivers you’re about to turn, change lanes or stop.
When towing a trailer, the green arrows on your
instrument panel will flash for turns even if the bulbs on
the trailer are burned out. Thus, you may think drivers
behind
you are seeing your signal when they are not. It’s
important
to check occasionally to be sure the trailer
bulbs are still working.
Driving On Grades
Reduce speed and shift to a lower gear before you start
down a long or steep downgrade. If you don’t shift
down,
you might have to use your brakes so much that
they would get hot and no longer work well, On
a long uphill grade, shift down and reduce your
speed to around
45 mph (70 kdh) to reduce the
possibility of engine
and transmission overheating.
If you have an automatic transmission, you should use
DRIVE (D) when towing a trailer. Operating your
vehicle in DRIVE (D) when towing a trailer will
minimize heat buildup and extend the life of your
transmission. Or, if you have a manual transmission, it’s
better not to use FIFTH
(5), just drive in FOURTH (4)
(or, as you need to, a lower gear).
When towing at high altitude on steep uphill grades,
consider the following: Engine coolant will boil
at a
lower temperature than at normal altitudes. If you turn
your engine off immediately after towing at high altitude
on steep
uphill grades, your vehicle may show signs
similar to engine overheating. To avoid this, let the
engine run while parked (preferably on level ground)
with the automatic transmission in PARK
(P) (or the
manual transmission out of gear and the parking brake
applied) for
a few minutes before turning the engine off.
If you do get the overheat warning, see “Engine
Overheating’’
in the Index.
4-54
Page 187 of 375
Downloaded from www.Manualslib.com manuals search engine When You Are Ready to Leave After
Parking on a Hill
1. Apply your regular brakes and hold the pedal down
while
you:
Start your engine;
0 Shift into a gear; and
0 Release the parking brake.
2. Let up on the brake pedal.
3. Drive slowly until the trailer is clear of the chocks.
4. Stop and have someone pick up and store the chocks.
Maintenance When Trailer Towing
Your vehicle will need service more often when you’re
pulling a trailer. See the Maintenance Schedule for more
on this. Things that are especially important in trailer
operation are automatic transmission fluid (don’t
overfill), engine oil, axle lubricant, belt, cooling system
and brake adjustment. Each
of these is covered in this
manual, and the Index will help
you find them quickly.
If you’re trailering, it’s
a good idea to review these
sections before you start your trip.
Check periodically to see that all hitch nuts and bolts
are tight.
Trailer Wiring Harness
The eight-wire harness is stored under your vehicle
along
the rear frame crossmember. This harness has a
30-amp feed wire with an inline fuse located in the
instrument panel fuse block and no connector. It should
be wired by a qualified electrical technician. The
technician can use
the following color code chart when
connecting the wiring harness to your trailer.
0 DARK BLUE: Use for electric trailer brakes or
0 RED: Use for battery charging; it connects to the
LIGHT GREEN: Back-up lamps.
0 BROWN: Taillamps and parking lamps.
0 YELLOW Left stoplamp and turn signal.
0 DARK GREEN: Right stoplamp and turn signal.
0 WHITE (Heavy Gage): Ground wire.
0 WHITE (Light Gage): Auxiliary stoplamp.
Securely attach the harness to the trailer, then tape or
strap it to your vehicle’s frame rail. Be sure
you leave
it loose enough
so the wiring doesn’t bend or break,
but not so
loose that it drags on the ground. Store the
harness in its original place. Wrap the harness together
and tie
it neatly so it won’t be damaged.
auxiliary wiring.
starter solenoid.
4-56
Page 235 of 375
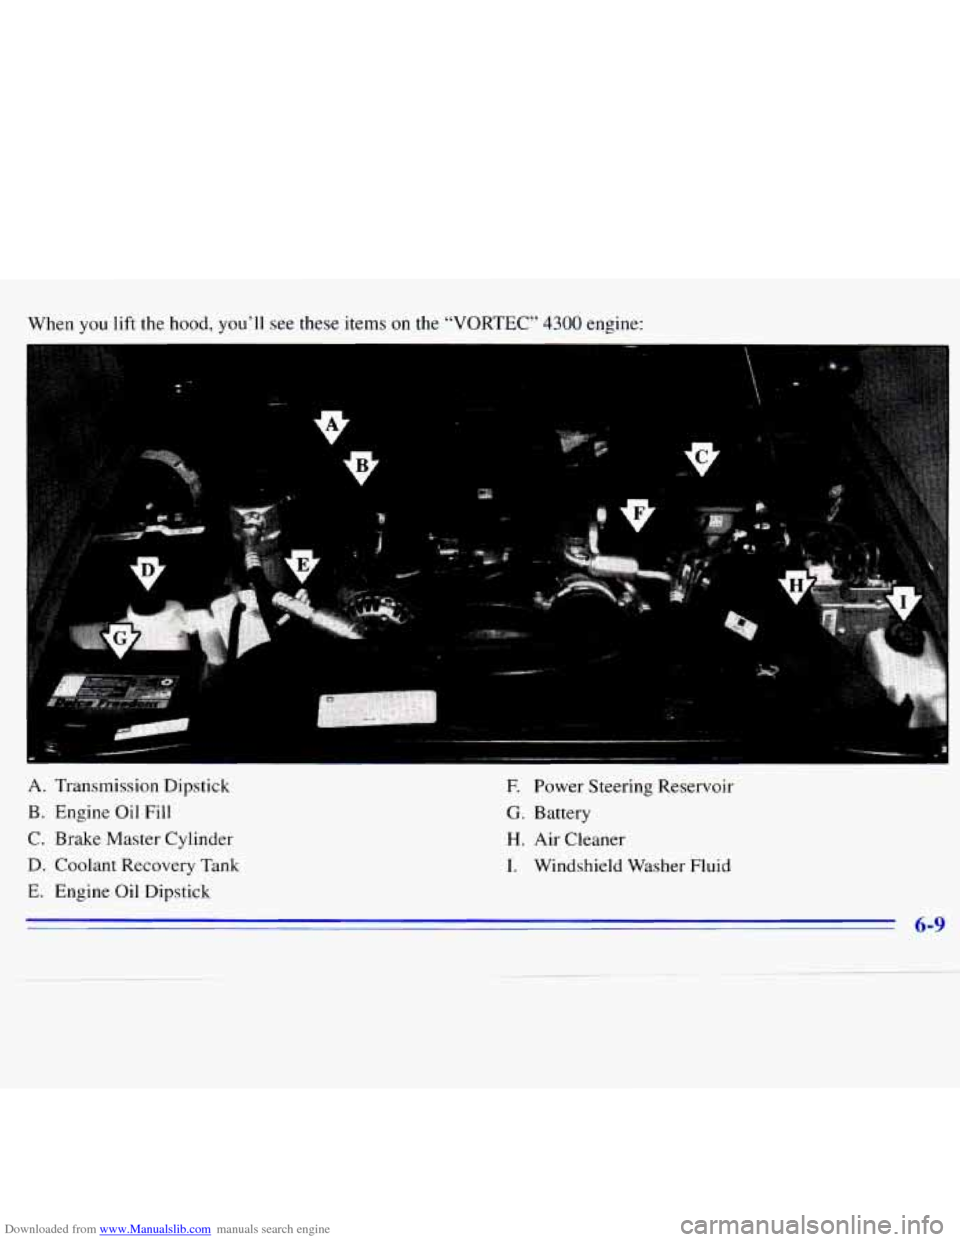
Downloaded from www.Manualslib.com manuals search engine When you lift the hood, you’ll see these items on the “VORTEC” 4300 engine:
V
I. Transmission Dipstick
3. Engine Oil Fill
2. Brake Master Cylinder
1. Coolant Recovery Tank
:. Engine Oil Dipstick
6-9
E Power Steering Reservoir
G. Battery
H. Air Cleaner
I. Windshield Washer Fluid
Page 242 of 375
Downloaded from www.Manualslib.com manuals search engine Automatic Transmission Fluid
When to Check and Change
A good time to check your automatic transmission fluid
level is
when the engine oil is changed.
Change both the fluid and filter every
50,000 miles
(83
000 km) if the vehicle is mainly driven under one or
more
of these conditions:
In heavy city traffic where the outside temperature
regularly reaches 90°F (32°C) or higher.
0 In hilly or mountainous terrain.
0 When doing frequent trailer towing.
0 Uses such as found in taxi, police or delivery service.
If you do not use your vehicle under any of these
conditions, the fluid and filter do not require changing.
See “Scheduled Maintenance Services” in the Index.
How to Check
Because this operation can be a little difficult, you may
choose to have this done at your
GM dealer’s Service
Department. If you do it yourself, be sure to follow all the instructions\
here, or
you could get a false reading on the dipstick.
NOTICE:
Too much or too little fluid can damage your
transmission.
Too much can mean that some of
the fluid could come out and fall on hot engine
parts or exhaust system parts, starting a fire. Be
sure to get an accurate reading if you check your
transmission fluid.
Wait at least 30 minutes before checking the
transmission fluid level if
you have been driving:
When outside temperatures are above 90°F (32°C).
0 At high speed for quite a while.
0 In heavy traffic -- especially in hot weather.
0 While pulling a trailer.
To get the right reading, the fluid should be at normal
operating temperature, which is 180°F to
200°F
(82°C to 93°C).
6-16
Page 245 of 375
Downloaded from www.Manualslib.com manuals search engine How to Add Fluid
Refer to the Maintenance Schedule to determine what
kind
of transmission fluid to use. See “Recommended
Fluids and Lubricants” in the Index.
Add fluid only after checking the transmission fluid
HOT. (A COLD check is used only as a reference.) If
the fluid level is low, add only enough of the proper
fluid to bring
the level up to the HOT area for a hot
check. It doesn’t take much fluid, generally less than a
pint.
Don’t over-ZZ. We recommend you use only fluid
labeled DEXRON@-111, because fluid with that label
is
made especially for your automatic transmission.
Damage caused by fluid other than DEXRON@-I11 is
not covered by your new vehicle warranty.
After adding fluid, recheck the fluid level as
described under “How to Check.”
When the correct fluid level is obtained, push the
dipstick back
in all the way; then flip the handle
down to
lock the dipstick in place.
Manual Transmission Fluid
When to Check
A good time to have it checked is when the engine oil is
changed. However, the fluid in your manual
transmission doesn’t require changing.
How to Check
Because this operation can be a little difficult, you
may choose to
have this done at your GM dealer’s
Service Department.
If you do it yourself, be sure to follow all the
instructions here, or you could get a false reading.
I NOTICE:
Too much or too little fluid can damage your
transmission.
Too much can mean that some of
the fluid could come out and fall on hot engine
parts or exhaust system parts, starting a fire. Be
sure to get an accurate reading if you check your
transmission fluid.
Page 291 of 375

Downloaded from www.Manualslib.com manuals search engine Fuse/Circuit Usage Breaker
7 Power Auxiliary Outlets, Assembly
Line Diagnostic Link
8
9
10
11
12
13
14
15
Not Used
PCMNCM Battery,
ABS Battery, Fuel
Pump (LN2)
PCM/VCM Ignition, Injectors, Crank
Sensor, Coil Driver Module
Radio, Inside Rearview Mirror
Map Lamp
DRAC, Anti-Lock Braking System,
Clock, Radio, Battery,
CD Player
VCM
IGN-3
A/C Compressor Battery Feed
Daytime Running Lamps,
Fog Lamps,
Fog Lamp Relay
Fuse/Circuit Usage Breaker
16
17
19
20 21
22
24 Turn
Signals and Back-up
Lamps, Brake-Transmission
Shift Interlock Solenoid
Windshield Washer, Windshield Wiper Motor
Electric Shift Transfer Case
Crank Signal, Air Bag System
Cluster Illumination,
Radio Illumination, Heater
Lamp, Four- Wheel-Drive
Illumination, Chime Module,
Fog Lamp Illumination
Air Bag System
PRNDL Power, 4L60E Automatic
Transmission
6-65
Page 293 of 375

Downloaded from www.Manualslib.com manuals search engine Normal Maintenance Replacement Parts
Replacement part numbers listed in this section are based on the latest information available at the time of printing,
and are subject
to change. If a part listed in this manual is not the same as the part used in your vehicle when it was
built,
or if you have any questions, please contact your GM truck dealer.
Engine
Thermostat
Oil Filter
Air Cleaner Filter
PCV Valve Automatic Transmission Filter Kit
Spark Plugs
Fuel Filter
Windshield Wiper Blades
2.2L
10 182377
PF47
A1163C
cv9ooc 24200796
4 1-928
GF48 1
Trico (20 inched5
1 cm)
“VORTEC” 4300
1255 1472
PF52
A1 163C
CV746C 24200796
4 1-932
GF48 1
Trico
(20 inched5 1 cm)
6-67