1996 CHEVROLET S10 CD player
[x] Cancel search: CD playerPage 96 of 375
Downloaded from www.Manualslib.com manuals search engine Front Storage Area
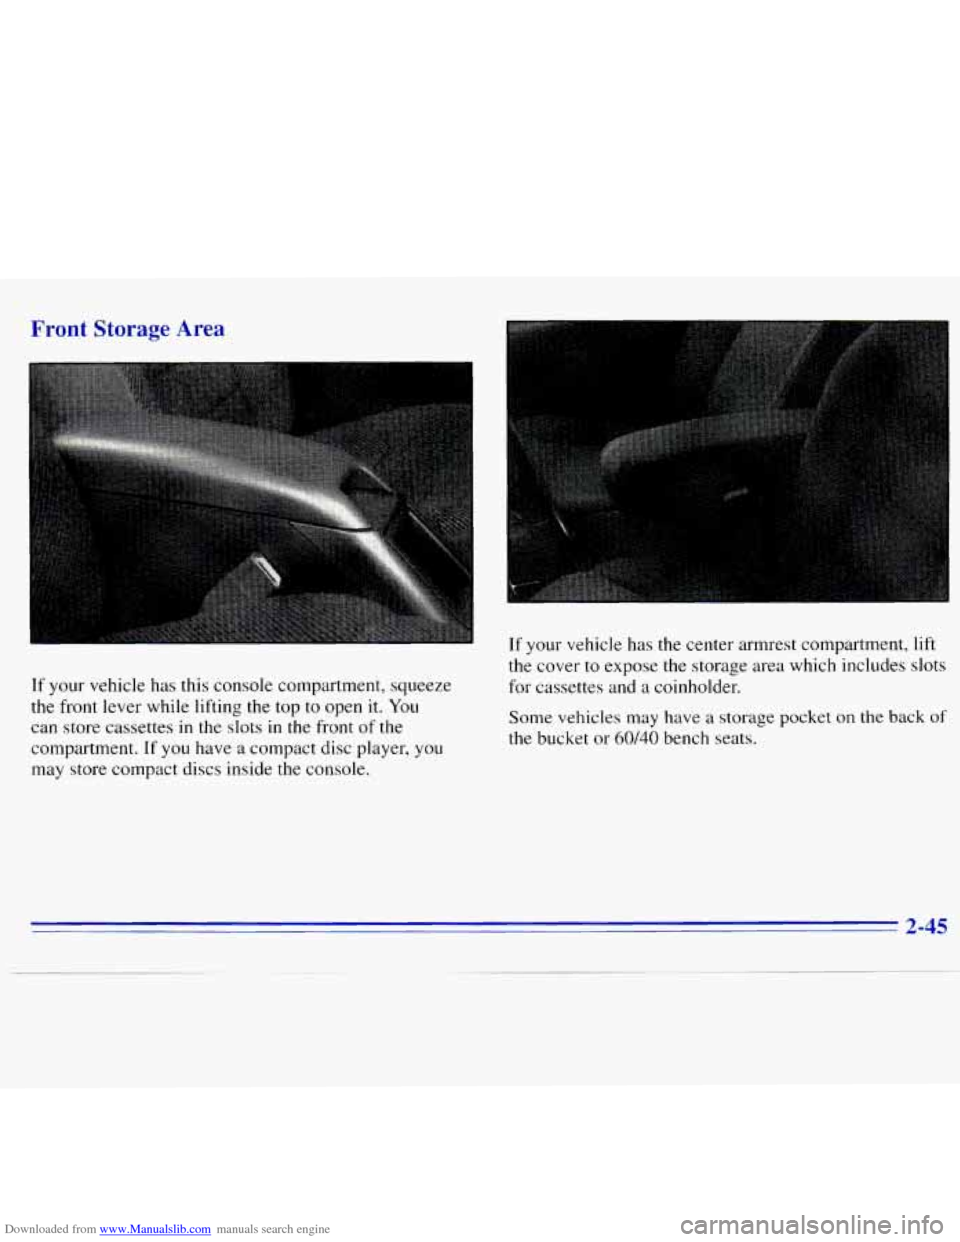
If your vehicle has this console compartment, squeeze
the front lever while lifting the top to open
it. You
can store cassettes
in the slots in the front of the
compartment. If
you have a compact disc player, you
may store compact discs inside the console. If
your vehicle has the center armrest compartment,
lift
the cover to expose the storage area which includes slots
for cassettes and
a coinholder.
Some vehicles may have a storage pocket on
the back of
the bucket or 60140 bench seats.
2-45
Page 118 of 375
Downloaded from www.Manualslib.com manuals search engine Ventilation Tips
0
0
0
Keep the hood and front air inlet free of ice, snow or
any other obstruction (such as leaves). The heater
and defroster will work far better, reducing the
chance of fogging the inside of your windows.
When you enter a vehicle in cold weather, turn the
blower fan
to HI for a few moments before driving
off. This helps clear the intake ducts
of snow and
moisture, and reduces the chance
of fogging the
inside of your windows.
Keep the air path under the front seats clear of
objects. This helps air to circulate throughout
your vehicle.
Defogging and Defrosting
On cool, humid days, use BLEND to keep the
windshield and side windows clear.
Use DEFROST to remove fog or ice from the
windshield quickly in extremely humid or cold
conditions. Turn the temperature knob clockwise
and move the fan control toward
HI.
Audio Systems
Your Delco' audio system has been designea to operate
easily and give years of listening pleasure. You will get
the most enjoyment out of it
if you acquaint yourself
with it first. Find out what your Delco system can do
and how to operate all its controls, to be sure you're
getting the most out of the advanced engineering that
went into
it.
Setting the Clock for All Systems Except
AM-FM Stereo with Compact Disc Player
Press SET. Within five seconds, press and hold SEEK
until the correct minute appears on the display. Press and
hold
SCAN until the correct hour appears on the display.
Setting the Clock for AM-FM Stereo with
Compact Disc Player
Press SET. (The radio may be on or off.) Within five
seconds, press the
SEEK right or left arrow until the
correct minute appears on the display. Press and hold
SCAN until the correct hour appears on the display.
3-5
Page 122 of 375
Downloaded from www.Manualslib.com manuals search engine Playing a Cassette Tape
Your tape player is built to work best with tapes that are
30 to 45 minutes long on each side. Tapes longer than
that
are so thin they may not work well in this player.
Once the tape is playing, use the PWR-VOL-PROG-RCL
knob, just as you do for radio. A lighted arrow will be
displayed
to show tape play direction.
FORWARD: Press the arrow button in the direction that
the lighted
arrow points to advance quickly to another
part
of the tape. Press STOP-EJECT lightly to stop
forwarding and play the tape.
REVERSE: Press the arrow button in the opposite
direction that the lighted arrow points
to reverse quickly
to another part of the tape. Press STOP-EJECT lightly
to stop reversing and play the tape.
PWR-VOL-PROG-RCL: Press this knob to go from
one side
of the tape to the other.
STOP-EJECT: Press this button to remove the tape or
stop playing the tape to play the radio.
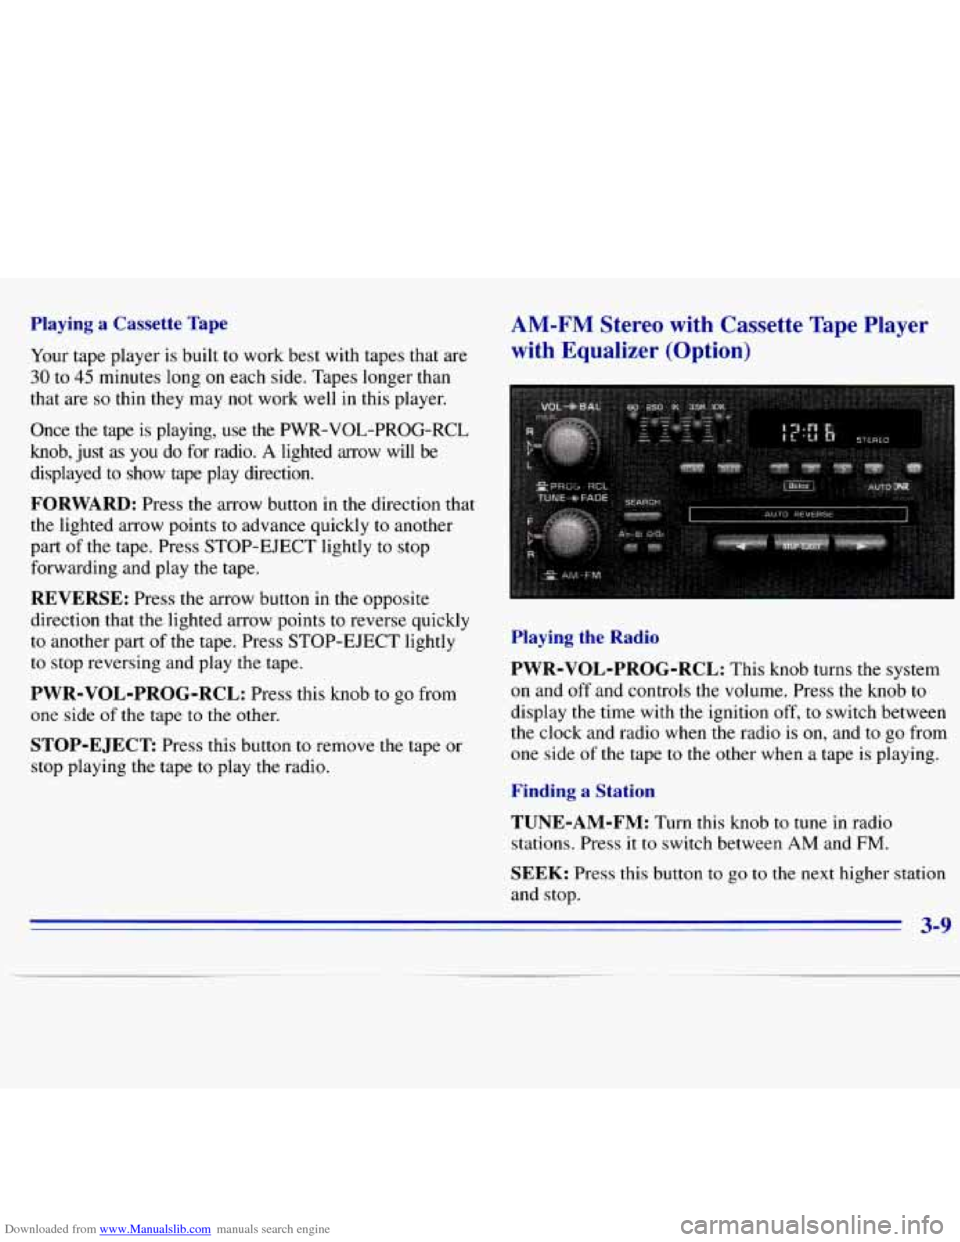
AM-FM Stereo with Cassette Tape Player
with Equalizer (Option)
Playing the Radio
PWR-VOL-PROG-RCL:
This knob turns the system
on and off and controls the volume. Press the knob to
display
the time with the ignition off, to switch between
the clock and radio when the radio is
on, and to go from
one side
of the tape to the other when a tape is playing.
Finding a Station
TUNE-AM-FM:
Turn this knob to tune in radio
stations. Press
it to switch between AM and FM.
SEEK: Press this button to go to the next higher station
and stop.
3-9
Page 124 of 375
Downloaded from www.Manualslib.com manuals search engine Playing a Cassette Tape
Your tape player is built to work best with tapes that are
30 to 45 minutes long on each side. Tapes longer than
that are
so thin they may not work well in this player.
Once the
tape is playing, use the PWR-VOL-PROG-RCL
knob, just
as you do for radio. A lighted arrow will be
displayed to
show tape play direction.
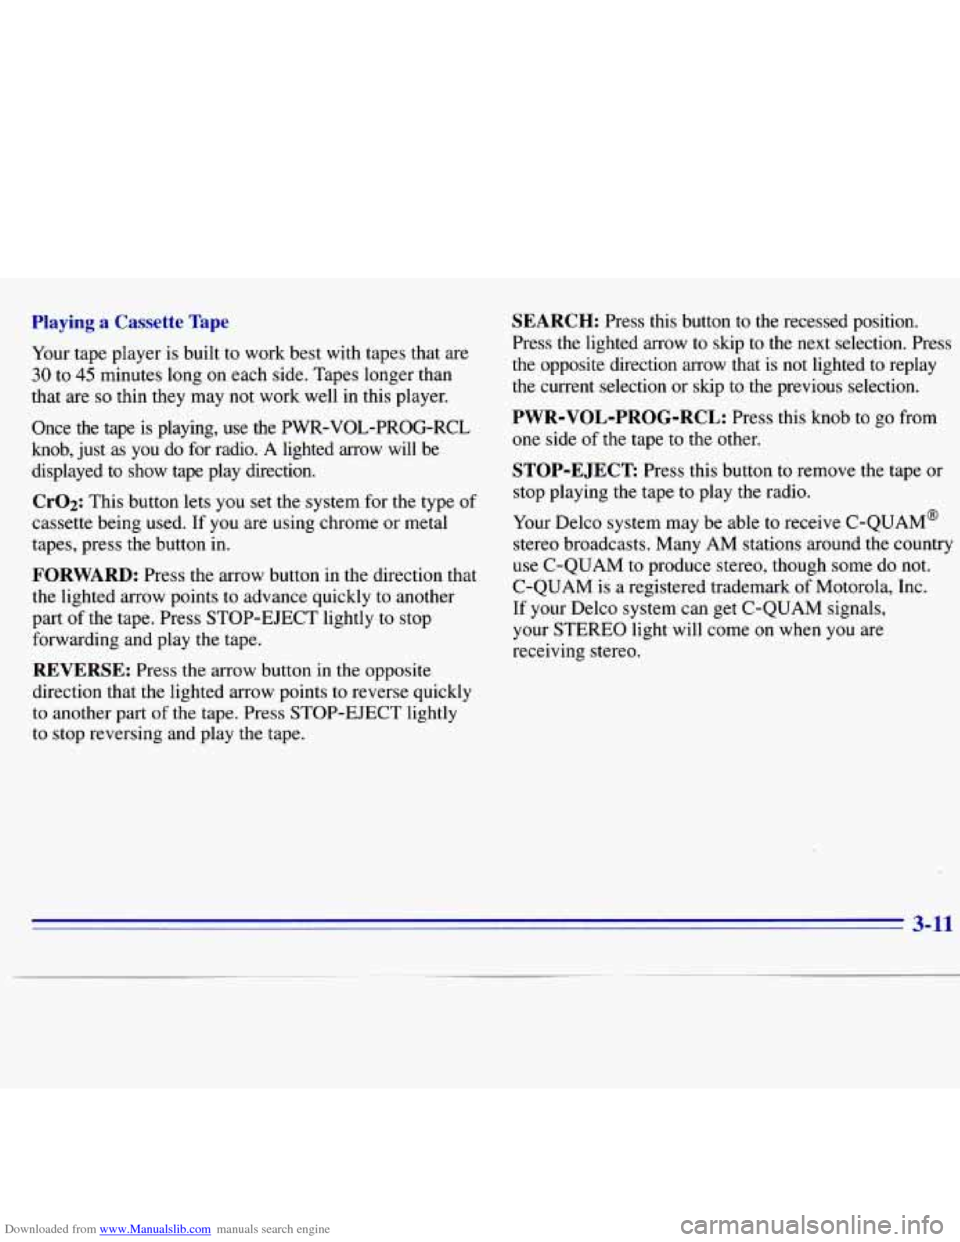
Cr02: This button lets you set the system for the type of
cassette being used. If you are using chrome or metal
tapes, press the button in.
FORWARD: Press the arrow button in the direction that
the lighted arrow points to advance quickly to another
part of the tape. Press STOP-EJECT lightly to stop
forwarding and play the tape.
SEARCH: Press this button to the recessed position.
Press the lighted
arrow to skip to the next selection. Press
the opposite direction arrow that is not lighted to replay the current selection or skip to the previous selection.
PWR-VOL-PROG-RCL: Press this knob to go from
one side
of the tape to the other.
STOP-EJECT: Press this button to remove the tape or
stop playing the tape to play the radio.
Your Delco system may be able to receive C-QUAM@
stereo broadcasts. Many AM stations around the country
use C-QUAM to produce stereo, though some do not.
C-QUAM is a registered trademark of Motorola, Inc.
If your Delco system can get C-QUAM signals,
your STEREO light
will come on when you are
receiving stereo.
REVERSE: Press the arrow button in the opposite
direction that the lighted arrow points to reverse quickly
to another part of the tape. Press STOP-EJECT lightly
to stop reversing and play the tape.
3-11
Page 125 of 375
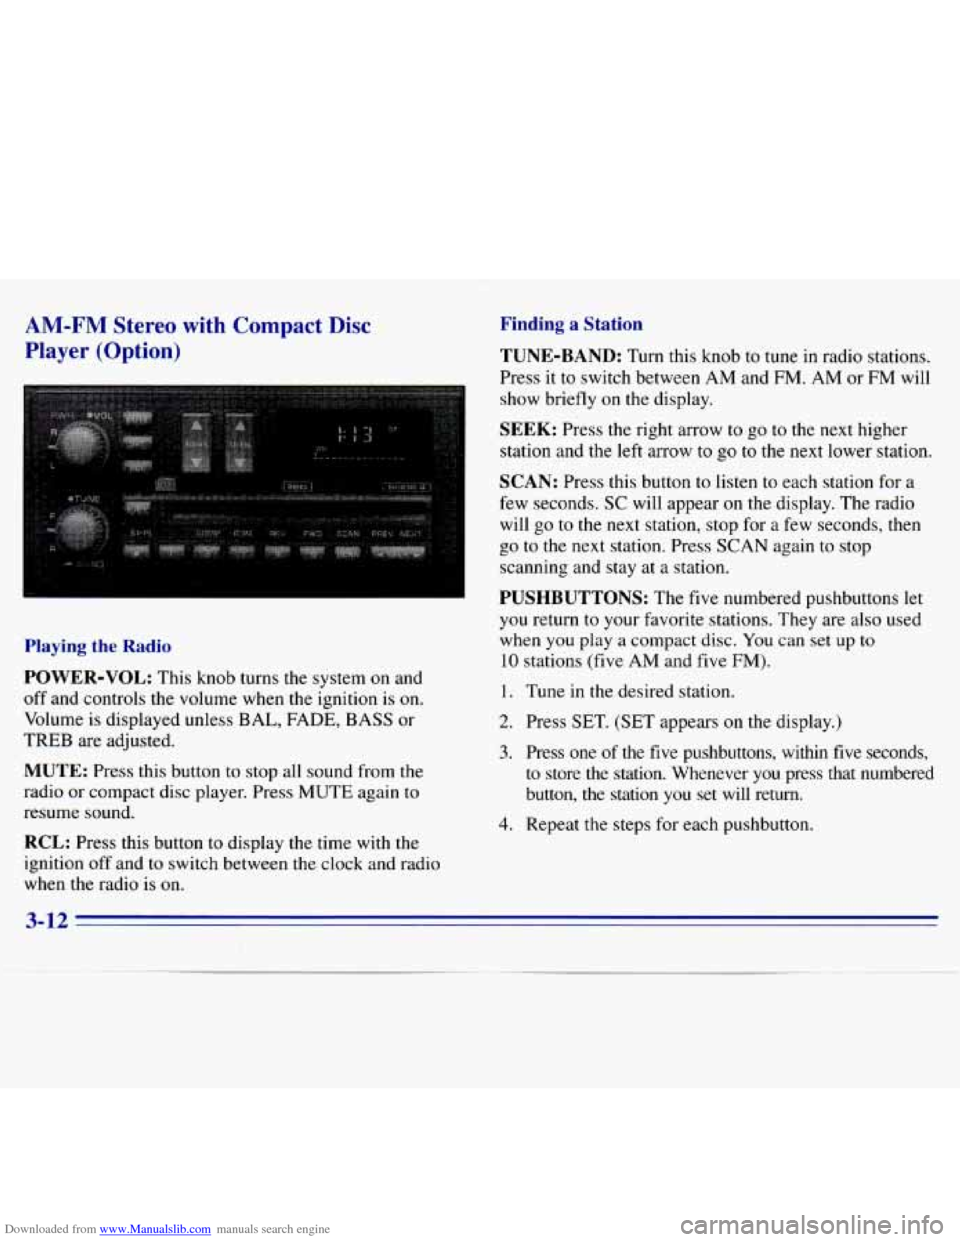
Downloaded from www.Manualslib.com manuals search engine AM-FM Stereo with Compact Disc
Player (Option)
Playing the Radio
POWER-VOL: This knob turns the system on and
off and controls the volume when the ignition is on.
Volume is displayed unless BAL, FADE, BASS or
TREB are adjusted.
MUTE: Press this button to stop all sound from the
radio or compact disc player. Press MUTE again to
resume sound.
RCL: Press this button to display the time with the
ignition off and
to switch between the clock and radio
when the radio is
on.
Finding a Station
TUNE-BAND: Turn this knob to tune in radio stations.
Press it to switch between
AM and FM. AM or FM will
show briefly on the display.
SEEK: Press the right arrow to go to the next higher
station and the
left arrow to go to the next lower station.
SCAN: Press this button to listen to each station for a
few seconds.
SC will appear on the display. The radio
will
go to the next station, stop for a few seconds, then
go to the next station. Press
SCAN again to stop
scanning and stay at
a station.
PUSHBUTTONS: The five numbered pushbuttons let
you return to your favorite stations. They are also used
when you play a compact disc. You can set up
to
10 stations (five AM and five FM).
1. Tune in the desired station.
2. Press SET. (SET appears on the display.)
3. Press one of the five pushbuttons, within five seconds,
to store
the station. Whenever you press that numbered
button, the station
you set will return.
4. Repeat the steps for each pushbutton.
3-12
Page 126 of 375
Downloaded from www.Manualslib.com manuals search engine Setting the Tone
BASS:
Press the BASS up arrow to increase bass and
the BASS down arrow to decrease bass. Press the center
of the button for the factory-preset bass position. The
bass
level will be displayed for about 10 seconds
whenever this button
is pressed.
TREB: Press the TREB up arrow to increase treble and
the TREB down arrow to decrease treble. Press the center
of the button for the factory-preset treble position. The
treble level will be displayed for about
10 seconds
whenever
this button is pressed.
Adjusting the Speakers
BAL:
This control ring behind the POWER-VOL knob
adjusts
the balance between the left and right speakers.
Balance
will be displayed briefly when using this control.
FADE: This control ring behind the TUNE knob adjusts
the balance between the front and rear speakers. Fade
levels will be briefly displayed.
Playing a Compact Disc
Insert a disc partway into the slot, label side up. The
radio will pull the disc the rest
of the way in. Wait a
few seconds and the disc should play.
If the disc comes back out and/or ERR appears on
the display:
0 You are driving on a very rough road. (The disc
should play when the road gets smoother.)
0 The disc is upside down.
0 It is dirty, scratched or wet.
0 It is very humid. (If so, wait about an hour and
try again.)
0 The disc player is too hot to play the disc. (As soon
as things get back to normal, the disc should play.)
Turn the POWER-VOL knob to turn the system on.
3-13
Page 127 of 375
Downloaded from www.Manualslib.com manuals search engine RCL: Press this button to see what track is playing.
Press
it again within five seconds to see how long it has
been playing. The track number also appears when you
change the volume or when a new track starts to play.
COMP (2): Press this button to make loud and soft
passages more nearly equal in volume. COMP
will
appear on the display while using this control.
RDM (3): Press this button to play tracks in a random,
rather than sequential, order. RDM will appear on the
display while using this control. Press the button again
to return to normal sequence.
REV (4): Press and hold this button to return to a
passage quickly. Release
it to play the passage. The
counter reading will appear on
the display while using
this control.
FWD (5): Press and hold this button to advance to a
passage quickly. Release it to resume playing. Watch the
display
to stop at a specific passage.
SCAN: Press this button to listen to each selection for
about six seconds. The disc will go to the next selection,
stop for a few seconds, then go to the next selection.
Press
RDM, SCAN or any other motion button again to
stop scanning.
PREV: Hold the backward arrow or press it more than
once to return the disc to previous tracks.
NEXT Press the forward arrow to hear the next track
now instead of waiting
until the current track is finished.
If you hold this button or press it more than once, the
disc will advance further.
ST-PL: Press this button to stop the disc and play the
radio. Press
it again to restart the disc at the point where
it stopped.
Press the POWER-VOL knob or turn the ignition key
off to stop the disc player. The disc stays in the player
and will resume playing at the point where it stopped.
E JCT Press this button to eject the disc and play the
radio. The disc
will start at track one when you reinsert it.
Theft-Deterrent Feature
Delco LOC II@ is a theft-deterrent feature for the
compact disc player. It can be used or ignored.
If ignored,
the system plays normally. If used, your player won’t be
usable
if it is ever stolen, because it won’t turn on.
The instructions below tell you how to enter a secret code
into the system. It is recommended that you read through
all 11 steps before starting the procedure. If your vehicle
loses battery power for any reason, you must unlock the system with your secret code before the radio will
turn on.
NOTE: If you allow more than 15 seconds to elapse
between
any steps, the radio automatically .reverts to
time and you must start the procedure over at Step
4.
3-14
Page 130 of 375
Downloaded from www.Manualslib.com manuals search engine Tips About Your Audio System
Hearing damage from loud noise is almost undetectable
until it
is too late. Your hearing can adapt to higher
volumes of sound. Sound that seems normal can be loud
and harmful to your hearing. Take precautions by
adjusting the volume control on your radio to a safe
sound level before your hearing adapts to it.
To help avoid hearing loss or damage:
0 Adjust the volume control to the lowest setting.
0 Increase volume slowly until you hear comfortably
and clearly.
NOTICE:
Before you add any sound equipment to your
vehicle
-- like a tape player, CB radio, mobile
telephone or two-way radio
-- be sure you can add
what you want.
If you can, it’s very important to
do it properly. Added sound equipment may
interfere with the operation of your vehicle’s
engine, Delco radio or other systems, and even
damage them. Your vehicle’s systems may
interfere with the operation of sound equipment
that has been added improperly.
So, before adding sound equipment, check with
your dealer and be sure to check Federal rules
covering mobile radio and telephone units.
3-17