1996 CHEVROLET S10 brake light
[x] Cancel search: brake lightPage 107 of 375
Downloaded from www.Manualslib.com manuals search engine If the light c.omes on while you are driving, pull off the
road and stop carefully. You may notice that the pedal is
harder to push. Or, the pedal may go closer to the floor.
It may take longer to stop. If the light is still on, have the
vehicle towed for service. (See “Towing Your Vehicle”
in the Index.)
A CAUTION:
I
Your brake system may not be working properly
if the brake system warning light
is on. Driving
with the brake system warning light on can lead
to an accident. If the light is still on after you’ve
pulled
off the road and stopped carefully, have
the vehicle towed for service.
When the ignition is on, the brake system warning light
will also come on when you
set your parking brake. The
light will stay
on if your parking brake doesn’t release
fully.
If it stays on after your parking brake is fully
released, it means you have a brake problem.
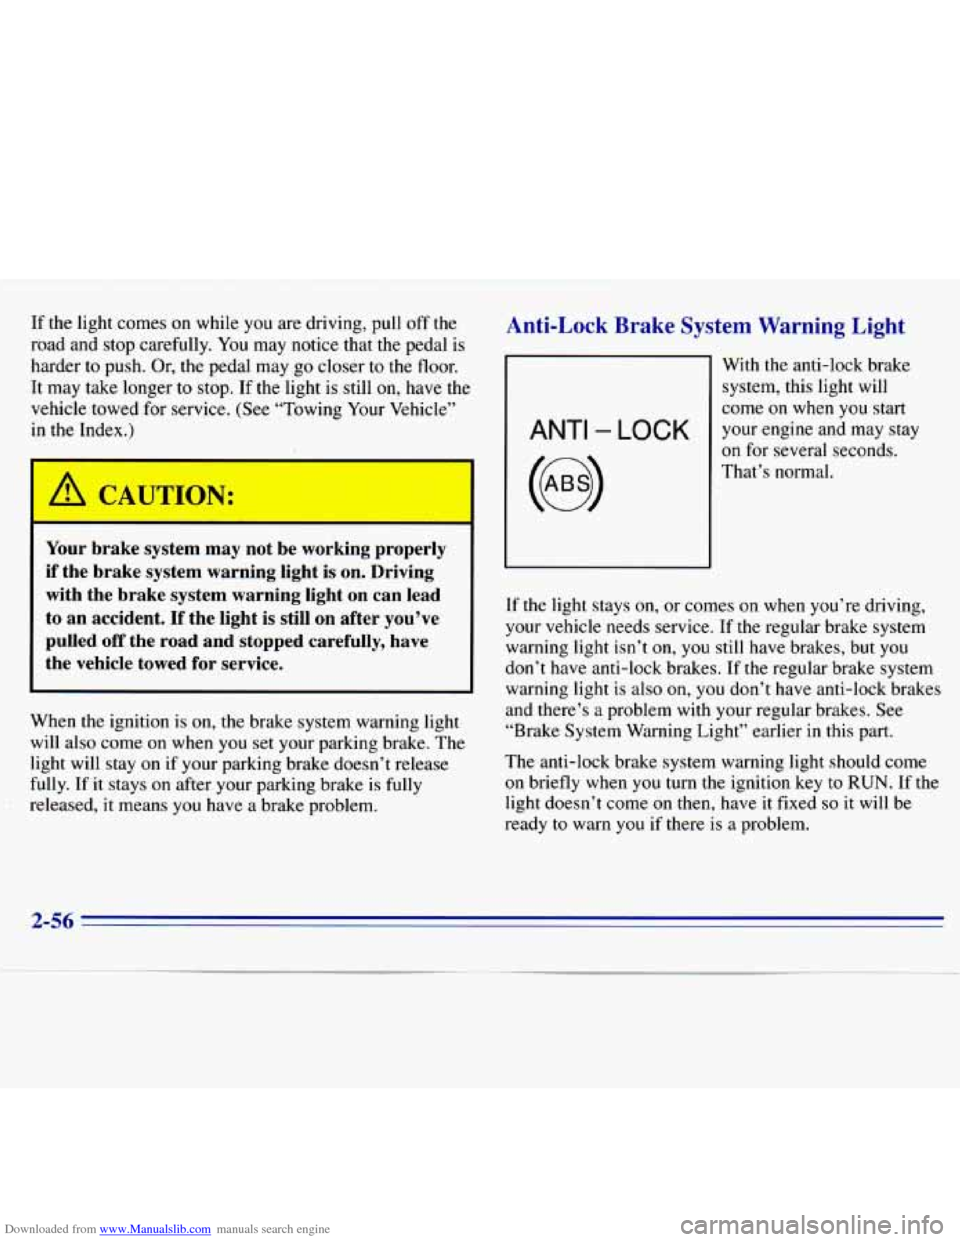
Anti-Lock Brake System Warning Light
ANTI - LOCK
With the anti-lock brake
system, this light will
come
on when you start
your engine and may stay
on for several seconds.
That’s normal.
If the light stays on, or
comes on when you’re driving,
your vehicle needs service. If the regular brake system
warning light isn’t
on, you still have brakes, but you
don’t have anti-lock brakes. If the regular brake system
warning light is also on, you don’t have anti-lock brakes
and there’s
a problem with your regular brakes. See
“Brake System Warning Light” earlier in this part.
The anti-lock brake system warning light should come
on briefly when
you turn the ignition key to RUN. If the
light doesn’t come
on then, have it fixed so it will be
ready
to warn you if there is a problem.
2-56
Page 112 of 375
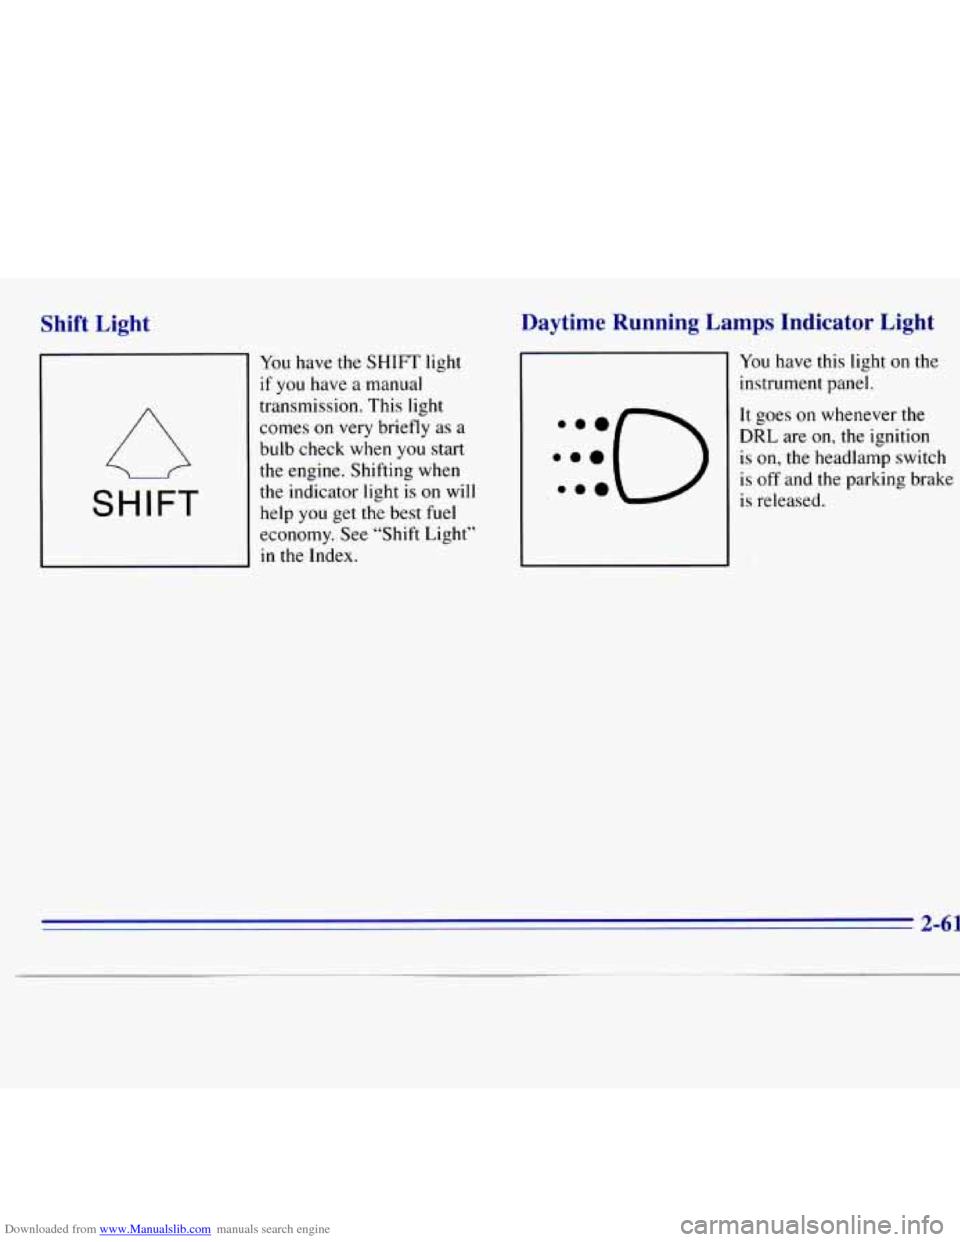
Downloaded from www.Manualslib.com manuals search engine Shift Light
A
SHIFT
You have the
if you have a
transmission.
SHIFT light
manual This light
comes
on very briefly as a
bulb check when you start
the engine. Shifting when
the indicator light is on will
help you get
the best fuel
economy. See “Shift Light”
in the Index.
Daytime Running Lamps Indicator Light
:::O 0.0
You have this light on the
instrument panel.
It goes on whenever the
DRL are on, the ignition
is on, the headlamp switch
is off and the parking brake
is released.
2-61
Page 137 of 375
Downloaded from www.Manualslib.com manuals search engine Avoid needless heavy braking. Some people drive in
spurts -- heavy acceleration followed by heavy
braking
-- rather than keeping pace with traffic. This
is a mistake. Your brakes may not have time to cool
between hard stops. Your brakes will wear out much
faster if you
do a lot of heavy braking. If you keep pace
with the traffic and allow realistic following distances,
you will eliminate a lot
of unnecessary braking. That
means better braking and longer brake life.
If your engine ever stops while you’re driving, brake
normally but don’t pump your brakes. If you do,
the
pedal may get harder to push down. If your engine
stops,
you will still have some power brake assist. But
you will use it when you brake. Once the power assist is
used up,
it may take longer to stop and the brake pedal
will be harder to push.
Anti-Lock Brakes
Your vehicle has anti-lock brakes (ABS). ABS is an
advanced electronic braking system that will help
prevent
a braking skid.
When you start your engine and begin to drive away,
your anti-lock brake system will check itself.
You may
hear a momentary motor or clicking noise while this test
is going on. This is normal.
If there’s a problem with the
anti-lock brake system, this
warning light will stay
on.
See “Anti-Lock Brake
System Warning Light” in
the Index.
4-6
Page 153 of 375
Downloaded from www.Manualslib.com manuals search engine Driving Downhill
When off-roading takes you downhill, you’ll want to
consider a number
of things:
How steep is the downhill? Will I be able to maintain
vehicle control?
0 What’s the surface like? Smooth? Rough? Slippery?
0 Are there hidden surface obstacles? Ruts? Logs?
Hard-packed dirt? Gravel?
Boulders?
0 What’s at the bottom of the hill? Is there a hidden
creek bank
or even a river bottom with large rocks?
If you decide you can go down a hill safely, then try to
keep your vehicle headed straight down, and use a low
gear. This way, engine drag can help your brakes and
they won’t have to do all the work. Descend slowly,
keeping your vehicle under control at all times.
I
’ CAUF3N:
Heavy braking when going down a hill can cause
your brakes to overheat and fade. This could
cause loss of control and a serious accident.
Apply the brakes lightly when descending a
hill and use a low gear to keep vehicle speed
under control.
1
4-22
Page 162 of 375
Downloaded from www.Manualslib.com manuals search engine A CAUTION: I
-
Wet brakes can cause accidents. They won’t work
well in a quick stop and may cause pulling to one
side. You could lose control
of the vehicle.
After driving through a large puddle of water or
a car wash, apply your brake pedal lightly until
your brakes work normally.
Hydroplaning
Hydroplaning is dangerous. So much water can build up
under your tires that they can actually ride on the water.
This can happen if the road
is wet enough and you’re
going fast enough. When your vehicle is hydroplaning,
it has little or no contact with the road.
Hydroplaning doesn’t happen often. But it can
if your
tires haven’t much tread or if the pressure
in one or
more is low. It can happen if a lot of water is standing on
the road. If you can see reflections from trees, telephone
poles or other vehicles, and raindrops “dimple” the
water’s surface, there could be hydroplaning.
Hydroplaning usually happens at higher speeds. There
just isn’t
a hard and fast rule about hydroplaning. The
best advice is to slow down when it is raining.
Driving Through Deep Standing Water
NOTICE:
If you drive too quickly through deep puddles or
standing water, water can come in through your
engine’s
air intake and badly damage your
engine. Never drive through water that
is slightly
lower than the underbody
of your vehicle. If you
can’t avoid deep puddles or standing water, drive
through them very slowly.
Some Other Rainy Weather Tips
Besides slowing down, allow some extra following
distance. And be especially careful when
you pass
another vehicle. Allow yourself more clear room
ahead, and be prepared to have your view restricted
by road spray.
0 Have good tires with proper tread depth.
(See “Tires” in the Index.)
4-31
Page 187 of 375
Downloaded from www.Manualslib.com manuals search engine When You Are Ready to Leave After
Parking on a Hill
1. Apply your regular brakes and hold the pedal down
while
you:
Start your engine;
0 Shift into a gear; and
0 Release the parking brake.
2. Let up on the brake pedal.
3. Drive slowly until the trailer is clear of the chocks.
4. Stop and have someone pick up and store the chocks.
Maintenance When Trailer Towing
Your vehicle will need service more often when you’re
pulling a trailer. See the Maintenance Schedule for more
on this. Things that are especially important in trailer
operation are automatic transmission fluid (don’t
overfill), engine oil, axle lubricant, belt, cooling system
and brake adjustment. Each
of these is covered in this
manual, and the Index will help
you find them quickly.
If you’re trailering, it’s
a good idea to review these
sections before you start your trip.
Check periodically to see that all hitch nuts and bolts
are tight.
Trailer Wiring Harness
The eight-wire harness is stored under your vehicle
along
the rear frame crossmember. This harness has a
30-amp feed wire with an inline fuse located in the
instrument panel fuse block and no connector. It should
be wired by a qualified electrical technician. The
technician can use
the following color code chart when
connecting the wiring harness to your trailer.
0 DARK BLUE: Use for electric trailer brakes or
0 RED: Use for battery charging; it connects to the
LIGHT GREEN: Back-up lamps.
0 BROWN: Taillamps and parking lamps.
0 YELLOW Left stoplamp and turn signal.
0 DARK GREEN: Right stoplamp and turn signal.
0 WHITE (Heavy Gage): Ground wire.
0 WHITE (Light Gage): Auxiliary stoplamp.
Securely attach the harness to the trailer, then tape or
strap it to your vehicle’s frame rail. Be sure
you leave
it loose enough
so the wiring doesn’t bend or break,
but not so
loose that it drags on the ground. Store the
harness in its original place. Wrap the harness together
and tie
it neatly so it won’t be damaged.
auxiliary wiring.
starter solenoid.
4-56
Page 192 of 375
Downloaded from www.Manualslib.com manuals search engine 2. Get the vehicles close enough so the jumper cables
can reach, but be sure the vehicles aren’t touching
each other.
If they are, it could cause a ground
connection you don’t want. You wouldn’t be able
to
start your vehicle, and the bad grounding could
damage the electrical systems.
You could be injured
if the vehicles roll. Set the
parking brake firmly on each vehicle. Put an
automatic transmission
in PARK (P) or a manual
transmission in NEUTRAL
(N). If you have a
four-wheel-drive vehicle with a manual transfer case
shift lever, be sure the transfer case is not
in
NEUTRAL (N).
3. Turn off the ignition on both vehicles. Unplug
unnecessary accessories plugged into the cigarette
lighter, or accessory power outlets,
if you have this
option. Turn off all lamps that aren’t needed as well
as radios. This will avoid sparks and help save both
batteries.
In addition, it could save your radio!
NOTICE:
If you leave your radio on, it could be badly
damaged. The repair wouldn’t be covered by
your warranty.
If your vehicle has air conditioning, the auxiliary
electric fan under the hood can start up even
when the engine is not running and can injure
you. Keep hands, clothing and tools away from
-7 any underhood electric fan.
5-3
Page 260 of 375
Downloaded from www.Manualslib.com manuals search engine Some driving conditions or climates may cause a brake
squeal when the brakes are first applied or lightly
applied. This does not mean something is wrong
with
your brakes.
Free movement of brake calipers and properly torqued
wheel nuts are necessary to help prevent brake
pulsation. When tires are rotated, inspect brake calipers
for movement, brake pads
for wear, and evenly torque
wheel nuts in the proper sequence to
GM specifications.
Your rear drum brakes don’t have wear indicators, but if
you ever hear
a rear brake rubbing noise, have the rear
brake linings inspected. Also, the rear brake drums
should be removed and inspected each time the tires are
removed for rotation or changing. When
you have the
front brakes replaced, have the rear brakes inspected, too.
Brake linings should always be replaced as complete
axle sets.
Brake Pedal Travel
See your dealer if the brake pedal does not return to
normal height, or if there is a rapid increase in pedal
travel. This could be
a sign of brake trouble.
Brake Adjustment
Every time you make a brake stop, your disc brakes
adjust for wear.
If your brake pedal goes down farther than normal, your
rear drum brakes may need adjustment. Adjust them by
backing
up and firmly applying the brakes a few times.
Replacing Brake System Parts
The braking system on a modern vehicle is complex.
Its many parts have to be of top quality
and work well
together if the vehicle is to have really good braking.
Vehicles we design and test have top-quality
GM brake
parts
in them, as your vehicle does when it is new. When
you replace parts of your braking system
-- for example,
when your brake linings wear down and you have to
have new ones put in
-- be sure you get new genuine
GM replacement parts. If you don’t, your brakes may no
longer work properly. For example,
if someone puts in
brake linings that are wrong for your vehicle, the balance
between your front and rear brakes can change
-- for the
worse. The braking performance you’ve come
to expect
can change
in many other ways if someone puts in the
wrong replacement brake parts.
6-34