Page 83 of 340

Downloaded from www.Manualslib.com manuals search engine Turn Signal and Lane Change Indicator
The turn signal has two upward (for right) and two
downward (for left) positions. These positions allow you
to signal a turn or a lane change.
To signal a turn, move the lever all the way up or down.
When the turn is finished,
the lever will retum automatically.
A
An arrow on the instrument
panel will flash
in the
direction of the
turn or
lane change.
To signal a lane change, just raise or lower the lever
until the arrow starts to flash. Hold it there until you
complete your lane change. The lever will return by
itself when you release it.
As you signal a turn or a lane change, if the arrow
flashes fdster than
normal, a signal bulb may be burned
out and other’drivers won’t see your turn signal.
If a bulb is burned out, replace
it to help avoid an
accident. If the arrows don’t go on at all when
you
signal a turn, check for burned-out bulbs and check the
fuse (see “Fuses and Circuit Breakers” in the Index).
Headlamp HighLow Beam
To change your headlamps
from low beam to high
beam, or high to low, pull
the multifunction lever all
the way toward you. Then
release
it. When the high
beams are on, a light on
the instrument panel also
will be on.
Page 108 of 340

Downloaded from www.Manualslib.com manuals search engine Have you recently changed brandsl’of fuel? Oil Warning Light
If so, be sure to fuel your vehicle with quality fuel (see
“Fuel” in the Index). Poor fuel quality will cause your
engine not to run as efficiently as designed. You may
notice this as stalling after start-up, stalling when
you put the vehicle into gear, misfiring, hesitation
on acceleration or stumbling on acceleration. (These
conditions may go away once the engine is warmed up.)
This will be detected by the system and cause the light
to turn on.
If you experience this condition, change the fuel brand
you use. It will require at least one full tank of the
proper
fuel to turn the light off.
If none of the above steps have made the light turn off,
have your dealer or qualified service center check the
vehicle. Your dealer has the proper test equipment and
diagnostic tools to fix any mechanical or electrical
problems that may have developed.
OIL
If you have a problem with
your oil,
this light may stay
on after
you start your
engine, or come on when
you are driving.
.
This indicates that oil is not going through your engine
quickly enough to keep it lubricated. The engine could
be low on oil or could have some other oil problem.
Have it fixed right away.
The oil light could also come on in two other situations:
0 When the ignition is on but the engine is not running,
the light will come on as ,a test.to show you it is
working, but the light will go out when you turn the
ignition to START.
If it doesn’t come on with the
ignition on, you may have a problem with
the fuse
or bulb. Have
it fixed right away.
2-50
Page 169 of 340

Downloaded from www.Manualslib.com manuals search engine Making Turns
I NOTICE:
Making very sharp turns while trailering could
cause the trailer to come in contact with the
vehicle. Your vehicle could be damaged. Avoid
making very sharp turns while trailering.
When you’re turning with a trailer, make wider turns
than normal.
Do this so your trailer won’t strike soft
shoulders, curbs, road signs, trees or other objects.
Avoid jerky or sudden maneuvers. Signal well
in advance.
Turn Signals When Towing a Trailer
When you tow a trailer, your vehicle may need a
different turn signal flasher and/or extra wiring. Check
with your Chevrolet dealer. The green arrows on your
instrument panel will flash whenever you signal
a turn
or lane change. Properly hooked up, the trailer lamps
will also flash, telling other drivers you’re about to turn,
change lanes or stop. When
towing
a trailer, the green arrows on your
instrument panel will flash for turns even if the bulbs on
the trailer are burned
out. Thus, you may think drivers
behind you are seeing your signal when they are not. It’s
important to check occasionally to be sure the trailer
bulbs are
still working.
Driving On Grades
Reduce speed and shift to a lower gear before you start
down
a long or steep downgrade. If you don’t shift
down, you might have to
use your brakes so much that
they would get hot and no longer work well.
On
a long uphill grade, shift down and reduce your
speed to around
45 mph (70 km/h) to reduce the
possibility of engine and transaxle overheating.
If you are towing a trailer, you may want to drive in
DRIVE
(D) instead of AUTOMATIC OVERDRIVE (@)
(or, as you need to, a lower gear).
4-33
Page 237 of 340

Downloaded from www.Manualslib.com manuals search engine Vehicle Storage
If you’re not going to drive your vehicle for 25 days
or more, take off the black, negative
(-) cable from
the battery. This
will help keep your battery from
running down.
’ I A CAUTION:
Batteries have acid that can burn you and gas
that can explode. You can be badly hurt
if you
aren’t careful. See “Jump Starting” in the Index
for tips on working around
a battery without
getting hurt.
Bulb Replacement
In this section you’ll find directions for changing the
bulbs
in some of the lamps on your Chevrolet. See
“Replacement Bulbs”
in the Index to find the type
of bulb you should use.
Halogen Bulbs
Contact your dealer to learn how to prepare your vehicle
for longer storage periods.
Also, for your audio system, see “Theft-Deterrent
Feature”
in the Index.
Halogen bulbs have pressurized gas inside and
can burst if you drop or scratch the bulb. You or
others could be injured. Be sure to read and
follow the instructions on the bulb package.
Headlamps
1. Open the hood.
2. Press and turn the base a quarter-turn
(counterclockwise for the driver’s side; clockwise
for the passenger’s side) and remove
it from the
retaining ring by gently pulling
it back and away
from the headlamp.
6-29
Page 238 of 340
Downloaded from www.Manualslib.com manuals search engine 3.
4.
5.
6.
Remove the electrical connector from the bulb by
raising the lock tab and pulling the connector away
from the bulb's base.
Install the electrical connector to the bulb.
Install the new bulb by inserting the smallest tab on
the bulb base into the matching notch
in the retaining
ring.
Turn the bulb a quarter-turn clockwise until
it stops.
Close the hood.
Front Park and Turn Signal Lamp
1. Open the hood. There is one flap on each side of
the radiator.
Page 240 of 340
Downloaded from www.Manualslib.com manuals search engine 4. Slide the headlamp assembly outboard and gently pull
the inside
of the assembly away from the vehicle.
5. Push the tab on the bulb socket and turn itj
counterclockwise. Pull the socket out
of the assembly.
Do not twist the bulb.
6. Remove the bulb from the socket by pulling it out.
7. Push in the new bulb.
8. Reverse Steps 1-4 to replace the assembly.
Front and Rear Sidemarker
Front and Rear Sidemarker
1. Remove the screw from
' the sidemarker lens.
1. Remove the screw from
the sidemarker lens.
6-32
Page 241 of 340
Downloaded from www.Manualslib.com manuals search engine 2.
3.
4.
5.
6.
7.
Pull the sidemarker lens away from the body.
Turn the socket counterclockwise until it stops. Then
pull the socket and bulb from the assembly.
Center High-Mounted Stoplamp
(Shelf-Mounted)
To reach the center high-mounted stoplamp, you must
go through the
trunk.
I Pull the bulb out of the socket. Do not twist the bulb.
Plug the new bulb in the socket.
Replace the bulb and socket.
Replace the assembly in the vehicle. Replace the screw.
1. Open the trunk lid. Locate the stoplamp behind the
rear seats, in front of the tmnk hinges.
Page 242 of 340

Downloaded from www.Manualslib.com manuals search engine 2.
3.
4.
5.
Turn the socket counterclockwise until it stops and
pull the bulb and socket out of the assembly.
Push
in the bulb, turn it counterclockwise and pull it
out of the socket.
Push the new bulb into the socket and turn
it clockwise.
Replace the bulb and socket in the assembly.
Center High-Moun.kd. Stoplamp
(Spoiler-Mounted)
1. Remove the two screws from the stoplamp assembly.
2. Pull the assembly forward out of the spoiler.
3. Remove the three screws from the back of the
stoplamp assembly.
4. Pull the lamp strip out of the stoplamp assembly.
5. Remove the bulb.
6. Install the new bulb and reverse Steps 1-4.
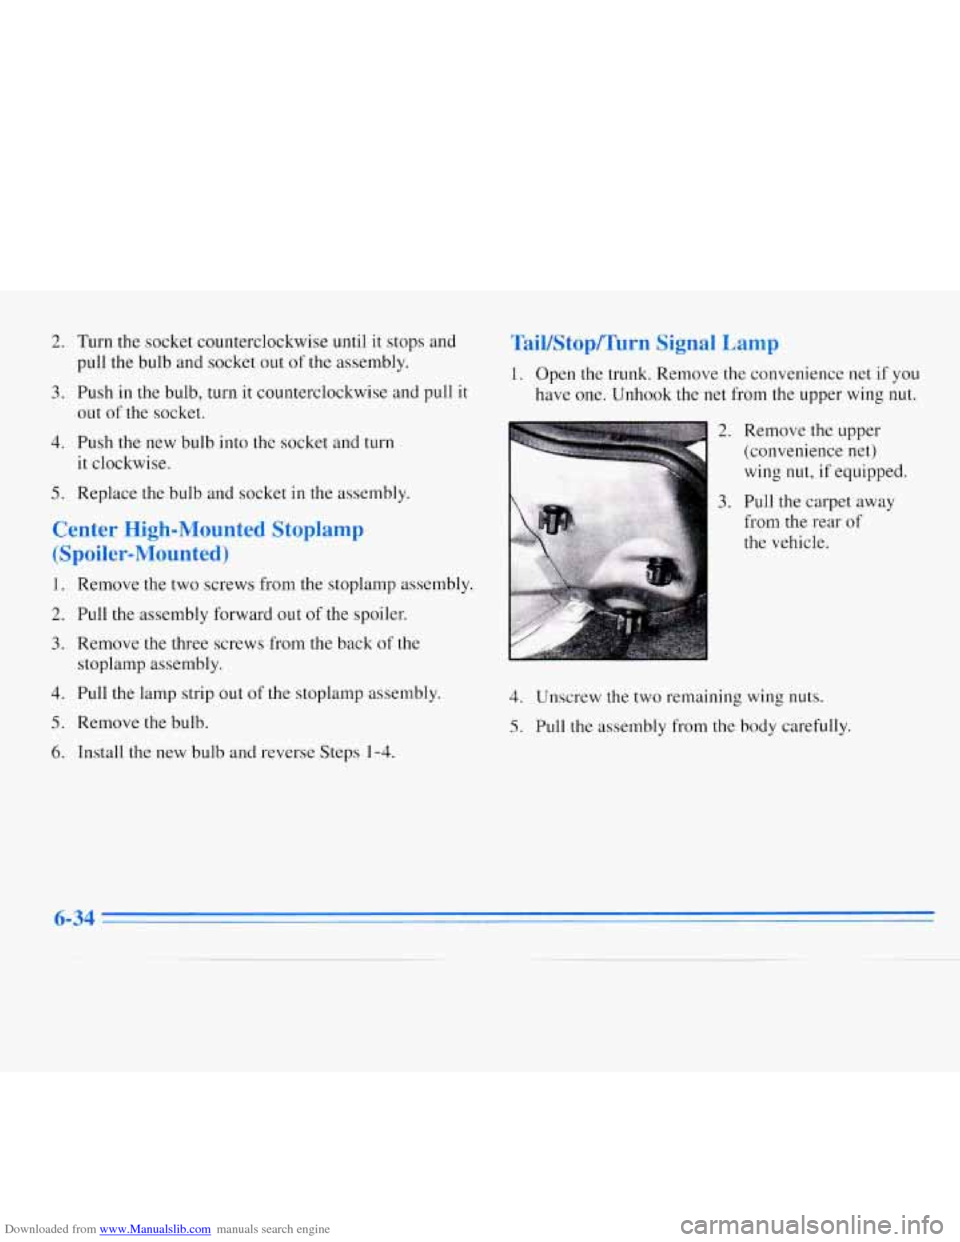
TaiVStop/Turn Signal Lamp
1. Open the trunk. Remove the convenience net if you
have one. Unhook the net from the upper wing
nut.
2.
3.
Remove the upper
(convenience net)
wing
nut, if equipped.
Pull the carpet away
from the rear
of
the vehicle.
4. Unscrew the two remaining wing nuts.
5. Pull the assembly from the body carefully.
6-34