1996 CHEVROLET CORVETTE change time
[x] Cancel search: change timePage 3 of 386
Downloaded from www.Manualslib.com manuals search engine GENERAL MOTORS, GM and the GM Emblem,
CHEVROLET, the CHEVROLET Emblem,
CORVETTE and the CORVETTE Emblem, are
registered trademarks of General Motors Corporation.
This manual includes the latest information at the time it
was printed. We reserve the right to make changes in the
product after that time without further notice. For
vehicles first sold in Canada, substitute the name
“General Motors of Canada Limited” for Chevrolet
Motor Division whenever
it appears in this manual.
Please keep this manual in your Corvette,
so it will be
there
if you ever need it when you’re on the road. If you
sell the.vehicle, please leave this manual in it
so the new
owner can
use it.
Litho in
U.S.A.
Part No. 10261 162 B First Edition
ii
WE SUPPORT VOLUNTARY TECHNICIAN
CERTIFICATION THROUGH
National Institute for
AUTOMOTIVE SERVICE
EXCELLENCE
We support voluntary
technician certification.
For Canadian Owners Who Prefer a
French Language Manual:
Aux propri6taires canadiens: Vous pouvez vous
procurer un exemplaire de ce guide en fraqais chez
votre concessionaire
ou au:
DGN Marketing Services Ltd.
1500 Bonhill Rd.
Mississauga, Ontario L5T lC7
@Copyright General Motors Corporation 1995
All Rights Reserved
Page 51 of 386
Downloaded from www.Manualslib.com manuals search engine Matching Transmitter($) To Your Vehicle
Each key chain transmitter is coded to prevent another
transmitter from unlocking your vehicle. If a transmitter
is lost or stolen, a replacement can be purchased through
your dealer. Remember to bring any remaining
transmitters with you when you go to your dealer. When
the dealer matches the replacement transmitter to your
vehicle, any remaining transmitters must
also be
matched. Once the new transmitter is coded, the lost
transmitter will not unlock your vehicle. Each vehicle
can have only three transmitters matched to it.
To match transmitters to your vehicle:
1. Move all transmitters out of range.
2. Turn the ignition key on.
3. Push TRIP OD0 on the Driver Information Center
twice.
4. Within five seconds, press and hold FUEL INFO
until the PASSIVE KEYLESS ENTRY light
comes on.
5. Turn the ignition off, but leave the key in the
ignition. The PASSIVE KEYLESS ENTRY light
should begin to flash to show the system is in
programming mode.
6. Bring one transmitter into range. The light will stop
flashing and stay on to show that the code is stored.
7. Move the transmitter out of range. The light should
start flashing again.
8. Repeat Steps 6 and 7 with each additional
The programming mode will shut
off if
transmitter.
0 You
don’t program any transmitters for two minutes.
0 You take the key out of the ignition or turn the
ignition on.
0 You have programmed three transmitters.
Battery Replacement
Under normal use, the battery in your key chain
transmitter should last about
18 months.
You can tell the battery is weak if the transmitter won’t
work at the normal range in any location. If you have to
get close to your vehicle before the transmitter works,
it’s probably time to change the battery.
Page 62 of 386
Downloaded from www.Manualslib.com manuals search engine START for about three seconds. If the vehicle starts
briefly but then stops again, do the same thing, but
this time keep the pedal down for five or six seconds.
This clears the extra gasoline from the engine.
I NOTICE:
Your engine is designed to work with the
electronics in your vehicle.
If you add electrical
parts or accessories, you could change the
way
the engine operates. Before adding electrical
equipment, check with your dealer.
If you don’t,
your engine might not perform properly.
If you ever have to have your vehicle towed, see
the part of this manual that tells how to do it
without damaging your vehicle. See “Towing
Your Vehicle” in the Index.
Racing or Other Competitive Driving
See your Warranty Book before using your Corvette for
racing or other competitive driving.
NOTICE:
If you use your Corvette for racing or other
competitive driving, your engine may use more
oil than it would with normal use. Low oil levels
can damage the engine. Be sure to check the oil
level often during racing or other competitive
driving and keep the level at or near the upper
mark on the engine oil dipstick.
You may need to
add oil. See “Engine Oil” in the Index.
2-19
Page 71 of 386
Downloaded from www.Manualslib.com manuals search engine TOUR: Use for city and highway driving. Provides a
smooth, soft ride. Parking Brake
SPORE Use where road conditions or personal
preference demand more control. Provides more “feel,”
or response to the road conditions.
PERF’: Use for performance driving. Provides a tight,
firm ride and precise response to road conditions.
You can select a setting at any time. Based on road
conditions and your vehicle speed, the system
automatically adjusts to provide the best ride and
handling. Select a new setting whenever driving
conditions change.
The SERVICE RIDE CONTROL light monitors the
system. Refer to “Service Ride Control Light” in
the Index.
Limited-Slip Rear Axle
Your rear axle can give you additional traction on snow,
mud, ice, sand
or gravel. It works like a standard axle
most
of the time, but when one of the rear wheels has no
traction and the other does, the limited-slip feature will
allow the wheel with traction to move the vehicle. To
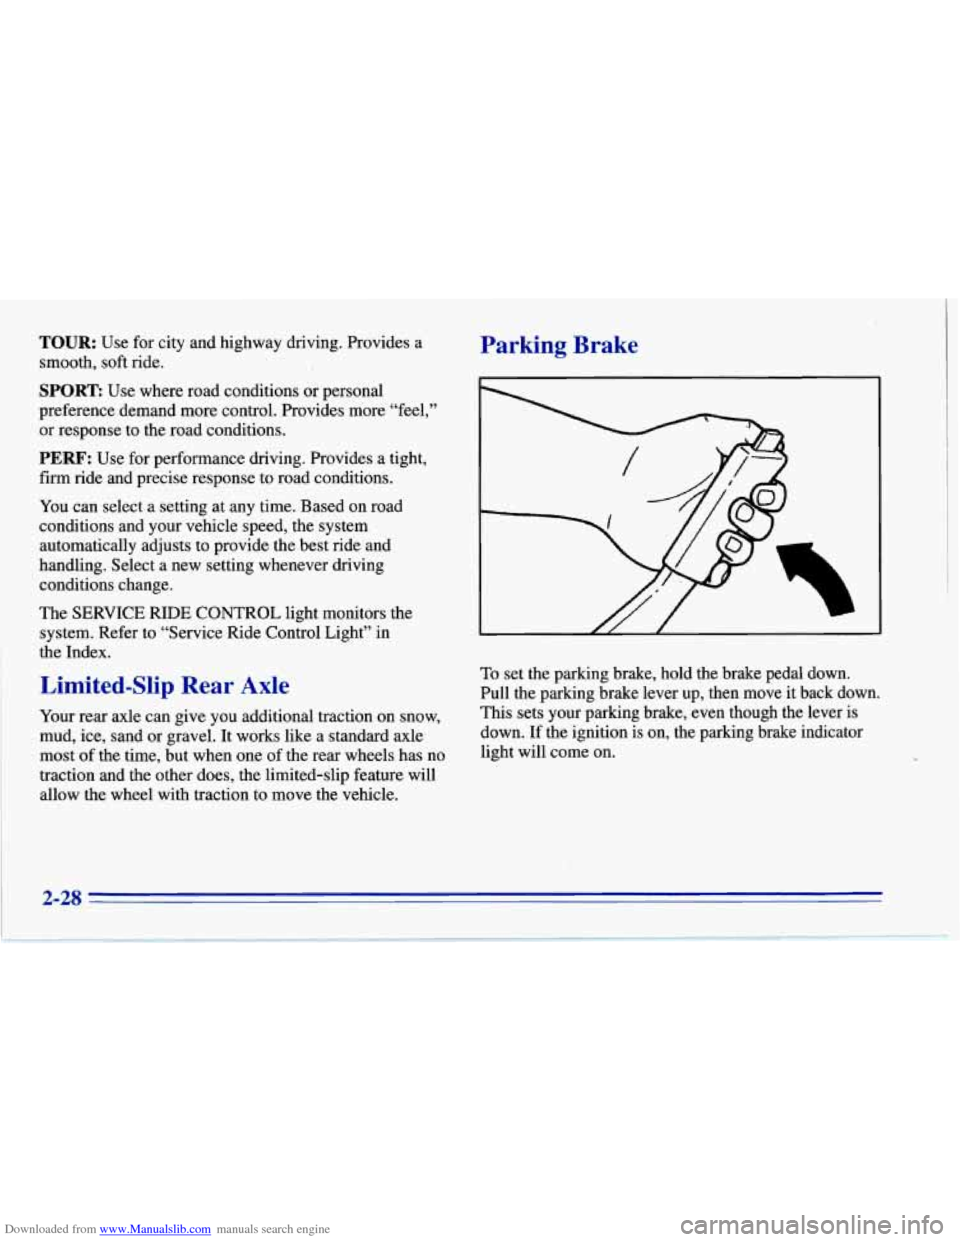
set the parking brake, hold the brake pedal down.
Pull the parking brake lever up, then move it back down.
This sets your parking brake, even though the lever is
down. If the ignition is on, the parking brake indicator
light will come on.
2-28
Page 134 of 386
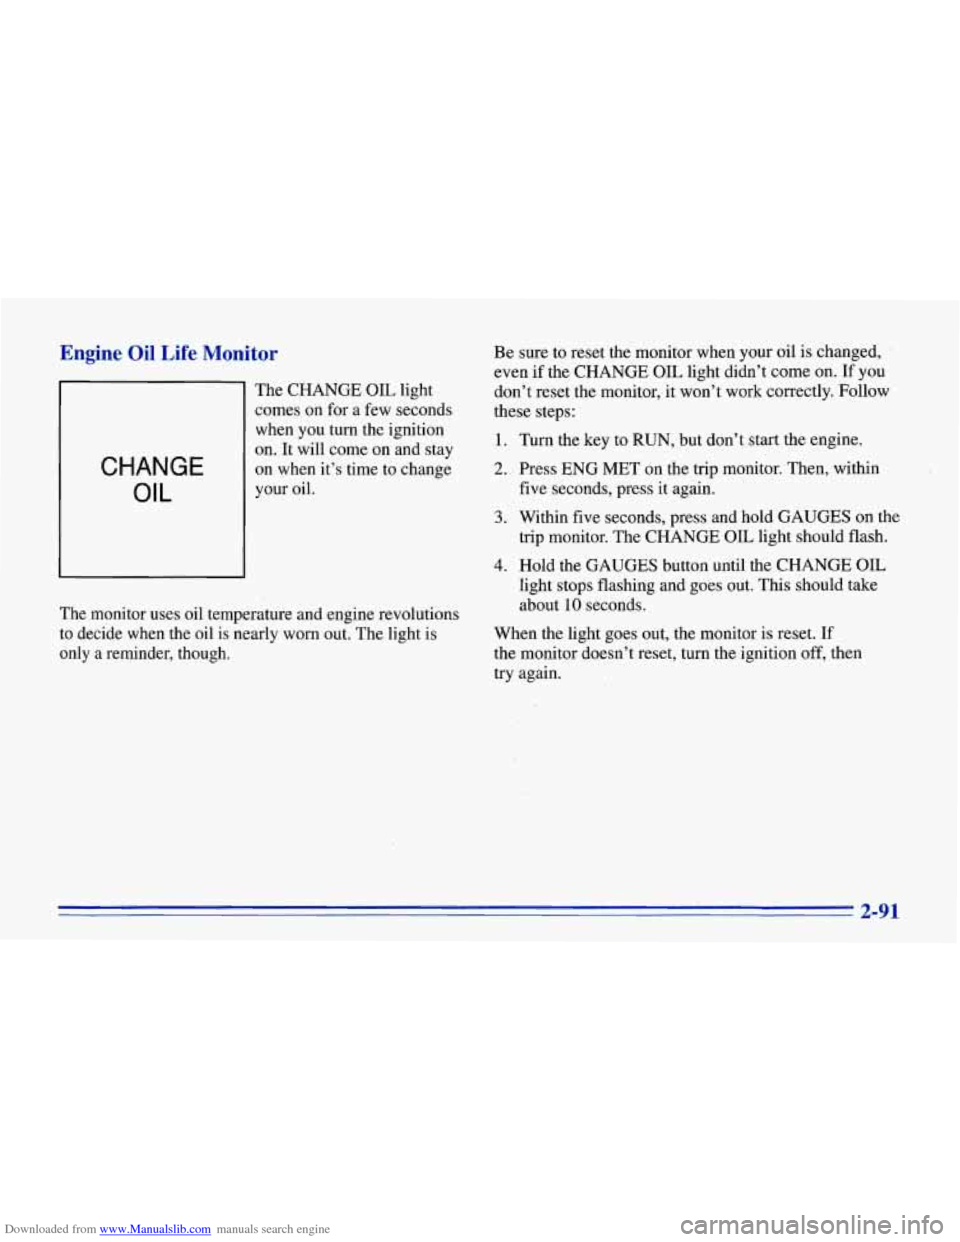
Downloaded from www.Manualslib.com manuals search engine Engine Oil Life Monitor
CHANGE
OIL
The CHANGE OIL light
comes on for a few seconds
when you turn the ignition
on. It will come on and stay
on when it’s time to change
your oil.
The monitor uses oil temperature and engine revolutions
to decide when the oil
is nearly worn out. The light is
only a reminder, though. Be sure
to reset the monitor when your oil
is changed,
even
if the CHANGE OIL light didn’t come on. If you
don’t reset the monitor, it won’t work correctly. Follow
these steps:
1. Turn the key to RUN, but don’t start the engine.
2. Press ENG MET on the trip monitor. Then, within
five seconds, press it again.
3. Within five seconds, press and hold GAUGES on the
trip monitor. The CHANGE OIL light should flash.
4. Hold the GAUGES button until the CHANGE OIL
light stops flashing and goes out. This should take
about
10 seconds.
When the light goes out, the monitor is reset. If
the monitor doesn’t reset, turn the ignition off, then
try again.
2-91
Page 142 of 386
Downloaded from www.Manualslib.com manuals search engine n
Section 3 Comfort Controls and Audio Systems
In this section you’ll find out how to operate the comfort
control and audio systems offered with your Corvette.
Be sure to read about the particular systems supplied
with your vehicle.
Comfort Controls
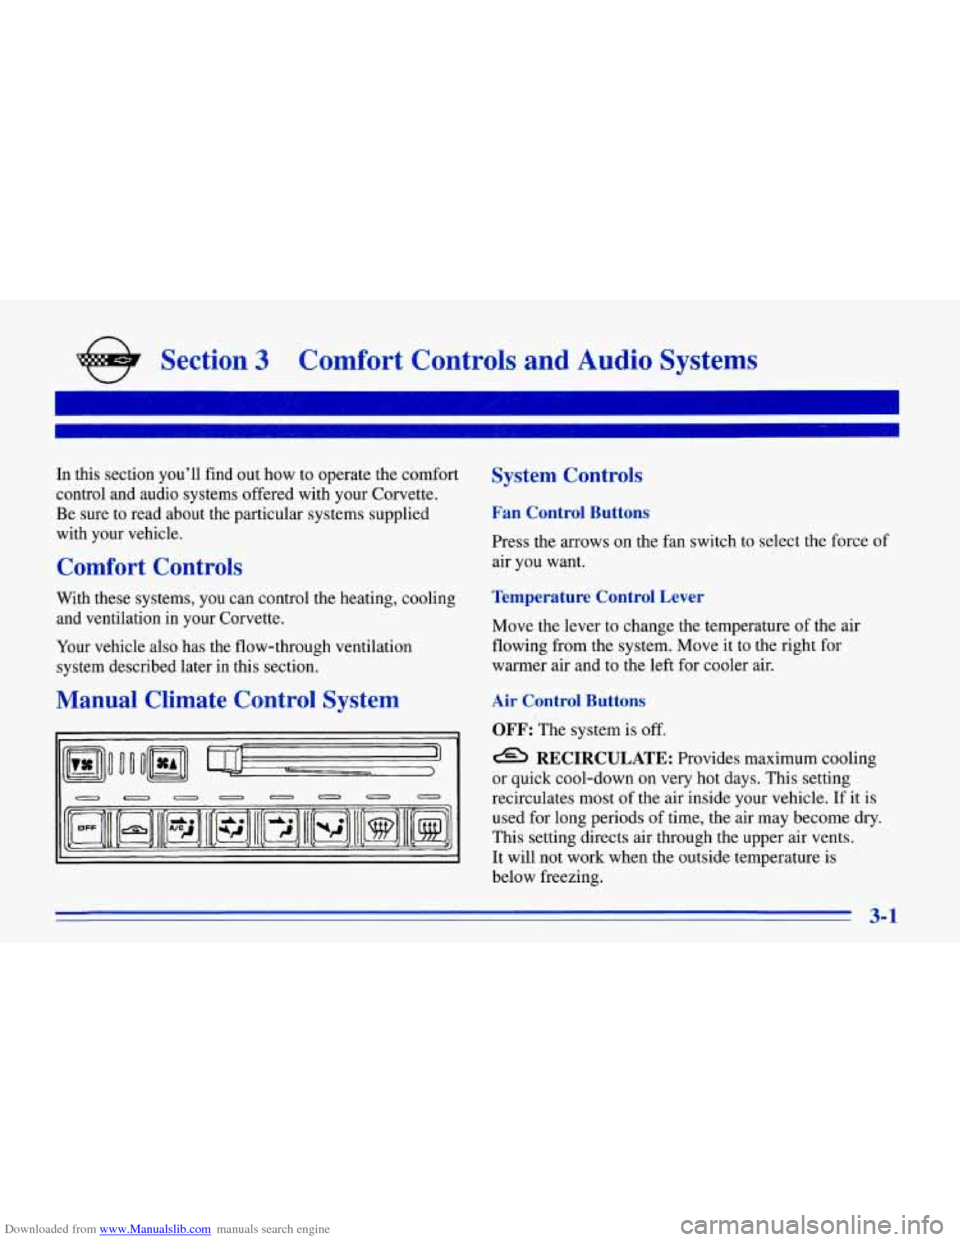
System Controls
Fan Control Buttons
Press the arrows on the fan switch to select the force of
air you want.
With these systems, you can control the heating, cooling
Temperature Control Lever
and ventilation in your Corvette.
Your vehicle also has the flow-through ventilation
system described later in this section.
Manual Climate Control System
I’
Move the lever to change the temperature of the air
flowing from the system. Move it to the right for
warmer air and to the left for cooler air.
Air Control Buttons
OFF: The system is off.
e RECIRCULATE: Provides maximum cooling
or quick cool-down on very hot days. This setting
recirculates most of the air inside your vehicle.
If it is
used for long periods of time, the air may become dry.
This setting directs air through the upper air vents.
It will not work when the outside temperature is
below freezing.
3-1
Page 143 of 386
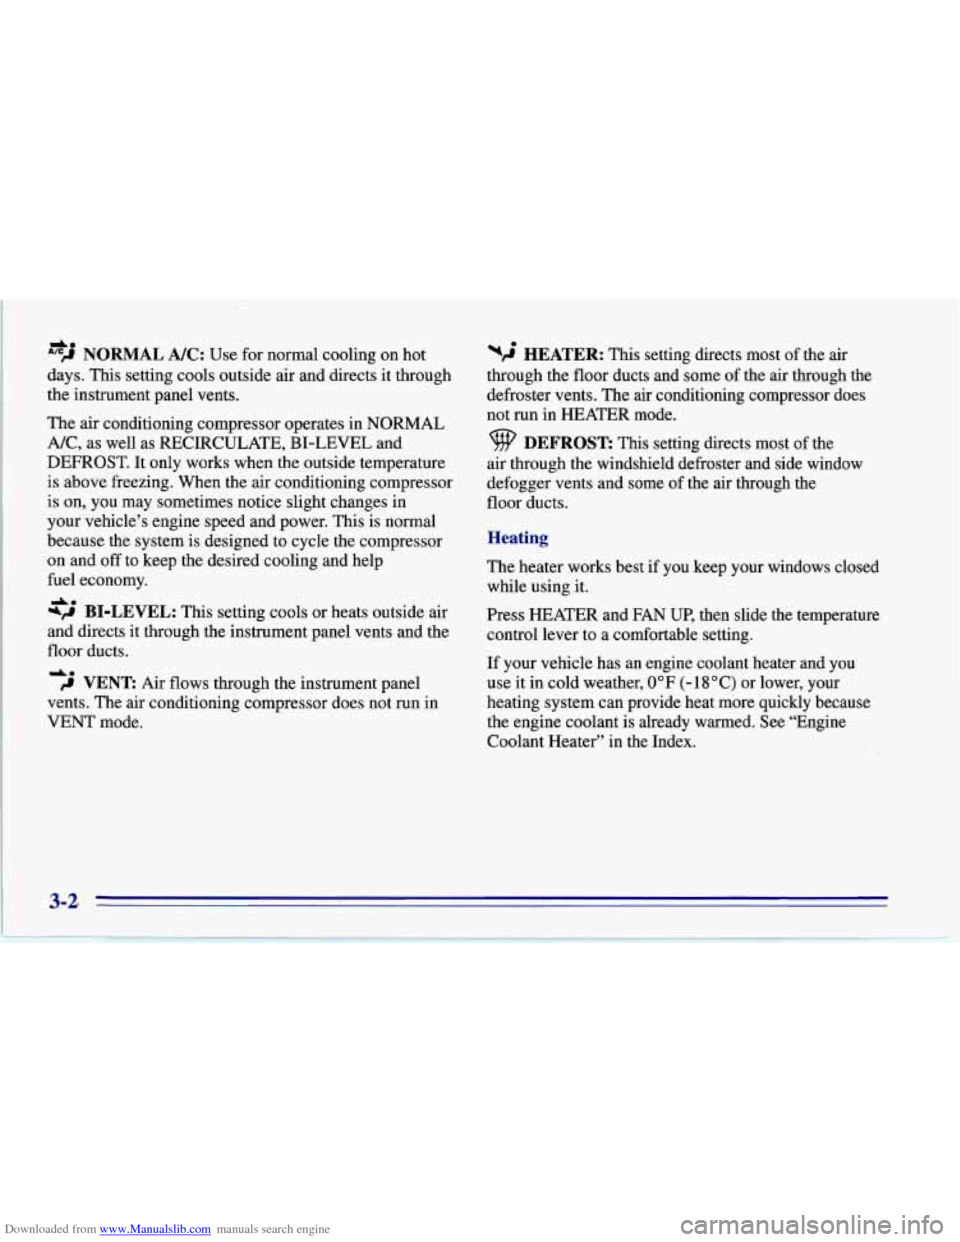
Downloaded from www.Manualslib.com manuals search engine "'"J NORMAL NC: Use for normal cooling on hot
days. This setting cools outside air and directs it through
the instrument panel vents.
The air conditioning compressor operates in NORMAL
A/C, as well as RECIRCULATE, BI-LEVEL and
DEFROST. It only works when the outside temperature
is above freezing. When the air conditioning compressor
is on, you may sometimes notice slight changes in
your vehicle's engine speed and power. This
is normal
because the system is designed to cycle the compressor
on and
off to keep the desired cooling and help
fuel economy.
+,d BI-LEVEL: This setting cools or heats outside air
and directs it through the instrument panel vents and the
floor ducts.
de
do
do /I VENT: Air flows through the instrument panel
vents. The air conditioning compressor does not run in
VENT mode.
wg HEATER: This setting directs most of the air
through the floor ducts and some of the air through the
defroster vents. The air conditioning compressor does
not run in HEATER mode.
DEFROST: This setting directs most of the
air through the windshield defroster and side window
defogger vents and some of the air through the
floor ducts.
Heating
The heater works best if you keep your windows closed
while using it.
Press HEATER and
FAN UP, then slide the temperature
control lever to a comfortable setting.
If your vehicle has an engine coolant heater and you
use it in cold weather,
0°F (- 18 "C) or lower, your
heating system can provide heat more quickly because
the engine coolant is already warmed. See "Engine
Coolant Heater" in the Index.
Page 146 of 386
Downloaded from www.Manualslib.com manuals search engine wJ HEATER: This setting directs all of the air
through the floor ducts.
DEFROST This setting directs most of the
air through the windshield defroster and side window
defogger vents and some
of the'air through the
floor ducts.
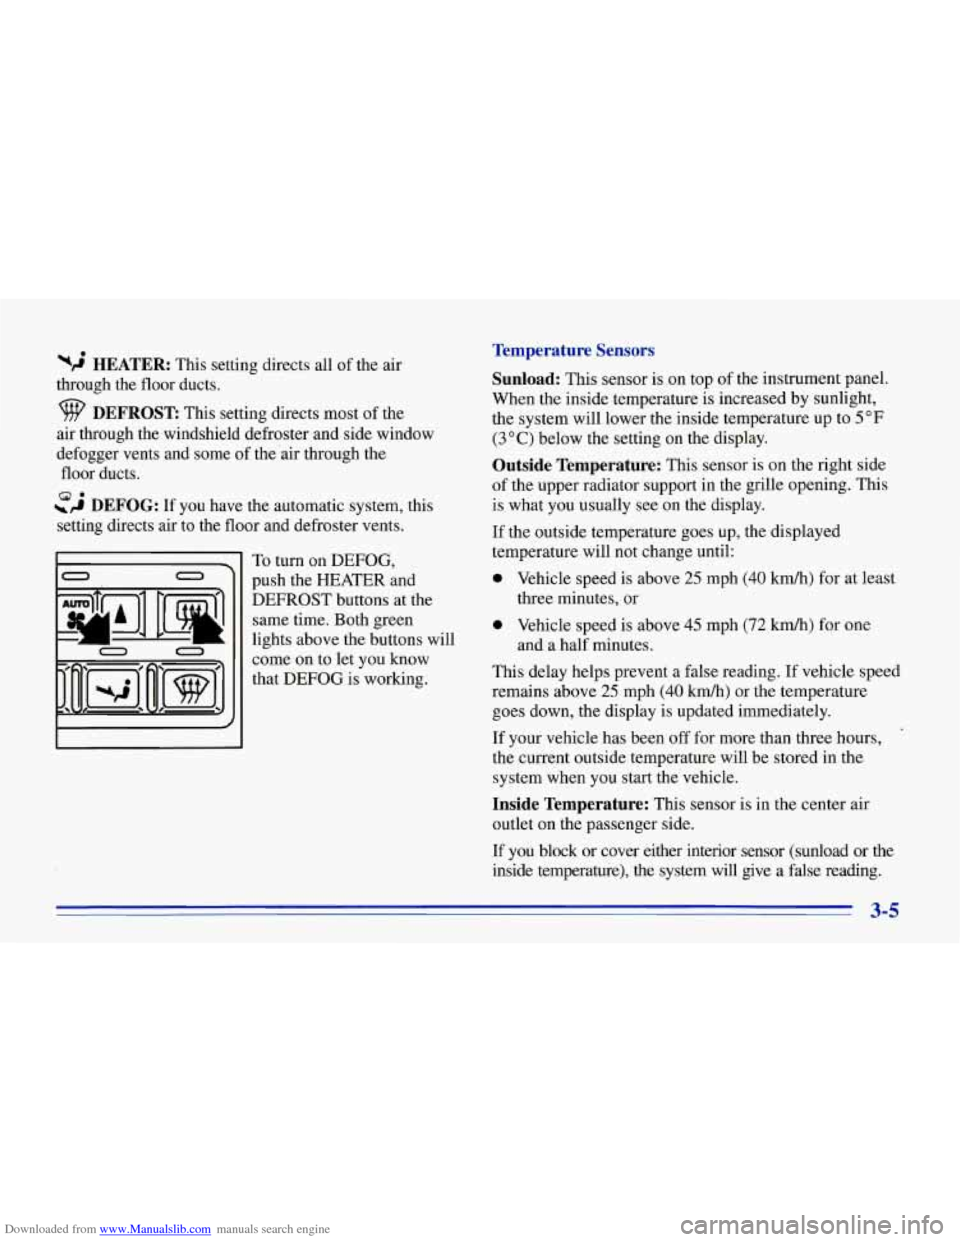
~,4 DEFOG: If you have the automatic system, this
setting directs air to the floor and defroster vents. 8.
To turn on DEFOG,
push the HEATER and
DEFROST buttons at the same time. Both green
lights above the buttons will
come on to let you know
that DEFOG is working.
Temperature Sensors
Sunload:
This sensor is on top of the instrument panel.
When the inside temperature is increased by sunlight,
the system will lower the inside temperature up to 5
OF
(3 O C) below the setting on the display.
Outside Temperature: This sensor is on the right side
of the upper radiator support in the grille opening. This
is what you usually see on the display.
If the outside temperature goes up, the displayed
temperature will not change until:
0 Vehicle speed is above 25 mph (40 km/h) for at least
0 Vehicle speed is above 45 mph (72 km/h) for one
This delay helps prevent a false reading. If vehicle speed
remains above 25 mph
(40 kmh) or the temperature
goes down, the display is updated immediately.
If your vehicle has been off for more than three hours,
the current outside temperature will be stored in the
system when you start the vehicle.
three minutes, or
and a half minutes.
Inside Temperature: This sensor is in the center air
outlet on the passenger side.
I€ you block or cover either interior sensor (sunload or the
inside temperature), the system will give a false reading.
3-5