1996 CHEVROLET CORVETTE ABS
[x] Cancel search: ABSPage 123 of 386
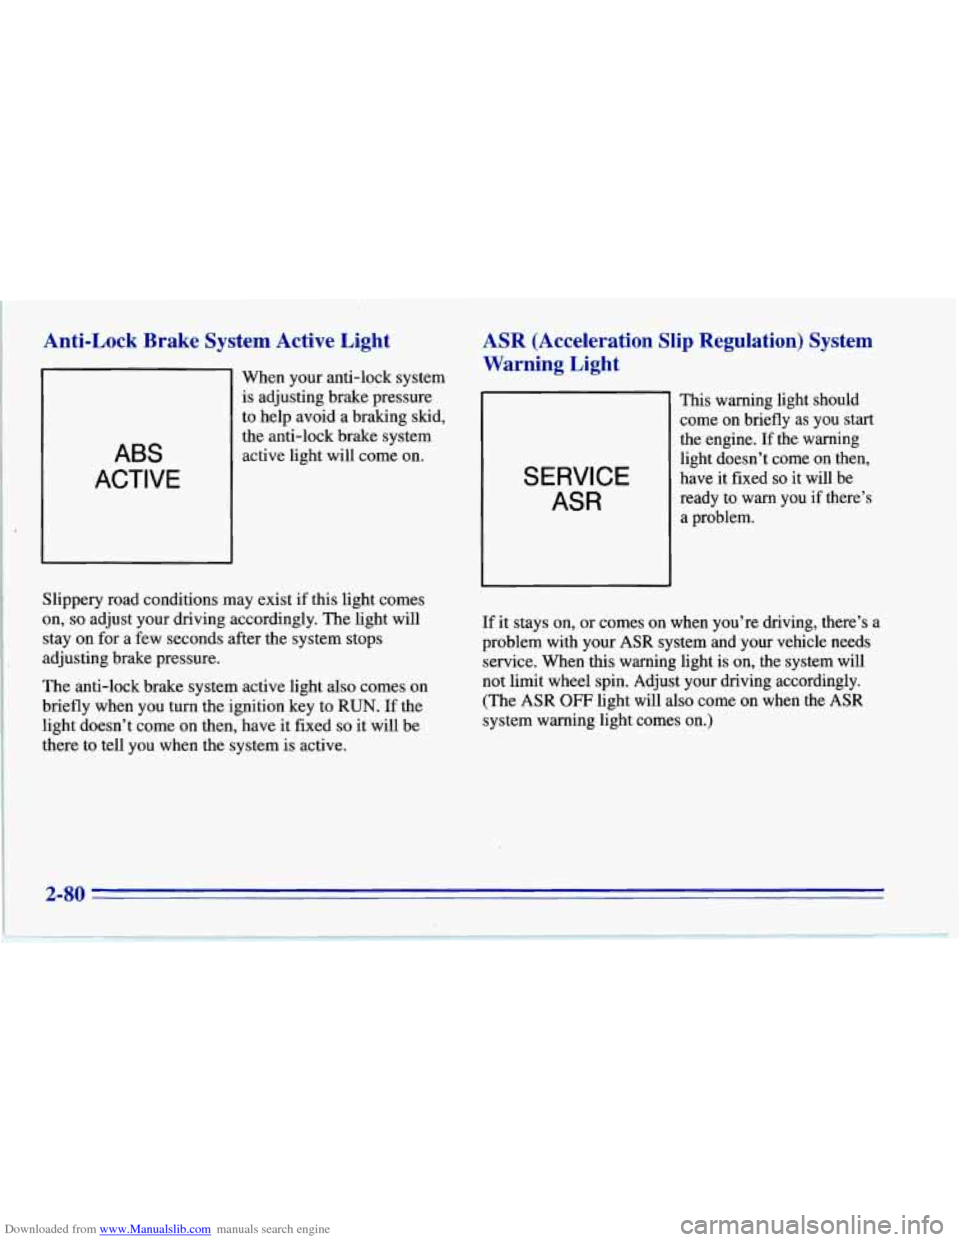
Downloaded from www.Manualslib.com manuals search engine Anti-Lock Brake System Active Light
ABS
ACTIVE
When your anti-lock system
is adjusting brake pressure
to help avoid a braking skid,
the anti-lock brake system
active light will come on.
ASR (Acceleration Slip Regulation) System
Warning Light
SERVICE
ASR
This warning light should
come on briefly as you start
the engine. If the warning
light doesn’t come on then,
have it fixed
so it-will be
ready to
warn you if there’s
a problem.
Slippery road conditions may exist if this light comes
on, so adjust your driving accordingly. The light will
stay on for a few seconds after the system stops
adjusting brake pressure.
The anti-lock brake system active light
also comes on
briefly when you turn the ignition key to
RUN. If the
light doesn’t come on then, have it fixed
so it will be
there to tell you when the system is active. If it
stays on, or comes on when you’re driving, there’s a
problem with your
ASR system and your vehicle needs
service. When this warning light is on, the system will
not limit wheel spin. Adjust your driving accordingly.
(The
ASR OFF light will also come on when the ASR
system warning light comes on.)
2-80
Page 141 of 386
Downloaded from www.Manualslib.com manuals search engine Driver Information Center
SERVICE ASR ASR OFF
ASR LOW ACTIVE COOLANT
PASSIVE
KEYLESS
ENTRY
AIR BAG
SERVICE LOWFLAT LTPWS TIRE
ABS SERVICE CONTROL
ACTIVE
RIDE
SERVICE
SERVICE
0 SOON (63)
LOW OIL
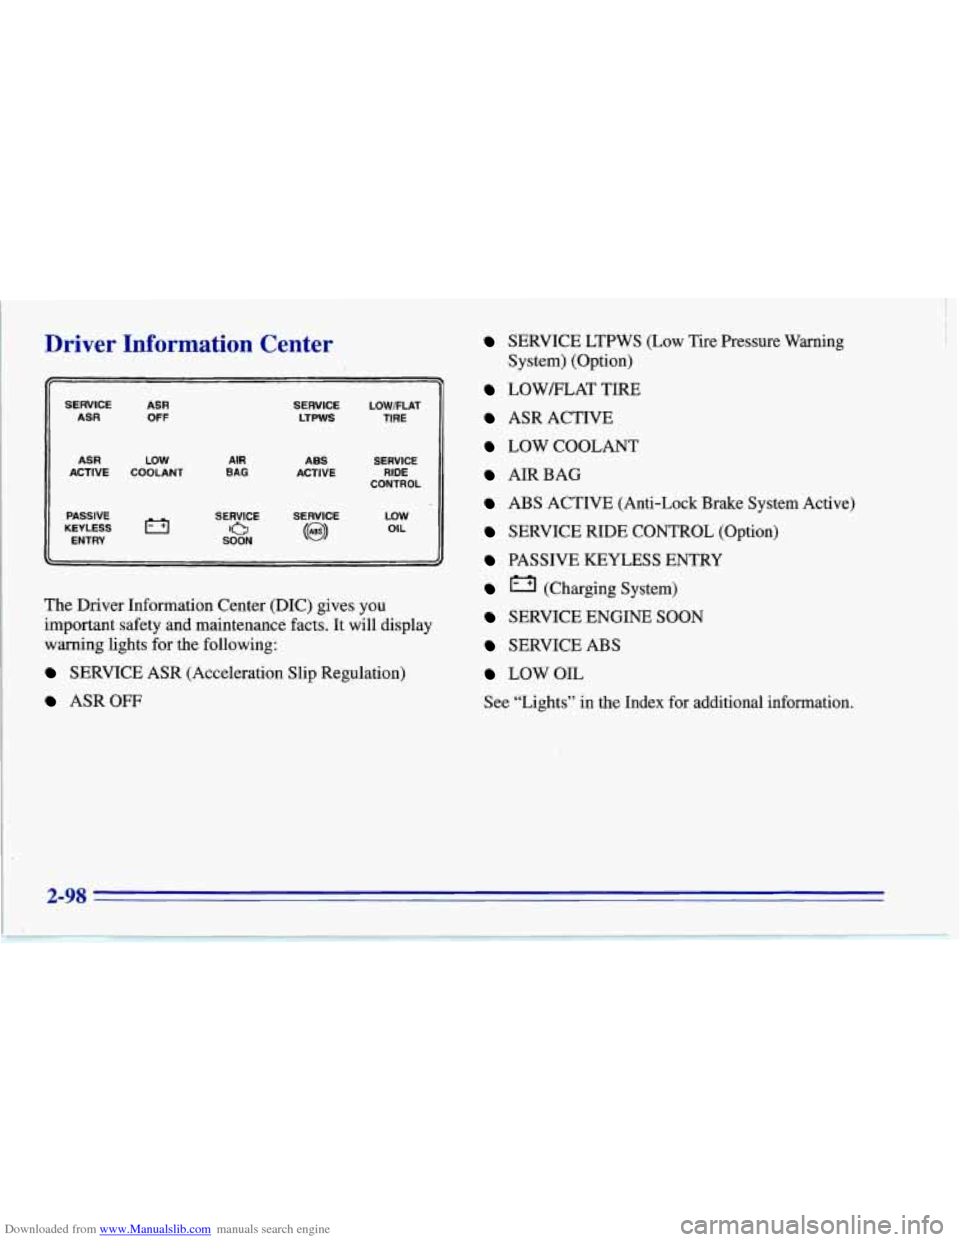
The Driver
Information Center (DIC) gives you
important safety and maintenance facts. It will display
warning lights for the following:
SERVICE ASR (Acceleration Slip Regulation)
ASROW
SERVICE LTPWS (Low Tire Pressure Warning
LOWELAT TIRE
ASR ACTIVE
LOW COOLANT
AIRBAG
ABS ACTIVE (Anti-Lock Brake System Active)
SERVICE RIDE CONTROL (Option)
PASSIVE KEYLESS ENTRY
(Charging System)
SERVICE ENGINE SOON
SERVICE ABS
LOWOIL
See “Lights” in the Index for additional information.
System) (Option)
2-98
Page 167 of 386
Downloaded from www.Manualslib.com manuals search engine Avoid needless heavy braking. Some people drive
in spurts
-- heavy acceleration followed by heavy
braking
-- rather than keeping pace with traffic. This
is a mistake. Your brakes may not have time to cool
between hard stops. Your brakes will wear out much
faster if you do a lot
of heavy braking. If you keep pace
with the traffic and allow realistic following distances,,
you will eliminate a lot of unnecessary braking. That
means better braking and longer brake life.
If your engine ever stops while you’re driving, brake
normally but don’t pump your brakes. If you
do, the
pedal may get harder to push down. If your engine
stops, you will still have some power brake assist. But
you will use it when you brake. Once the power assist is
used up, it may take longer to stop and the brake pedal
will be harder to push.
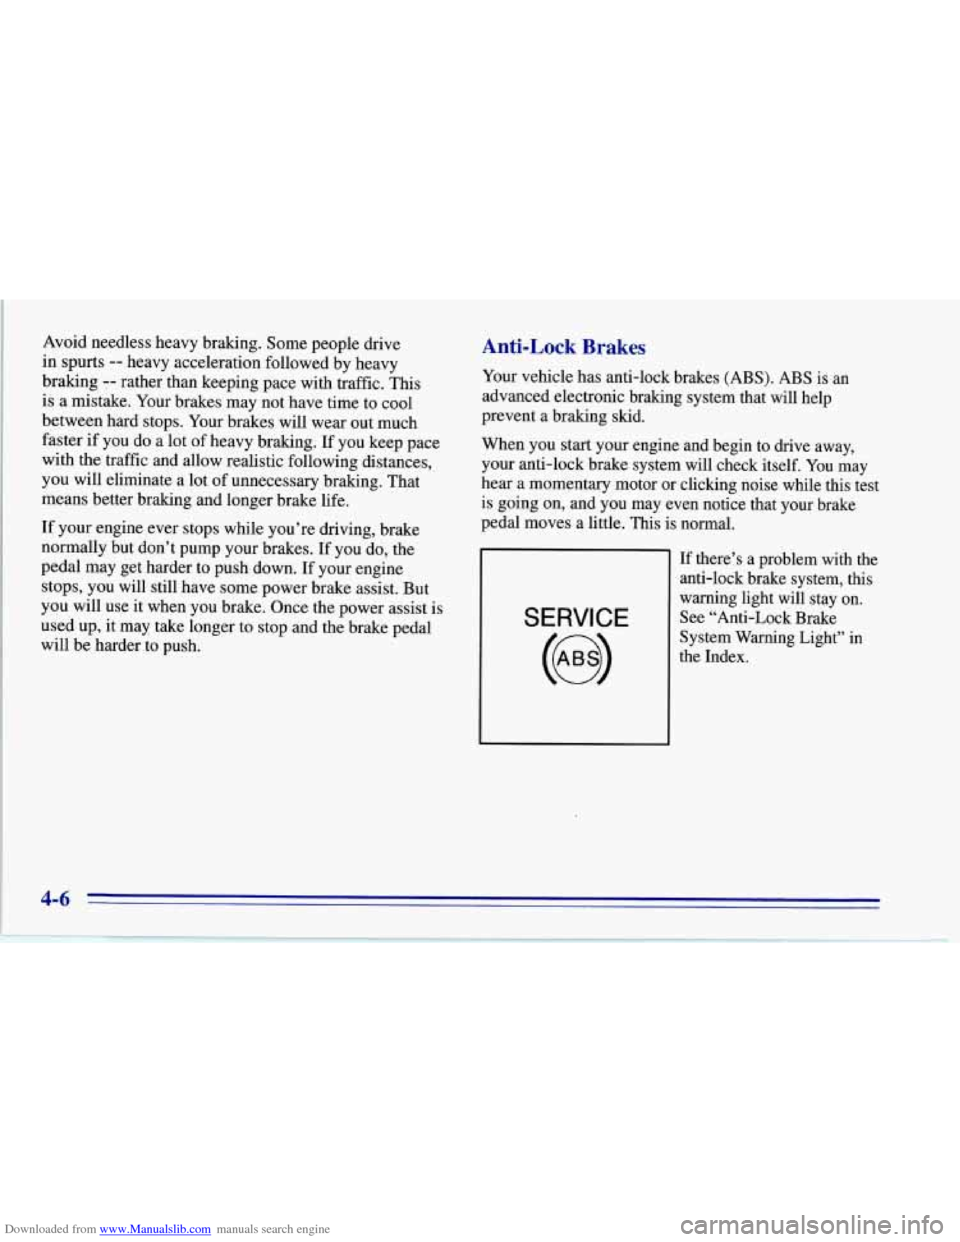
Anti-Lock Brakes
Your vehicle has anti-lock brakes (ABS). ABS is an
advanced electronic braking system that will help
prevent a braking skid.
When you start your engine and begin to drive away,
your anti-lock brake system will check itself.
You may
hear a momentary motor or clicking noise while this test
is going on, and you may even notice that your brake
pedal moves a little. This is normal.
SERVICE
If there’s a problem with the
anti-lock brake system, this
warning light will stay on.
See “Anti-Lock Brake
System Warning Light” in
the Index.
Page 168 of 386
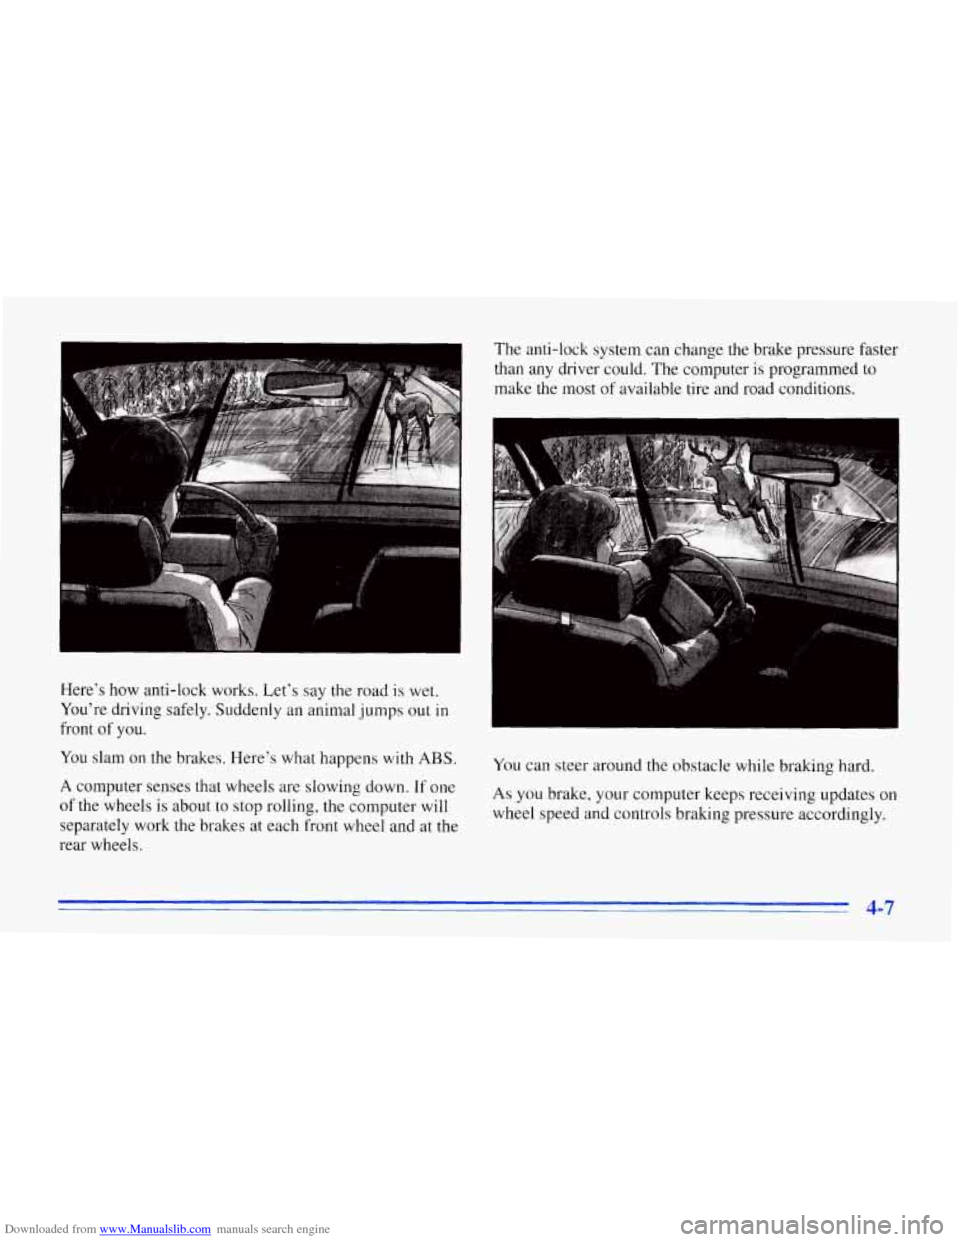
Downloaded from www.Manualslib.com manuals search engine Here’s how anti-lock works. Let’s say the road is wet. You’re driving safely. Suddenly an animal jumps out in
front
of you.
You slam on the brakes. Here’s what happens with ABS.
A computer senses that wheels are slowing down. If one
of the wheels is about to stop rolling, the computer will
separately work the brakes at each front wheel and at the
rear wheels. The anti-lock system can change the brake pressure faster
than any driver could. The computer is programmed to
make the most of available tire and road conditions.
You can steer around the obstacle while braking hard. As you brake, your computer keeps receiving updates on
wheel speed and controls braking pressure accordingly.
- 4-7
Page 169 of 386
Downloaded from www.Manualslib.com manuals search engine Remember: Anti-lock doesn’t change the time you need
to get your foot up to the brake pedal or always decrease
stopping distance. If you get too close to the vehicle in
front of you, you won’t have time to apply your brakes
if that vehicle suddenly slows or stops. Always leave
enough room up ahead to stop, even though you have
anti-lock brakes.
Using Anti-Lock
Don’t pump the brakes. Just hold the brake pedal down
and let anti-lock work for you. You may hear a motor or
clicking noid and feel the brake pedal move a little
during
a stop, but this is normal.
ABS
ACTIVE
When your anti-lock system
is adjusting brake pressure
to help avoid a braking skid,
this light will come on. See
“Anti-Lock Brake System
Active Light” in the Index.
ASR (Acceleration Slip Regulation) System
Your vehicle has a traction control system called ASR
that limits wheel spin. This is especially useful in
slippery road conditions’. The system operates only if it
senses that the rear wheels
are spinning too much or are
beginning to lose traction. When this happens, the
system works the rear brakes and reduces engine power
(by closing the throttle and managing engine spark) to
limit wheel spin.
ASR
ACTIVE
This light will come on
when the ASR system is
limiting wheel spin. See
“ASR System Active Light”
in the Index. You may feel
or hear the system working,
but this is normal.
If your vehicle is in cruise control when the ASR system
begins to limit wheel spin, the cruise control will
automatically disengage. When road conditions allow
you to safely use it again, you may re-engage the cruise
control. (See “Cruise Control” in the Index.)
J
Page 175 of 386
Downloaded from www.Manualslib.com manuals search engine Loss of Control
Let’s review what driving experts say about what
happens when the three control systems (brakes, steering
and acceleration) don’t have enough friction where the
tires meet the road to ,do what the driver has asked.
In any emergency, don’t give up. Keep trying to
steer and constantly seek an escape route or area of
less danger.
Skidding
In a skid, a driver can lose control of the vehicle.
Defensive drivers avoid most skids by taking reasonable
care suited to existing conditions, and by not “overdriving”\
those conditions. But skids
are always possible.
The three types of skids correspond to your Corvette’s
three control systems. In the braking skid, your wheels
aren’t rolling. In the steering or cornering skid, too
much speed or steering in a curve causes tires to slip and
lose cornering force. And in the acceleration skid, too
much throttle causes the driving wheels to spin.
A cornering skid is best handled by easing your foot off
the accelerator pedal.
Remember: Any
ASR system helps avoid only the
acceleration skid. If
your
ASR system is off, then an acceleration skid
is also best handled by easing your foot
off the
accelerator pedal.
If your vehicle starts to slide, ease your foot off the
accelerator pedal and quickly steer the way you want the
vehicle to go.
If you start steering quickly enough, your
vehicle may straighten out. Always be ready for a
second skid
if it occurs.
Of course, traction is reduced when water, snow, ice,
gravel or other material is on the road. For safety, you’ll
want to slow down and adjust your driving to these
conditions. It is important to slow down on slippery
surfaces because stopping distance will be longer and
vehicle control more limited.
While driving on a surface with reduced traction,
try your
best to avoid sudden steering, acceleration or braking (including engine braking by shifting to a lower gear).
Any sudden changes could cause the tires to slide.
You
may not realize the surface is slippery until your vehicle
is skidding. Learn to recognize warning clues
-- such as
enough water, ice or packed snow on the road to make a
“mirrored surface”
-- and slow down when you have
any doubt.
Remember: Any anti-lock brake system (ABS) helps
avoid only the braking skid.
4-14
Page 248 of 386
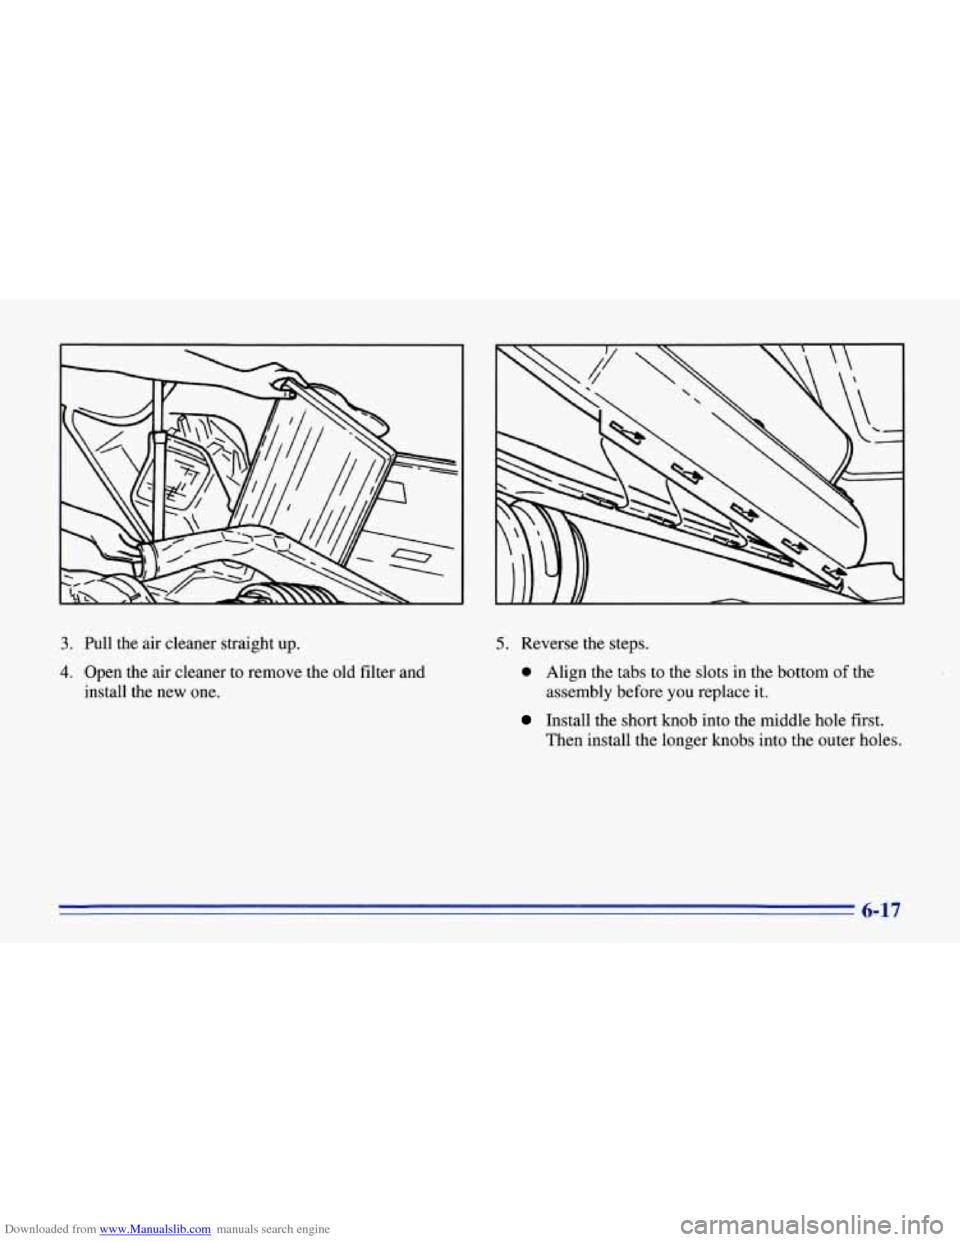
Downloaded from www.Manualslib.com manuals search engine 3. Pull the air cleaner straight up.
4. Open the air cleaner to remove the old filter and
install the new one.
5. Reverse the steps.
0 Align the tabs to the slots in the bottom of the
assembly before you replace it.
Install the short knob into the middle hole first.
Then install the longer knobs into the outer holes.
6-17
Page 269 of 386
Downloaded from www.Manualslib.com manuals search engine Front Tbrn Signal Lamps
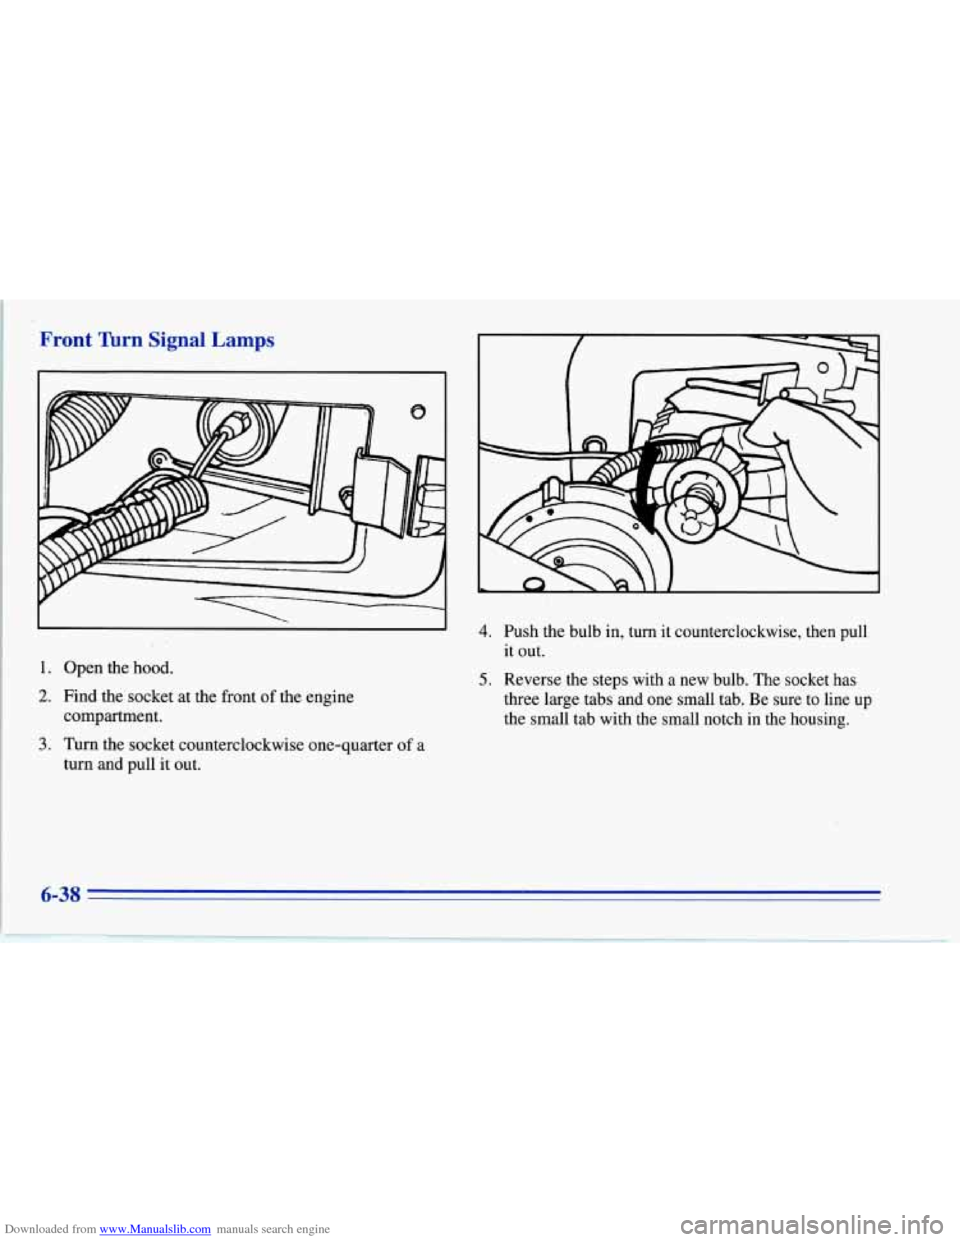
1. Open the hood.
2. Find the socket at the front of the engine
compartment.
3. Turn the socket counterclockwise one-quarter of a
turn and pull it out.
4. Push the bulb in, turn it counterclockwise, then pull
it out.
5. Reverse the steps with a new bulb. The socket has
three large tabs and one small tab. Be sure to line up
the small tab with the small notch in the housing.
6-38