Page 133 of 372
Downloaded from www.Manualslib.com manuals search engine Passlock Warning Light
THEFT
SYSTEM
This light will come on
when you turn the key
towards the START
position.
If the light flashes, the Passlock system has entered a
tamper mode.
If the vehicle fails to start, see “Passlock”
in the Index.
If the light comes on continuously while driving and
stays on, there may be
a problem with the Passlock
system. Your vehicle will not be protected by Passlock,
and you should see your dealer.
Up-Shift Light (Manual Transaxle)
This light comes on when
you need
to shift to the next
higher gear. See “Manual
Transaxle” in the Index.
SHIFT
Check Gages Light
CHECK
GAGES
This light will come on
briefly when
you are
starting the engine. If the
light comes on and stays on
while you are driving, check
your various gages to see if
they are in the warning
zones.
2-75
Page 138 of 372
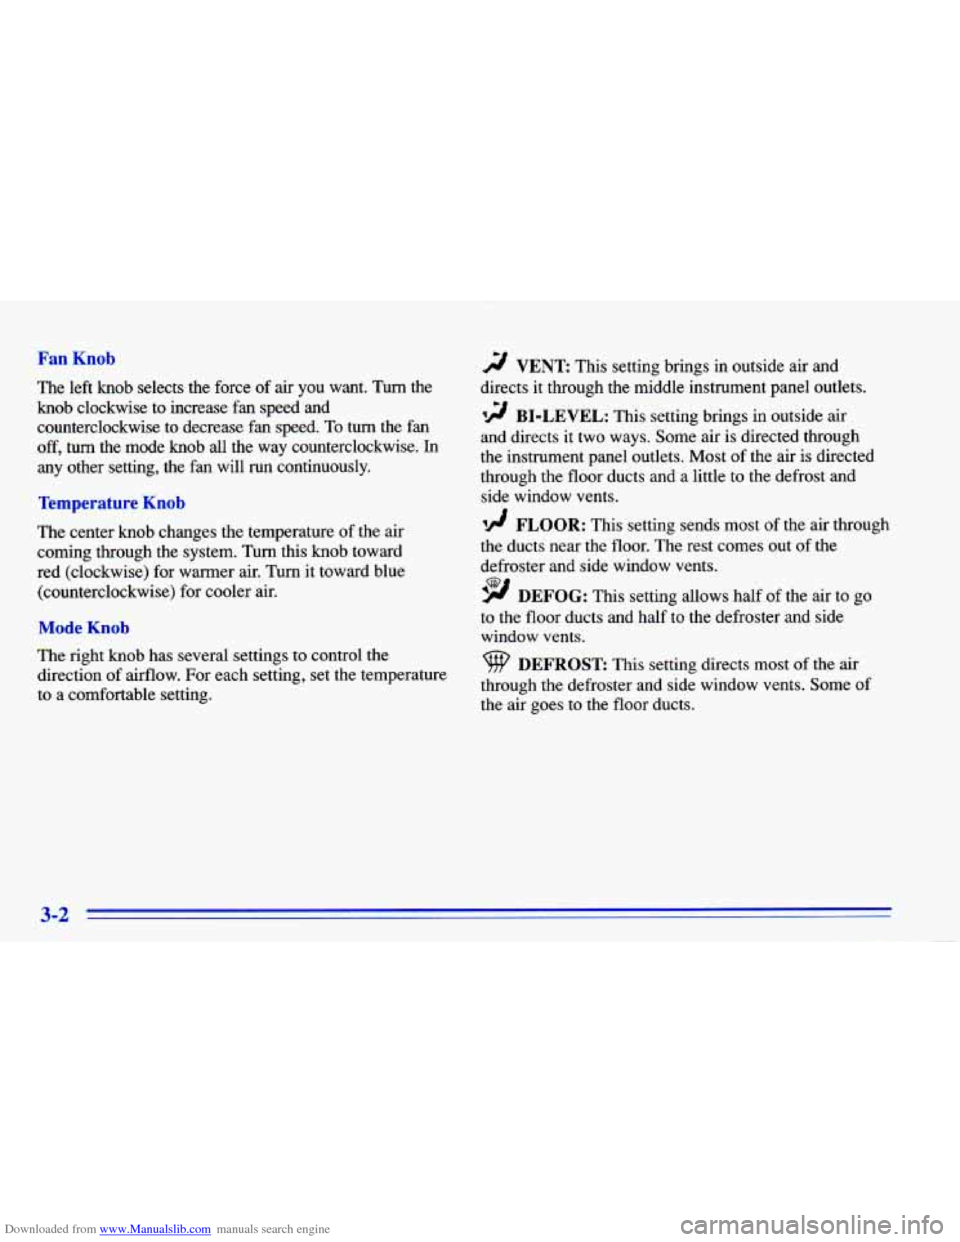
Downloaded from www.Manualslib.com manuals search engine Fan Knob
The left knob selects the force of air you want. Turn the
knob clockwise to increase fan speed and counterclockwise to decrease fan speed.
To turn the fan
off, turn the mode knob all the way counterclockwise. In
any other setting, the fan will run continuously.
Temperature Knob
The center knob changes the temperature of the air
coming through the system. Turn this knob toward
red (clockwise) for warmer air. Turn it toward blue
(counterclockwise) for cooler air.
Mode Knob
The right knob has several settings to control the
direction of airflow. For each setting, set the temperature
to a comfortable setting.
2 VENT This setting brings in outside air and
directs it through the middle instrument panel outlets.
12 BI-LEVEL: This setting brings in outside air
and directs it two ways. Some air is directed through
the instrument panel outlets. Most of the air is directed
through the floor ducts and a little to the defrost and
side window vents.
Id FLOOR: This setting sends most of the air through
the ducts near the floor. The rest comes out of the
defroster and side window vents.
9 DEFOG: This setting allows half of the air to go
to the floor ducts and half to the defroster
and side
window vents.
DEFROST This setting directs most of the air
through the defroster and side window vents. Some of
the air goes to the floor ducts.
3-2
Page 139 of 372
Downloaded from www.Manualslib.com manuals search engine Climate Control System with Air
Con g (Optiol
-. . .
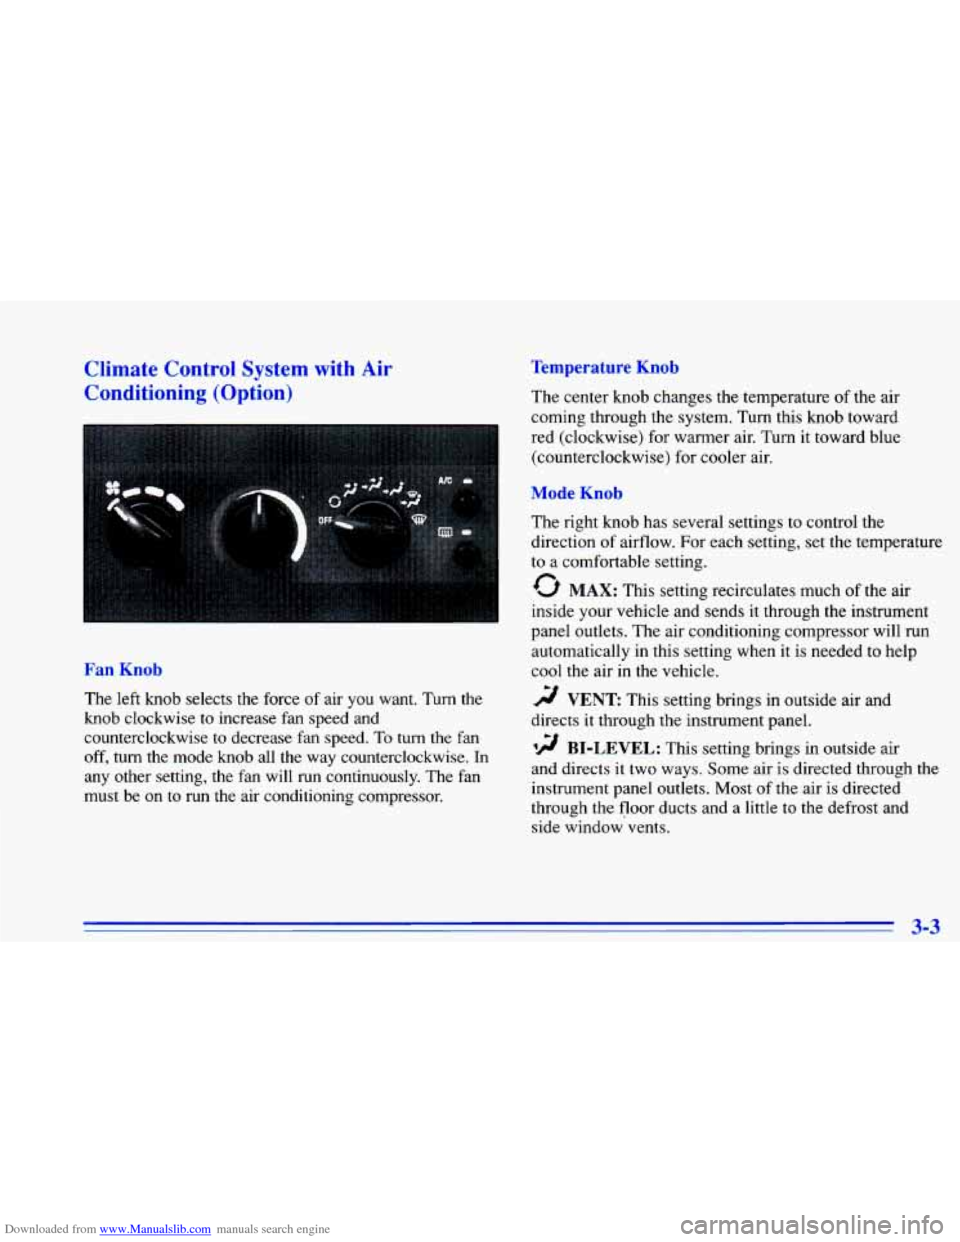
Fan Knob
The left knob selects the force of air you want. Turn the
knob clockwise to increase fan speed and
counterclockwise
to decrease fan speed. To turn the fan
off, turn the mode knob all the way counterclockwise. In
any other setting,
the fan will run continuously. The fan
must be on
to run the air conditioning compressor.
Temperature Knob
The center knob changes the temperature of the air
coming through the system.
Turn this knob toward
red (clockwise) for warmer air. Turn it toward blue
(counterclockwise) for cooler air.
Mode Knob
The right knob has several settings to control the
direction
of airflow. For each setting, set the temperature
to a comfortable setting.
0 MAX: This setting recirculates much of the air
inside
your vehicle and sends it through the instrument
panel outlets. The air conditioning compressor will run
automatically in this setting when it is needed to help
cool
the air in the vehicle.
r;/ VENT This setting brings in outside air and
directs it through the instrument panel.
'!! BI-LEVEL: This setting brings in outside air
and directs it two ways. Some air is directed through the
instrument panel outlets. Most of the air is directed
through the floor ducts and a little to the defrost and
side window vents.
3-3
Page 141 of 372
Downloaded from www.Manualslib.com manuals search engine Heating
On cold days, use FLOOR with the temperature knob all
the way in the red area. The system will bring in outside
air, heat it and send it to the floor ducts.
Your vehicle has heat ducts that are directed toward
the rear seat. Keep the area under the front seats clear
of obstructions so the heated air can reach the rear
seat passengers.
If your vehicle has an engine coolant heater, you can use
it
to help your system provide warm air faster when it’s
cold outside
(0°F (-18°C) or lower). An engine coolant
heater warms the coolant your engine and heating
system
use to provide heat. See “Engine Coolant
Heater’’ in the Index.
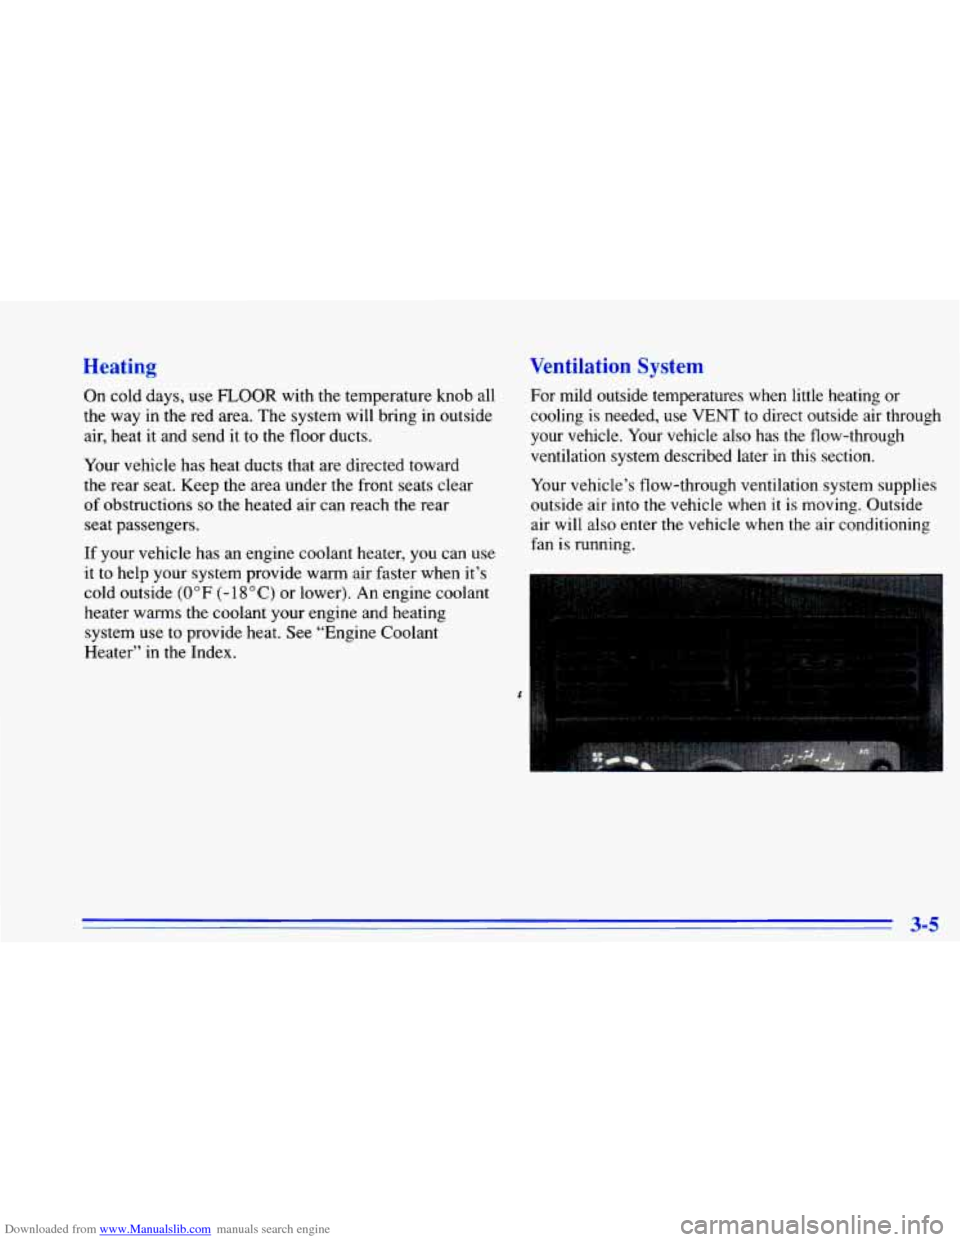
Ventilation System
For mild outside temperatures when little heating or
cooling
is needed, use VENT to direct outside air through
your vehicle. Your vehicle
also has the flow-through
ventilation system described later in this section.
Your vehicle’s flow-through ventilation system supplies
outside air into
the vehicle when it is moving. Outside
air will also enter the vehicle when the air conditioning
fan
is running.
3-5
Page 142 of 372
Downloaded from www.Manualslib.com manuals search engine Ventilation Tips
0
0
0
Keep the hood and front air inlet free of ice, snow or
any other obstruction, such as leaves. The heater and
defroster will work far better? reducing the chance of
fogging the inside of your windows.
When you enter a vehicle in cold weather, adjust the
mode knob to
FLOOR and the fan to the highest speed
for a fcw moments before driving
off. This helps clear
the intake ducts of snow and moisture and reduces the
chance
of fogging the inside of your windows.
Keep the
air path under the front seats clear of objects.
This helps air circulate throughout your vehicle.
Defogging and Defrosting Windows
Your system has two settings for clearing the front and
side windows.
To defrost the windows quickly, use
DEFROST with the temperature knob all the way in
the red area.
To warm passengers while keeping the
windows clean, use DEFOG.
To defog the side windows, set the right control to
BI-LEVEL and the fan control to the highest setting.
To defog the side windows while using the air
conditioner, set the right control to BI-LEVEL, the fan
control to the highest setting, and press the
A/C button.
For both systems, aim the side vents toward the side
windows. For increased airflow to the side vents,
close
the center vents.
3-6
Page 191 of 372
Downloaded from www.Manualslib.com manuals search engine Run your engine only as long as you must. This saves
fuel. When you run the engine, make it.go a little faster
than just idle. That is, push the accelerator slightly. This
uses less fuel for the heat that you get and it keeps the
battery charged.
You will need a well-charged battery to
restart the vehicle, and possibly for signaling later
on
with your headlamps. Let the heater run for awhile.
Then, shut the engine off and close the window almost
all the way
to preserve the heat. Start the engine again
and repeat this only when you feel really uncomfortable
from the cold. But do it as little as possible. Preserve the
fuel as long as you can.
To help keep warm, you can get
out of the vehicle and do some fairly vigorous exercises
every half hour or
so until help comes.
Recreational Vehicle Towing
You can tow your vehicle behind another vehicle for use
at your destination. Be sure
to use the proper towing
equipment designed for recreational towing. Follow the
instructions for the towing equipment.
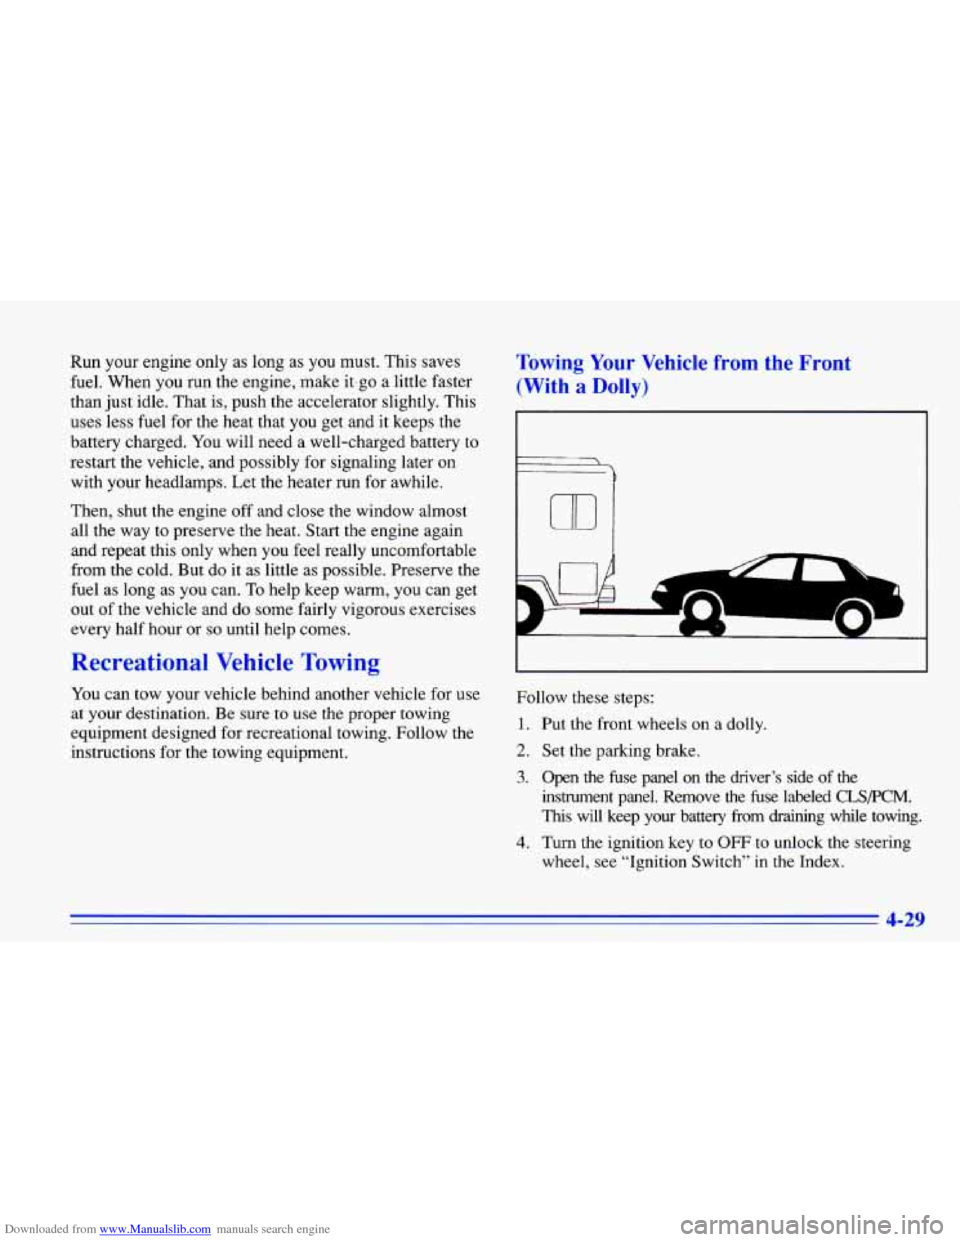
Towing Your Vehicle from the Front
(With a Dolly)
€
7
m
Follow these steps:
1. Put the front wheels on a dolly.
2. Set the parking brake.
3. Open the fuse panel on the driver’s side of the
instrument panel. Remove the fuse labeled
CLSPCM.
This will keep your battery from draining while towing.
4. Turn the ignition key to OFF to unlock the steering
wheel, see “Ignition Switch’’ in the Index.
4-29
Page 192 of 372
Downloaded from www.Manualslib.com manuals search engine 5. Clamp the steering wheel in a straight-ahead position
6. Release the parking brake.
When you
are finished towing, make sure you replace
the CLS/PCM fuse in the instrument panel fuse block.
with a clamping device designed for towing.
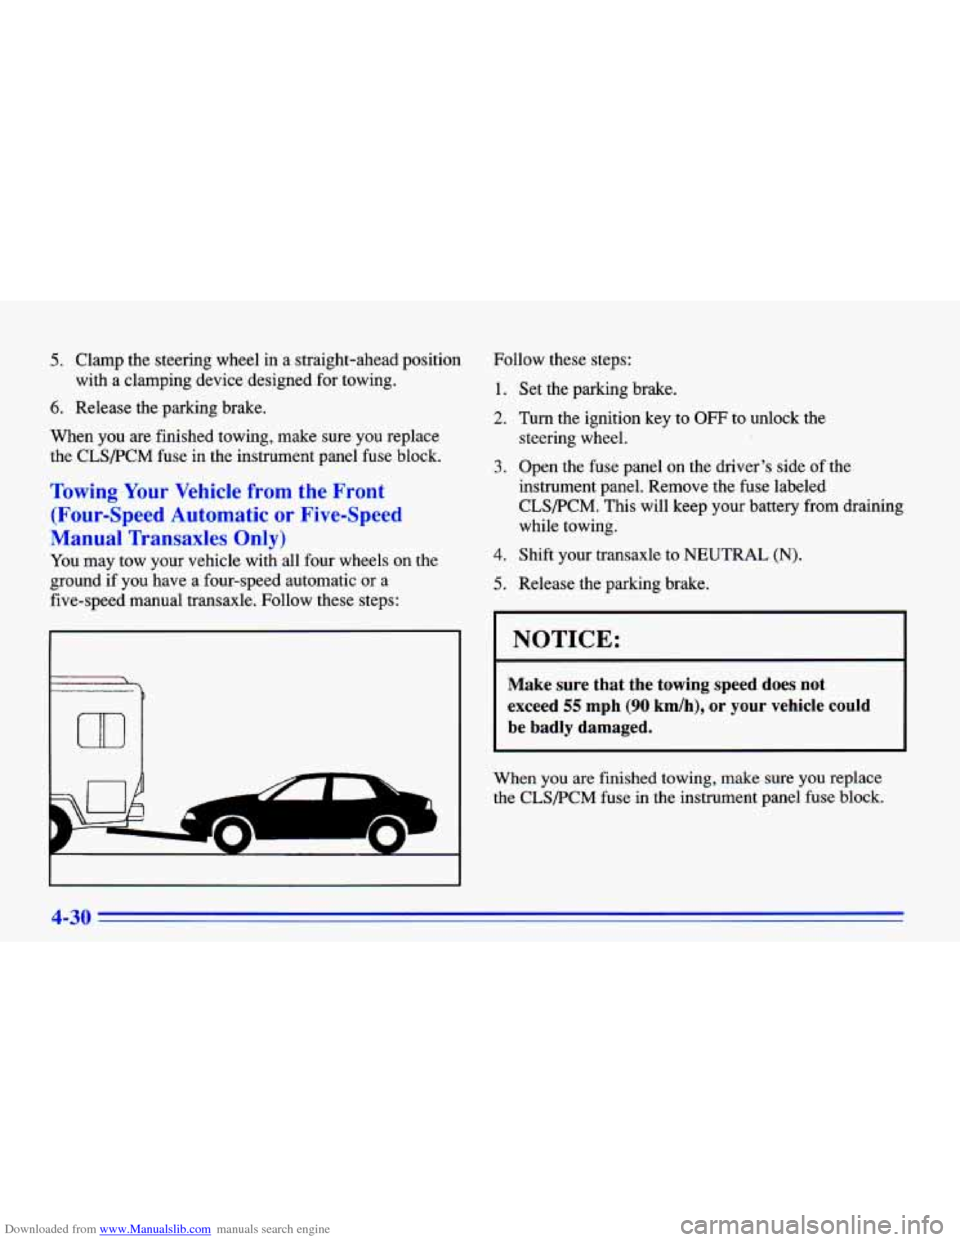
Towing Your Vehicle from the Front
(Four-Speed Automatic
or Five-Speed
Manual Transaxles Only)
You may tow your vehicle with all four wneels on the
ground
if you have a four-speed automatic or a
five-speed manual transaxle. Follow these steps:
r
m
.
*-
Follow these steps:
1. Set the parking brake.
2. Turn the ignition key to OFF to unlock the
3. Open the fuse panel on the driver’s side of the
instrument panel. Remove the fuse labeled
CLS/PCM. This will keep your battery from draining
while towing. steering wheel.
4. Shift your transaxle to NEUTRAL (N).
5. Release the parking brake.
NOTICE:
Make sure that the towing speed does not
exceed
55 mph (90 km/h), or your vehicle could
be badly damaged.
When you are finished towing, make sure you replace
the CLS/PCM fuse in the instrument panel fuse block.
4-30
Page 193 of 372
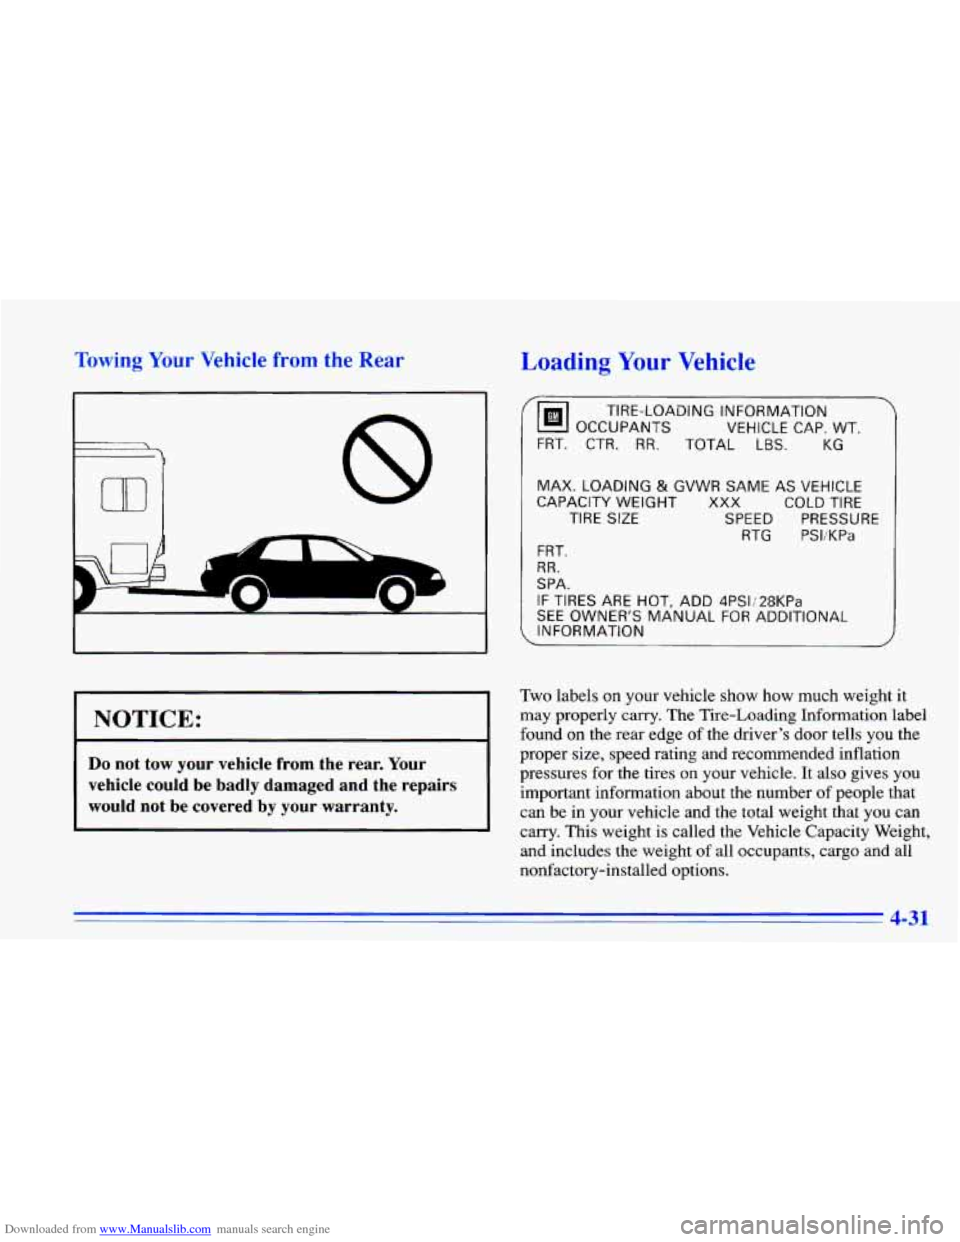
Downloaded from www.Manualslib.com manuals search engine Towing Your Vehicle from the Rear Loading Your Vehicle
NOTICE:
Do not tow your vehicle from the rear. Your
vehicle could be badly damaged and the repairs
would not be covered by your warranty.
cm OCCUPANTS VEHICLE CAP. WT.
TIRE-LOADING INFORMATION
FRT, CTR. RR. TOTAL LBS. KG
MAX. LOADING
& GVWR SAME AS VEHICLE
CAPACITY WEIGHT XXX COLD TIRE
TIRE
SIZE SPEED PRESSURE
RTG PSliKPa
FRT.
RR.
SPA.
IF TIRES ARE HOT, ADD 4PSIi28KPa
SEE OWNER'S MANUAL FOR ADDITIONAL
, INFORMATION
Two labels on your vehicle show how much weight it
may properly carry. The Tire-Loading Information label
found on the rear edge
of the driver's door tells you the
proper size, speed rating and recommended inflation
pressures for the tires on your vehicle. It also gives you
important information about the number of people that
can be in your vehicle and the total weight that you can
carry. This weight is called the Vehicle Capacity Weight,
and includes the weight
of all occupants, cargo and all
nonfactory-installed options.
4-31