1996 CHEVROLET BLAZER fuel cap
[x] Cancel search: fuel capPage 129 of 392
Downloaded from www.Manualslib.com manuals search engine If the Light Is On Steady
You may be able to correct the emission system
malfunction by considering
the following:
Did
you just put fuel into your vehicle?
If
so, reinstall the fuel cap, making sure to fully install
the cap. The diagnostic system
can determine if the fuel
cap has been left off or improperly installed. This will
allow fuel to evaporate
into the atmosphere. A few
driving trips should turn the light
off.
Have you recently changed brands of fuel?
Did
you just drive through a deep puddle of water?
If
so, your electrical system may be wet. The condition
will usually be corrected when
the electrical system
dries out. A few driving trips should turn
the light off.
Are
you low on fuel?
As your engine starts to run out of fuel, your engine
may
not run as efficiently as designed since small amounts of
air are sucked into the fuel line causing a misfire. The
system can detect this. Adding fuel should correct this
condition. Make sure
to install the fuel cap properly. It
will take a few driving trips to turn the light off. If
so, be
sure to fuel your vehicle with quality fuel (see
“Fuel” in the Index). Poor
fuel quality will cause your
engine
not to run as efficiently as designed. You may
notice this as stalling after start-up, stalling when you
put the vehicle into gear, misfiring, hesitation on
acceleration or stumbling
on acceleration. (These
conditions may go away once the engine is warmed up.)
This will be detected by the system and cause
the light
to turn on.
If you experience this condition, change the fuel brand
you use. It will require at least one full tank of the
proper fuel to turn the light off.
If none of the above steps have made the light turn off,
have your dealer or qualified service center check the
vehicle. Your dealer has the proper test equipment and
diagnostic tools
to fix any mechanical or electrical
problems that may have developed.
2-71
Page 132 of 392
Downloaded from www.Manualslib.com manuals search engine Check Gages Light
The CHECK GAGES light
will
come on briefly when
you are starting the engine.
CHECK
GAGES
If the light comes on and stays on while you are driving,
check your coolant temperature and engine oil pressure
gages to
see if they are in the warning zones.
Fuel Gage
e'
E
B9
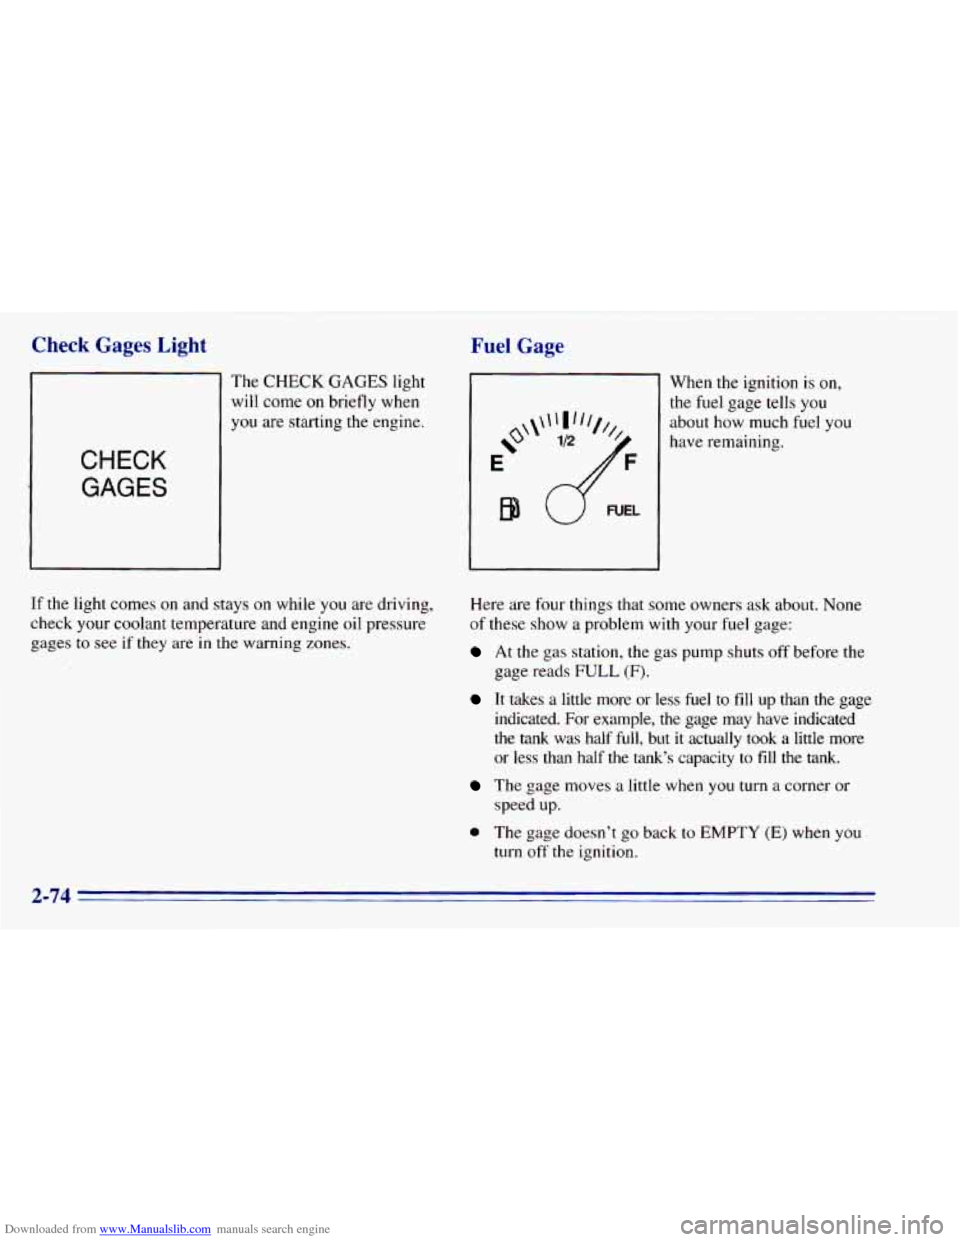
When the ignition is on,
the fuel gage tells you
about how much fuel you
have remaining,
Here are four things that some owners ask about. None
of these show a problem with
your fuel gage:
At the gas station, the gas pump shuts off before the
gage reads
FULL (F).
It takes a little more or less fuel to fill up than the gage
indicated.
For example, the gage may have indicated
the tank was half
full, but it actually took a little more
or less than half the tank's capacity to fill the tank.
The gage moves a little when you turn a corner or
speed up.
0 The gage doesn't go back to EMPTY (E) when you
turn off the ignition,
2-74
Page 198 of 392
Downloaded from www.Manualslib.com manuals search engine Loading Your Vehicle
I *
‘GVWR VR F I
PAYLOAD =-I
PSI/KPA (COL
n
SEE OWNER’S MANUAL FOR ADDITIONAL INFORMATION I U
The Certificationnire label also tells you the maximum
weights for the front and rear axles, called Gross Axle
Weight Rating (GAWR). To find out the actual loads on
your front and rear axles, you need to go to a weigh
station and weigh your vehicle. Your dealer can help
you with this. Be sure to spread out your load equally on
both sides
of the centerline.
Never exceed the GVWR for your vehicle, or the Gross
Axle Weight Rating (GAWR) for either the front or
rear axle.
If you do have a heavy load, you should spread it out.
Similar appearing vehicles may have different
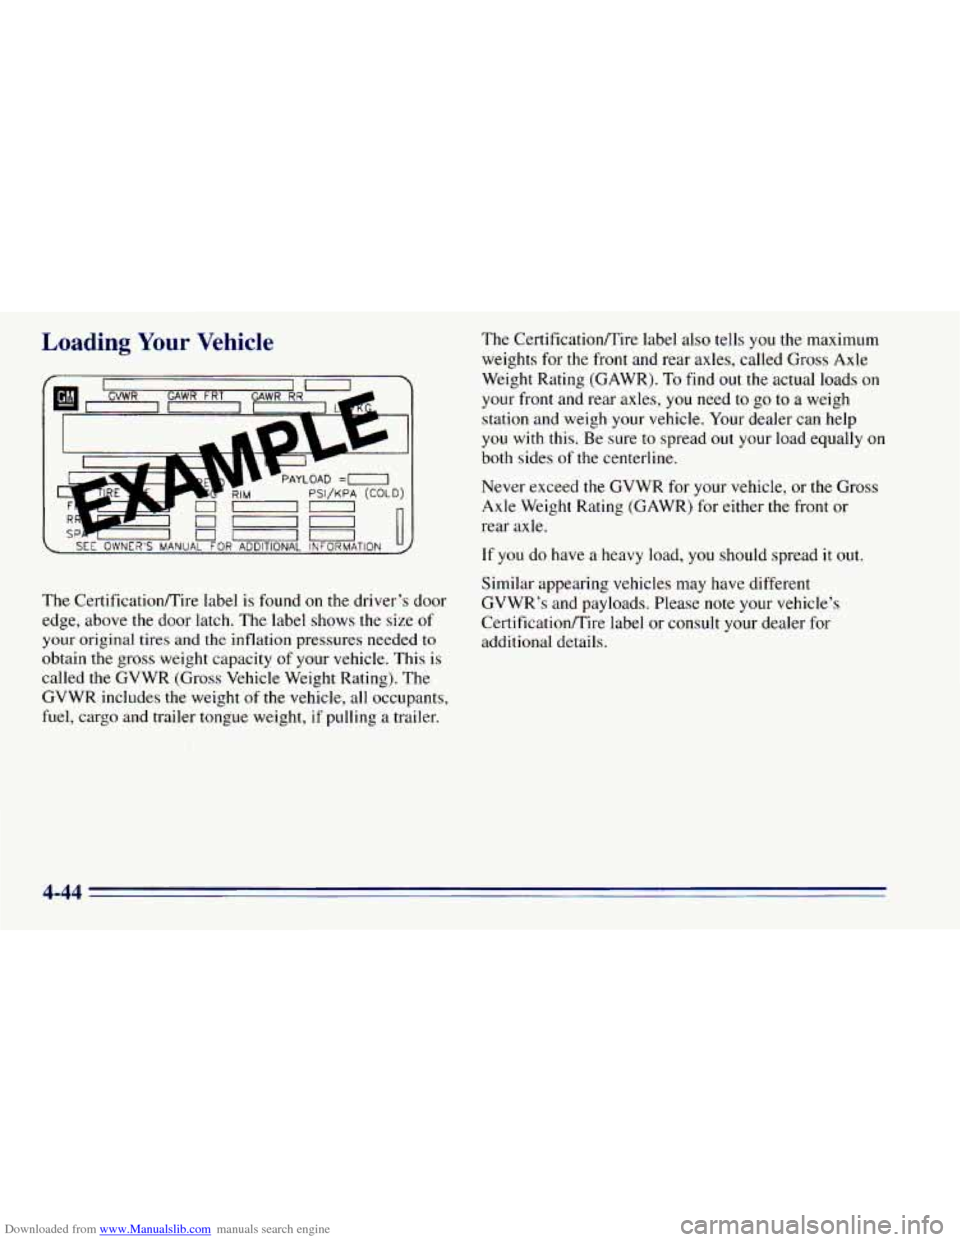
The Certificationrrire label is found on the driver’s door GVWR’s and payloads. \
Please note your vehicle’s
edge, above the door latch. The label shows the size of Certificationnire label or consult your dealer for
your
original tires and the inflation pressures needed to additional details.
obtain
the gross weight capacity of your vehicle. This is
called
the GVWR (Gross Vehicle Weight Rating). The
GVWR includes the weight of the vehicle, all occupants,
fuel, cargo and trailer tongue weight,
if pulling a trailer.
4-44
Page 253 of 392
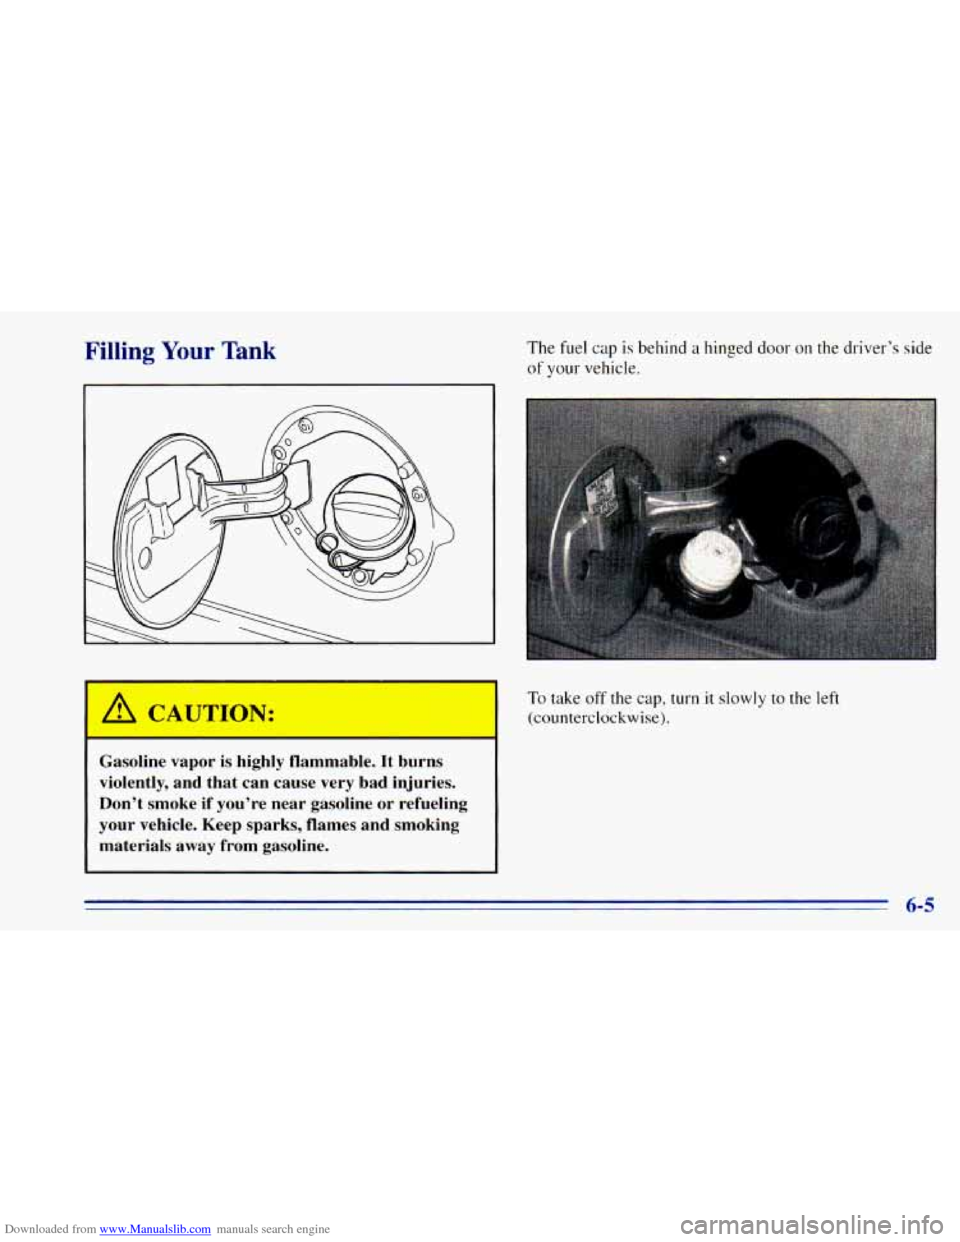
Downloaded from www.Manualslib.com manuals search engine Filling Your Tank The fuel cap is behind a hinged door on the driver’s side
of your vehicle.
To take off the cap, turn it slowly to the left
(counterclockwise).
JTION:
-
Gasoline vapor is highly flammable. It burns
violently, and that can cause very bad injuries.
Don’t smoke if you’re near gasoline or refueling
your vehicle. Keep sparks, flames and smoking
materials away from gasoline.
- 6-5
Page 254 of 392
Downloaded from www.Manualslib.com manuals search engine If you get gasoline on yourself and then
something ignites it, you could be badly burned.
Gasoline can spray out on you if you open the
fuel filler cap too quickly. This spray can happen
if your tank is nearly full, and is more likely in
hot weather. Open the fuel filler cap slowly and
wait for any “hiss” noise to stop. Then unscrew
the cap all the
way.
Be careful not to spill gasoline. Clean gasoline from
painted surfaces as soon as possible. See “Cleaning the
Outside
of Your Vehicle” in the Index. When you put the
cap back on, turn
it to the right until
you hear at least three clicks. Make sure you fully install
the cap.
The diagnostic system can determine if the fuel
cap has been left off or improperly installed. This would
allow fuel
to evaporate into the atmosphere. See
“Malfunction Indicator Lamp”
in the Index.
NOTICE:
If you need a new cap, be sure to get the right
type. Your dealer can get one for you.
If you get
the wrong type, it may not fit
or have proper
venting, and your fuel tank and emissions system
might be damaged.
6-6
Page 257 of 392
Downloaded from www.Manualslib.com manuals search engine Before closing the hood, be sure all the filler caps are on
properly. Then lift the hood
to relieve pressure on the
hood prop.
Remove the hood prop
from the slot in the hood and
return the prop to
its retainer.
Then just pull the hood down firmly
to close. It will
latch when dropped from
10 to12 inches (25 to 30 cm)
without pressing
on the hood.
Engine Oil
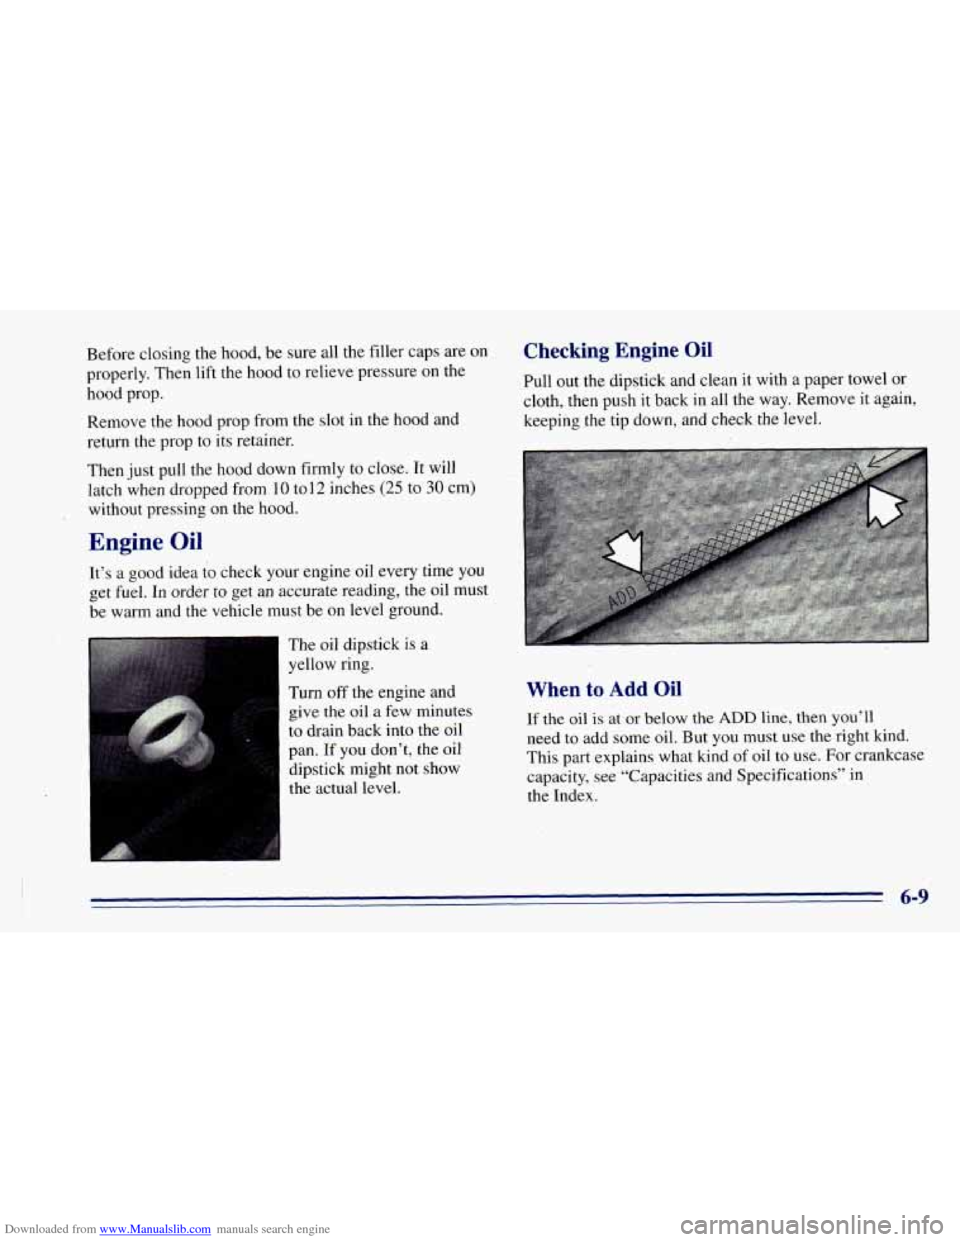
It’s a good idea to check your engine oil every time you
get fuel. In order to get an accurate reading, the oil must
be warm and the vehicle must be on level ground.
The oil dipstick is
a
yellow ring.
Turn
off the engine and
give the oil a few minutes
to drain back into the oil
pan.
If you don’t, the oil
dipstick might not show
the actual level.
Checking Engine Oil
Pull out the dipstick and clean it with a paper towel or,
cloth, then push it back in all the way. Remove it again,
keeping the tip down, and check the level.
When to Add Oil
If the oil is at or below the ADD line, then you’ll
need to add some oil. But you must use the right kind.
This part explains what kind of
oil to use. For crankcase
capacity, see “Capacities and Specifications” in
the Index.
6-9
Page 311 of 392
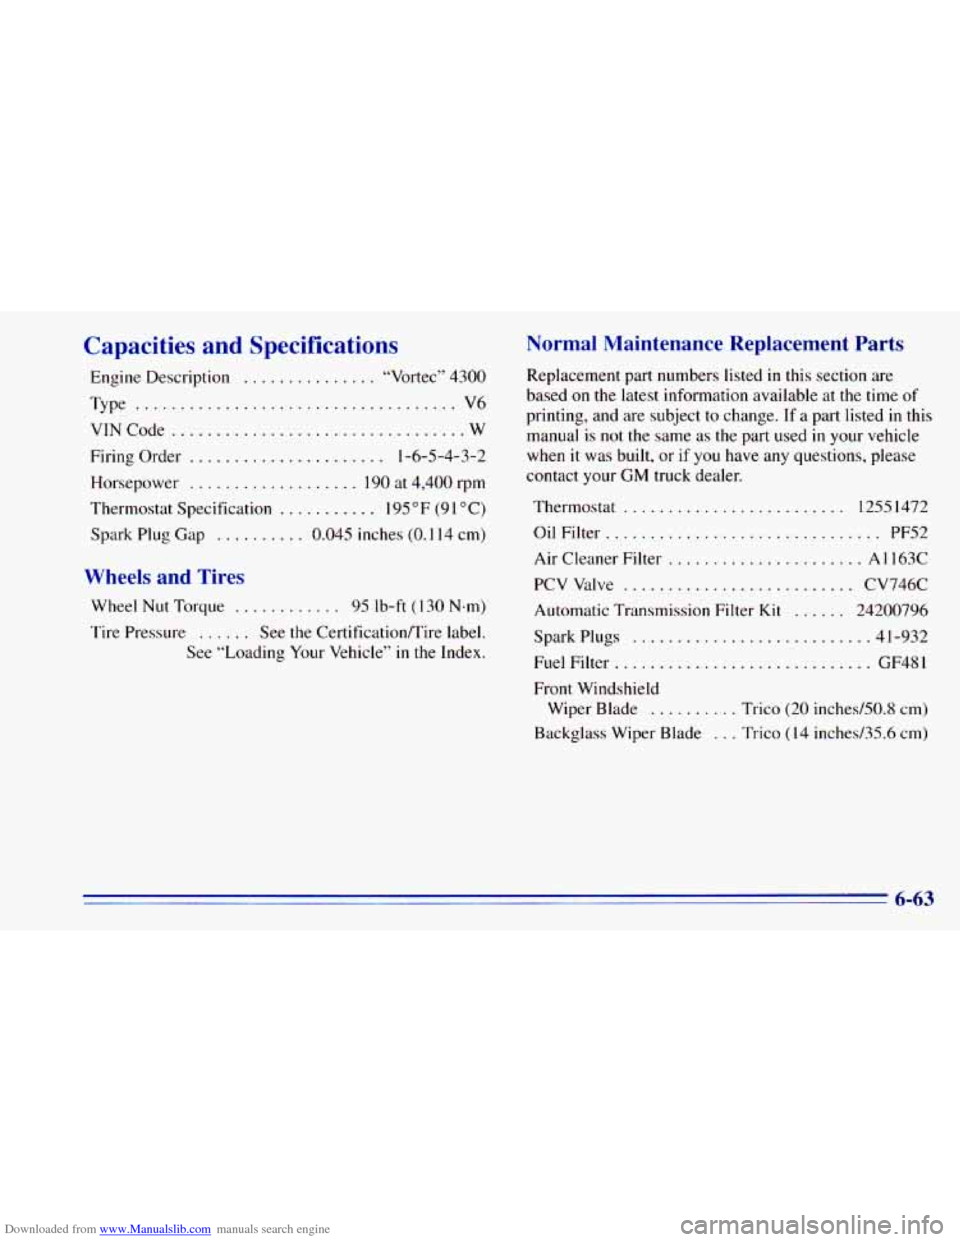
Downloaded from www.Manualslib.com manuals search engine Capacities and Specifications
Engine Description ............... “Vortec” 4300
Type
.................................... V6
VINCode
................................. W
Firing Order ...................... 1-6-5-4-3-2
Horsepower
................... 190 at 4,400 rpm
Thermostat Specification
........... 195°F (91°C)
Spark Plug Gap
.......... 0.045 inches (0.1 14 cm)
Wheels and Tires
Wheel Nut Torque ............ 95 ib-ft (130 N-m)
Tire Pressure ...... See the Certificationmire label.
See “Loading Your Vehicle”
in the Index.
Normal Maintenance Replacement Parts
Replacement part numbers listed in this section are
based on the latest information available at the time of
printing, and are subject to change.
If a part listed in this
manual is not the same as the part used
in your vehicle
when
it was built, or if you have any questions, please
contact your GM truck dealer.
Thermostat
... ... ......... 12551472
Oil Filter..
............................. PF52
Air Cleaner Filter .................. A 1 163C
PCV Valve
.......................... CV746C
Automatic Transmission Filter Kit
...... 24200796
Spark Plugs
.......................... .41-932
Fuel Filter
............................. GF48 1
Front Windshield
Wiper Blade
........ Trico (20 inched50.8 cm)
Backglass Wiper Blade
... Trico (14 inched35.6 cm)
6-63
Page 312 of 392
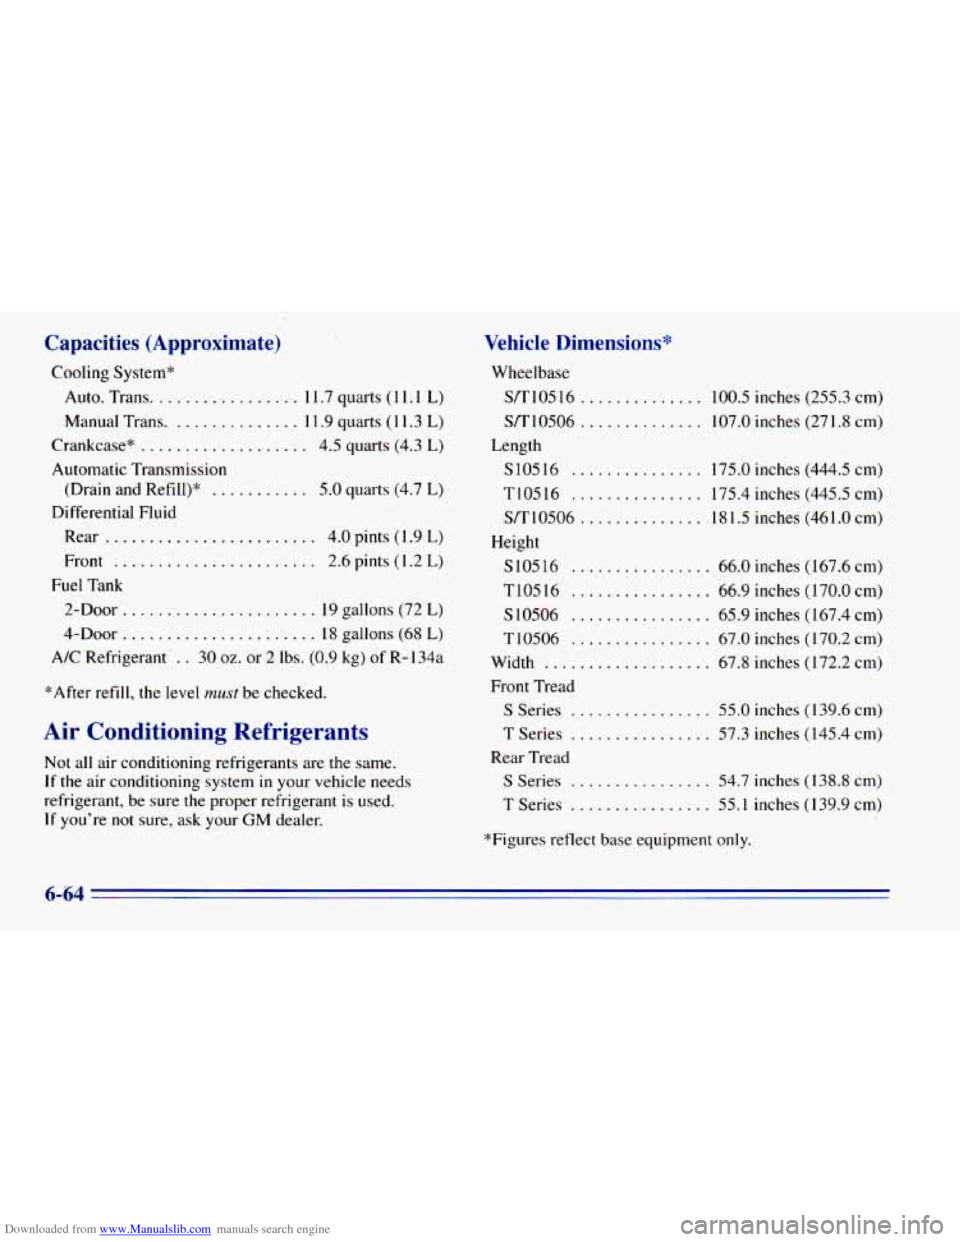
Downloaded from www.Manualslib.com manuals search engine Capacities (Approximate)
Cooling System"
Auto. Trans.
................ 11.7 quarts (1 1.1 L)
Manual Trans. .............. 11.9 quarts (1 1.3 L)
Crankcase*
................... 4.5 quarts (4.3 L)
Automatic Transmission
(Drain and Refill)*
........... 5.0 quarts (4.7 L)
Differential Fluid
Rear
...........
Front ............ ....... 2.6 pints (1.2 L)
2-Door.. .................... 19 gallons (72 L)
4-Door.. .................... 18 gallons (68 L)
A/C Refrigerant. .. 30 oz. or 2 Ibs. (0.9 kg) of R- 134a
Fuel Tank
*After refill, the level
must be checked.
Air Conditioning Refrigerants
Not all air conditioning refrigerants are the same.
If the air conditioning system in your vehicle needs
refrigerant, be sure the proper refrigerant is used.
Jf you're not sure, ask your GM dealer.
Vehicle Dimensions*
Wheelbase
Sl"10516
.............. 100.5 inches (255.3 cm)
Sl"10506
............ 107.0 inches (271.8 cm)
S10516
............. 175.0 inches (444.5 cm)
TI0516
............... 175.4 inches (445.5 cm)
S/T10506
.............. ,181.5 inches (461.0 cm)
Length
Height S10516
....... ..... 66.0 inches (167.6 cm)
T10516
..... ... 66.9 inches (170.0 cm)
S 10506 ............ 65.9 inches (167.4 cm)
T10506
................ 67.0 inches (170.2 cm)
Width
................... 67.8 inches (172.2 cm)
Front Tread
S Series ................ 55.0 inches (139.6 cm)
T Series
................ 57.3 inches (145.4 cm)
Rear Tread
S Series ................ 54.7 inches (138.8 cm)
T Series
................ 55.1 inches (139.9 cm)
*Figures reflect base equipment only.
6-64