Page 95 of 392

Downloaded from www.Manualslib.com manuals search engine ,
As you signal a turn or a’lane change, if the arrows don’t
flash but just stay on, a signal bulb may be burned out
and other drivers won’t see your turn signal.
accident. If the arrows
don’t go on at all when you
signal a turn, check the fuse (see “Fuses and Circuit
Breakers” in the Index) and for burned-out bulbs.
If you have a trailer towing option with added wiring for
the trailer lamps, a different turn signal flasher is used.
With this flasher installed, the signal indicator will flash
even if a turn signal bulb is burned out. Check the front
and rear turn signal lamps regularly
to make sure they
are working.
,- If a bulb is burned out, replace it to help avoid an
Headlamp High/Low Beam Changer
Toxhange the headlamps from low-beam to high or
high to low, pull the multifunction lever all the
way
toward you. Then release it.
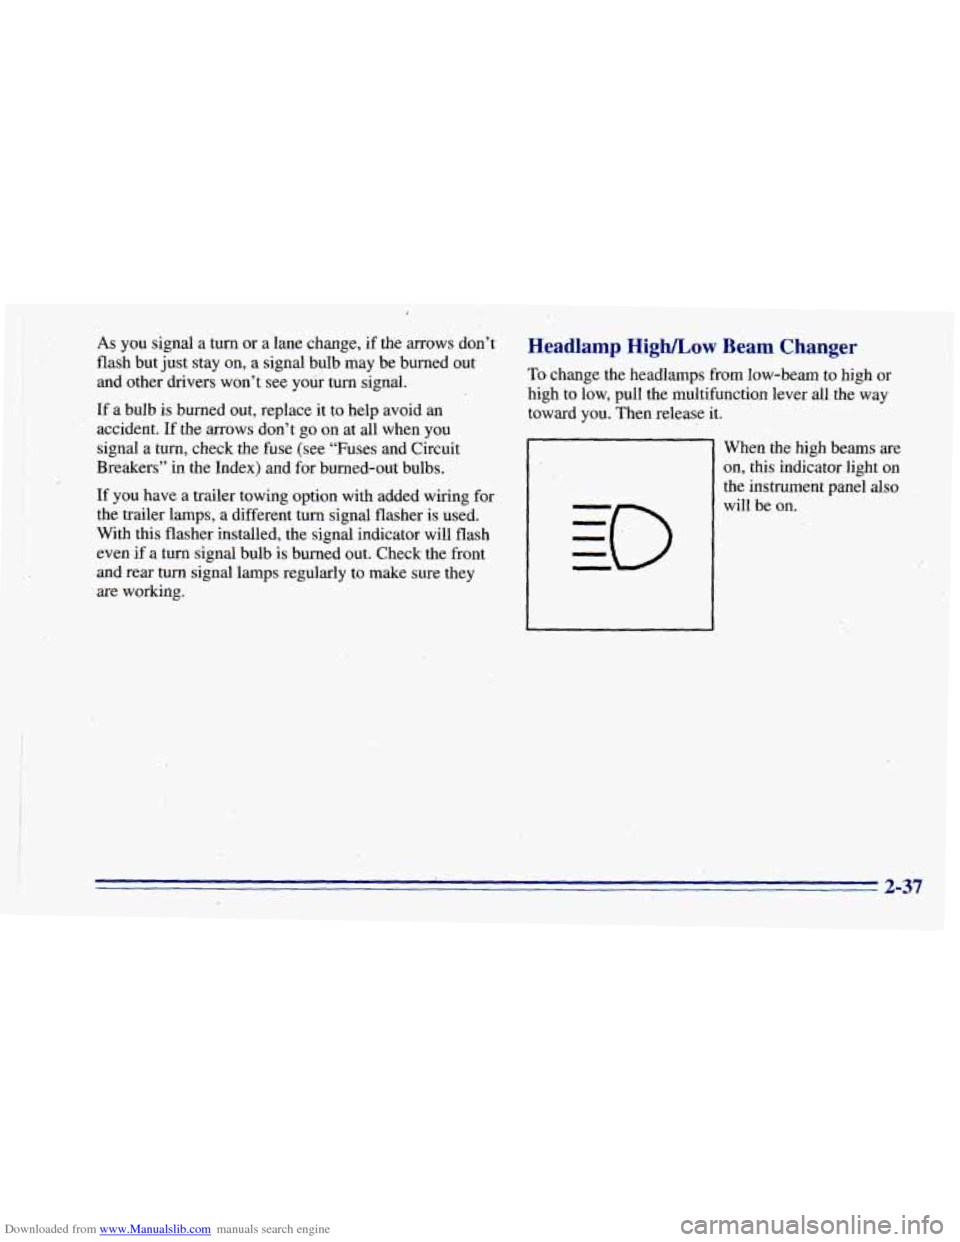
When the high beams are
on, this indicator light on
the instrument panel also
will be
on.
2-37
Page 131 of 392
Downloaded from www.Manualslib.com manuals search engine Shift Light
SHIFT
You have the shift light if
you have a manual
transmission. This light
comes on very briefly as
a
bulb check when you start
the engine. Shifting when
the indicator light
is on will
help you get the best fuel
economy. See “Shift Light”
in the Index.
Daytime Running Lamps Indicator Light
You have this light on the
instrument panel.
It goes on whenever the
DRL are
on, the ignition
is on, the headlamp switch
is
off and the parking brake
is released.
2-73
Page 207 of 392

Downloaded from www.Manualslib.com manuals search engine Making lhrns
NOTICE:
Making very sharp turns while trailering could
cause the trailer to come in contact with the
vehicle. Your vehicle could
be damaged. Avoid
making very sharp turns while trailering.
When you’re turning with a trailer, make wider turns than
normal.
Do this so your trailer won’t strike soft shoulders,
curbs, road signs, trees or other objects. Avoid jerky or
sudden maneuvers. Signal well in advance.
Turn Signals When Towing a Trailer
When you tow a trailer, your vehicle has to have extra
wiring and a heavy-duty turn signal flasher (included
in
the optional trailering package).
The green arrows
on your instrument panel will flash
whenever you signal a turn or lane change. Properly
hooked up, the trailer lamps will also
flash, telling other
drivers you’re about to turn, change lanes or stop.
When towing a trailer, the green arrows
on your
instrument panel will flash for turns
even if the bulbs on
the trailer are burned out. Thus, you may think drivers
behind
you are seeing your signal when they are not. It’s
important
to check occasionally to be sure the trailer
bulbs are still working.
Driving On Grades
Reduce speed and shift to a lower gear before you start
down a long or steep downgrade.
If you don’t shift
down,
you might have to use your brakes so much that
they would get hot and
no longer work well.
4-53
Page 280 of 392

Downloaded from www.Manualslib.com manuals search engine Battery
Every new vehicle has a Delco Freedom@ battery. You
never have
to add water to one of these. When it’s time
for a new battery, we recommend a Delco Freedom
battery. Get one
that has the replacement number shown
on the original battery’s label.
Vehicle Storage
If you’re not going to drive your vehicle for 25 days
or more, take off the black, negative
(-) cable from
the battery. This will help keep your battery from
running down.
A CAUTION:
Contact your dealer to learn how to prepare your vehicle
for longer storage periods.
Also, for your audio system, see “Theft-Deterrent
Feature” in the Index.
Bulb Replacement
Before you replace any bulbs, be sure that all the lamps
are off and the engine isn’t running. See “Replacement
Bulbs” in the Index.
Halogen Bulbs
IQCAUTION: -7
Batteries have acid that can burn you and gas
that can explode. You can be badly hurt if you
aren’t careful. See “Jump Starting” in the Index
for tips on working around
a battery without
getting hurt, Halogen bulbs have pressurized gas inside
and
can burst if you drop or scratch the bulb. You or
others could be injured. Be sure to read and
follow the instructions on the bulb package.
6-32
Page 282 of 392
Downloaded from www.Manualslib.com manuals search engine Composite Headlamps
1. Open the hood. removal pins at the top
of the radiator support.
Use a hex socket
to
unscrew the pins.
3. Pull the headlamp lens
assembly out. (Some
vehicles may have
side-by-side bulbs.)
~ ~ ~~~
4. Unplug the electrical connector.
6-34
Page 283 of 392
Downloaded from www.Manualslib.com manuals search engine 5. Turn the bulb
counterclockwise to remove it.
6. Put the new bulb into the headlamp lens assembly
and turn it clockwise until it is tight.
7. Plug in the electrical connector.
8. Put the headlamp lens assembly back into the
vehicle. Install and tighten the screws.
Front Turn Signal Lamps
If you have fog lamps, the fog lamp bracket must
be removed before you can replace the front turn
signal lamps.
.
1. Reach under the bumper and behind the turn signal
2. Turn the socket counterclockwise and pull it out.
3. Holding the base of the bulb, pull the bulb straight
lamp
assembly.
out of the socket.
4. Push the new bulb into the socket until it clicks.
5. Put the socket back into the turn signal lamp
assembly and turn it clockwise until
it locks in place.
6-35
Page 284 of 392
Downloaded from www.Manualslib.com manuals search engine Front Sidemarker Lamps
1. Remove the lens retaining screws.
2. Remove the sidemarker lens from the radiator grille.
3. Turn the bulb and socket one-quarter turn
4. Remove the bulb and socket from the lens.
5. Install the new bulb and socket to the sidemarker lens.
6. Rotate the bulb and socket one-quarter turn clockwise.
7. Install the sidemarker lens to the radiator grille.
8. Insert the tabs into the locators.
counterclockwise.
9. Install and
tighten the screws.
Taillamps
1. Open the endgate.
2. Remove the two screws
from the lamp assembly.
3. Pull the assembly away from me fender.
4. Turn the socket counterclockwise to remove it. Push
the tab
in while you turn the socket
counterclockwise.
5. Holding the base of the bulb, pull the bulb straight
out of the socket.
6. Push the new bulb straight into the socket until
it clicks.
6-36
Page 285 of 392

Downloaded from www.Manualslib.com manuals search engine 7. Put the socket into the lamp assembly and turn the
socket clockwise until it locks
in place.
8. Install the lamp assembly and screws.
9. Close the endgate.
Underhood Lamp
1. Disconnect the electrical connector from the
underhood lamp assembly.
2. Remove the screws.
3. Disconnect the ground wire.
4. Remove the lamp assembly from the hood.
5. Install the new bulb.
6. Replace the assembly. Install and tighten the screws.
7. Connect the ground wire.
8. Connect the electrical connector to the lamp assembly.
Front Reading Lamps
1. Use a coin or small screwdriver to unscrew the
center of the overhead console lamp lens while
pressing in on the lamp assembly.
2. Remove the lamp assembly from the console.
3. Remove the bulb assembly from the lamp assembly.
4. Pull the bulb straight out of the base.
5. Put a new bulb into the bulb base.
6. Install the bulb assembly into the lamp assembly.
7. Place the lamp assembly into the console, turning it
8. Install the lens. to latch
it in place.
6-37