1996 CHEVROLET BLAZER turn signal
[x] Cancel search: turn signalPage 188 of 392
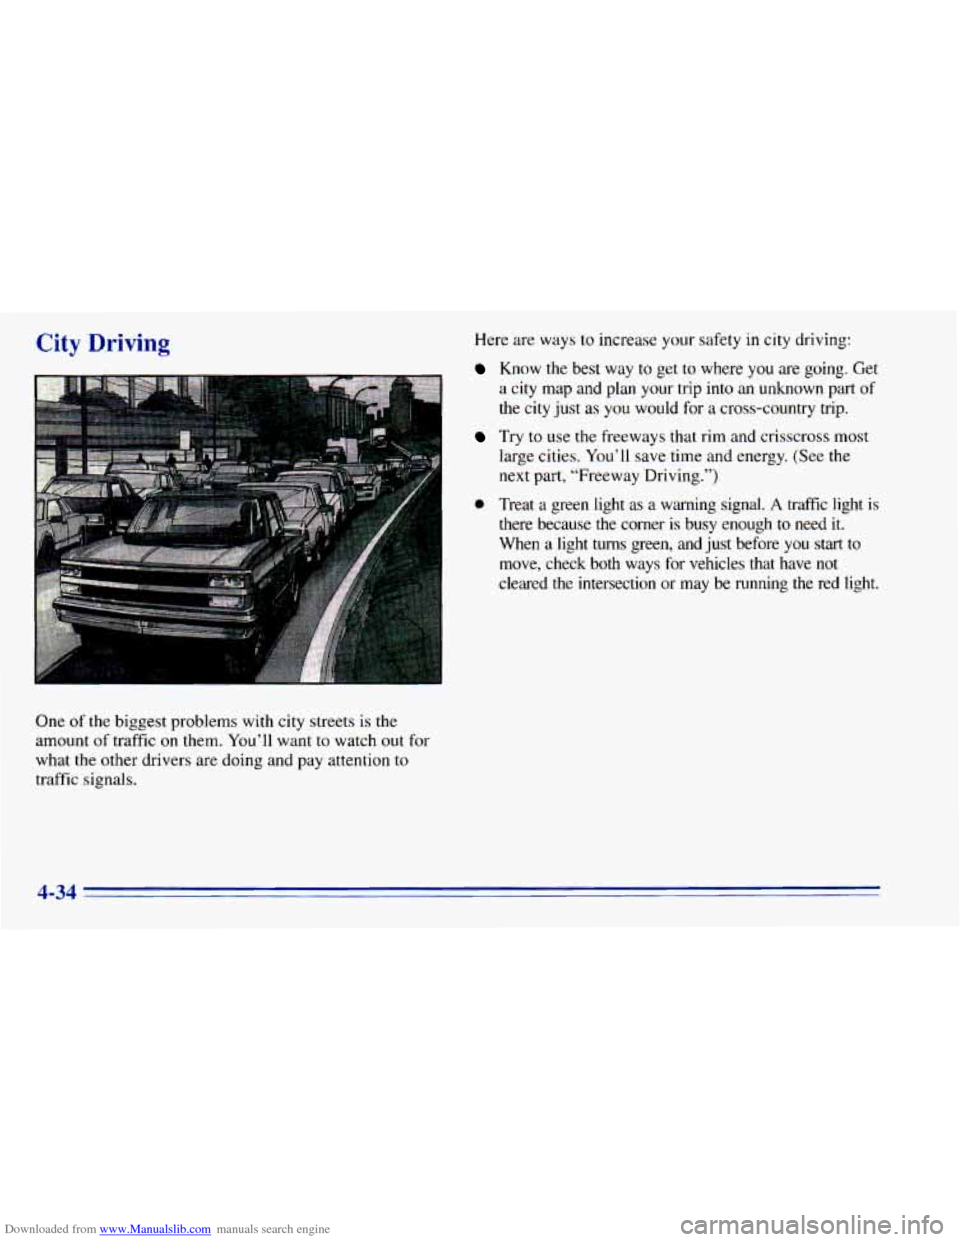
Downloaded from www.Manualslib.com manuals search engine One of the biggest problems with city streets is the
amount of traffic on them. You’ll want to watch out for
what the other drivers are doing and pay attention to
traffic signals. Here
are ways
to increase your safety in city driving:
Know the best way to get to where you are going. Get
a city map and plan your trip into an unknown part of
the city just as you would for a cross-country trip.
Try to use the freeways that rim and crisscross most
large cities. You’ll save time and energy. (See the
next part, “Freeway Driving.”)
0 Treat a green light as a warning signal. A traffic light is
there because the corner is busy enough to need it.
When a light turns green, and just before you start to
move, check both ways for vehicles that have
not
cleared the intersection or may be running the red light.
4-34
Page 189 of 392
Downloaded from www.Manualslib.com manuals search engine Freeway Driving The most important advice on freeway driving is: Keep
up with traffic and keep to the right. Drive at the same
speed most
of the other drivers are driving. Too-fast or
too-slow driving breaks a smooth traffic flow. Treat
the
left lane on a freeway as a passing lane.
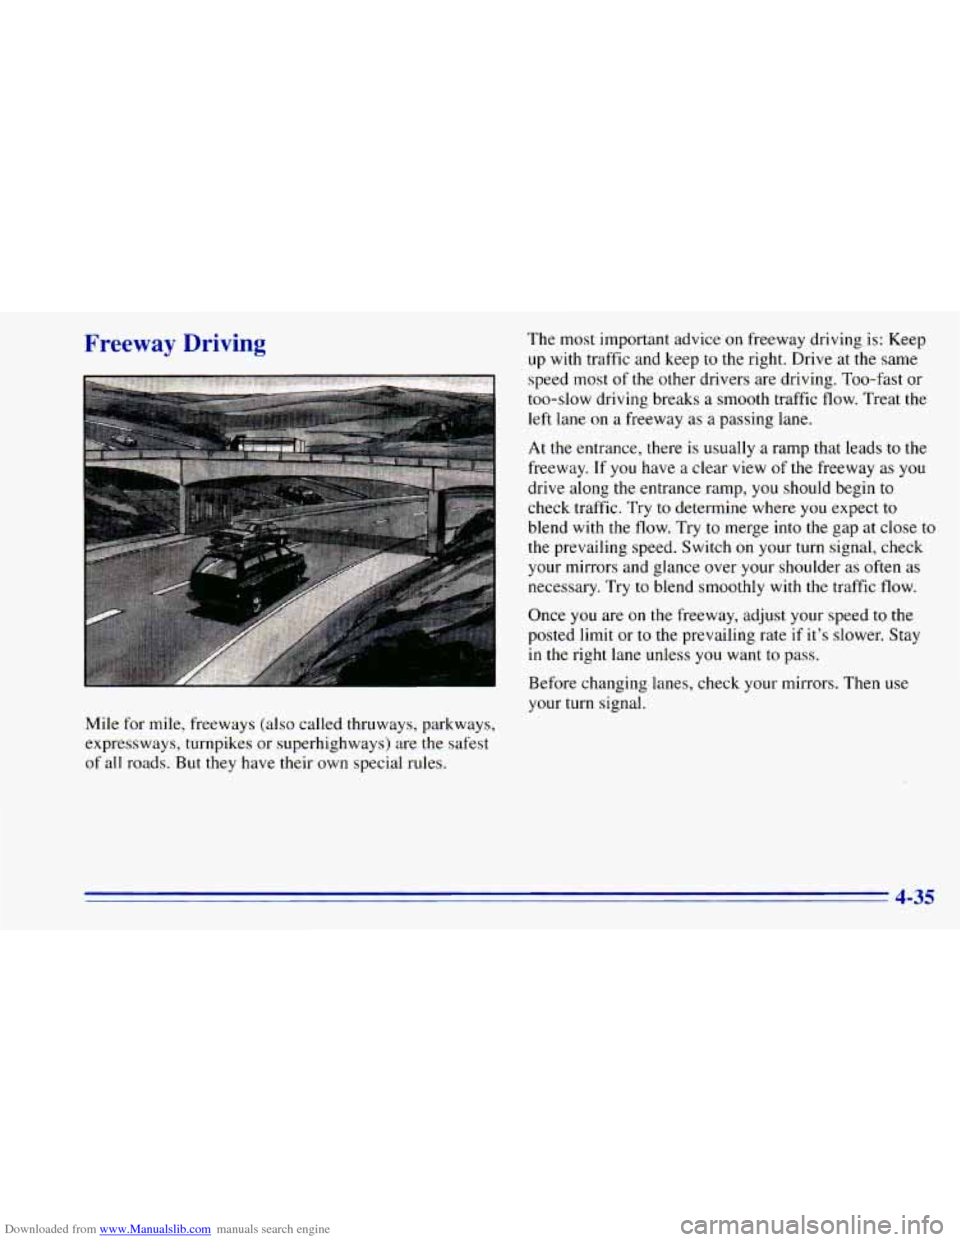
At the entrance, there is usually a ramp that leads to the
freeway. If
you have a clear view of the freeway as you
drive along the entrance ramp, you should begin to
check traffic. Try to determine where
you expect to
blend with the
flow. Try to merge into the gap at close to
the prevailing speed. Switch
on your turn signal, check
~ your mirrors and glance over your shoulder as often as
necessary. Try
to blend smoothly with the traffic flow.
Once
you are on the freeway, adjust your speed to the
posted limit or to the prevailing rate if it’s slower. Stay
in the right lane unless you want to pass.
Before changing lanes, check your mirrors. Then use
your turn signal.
Mile for mile, freeways (also called thruways, parkways,
expressways, turnpikes or superhighways) are
the safest
of
all roads. But they have their own special rules.
4-35
Page 197 of 392
Downloaded from www.Manualslib.com manuals search engine Run your engine only as long as you must. This saves
fuel. When
you run the engine, make it go a little faster
than just idle. That
is, push the accelerator slightly. This
uses less fuel for the heat that
you get and it keeps the
battery charged. You will need a well-charged battery
to
restart the vehicle, and possibly for signaling later on
with your headlamps. Let the heater run for awhile.
Then, shut the engine off and close the window almost
all
the way to preserve the heat. Start the engine again
and repeat this
only when you feel really uncomfortable
from the cold. But
do it as little as possible. Preserve the
fuel as long as you can. To help keep warm, you can get
out
of the vehicle and do some fairly vigorous exercises
every half hour or
so until help comes.
Recreational Vehicle Towing
(Four-wheel Drive Only)
1. Set the parking brake firmly.
2. Place an automatic transmission in PARK (P) or a
manual transmission
in FIRST (1).
3. Firmly attach the vehicle being towed to the tow
vehicle.
Do not tow the vehicle by the rear bumper
bar. Refer to the hitch manufacturer’s instructions.
4. Place the transfer case shift lever in NEUTRAL (N).
Recreational vehicle towing is not recommended for
vehicles with
the optional electronic shift transfer
case or all-wheel drive because the transfer cases
have
no neutral position.
Shifting the transfer case into NEUTRAL (N) can
cause your vehicle to roll even if the transmission
is in PARK (P), for an automatic transmission,
or if your vehicle is in gear, for a manual
transmission. This is because the transfer case
overrides the transmission.
5. Release the parking brake only after the vehicle
being towed is firmly attached to the tow vehicle.
6. Insert the ignition key into the ignition switch and
turn it
one notch forward of the LOCK position. This
places the key
in the OFF position, which unlocks
the steering column while preventing battery drain.
Unlocking the steering column will allow for proper
movement
of the front wheelshires during towing.
4-43
Page 207 of 392
Downloaded from www.Manualslib.com manuals search engine Making lhrns
NOTICE:
Making very sharp turns while trailering could
cause the trailer to come in contact with the
vehicle. Your vehicle could
be damaged. Avoid
making very sharp turns while trailering.
When you’re turning with a trailer, make wider turns than
normal.
Do this so your trailer won’t strike soft shoulders,
curbs, road signs, trees or other objects. Avoid jerky or
sudden maneuvers. Signal well in advance.
Turn Signals When Towing a Trailer
When you tow a trailer, your vehicle has to have extra
wiring and a heavy-duty turn signal flasher (included
in
the optional trailering package).
The green arrows
on your instrument panel will flash
whenever you signal a turn or lane change. Properly
hooked up, the trailer lamps will also
flash, telling other
drivers you’re about to turn, change lanes or stop.
When towing a trailer, the green arrows
on your
instrument panel will flash for turns
even if the bulbs on
the trailer are burned out. Thus, you may think drivers
behind
you are seeing your signal when they are not. It’s
important
to check occasionally to be sure the trailer
bulbs are still working.
Driving On Grades
Reduce speed and shift to a lower gear before you start
down a long or steep downgrade.
If you don’t shift
down,
you might have to use your brakes so much that
they would get hot and
no longer work well.
4-53
Page 210 of 392
Downloaded from www.Manualslib.com manuals search engine Maintenance When Trailer Towing
Your vehicle will need service more often when you’re
pulling
a trailer. See the Maintenance Schedule for more
on this. Things that are especially important in trailer
operation are automatic transmission fluid (don’t
overfill), engine oil, axle lubricant, belt, cooling system
and brake adjustment. Each of these is covered
in this
manual, and the Index will help you find them quickly.
If you’re trailering, it’s a good idea to review these
sections before you start your trip.
Check periodically to see that all hitch nuts and bolts
are tight.
Trailer Wiring Harness
The light duty trailer wiring is a six-wire harness
assembly. The heavy duty trailer wiring is an eight-wire
harness assembly. The harnesses are stored under
the
vehicle, along the passenger-side frame crossmember on
two-door vehicles or on the driver’s side corner frame
crossmember
on four-door vehicles. The heavy duty
trailer wiring has a 30-amp feed wire with an inline fuse
located by the junction block. See “Fuses and Circuit
Breakers” in
the Index. Both harnesses have no
connector and should be wired
by a qualified electrical technician. The technician can
use the following color code chart when connecting the
wiring harness
to your trailer.
0
0
0
0
0
0
0
0
DARK BLUE: Use for electric trailer brakes or
auxiliary wiring.
RED: Use for battery charging; it connects to the
starter solenoid (eight-wire harness
only).
LIGHT GREEN: Back-up lamps (eight-wire
harness only).
BROWN: Taillamps and parking lamps.
YELLOW Left stoplamp and turn signal.
DARK GREEN: Right stoplamp and turn signal.
WHITE (Heavy Gage): Ground wire.
WHITE (Light Gage): Auxiliary stoplamp.
Securely attach the harness
to the trailer, then tape or
strap it to your vehicle’s frame rail. Be sure you leave
it loose enough
so the wiring doesn’t bend or break,
but
not so loose that it drags on the ground. Store the
harness in its original place. Wrap the harness together
and
tie it neatly so it won’t be damaged.
4-56
Page 213 of 392
Downloaded from www.Manualslib.com manuals search engine Section 5 Problems on the Road
Here you’ll find what to do about some problems that
can occur on the road.
Hazard Warning Flashers
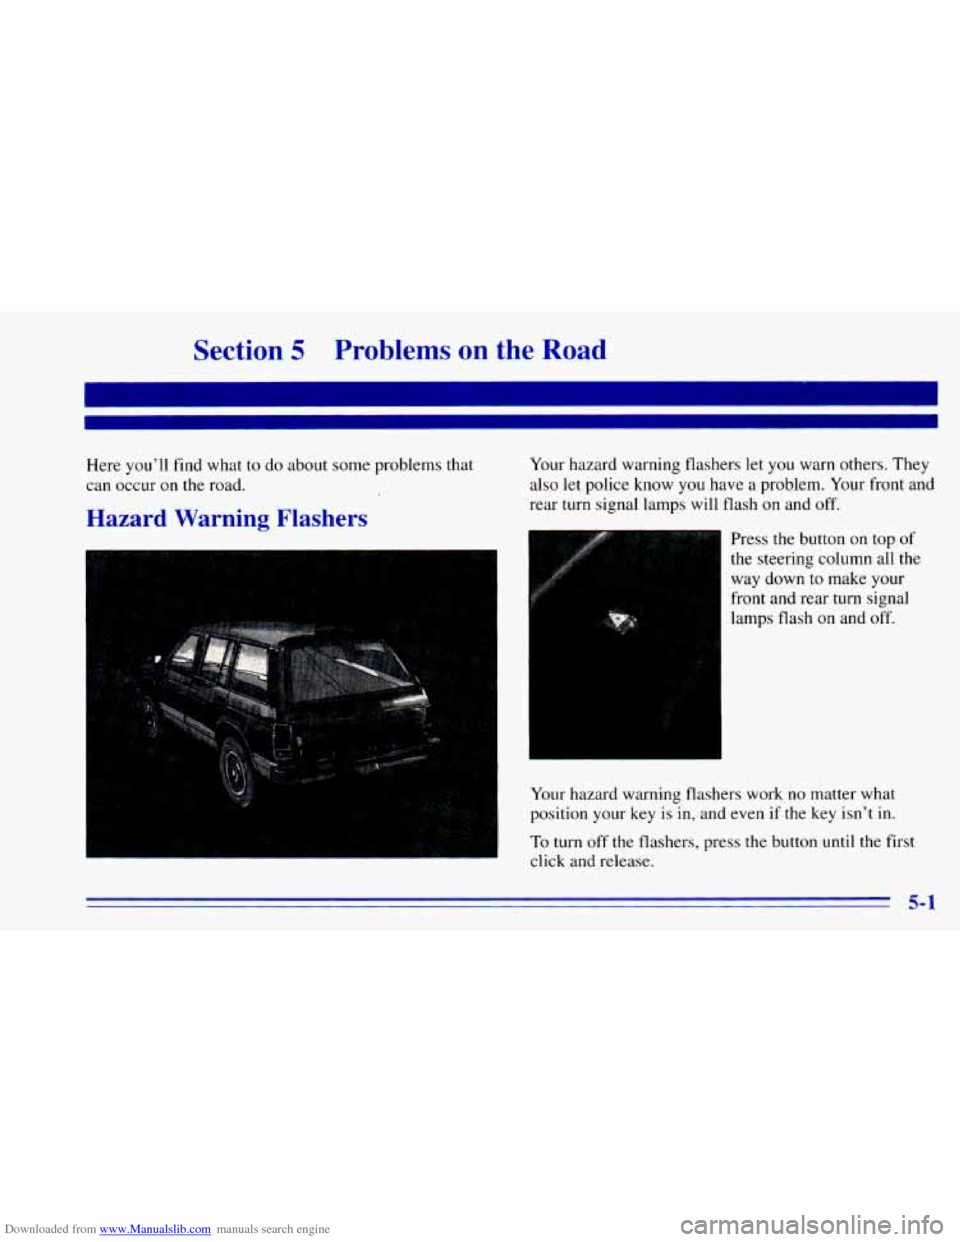
Your hazard warning flashers let you warn others. They
also let police know you
have a problem. Your front and
rear turn signal lamps will flash on and off.
Press the button
on top of
the steering column all the
way down to make your
front and rear turn signal
lamps flash on and off.
Your hazard warning flashers work
no matter what
position your key is in, and even if the key isn’t in.
To turn off the flashers, press the button until the first
click and release.
5-1
Page 214 of 392
Downloaded from www.Manualslib.com manuals search engine When the hazard warning flashers are on, your turn
signals won’t work. The flashers will stop if
you step
on the brake.
Other Warning Devices
If you carry reflective triangles, you can set one up
at the side of the road about 300 feet (100 m) behind
your vehicle.
Jump Starting
If your battery has run down, you may want to use
another vehicle and
some jumper cables to start your
vehicle.
But please use the following steps to do it safely.
NOTICE:
Ignoring these steps could result in costly damage
to your vehicle that wouldn’t be covered by
your warranty.
Do not try to start your vehicle by pushing or
pulling it. This could damage your vehicle, even
if
you have a manual transmission. And if you have
an automatic transmission, it won’t start that
way.
I
Batteries can hurt you. They can be
dangerous because:
They contain acid that can burn you.
They contain gas that can explode or ignite.
They contain enough electricity to burn you.
If you don’t follow these steps exactly, some or
all
of these things can hurt you.
1. Check the other vehicle. It must have a 12-volt
battery with
a negative ground system.
I NOTICE:
If the other system isn’t a 12-volt system with a
negative ground, both vehicles can be damaged.
5-2
Page 283 of 392
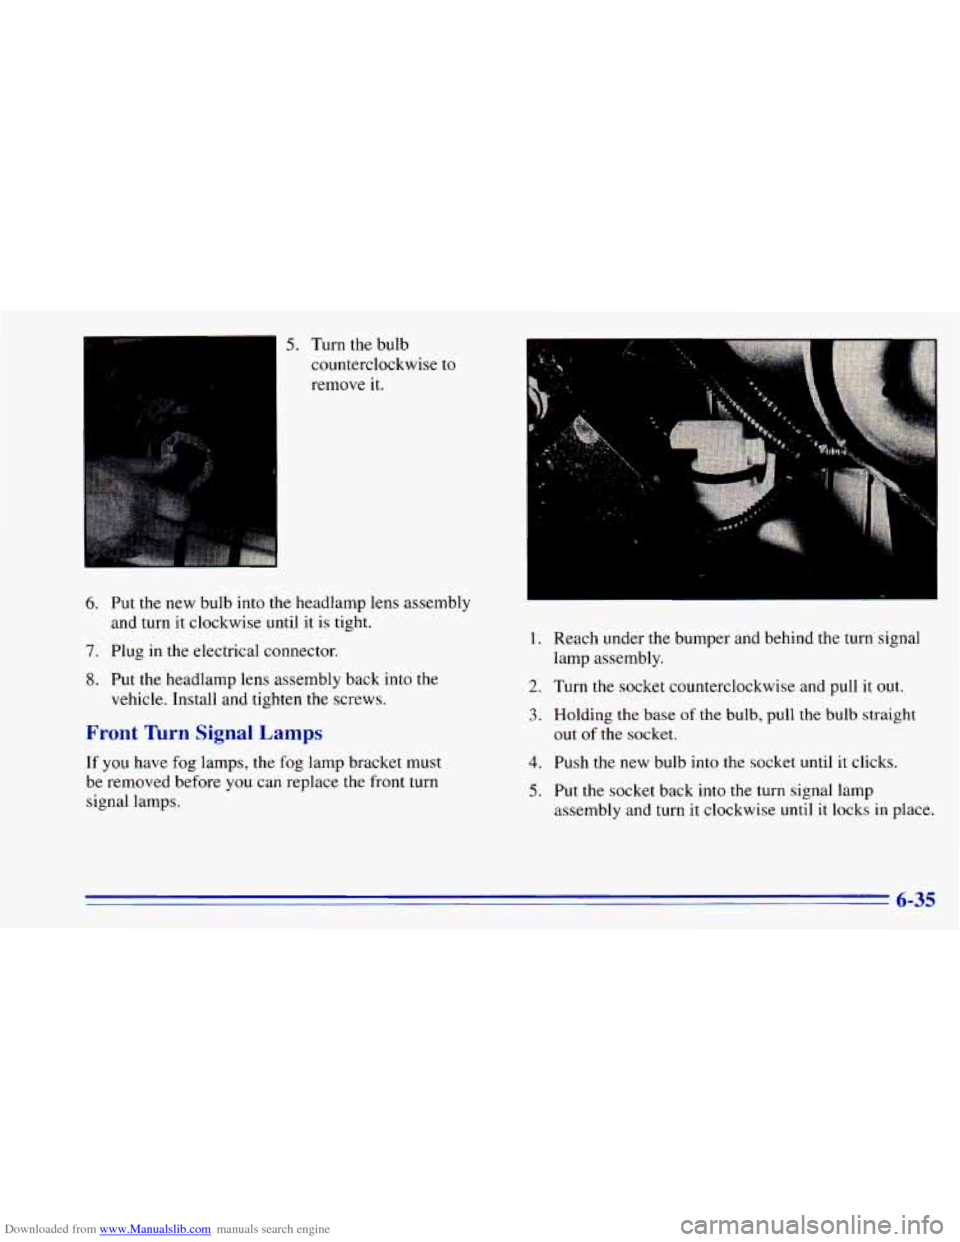
Downloaded from www.Manualslib.com manuals search engine 5. Turn the bulb
counterclockwise to remove it.
6. Put the new bulb into the headlamp lens assembly
and turn it clockwise until it is tight.
7. Plug in the electrical connector.
8. Put the headlamp lens assembly back into the
vehicle. Install and tighten the screws.
Front Turn Signal Lamps
If you have fog lamps, the fog lamp bracket must
be removed before you can replace the front turn
signal lamps.
.
1. Reach under the bumper and behind the turn signal
2. Turn the socket counterclockwise and pull it out.
3. Holding the base of the bulb, pull the bulb straight
lamp
assembly.
out of the socket.
4. Push the new bulb into the socket until it clicks.
5. Put the socket back into the turn signal lamp
assembly and turn it clockwise until
it locks in place.
6-35