Page 272 of 372

Windshield Wiper Blade Replacement
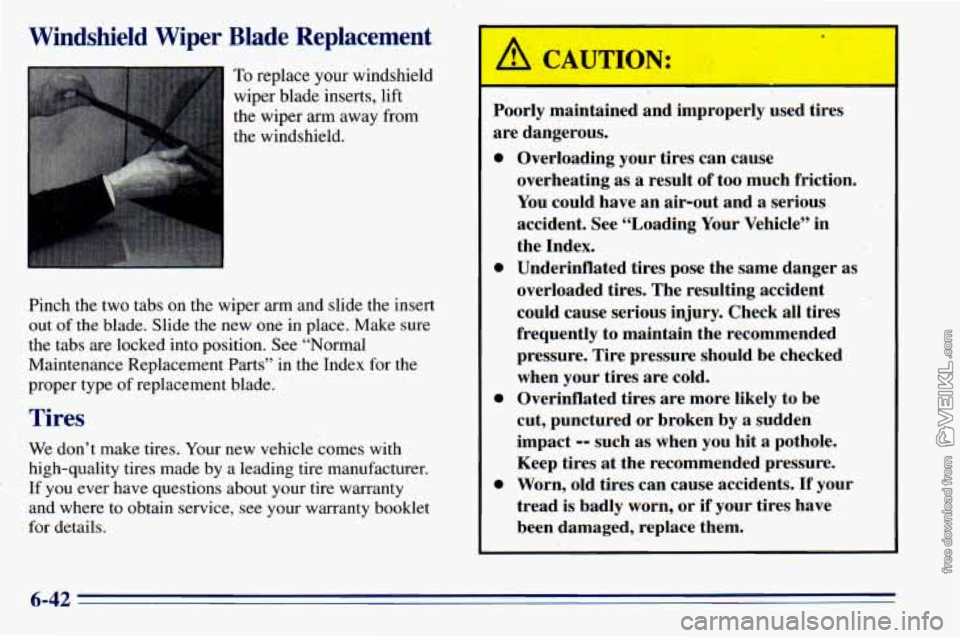
To replace your windshield
wiper blade ‘inserts, lift
the wiper arm away‘from
the windshield.
Pinch the two tabs on the wiper arm and slide
the ins1 ert
out of the blade. Slide the new one in place. Make sure
the tabs are locked into position. See “Normal
Maintenance Replacement
Parts” in the Index for the
proper type of replacement blade.
Tires
We don’t make tires. Your new vehicle comes with
high-quality tires made by a leading tire manufacturer.
‘ If you ever have questions about your tire warranty
and where to obtain service,
see your wai-ranty booklet
for details.
A CAUTION:
0
0
0
0
I
Poorly maintained and improperly used tires
are dangerous.
Overloading your tires can cause
overheating as a result of too much friction.’
You could have an air-out and a serious
accident. See “Loading Your Vehicle” in
the Index.
Underinflated tires pose the same danger as
overloaded tires. The resulting accident could cause serious injury. Check all tires
frequently to maintain the recommended
pressure. Tire pressure should be checked
when your tires are cold.
Overinflated tires are more likely to be
cut, punctured or broken by a sudden
impact
-- such as When you hit a pothole.
Keep tires
at the recommended pressure.
Worn, old tires can cause accidents.
If your
tread
is badly worn, or if your tires have
been damaged, replace them.
6-42
Page 291 of 372

Fuses and Circuit Breakers
The wiring circuits in your vehicle are protected from
short circuits by a combination
of fuses, circuit breakers
and fusible thermal links. This greatly reduces the
chance of fires caused by electrical problems.
Look at the silver-colored band inside the fuse. If the
band is broken or melted, replace the fuse. Be sure you
replace a bad fuse with a new one
of the identical size
and rating.
If you ever have a problem
on the road and don’t have a
spare fuse,
you can borrow one that has the same
amperage. Just pick some feature of your vehicle that
you can get along without -- like the radio or cigarette
lighter
-- and use its fuse, if it is the correct amperage.
Replace it
as soon as you can.
There are two fuse blocks in your vehicle: one
is inside
the vehicle and one
is in the engine compartment.
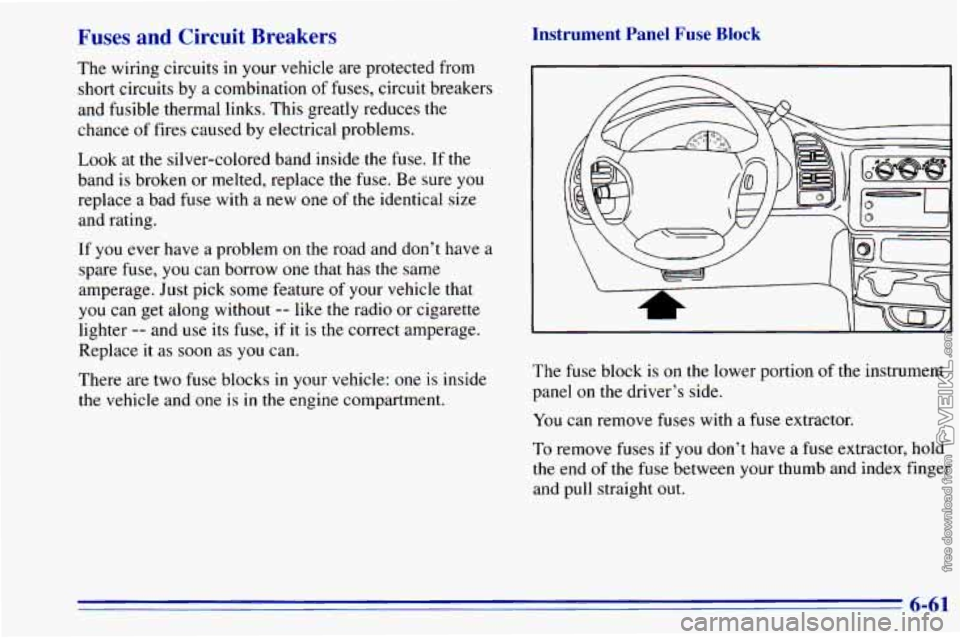
Instrument Panel Fuse Block
The fuse block is on the lower portion of the instrument
panel on the driver’s side.
You can remove fuses with a fuse extractor.
To remove fuses if you don’t have a fuse extractor, hold
the end of the fuse between your thumb and index finger
and pull straight out.
6-61
Page 292 of 372
12 18 24
c57 c7 E7 c7 11 17 23
4
c7 c7 E7 E7 10 16 22
3 9 15 21 C7 E7 E7 C7
2
c7 c87 c7 c3 14 20
i
c7 1 7 13 19 c7 c7 c7
FuseKircuit Usage
Breaker
1
2
3
Stop/Turn/Hazard Lamps, CHMSL,
Chime Module
No Fuse-Resistor
Courtesy Lamps, Power Outside Mirrors, Glove Box Lamp, Dome
Reading Lamps, Vanity Mirror Lamps
10
11
12
13
FuseKircuit Usage
Breaker
4 DRL Relay, DRL Module, Chime
Headlamp Switch, Keyless Entry,
Cluster, Overhead Console
Not Used
Cruise Module, Cruise
Activator Switch
Power Outlets, ALDL,
Subwoofer Amplifier
Not Used
License Plate Lamp, Taillamps,
Parking Lamps, Ashtray Lamp, Panel
Lights, Trailer Taillamps, Front and Rear Sidemarker Lamps, Door Switch
Illumination, Headlamp Switch
Illumination, RSA Illumination
Air Bag System
Wiper Motor, Washer Pump
L, M 1, M2 Blower Motor, Rear A/C
Relay Coil, Front Cont, Temp. Door
Motor, Hi Blower Relay, Defogger
Timer Coil, Upfitter Relay Coil
Cigarette Lighter, Door Lock Relay
i
5
6
7
8
9
6-62
Page 293 of 372
15
16
', 17
18
19
Fuse/Circuit Usage Breaker
14 Cluster HVAC Controls, Chime
Module, Radio Illumination, Rear Heat
Switch Illumination, Rear
WiperNasher Switch Illumination,
Rear Liftgate Switch Illumination, Remote Cassette Illumination,
OH Console
DRL Lamps
Front Turn Signals, Rear Turn Signals,
Trailer Turn Signals, Back-up Lamps,
BTSI Solenoid
Radio: ATC (Standby), 2000 Series
(Main Feed), Rear Seat Audio Controls
VCM-Ign 3, VCM- Brake, 4WAL,
Cruise Stepper Motor
Radio: ATC (Main Feed),
2000 Series (Standby)
A
B
Fuse/Circuit Usage
Breaker
20 PRNDLI Odometer, TCC Enable and
PWM Solenoids, Shift
A and Shift B
Solenoids, 3-2 Downshift Solenoids
Not Used
Not Used Rear Wiper, Rear Washer Pump
Not Used
(Circuit Breaker) Power Door Lock,
6-way Power Seat, Keyless Entry
Module, Dutch Door Module, Dutch
Door Release
(Circuit Breaker) Power Windows
21
22
23
24
6-63
Page 294 of 372
Underhood Electrical Center
1
(-) I-)
(-1
[-)
(T)
E3
IIVC)
(-)
I
The underhood electrical center is located toward the
rear
of the engine compartment on the driver's side.
Lift the hood and open the cover to gain access to this
fuse block.
Feed
AUXB . . . . . .
AUX A . . . . . , . .
Relay
A/C Relay
IGN Relay
Starter Enable Relay
A/C Enable Relay
Empty Relay
Fuel Pump Relay
Usage
. . Upfitter Battery Feed
. . Upfitter Ignition Feed
6-64
Page 295 of 372

Fuse
UPFIT-BATT .......
UPFIT-IGN . .
Spare .....
Fuse Puller*
Spare
.............
Spare .............
ECM-B ............
..
..
HORN ......
A/C COMP ...
RR DEFOG .......
ENG-I ......
IGN-E
..
..
Usage
Upfitter Battery
Power Stud, Trailer Wiring
Harness Upfitter Ignition Relay
Not Used
Not Used Not Used
Fuel Pump Relay,
VCM, Oil Pressure
Switch/Sender
Horn Relay
A/C Enable Relay
Heater-A/C Control Selector Switch
Oxygen Sensors 1-4,
Camshaft Position Sensor,
Mass Air Flow Sensor,
Evaporative Emission
Canister Purge Solenoid
Valve, Linear EGR Valve
Solenoid, VCM
A/C Enable Relay
Fuse
ECM-I ..... .....
LIGHTING .....
BATT I/P .......
IGN A .............
IGN B .............
ABS ..............
AIC ...............
RR HTR/AC ........
Spare .............
Usage
Fuel Injectors 1-6,
Crankshaft Position Sensor,
VCM, Distributor Ignition
Control Module Park Lamps Fuse,
DRL Fuse, Headlamp and
Panel Dimmer Switch
Fuse Block Fuses,
Power Seat CB,
Stop/Hazard Fuse,
Auxiliary Power Fuse,
Cigarette Lighter Fuse,
Radio, Battery Fuse
Starter Relay, Ignition Switch
Ignition Switch
Brake Pressure Module Valve Blower Motor Resistor,
Blower Relay
Auxiliary Heater A/C Relay
Not Used
* A fuse puller is included in the underhood electrical
center. You
will also find spare fuses.
6-65
Page 297 of 372

Capacities and Specifications
Engine Specifications
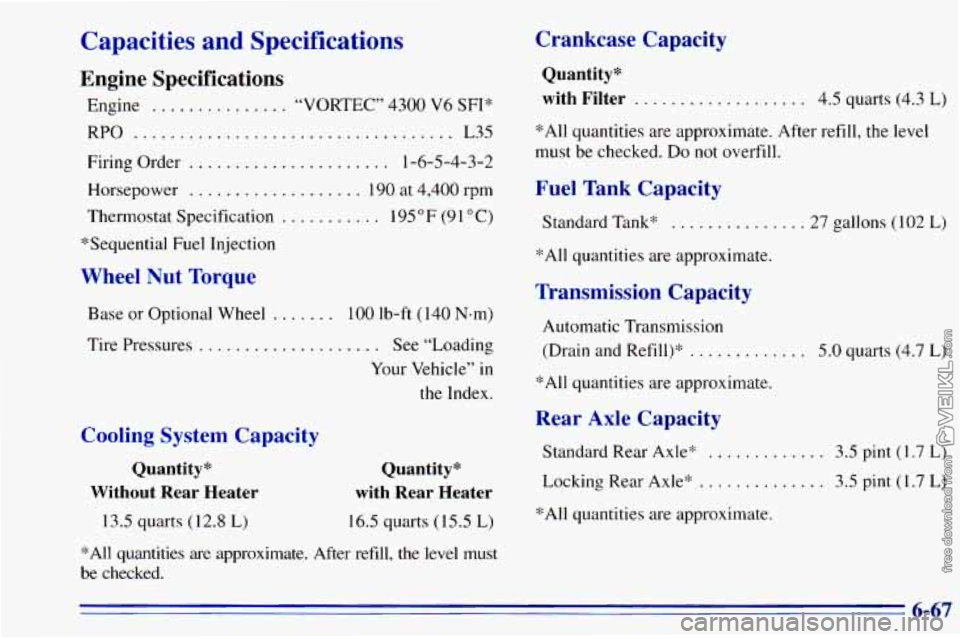
Engine ............... “VORTEC” 4300 V6 SFI‘k
RPO ................................... L35
Firing Order
...................... 1-6-5-4-3-2
Horsepower
................... 190 at 4,400 rpm
Thermostat Specification
......... 195 “F (9 1 O C)
“Sequential Fuel Injection
Wheel Nut Torque
Base or Optional Wheel ....... 100 lb-ft (140 Nem)
Tire Pressures ......... .... See “Loading
Your Vehicle” in
the Index.
Cooling System Capacity
Quantity*
Without Rear Heater
13.5 quarts (12.8 L)
Quantity*
with Rear Heater
16.5 quarts (15.5 L)
*All quantities are approximate. After refill, the level must
be checked.
Crankcase Capacity
Quantity*
with Filter
................... 4.5 quarts (4.3 L)
*All quantities are approximate. After refill, the level
must be checked. Do not overfill.
Fuel Tank Capacity
Standard Tank* ...........
*All quantities are approximate,
Transmission Capacity
Automatic Transmission
(Drain and Refill)“
.........
*All quantities are approximate.
Rear Axle Capacity
Standard Rear Axle* . .
Locking Rear Axle” ..........
*All quantities are approximate.
. . 27 gallons (102 L)
. . 5.0 quarts (4.7 L)
. . 3.5 pint (1.7 L)
3.5 pint (1.7 L)
6-67
Page 306 of 372

Short Trip/City Maintenance Schedule
The services shown in this schedule up to 100,000 miles
(166
000 km) should be performed after 100,000 miles
(166
000 km) at the same intervals.
Footnotes
3- The U.S. Environmental Protection Agency or the
California Air Resources Board has determined that the
failure
to perform this maintenance item will not nullify
the emission warranty or limit recall liability prior
to the
completion
of the vehicle’s useful life. We, however,
urge that all recommended maintenance services be
performed at the indicated intervals and the maintenance
be recorded.
# Lubricate the front suspension, ball joints and
kingpin bushings, steering linkage and transfer case
shift linkage, parking brake cable guides and brake
pedal springs. Drive
a
a
a
a
lxle service:
Locking Differential
-- Drain fluid and refill at first
engine oil change. At subsequent oil changes, check
fluid level and add fluid as needed. If driving in
dusty areas or towing a trailer, drain fluid and refill
every
15,000 miles (25 000 km).
Standard Differential
-- Check fluid level and add
fluid as needed
at every oil change. If driving in
dusty areas or towing a trailer, drain fluid and refill
every
15,000 miles (25 000 km).
More frequent lubrication may be required for
heavy-duty use.
7-6