Page 258 of 372
Adding Coolant If ,you need more coolant, add the proper mix
at the
Add coolant mix at the recovery tank, but be,careful not
to spill it.
' A CAUTION:
Turnj J the radiator pressure cap when the
engine.and radiator are hot can allow steam and
scalding liquids to blow out and burn you badly.
With the'coolant recovery tank, you will almost
never have
to add coolant at the radiator.
Never turn the radiator pressure cap
-- even a
1. little -- when,the engine and radiator are hot. I
You can be burned if you spill coolant on hot
engine parts. Coolant contains ethylene glycol,
.
and it will burn if the engine parts are hot
enough. Don't spill coolant on
a hot engine.
6-28
Page 259 of 372
Radiator Pressure Cap
NOTICE:
Your radiator cap is a 15 psi (105 kPa)
pressure-type cap and must be tightly installed to
prevent coolant loss and possible engine damage
from overheating. Be sure the arrows on the cap
line
up with the overflow tube on the radiator
filler neck.
When you replace your radiator pressure cap, a GM cap
is recommended. See “Normal Maintenance
Replacement Parts” in the Index.
6-29
Page 260 of 372

Thermostat When to Check Power Steering Fluid
Engine coolant temperature is controlled by a thermostat It is not necessary to reg,ularlY check Power steering
in the engine coolant system. The thermostat stops the fluid unless you suspect there is a leak in the system or
flow
of coolant through the radiator until the coolant you
hear an unusual noise. A fluid loss in this system
reaches a preset temperature. could indicate
a problem. Have the system inspected
and remired.
Power Steering Fluid
I
How To Check Power Steering Fluid
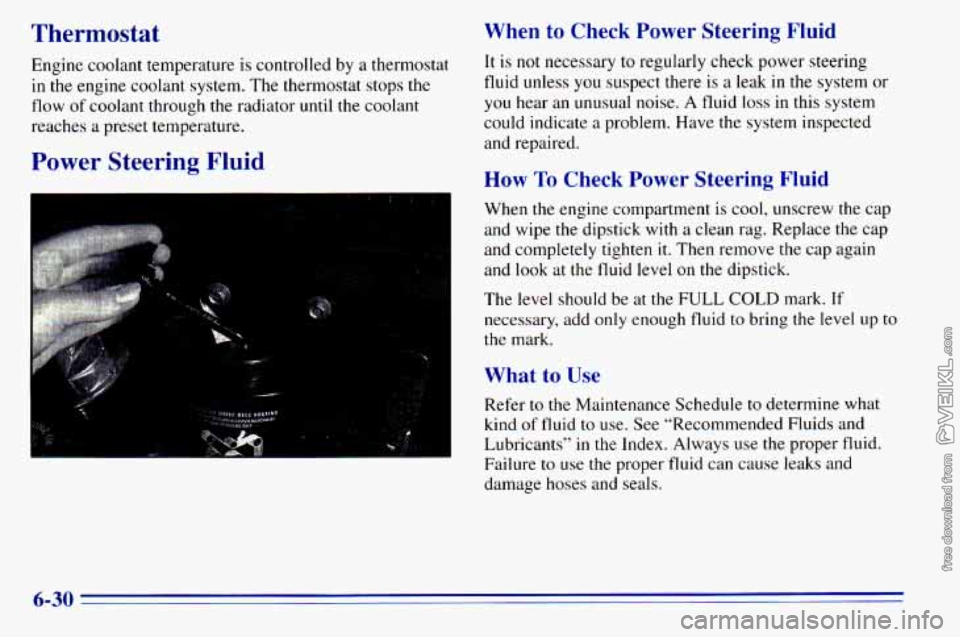
When the engine compartment is cool, unscrew the cap
and wipe
the dipstick with a clean rag. Replace the cap
and completely tighten
it. Then remove the cap again
and look at the fluid level
on the dipstick.
The level should be at the
FULL COLD mark. If
necessary, add only enough fluid to bring the level up to
the mark.
What to Use
Refer to the Maintenance Schedule to determine what
kind
of fluid to use. See “Recommended Fluids and
Lubricants’’
in the Index. Always use the proper fluid.
Failure to use the proper fluid can cause leaks and
damage hoses and seals.
6-30
Page 262 of 372

Brakes
Brake Fluid
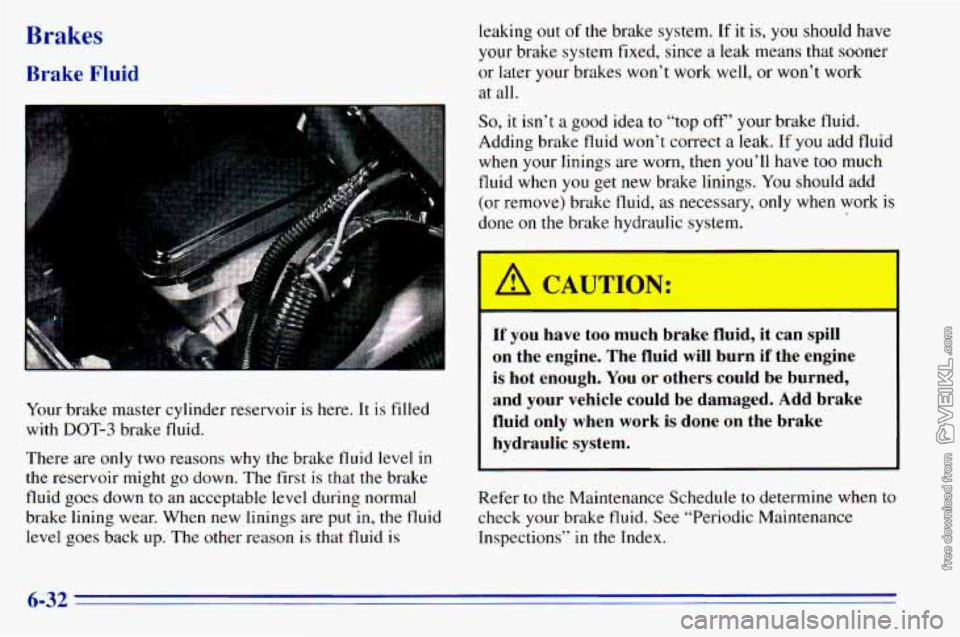
Your.brake master cylinder reservoir is here. It is filled
with
DOT-3 brake fluid.
There are only two reasons why the brake fluid level
in
the reservoir might go down. The first is that the brake
fluid goes down to an acceptable level during normal
brake lining wear. When new linings are put
in, the fluid
level goes back up. The other reason
is that fluid is leaking
out of the brake system. If it is, you should have
your brake system fixed, since a leak means
that sooner
or later your brakes won’t work well, or won’t work
at all.
So, it isn’t a good idea to “top off’ your brake fluid.
Adding brake fluid won’t correct a leak. If
you add fluid
when your linings are worn, then
you’ll have too much
fluid when you get new brake linings. You should add
(or remove) brake fluid, as necessary, only when work is
done on the brake hydraulic system.
If you have too much brake fluid, it can spill
on the engine. The fluid will burn if the engine
is hot enough. You or others could be burned,
and your vehicle could be damaged. Add brake
fluid only when work
is done on the brake
hydraulic system.
Refer to the Maintenance Schedule to determine when to
check your brake fluid. See “Periodic Maintenance
Inspections”
in the Index.
6-32
Page 264 of 372

Using the wrong fluid can badly damage
brake system parts. For example, just
a few
drops of mineral-based oil, such as engine
oil, in your brake system can damage brake
system parts
so badly that they’ll have to be
replaced. Don’t let someone put in the
wrong kind of fluid.
If you spill brake fluid on your vehicle’s
painted surfaces, the paint finish can be
damaged. Be careful not to spill brake fluid
on your vehicle.
If you do, wash it off
immediately. See “Appearance Care” in
the Index.
I A CAUTION:
The brake wear warning sound means that
sooner or later your brakes won’t work well.
That could lead to an accident. When you hear
the brake wear warning sound, have your vehicle serviced.
NOTICE:
Continuing to drive with worn-out brake pads
could result
in costly brake repair.
Brake Wear
Your vehicle has front disc brakes and rear drum brakes.
Disc brake pads have built-in wear indicators that make
a high-pitched warning sound when the brake pads are
worn and new pads are needed.
The sound may come and
go or be heard all the time your vehicle
is moving (except
when you are pushing
on the brake pedal firmly). Some driving conditions or climates may cause a brake
squeal when the brakes are first applied or lightly applied.
This does not mean something
is wrong with your brakes.
Free movement
of brake calipers and properly torqued
wheel nuts are necessary to help prevent brake
pulsation. When tires are rotated, inspect brake calipers
for movement, brake pads for wear, and evenly torque
wheel nuts
in the proper sequence to GM specifications.
6-34
Page 287 of 372
Fiberglass Springs Chemical Paint Spotting
,. Some weather and atmospherkconditions can create
a chemical fallout. Airborne pollutants can fall upon
and attack painted surfaces on your vehicle. This
damage can take two forms: blotchy, ringlet-shaped
Don’t use corrosive or acidic cleaning agents, discolorations, and small irregular dark spots etched
engine degreasers, aluminum cleaning agents or into the paint surface.
other harsh solvents to clean fiberglass springs;
they’ll damage the springs.
,NOTICE:
Although no defect in the paint job causes this, GM will
repair, at no charge to the owner, the surfaces
of new
vehicles damaged by this fallout condition within
12 months or 12,000 miles
(20 000 km) of purchase,
whichever occurs first.
i
6-57
Page 289 of 372
Vehicle Identification Number (VIN)
ENGINE/l996 t‘
CODE MODEL YEAR
ASSEMBLY
PLANT
This is the legal identifier for your vehicle. It appears on
a plate
in the front corner of the instrument panel, on the
driver’s side. You can see
it if yo11 look through the
windshield from outside your vehicle. The
VIN also
appears on the Vehicle Certification and Service Parts
labels and
the certificates of title and registration.
Engine Identification
The eighth character in your VIN is the engine code.
This code will help you identify your engine,
specifications and replacement parts.
Service Parts Identification Label
You’ll find this label on the inside of the front storage
compartment door. It’s very helpful if you ever need to
order parts. On this label
is:
your VIN,
the model designation,
paint information, and
0 a list of all production options and special equipment.
Be sure that this
label is not rqmoved from the vehicle.
6-59
Page 291 of 372

Fuses and Circuit Breakers
The wiring circuits in your vehicle are protected from
short circuits by a combination
of fuses, circuit breakers
and fusible thermal links. This greatly reduces the
chance of fires caused by electrical problems.
Look at the silver-colored band inside the fuse. If the
band is broken or melted, replace the fuse. Be sure you
replace a bad fuse with a new one
of the identical size
and rating.
If you ever have a problem
on the road and don’t have a
spare fuse,
you can borrow one that has the same
amperage. Just pick some feature of your vehicle that
you can get along without -- like the radio or cigarette
lighter
-- and use its fuse, if it is the correct amperage.
Replace it
as soon as you can.
There are two fuse blocks in your vehicle: one
is inside
the vehicle and one
is in the engine compartment.
Instrument Panel Fuse Block
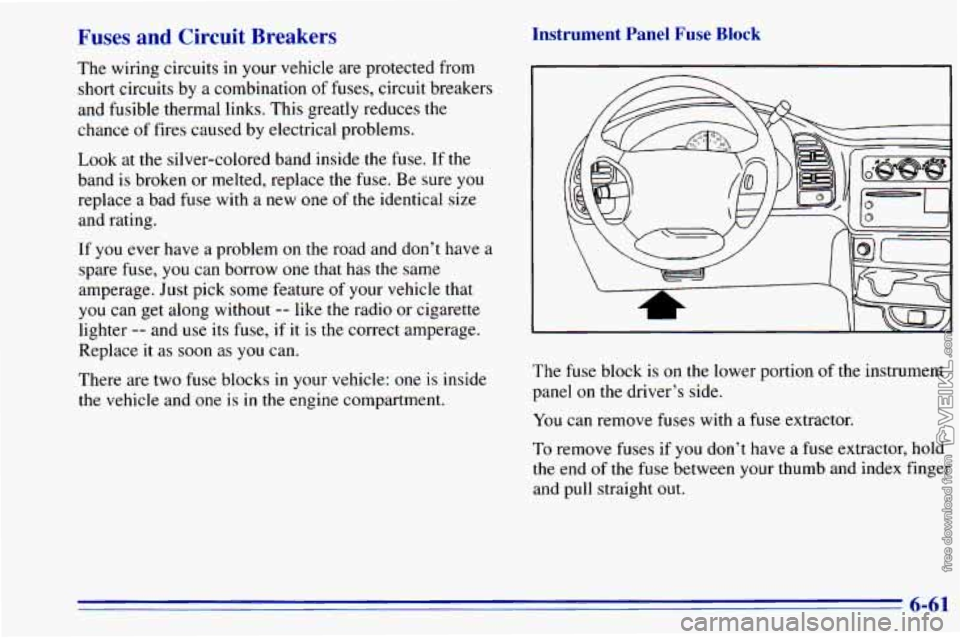
The fuse block is on the lower portion of the instrument
panel on the driver’s side.
You can remove fuses with a fuse extractor.
To remove fuses if you don’t have a fuse extractor, hold
the end of the fuse between your thumb and index finger
and pull straight out.
6-61