1996 CADILLAC SEVILLE ECO mode
[x] Cancel search: ECO modePage 104 of 354
Downloaded from www.Manualslib.com manuals search engine h
L
Reading Lamps
i
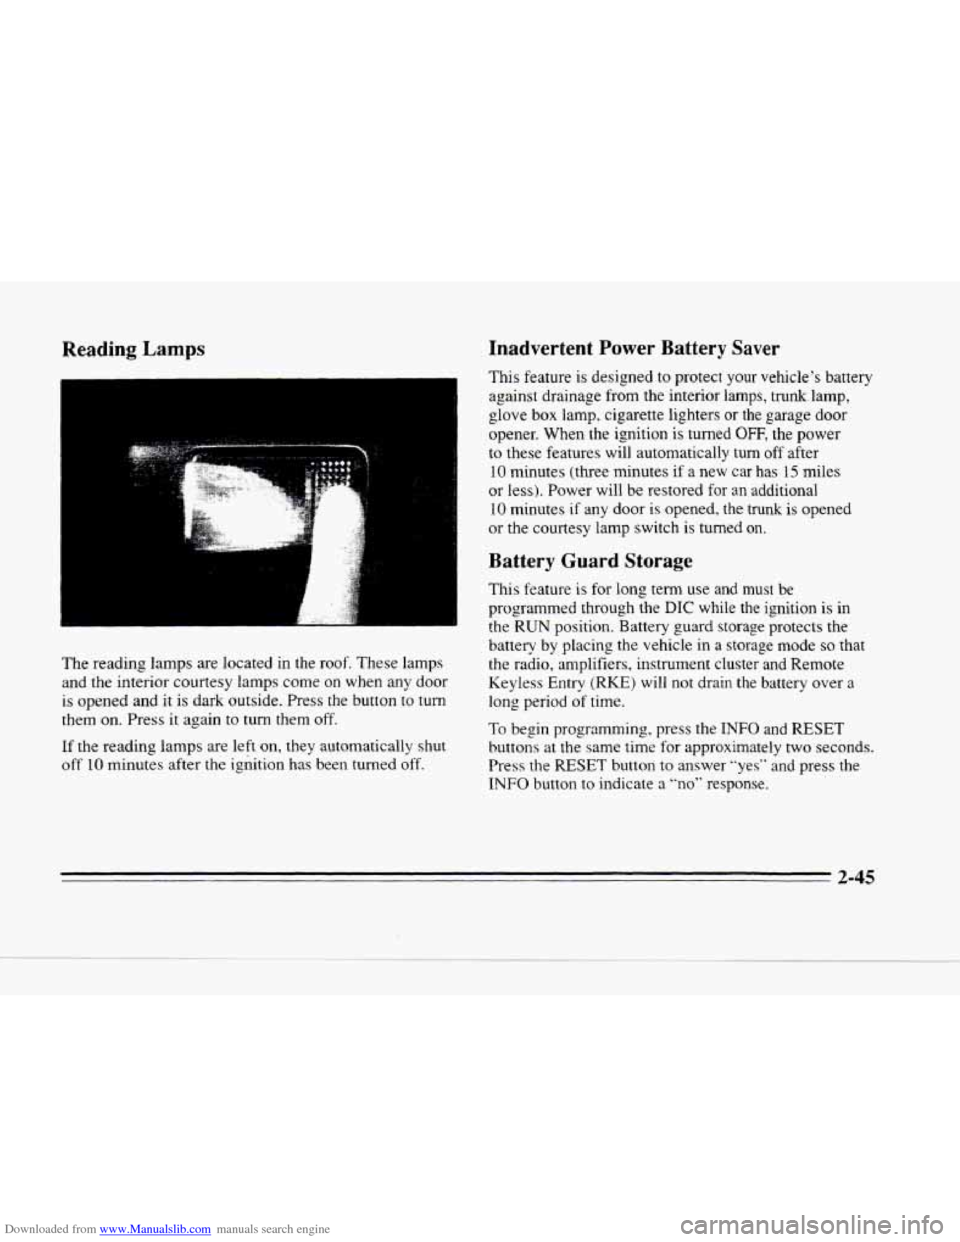
The reading lamps are located in the roof. These lamps
and the interior courtesy lamps come on when any door
is opened and it is dark outside. Press the button to turn
them on. Press it again
to turn them off.
If the reading lamps are left on, they automatically shut
off 10 minutes after the ignition has been turned off.
Inadvertent Power Battery Saver
This feature is designed to protect your vehicle's battery
against drainage from the interior lamps, trunk.lamp,
glove
box lamp, cigarette lighters or the garage door
opener. When
the ignition is turned OFF, the power
to these features will automatically
turn off after
10 minutes (three minutes if a new car has 15 miles
or
Iess). Power will be restored for an additional
10 minutes if any door is opened, the trunk is opened
or the courtesy lamp switch
is turned on.
Battery Guard Storage
This feature is for long term use. and must be
programmed through the
DIC while the ignition is in
the RUN position. Battery guard storage protects the
battery by placing the vehicle
in a storage mode so that
the radio, amplifiers, instrument cluster and Remote
Keyless Entry
(RKE) will not drain the battery over a
long period of time.
To begin programming, press the INFO and RESET
buttons at the same time for approximately two seconds.
Press the
RESET button to answer "yes" and press the
INFO button to indicate a "no" response.
2-45
Page 105 of 354
Downloaded from www.Manualslib.com manuals search engine The first -prompt to appear relates to the automatic door
locks. This feature can be bypassed by pressing the
INFO button. The STORAGE MODE? prompt appears
next. To select, press the RESET button. ENABLE
STORAGE MODE? will then appear. A yes or no
response must be given.
If the INFO (no) button is
pressed,
the DISABLE STORAGE MODE? prompt will
appear. Once again,
a yes or no response is required.
Once the battery guard has been programmed, your
vehicle will enter the storage mode approximately
20 minutes after the ignition key has been turned off.
The RKE will also be disabled at this point. The RKE
will reactivate when a door or the trunk is opened,
however, if your vehicle is left inactive for another
20 minutes the RKE will re-enter the storage mode.
Your vehicle will stay in the storage mode until the
ignition key is turned out of
LOCK. The system will
“wake-up” when the door key is inserted into the door
however, your vehicle will remain
in the storage mode.
The ignition must be out of
LOCK before the battery
guard is disabled.
Mirrors
Electrochromic DaylNight Rearview Mirror
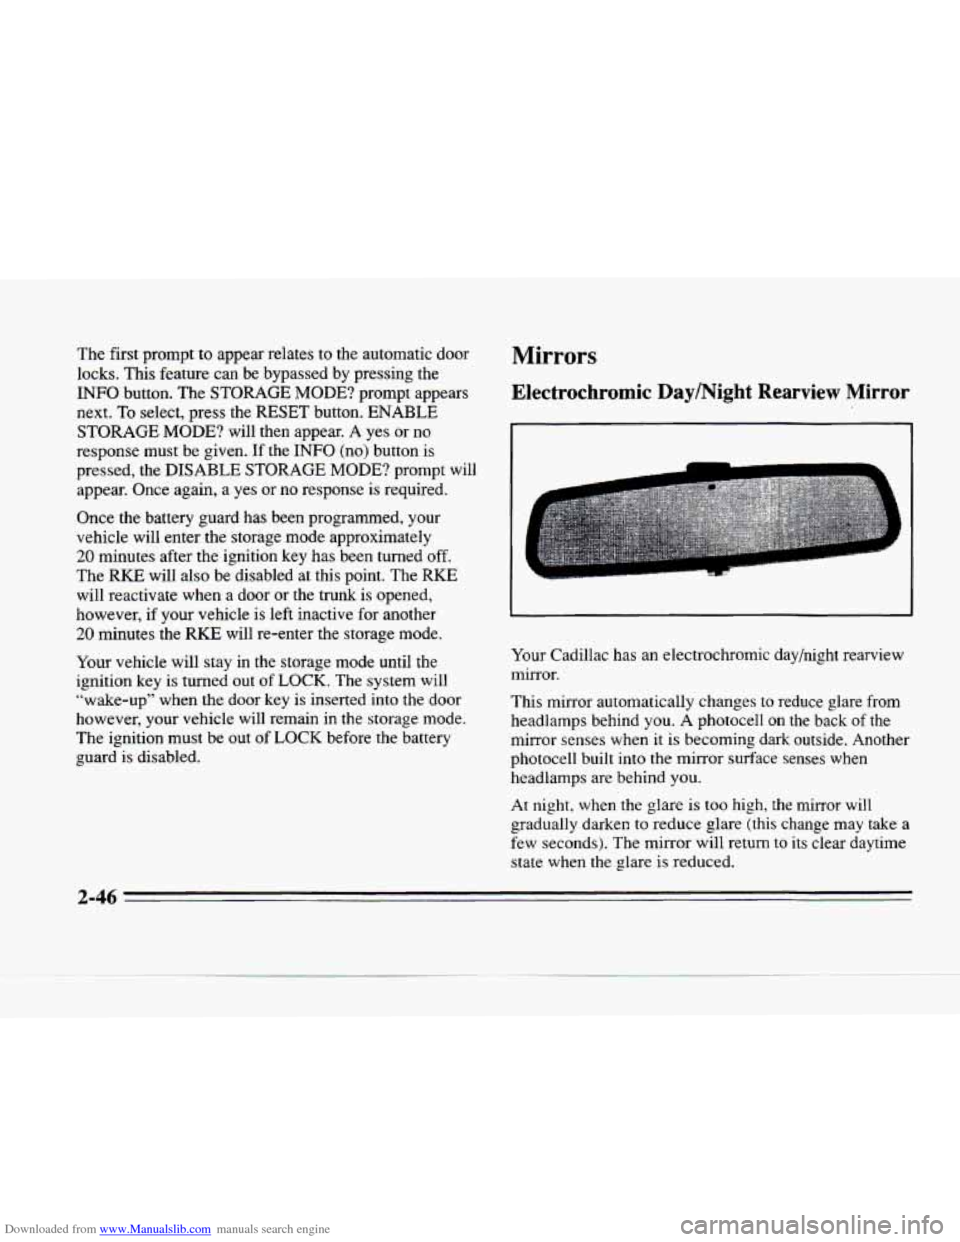
Your Cadillac has an electrochromic day/night rearview
mirror.
This mirror automatically changes to reduce glare from
headlamps behind you. A photocell
on the back of the
mirror senses when it
is becoming dark outside. Another
photocell built into the mirror surface senses when
headlamps are behind you.
At night, when the glare is too high,
the mirror will
gradually darken to reduce glare (this change may take
a
few seconds). The mirror will return to its clear daytime
state when the glare is reduced.
2-46
Page 107 of 354
Downloaded from www.Manualslib.com manuals search engine Electrochromic Day/Night Rearview Mirror
with Compass (Option)
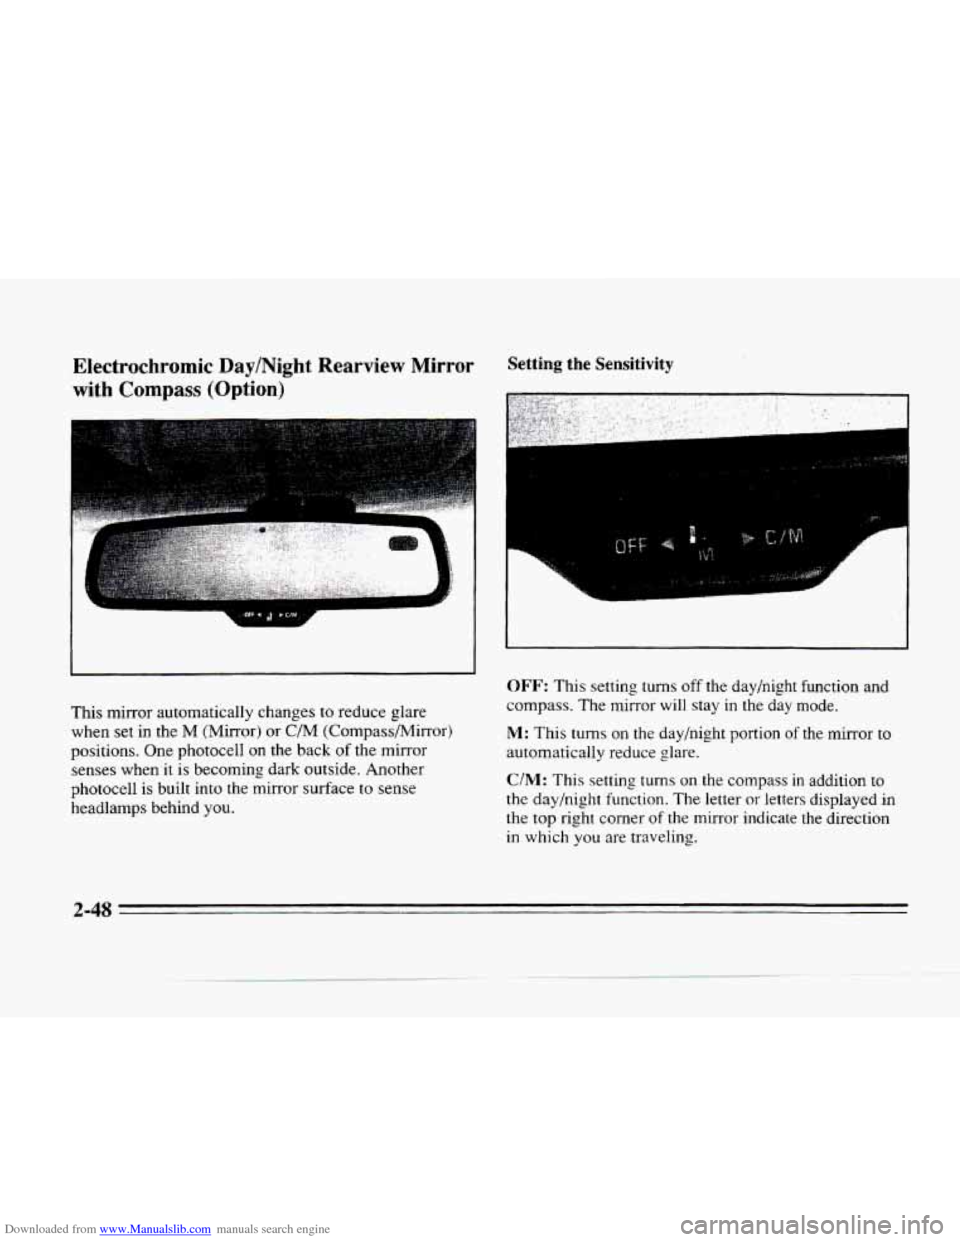
This mirror automatically changes to reduce glare
when
set in the M (Mirror) or C/M (Compass/Mirror)
positions. One photocell
on the back of the mirror
senses when
it is becoming dark outside. Another
photocell is built into the mirror surface to sense
headlamps behind you.
Setting the Sensitivity
I
F
OFF: This setting turns off the day/night function and
compass. The mirror will stay
in the day mode.
M: This turns on the day/night portion of the mirror to
automatically reduce glare.
C/M: This setting turns on the compass in addition to
the day/night function. The letter or letters displayed in
the top right corner of the mirror indicate the direction
in which
you are traveling.
2-48
Page 108 of 354
Downloaded from www.Manualslib.com manuals search engine c
Time Delay Compass Calibration
c
L
c
c
This feature prevents rapid changing of the mirror from
the night mode to the day mode as you drive under
lights and through traffic.
Reverse Gear Day Mode
The reverse mode is another important feature of the
automatic mirror. When the shift lever is placed in
REVERSE (R), the mirror changes to the day mode.
This gives you a bright image in the mirror as you
back up.
Cleaning Photocells
Use a cotton swab and glass cleaner to clean the front
and rear photocells that make the auto-dimming
feature work. Once
the compass is
calibrated, it does not need to be
recalibrated.
To calibrate the compass:
1.
2.
3.
Set the switch on the mirror control to C/M.
Turn the vehicle ignition switch on. The letter C
should be displayed in the mirror compass window.
If not, hold the CAL switch (on the bottom of the
mirror)
for more than 10 seconds, and the letter C
will appear. To hold in the CAL switch, insert a
paper clip into the small hole
on the bottom of the
mirror housing. The display
will show a number
first, but keep holding until the letter
C appears.
For quick calibration, drive the vehicle in
a
360-degree circle at less than 5 mph (8 km/h) until
the display reads
a compass direction. For normal
calibration, drive
the vehicle on your everyday
routine, and the compass wilI eventually calibrate.
2-49
Page 137 of 354
Downloaded from www.Manualslib.com manuals search engine TIMER: This feature is like a stopwatch, in that
you can clock the
time it takes to get from one point
to another.
To operate, press the TIMER button until TIMER
0O:OO:OO is displayed on the DIC. Each of the fields for
the hours, minutes and seconds are two numeric digits.
Once TIMER OFF
0O:OO:OO is displayed, press the
TIMER buttonto start the timing feature. Press the
TIMER button again to stop it.
If you will be starting
and stopping your Cadillac, during
a trip for instance,
the TIMER feature will automatically start timing where
it left off when you last stopped.
To reset it, press and
hold the RESET button until the display reads TIMER
0O:OO:OO. Press the INFORMATION button to exit from
the TIMER function.
RESET Pressing this button will reset the MPG AVG,
FUEL USED, AVG MPH and
OIL LIFE LEFT. Pre.ssing
RESET when a non-resettable display appears
will
cause a “recall” mode to occur. When this happens, all
DIC warning messages that have been displayed since
the ignition key was turned to RUN will redisplay. If no
messages were displayed,
a MONITORED SYSTEMS
OK message will appear.
MPG AVG (Average Fuel Economy) Reset: Press the
INFORMATION button to display the MPG AVG, then
press and
hold the RESET button until 0.0 MPG AVG
is displayed.
Fuel Used Reset: Press the INFORMATION button to
display the
FUEL USED on the DIC, then press and hold
the RESET button until FUEL USED
0.0 is displayed.
AVG MPH (Average Speed) Reset: Press the
INFORMATION button to display the AVG MPH, then
press and hold
the RESET button until 0.0 AVG MPH is
displayed.
Oil Life Left Reset: Press the INFORMATION button
to display the OIL LIFE LEFT, then press and hold the
RESET button until
100% OIL LIFE LEFT is displayed.
2-78
Page 138 of 354
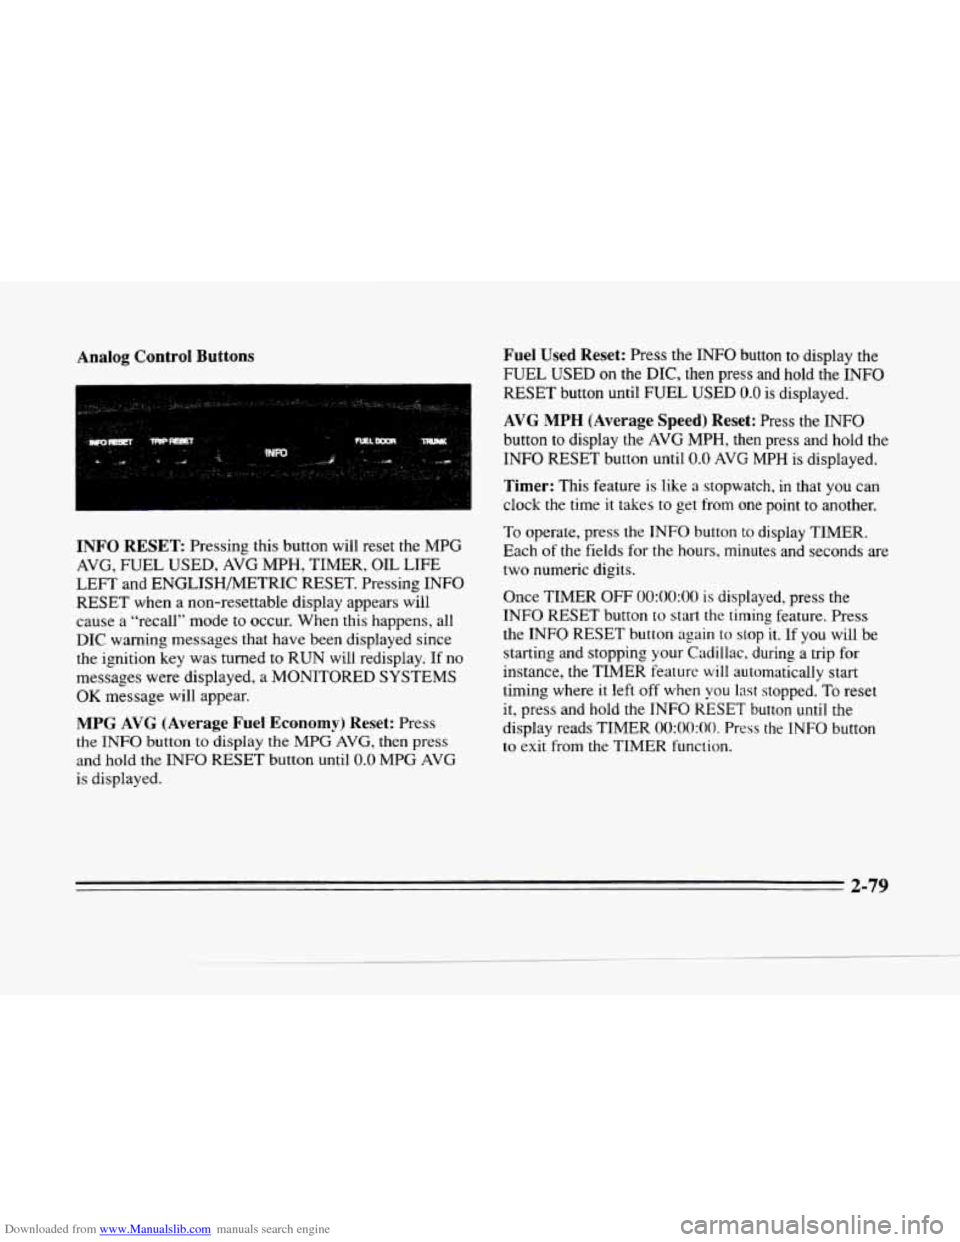
Downloaded from www.Manualslib.com manuals search engine Analog Control Buttons
INFO RESET Pressing this button will reset the MPG
AVG, FUEL USED, AVG MPH, TIMER, OIL LIFE
LEFT and ENGLISHMETRIC RESET. Pressing INFO
RESET when a non-resettable display appears will
cause a “recall” mode
to occur. When this happens, all
DIC warning messages that have
been displayed since
the ignition key was turned
to RUN will redisplay. If no
messages were displayed,
a MONITORED SYSTEMS
OK message will appear.
MPG AVG (Average Fuel Economy) Reset: Press
the
INFO button to display the MPG AVG, then press
and
hold the INFO RESET button until 0.0 MPG AVG
is displayed.
Fuel Used Reset: Press the INFO button to display the
FUEL USED
on the DIC, then press and hold the INFO
RESET button until FUEL USED 0.0 is displayed.
AVG MPH (Average Speed) Reset: Press the INFO
button
to display the AVG MPH, then press and hold the
INFO RESET button
until 0.0 AVG MPH is displayed.
Timer: This feature is like a stopwatch, in that you can
clock the time it takes
to get from one point to another.
To operate, press the INFO button
to display TIMER.
Each
of the fields for the hours. minutes and seconds are
two numeric digits.
Once TIMER OFF
0O:OO:OO is displayed, press the
INFO RESET button to start the timing feature. Press
the INFO RESET button again to
stop it. If you will be
starting and stopping your Cadillac, during
a trip for
instance,
the TIMER feature will automatically start
timing where it left off when
you last stopped. To reset
it, press and hold the INFO RESET button until the
display reads TIMER
0O:OO:OO. Press the INFO button
to exit from the TIMER function.
2-79
Page 149 of 354
Downloaded from www.Manualslib.com manuals search engine Fan Button
The button with the fan symbol adjusts the fan speed.
Press the up arrow to increase fan speed and the down
arrow to decrease fan speed.
Temperature Button
The red and blue temperature buttons adjust the air
temperature coming through the system. Press the blue
button for
a cooler setting or the red button for a warmer
setting. The outside temperature
is always displayed
when your vehicle
is running. You can change it from
Fahrenheit
to Celsius by pressing the ENG/MET
(English/metric) button on the
DIC.
Mode Controls
The AUTO/ECON button automatically controls the
direction of air delivery for air conditioning and non-air
conditioning modes.
Automatic Operation
When the system is set for AUTO, sensors will control
the air delivery mode. Air will come from the
floor,
middle or windshield outlets. The fan speed will vary as
the system maintains the selected temperature setting. Be
careful not
to put anything over the solar sensor
located in the middle of the instrument panel near the
windshield. This sensor is used by the automatic system
to regulate temperature.
To find your comfort zone, start with
75°F (24°C)
setting, allow about 20 minutes for the system to
regulate. Press the red or blue temperature buttons to
adjust the temperature if necessary. If you choose 60°F
(1 6"C), the system will remain at that maximum cooling
setting and will not regulate fan speed.
If you choose the
temperature
of 90°F (32 "C), the system will remain at
that maximum heating setting and will not regulate fan
speed. Choosing either maximum setting will not cause
the system
to heat or cool any faster.
With this setting, the air conditioning compressor
automatically cycles when needed to
cool the air. In
cold weather, when the system senses the need for
heat, the airflow will be directed
out the floor outlets.
As the interior temperature approaches a desired setting,
the blower speed will decrease.
To maintain interior
comfort, the airflow may move
to the instrument panel
air outlets and floor outlets
(BI-LEVEL mode). On
bright, sunny days in cold weather, the airflow may
come
out of the A/C outlets (A/C mode) to maintain
comfort and prevent stuffiness.
3-2
Page 150 of 354
Downloaded from www.Manualslib.com manuals search engine c
If your vehicle is sitting out on a hot day and you have it
set on
AUTO, the air will first flow out the floor air
outlets for a few seconds. That is normal. This is
to
expel hot air in the air outlets. As the air is cooled, the
airflow will move through the
A/C outlets. If you start
vour vehicle with the fan setting on
HI, it will skip the
i/~ Purge.
To avoid blowing cold air in cold weather, the system
will delay turning on the fan until warm air is available.
The length
of delay depends on the outside air
temperature, engine coolant temperature or the time
since the engine was last started.
As the coolant warms
up, the blower fan speed will gradually increase and air
will flow from the heater outlets, with some airflow
to
the windshield to prevent fogging under most normal
conditions.
If you leave your vehicle, the system will remember the
control setting the next time
you start your engine,
except for recirculation and defrost. Each ignition cycle
cancels recirculation, whereas,
DEFROST will change
to
AUTO when the ignition is shut off and then turned
back on.
Manual Operation
RECIRCULATION:
Press this button to limit the
amount
of fresh air entering your vehicle. This is helpful
when you are trying
to cool the air quickly or ’limit odors
entering your vehicle. In
the AUTO mode, the system
will use recirculation
as necessary to cool the air.
Pressing
the recirculation button will change the
operation
to a manual mode and the air will recirculate
non-stop. Press this button again to turn off the
recirculation feature.
If you notice the windows fogging, press the
recirculation button
to exit the recirculation moae.
OFF: Press this button to turn the system off. Fresh
air will continue
to flow through the vehicle, and
the system will
try to maintain the previously set
temperature.
The outside temperature will show in
the display when the
system is off.
@ DE-ICE (Option): Pressing this button helps to
remove ice or frost from the windshield. See “Heated
Windshield’’ later
in this section.