1996 CADILLAC SEVILLE heating
[x] Cancel search: heatingPage 148 of 354
Downloaded from www.Manualslib.com manuals search engine ,+- -*.,
Section 3 Comfort Controls and Audio Systems
In this section you'll find out how to operate the comfort
control and audio systems offered with your Cadillac.
Be sure to read about the particular systems supplied
with your vehicle.
Comfort Controls
This section tells you how to make your air system work
for you. Your comfort control system uses
ozone-friendly
R- 134a refrigerant.
With these systems, you can control the heating, cooling
and ventilation in your Cadillac. Your vehicle also has
the flow-through ventilation system described later
in
this section.
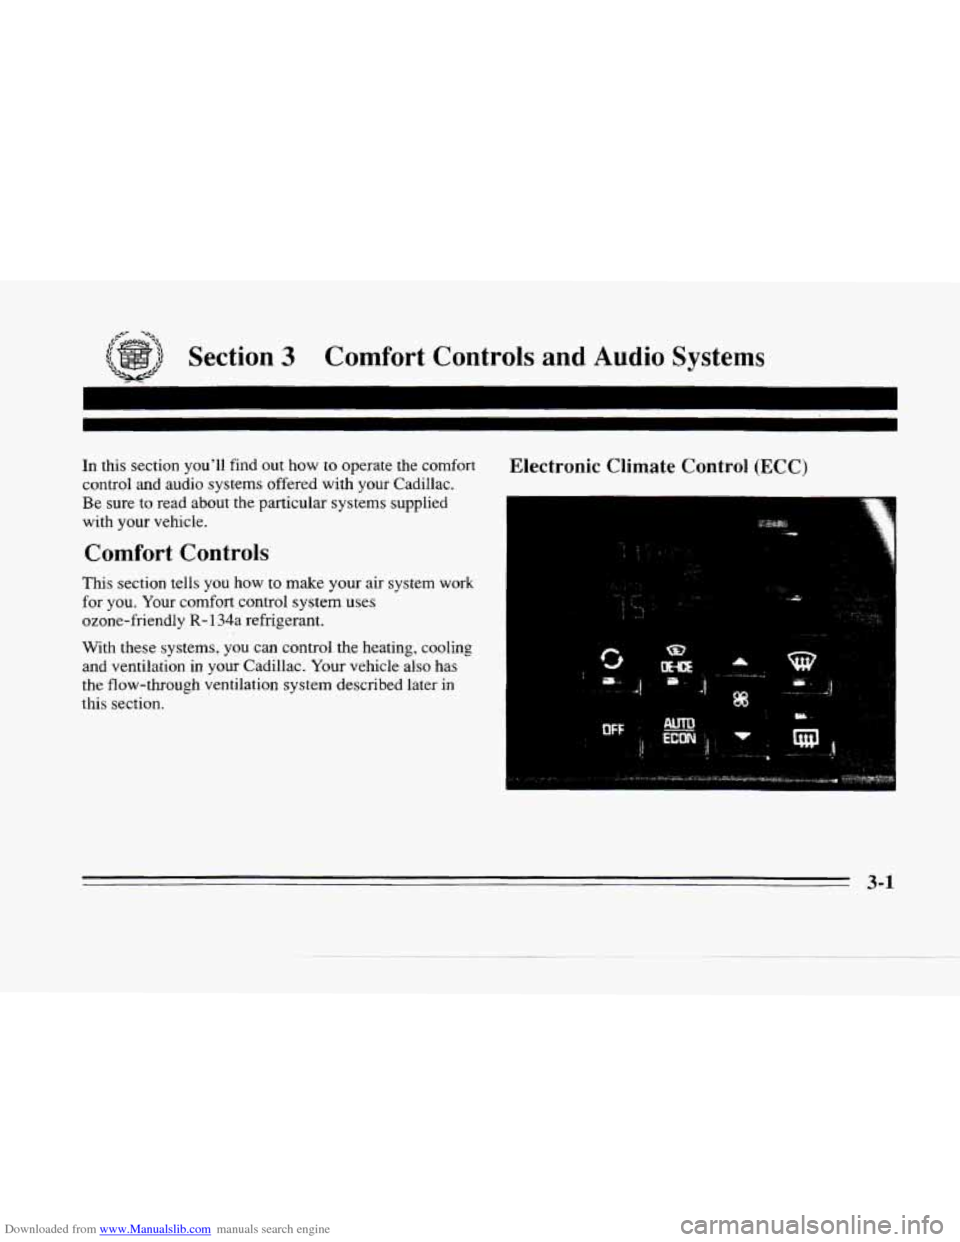
Electronic Climate Control (ECC)
3-1
Page 149 of 354
Downloaded from www.Manualslib.com manuals search engine Fan Button
The button with the fan symbol adjusts the fan speed.
Press the up arrow to increase fan speed and the down
arrow to decrease fan speed.
Temperature Button
The red and blue temperature buttons adjust the air
temperature coming through the system. Press the blue
button for
a cooler setting or the red button for a warmer
setting. The outside temperature
is always displayed
when your vehicle
is running. You can change it from
Fahrenheit
to Celsius by pressing the ENG/MET
(English/metric) button on the
DIC.
Mode Controls
The AUTO/ECON button automatically controls the
direction of air delivery for air conditioning and non-air
conditioning modes.
Automatic Operation
When the system is set for AUTO, sensors will control
the air delivery mode. Air will come from the
floor,
middle or windshield outlets. The fan speed will vary as
the system maintains the selected temperature setting. Be
careful not
to put anything over the solar sensor
located in the middle of the instrument panel near the
windshield. This sensor is used by the automatic system
to regulate temperature.
To find your comfort zone, start with
75°F (24°C)
setting, allow about 20 minutes for the system to
regulate. Press the red or blue temperature buttons to
adjust the temperature if necessary. If you choose 60°F
(1 6"C), the system will remain at that maximum cooling
setting and will not regulate fan speed.
If you choose the
temperature
of 90°F (32 "C), the system will remain at
that maximum heating setting and will not regulate fan
speed. Choosing either maximum setting will not cause
the system
to heat or cool any faster.
With this setting, the air conditioning compressor
automatically cycles when needed to
cool the air. In
cold weather, when the system senses the need for
heat, the airflow will be directed
out the floor outlets.
As the interior temperature approaches a desired setting,
the blower speed will decrease.
To maintain interior
comfort, the airflow may move
to the instrument panel
air outlets and floor outlets
(BI-LEVEL mode). On
bright, sunny days in cold weather, the airflow may
come
out of the A/C outlets (A/C mode) to maintain
comfort and prevent stuffiness.
3-2
Page 153 of 354
Downloaded from www.Manualslib.com manuals search engine Temperature Knob
The TEMP knob adjusts the air temperature coming
through the system. Turn the
TEMP knob clockwise to
increase the temperature and counterclockwise to
decrease
the temperature. The outside temperature is
always displayed when your vehicle is running.
Automatic Operation
Mode Button
Press this button to deliver air through the floor, middle
or windshield outlets. The system will stay in the
selected mode until
the MODE button is pushed again.
Press the
up or down arrow to cycle through the
available modes.
When the system is set for AUTO, sensors will control
the air delivery mode. Air will come
from the floor,
middle or windshield outlets. The fan speed will vary as
the system maintains the selected temperature setting.
Be careful not to put anything over the solar sensor
located in the middle
of the instrument panel near the
windshield. This sensor
is used by the automatic system
to regulate temperature.
To find your comfort zone, start with 75°F (24°C)
setting, allow about 20 minutes for the system to
regulate. Press the red
or blue temperature buttons to
adjust the temperature
if necessary. If you choose 60°F
(16"C), the system will remain at that maximum cooling
setting and will not regulate
fan speed. If you choose the
temperature of
90°F (32"C), the system will remain at
that maximum heating setting
and will not regulate fan
speed. Choosing either maximum setting
will not cause
the system to heat or cool any faster.
3-6
Page 157 of 354
Downloaded from www.Manualslib.com manuals search engine Heating Ventilation System
With
the ECC system, press the AUTOECON button to
direct airflow out
of the floor outlets and to help save
fuel. Adjust the temperature,
if necessary, by pressing
the blue button
to decrease temperature and pressing the
red button
to increase temperature. Also remember to
adjust the fan speed by pressing the up or down arrow.
If you have the dual-zone system, press the MODE
button to select heater. This will direct airflow out of the
floor outlets. Adjust the interior temperature to your
comfort level by turning the
TEMP knob clockwise to
increase temperature and counterclockwise to decrease
temperature. If the fan speed needs adjusting, press the
up or down arrow.
With each system, outside air will be brought in and sent
through the
floor outlets. The heater works best if you
keep your windows closed while using it. Your
Cadillac’s flow-through ventilation system
supplies outside air into
the vehicle when it is moving.
Outside air will also enter the vehicle when the heater
or
the air conditioning fan is running.
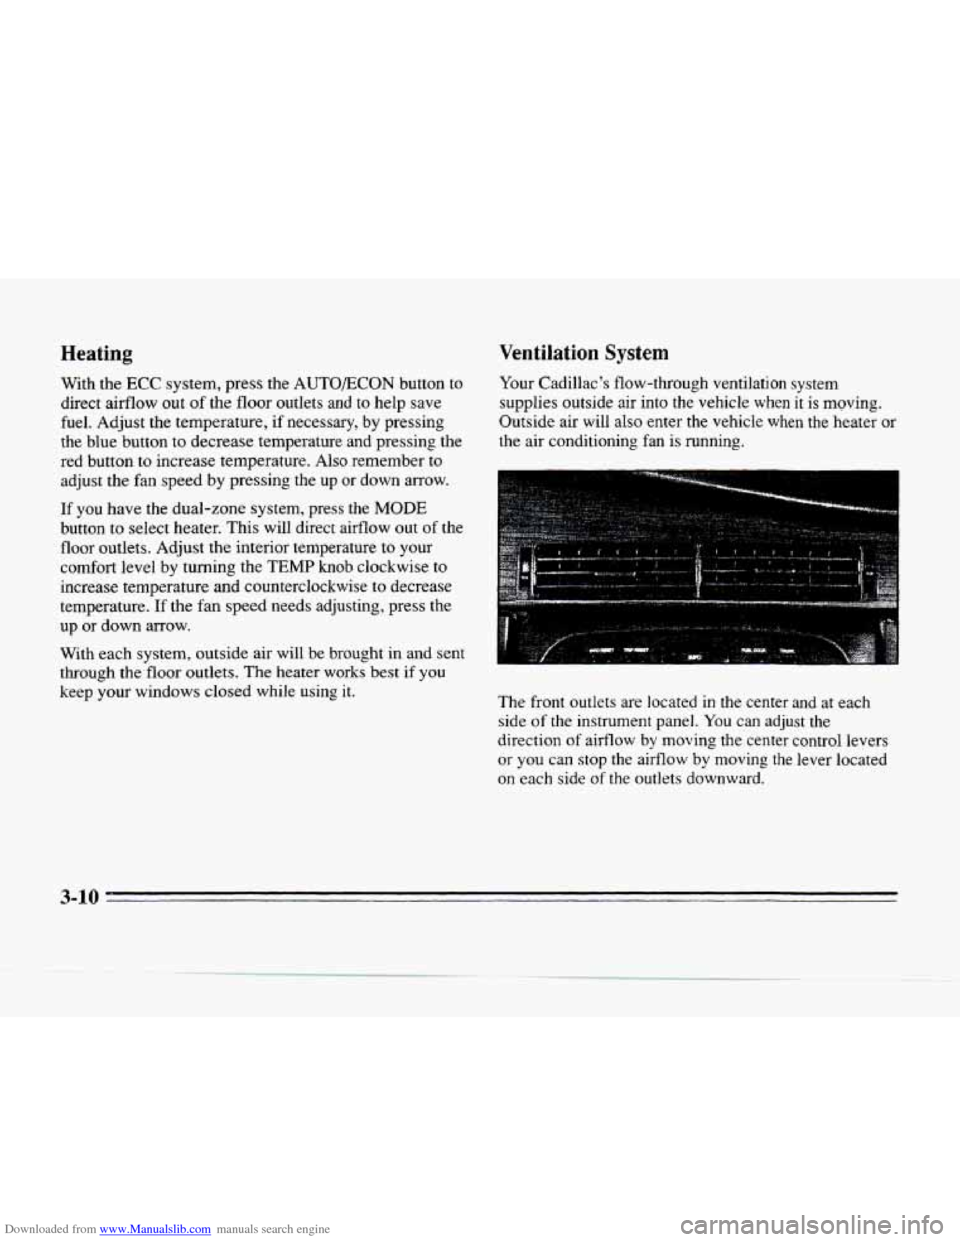
The front outlets
are located in the center and at each
side
of the instrument panel. You can adjust the
direction
of aifflow by moving the center control levers
or
you can stop the airflow by moving the lever located
on each side
of the outlets downward.
3-10
Page 159 of 354
Downloaded from www.Manualslib.com manuals search engine Heated Windshield (Option)
The heated windshield will remove ice or frost in cold
weather.
1. Remove snow that is piled up on the windshield.
2. Start your Cadillac and leave it in PARK (P).
3. Press the DE-ICE button. A light will come on to tell
you
it is working. Try not to use other electrical
equipment while the system is working.
The system will go off after a four-minute heating cycle.
If you shift out of PARK (P), the system will only cycle
for two minutes.
If you want it to cycle again, press the
button.
It will go on for two-minute cycles after that. If
the windshield has cleared before the cycle is over, you
can turn
it off by pressing the button again. Use
the defroster feature to clear
fog from the
windshield
as previously described.
There is
a metal film in the windshield which will block
out some radio or microwave signals. Therefore, the
heated windshield will reduce the
useful range of
devices such as garage door openers and radar detectors.
(In certain states, radar detectors are legal.)
Do not use the DE-ICE button if your vehicle has a.
cracked windshield.
A crack will not allow the system to
function properly. Have the windshield repaired before
using the DE-ICE button again.
3-12
h
Page 160 of 354
Downloaded from www.Manualslib.com manuals search engine c
ru
Defogging and Defrosting
On cool, humid days, use DEFOG to keep the
windshield and side windows clear. Use DEFROST to
remove fog or ice from the windshield quickly in
extremely humid or cold conditions.
If you have the
ECC system, press the DEFOG or
DE-ICE button and adjust the fan speed by pressing the
fan button up or down. If you use DEFROST, adjust the
fan speed the same way.
If you select DEFROST from
AUTO,
the system will control the fan speed. The
temperature will also need to be adjusted to your
comfort level. Press the blue button to decrease the
temperature and the red button to increase the
temperature.
If you have the dual-zone system, press the DEFROST
or
DE-ICE button. If you select DEFROST, adjust the
fan speed by pressing the fan button up or down. If you
select DEFROST from AUTO, the system will controI
the fan speed. The teinperature also needs
to be adjusted
by turning the TEMP knob.
Note that recirculation is not available in the defrost or
defog modes.
@ Rear Window Defogger
The lines you see on the rear window warm the glass.
Press the button
to turn on the rear defogger. With it,
the rear window and both outside rearview mirrors are
heated. The system will automatically shut off after
10 minutes. If further defogging is desired, press the
button again.
Do not attach a temporary vehicle license, tape or'decals
across the defogger grid on the rear window.
NOTICE:
Scraping the inside of your rear window could
cut and damage the heating grids. Your warranty
would not cover this damage.
And don't put
decals there;
you might have to scrape them off.
3-13
Page 161 of 354
Downloaded from www.Manualslib.com manuals search engine Steering Wheel Controls for Climate Controi
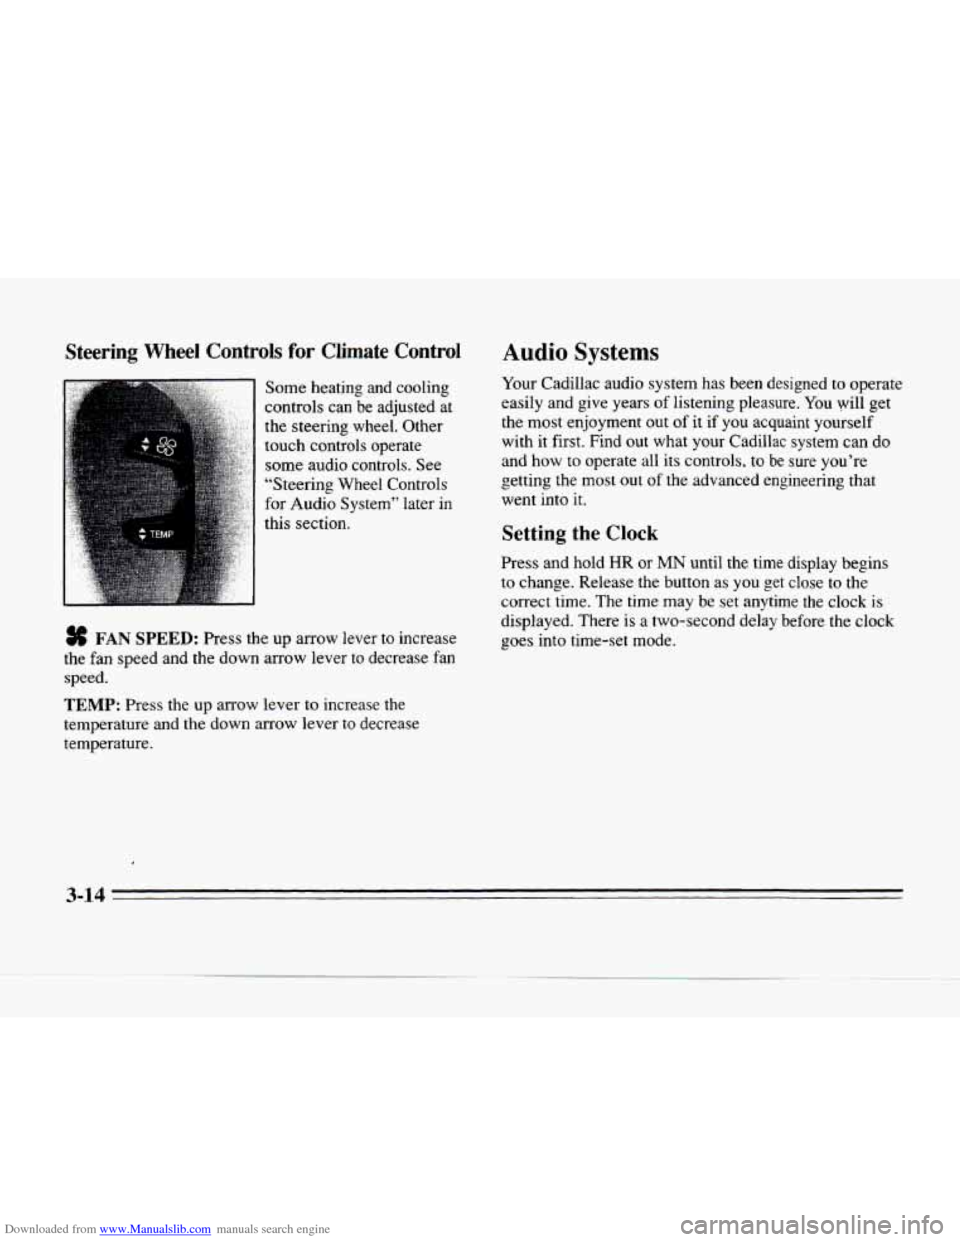
Some heating and cooling
controls can be adjusted at
the steering wheel. Other
touch controls operate
some audio controls. See
“Steering Wheel Controls
for Audio System” later in
this section.
# FAN SPEED: Press the up arrow lever to increase
the fan speed and the down arrow lever to decrease fan
speed.
TEMP: Press the up arrow lever to increase the
temperature and
the down arrow lever to decrease
temperature.
Audio Systems
Your Cadillac audio system has been designed to operate
easily and give years
of listening pleasure. You will get
the most enjoyment out of
it if you acquaint yourself
with
it first. Find out what your Cadillac system can do
and
how to operate all its controls, to be sure you’re
getting
the most out of the advanced engineering that
went into
it.
Setting the Clock
Press and hold HR or MN until the time display begins
to change. Release the button as
you get close to the
correct time. The time may be set anytime the clock is
displayed. There
is a two-second delay before the clock
goes into time-set mode. c
3-14
Page 220 of 354
Downloaded from www.Manualslib.com manuals search engine rr
L.
h
c
c
Turn Signals When Towing a Trailer
When you tow a trailer, your vehicle may need a
different turn signal flasher and extra wiring. Check
with your Cadillac dealer. The green arrows on your
instrument panel will flash whenever you signal a turn
or lane change. Properly hooked up, the trailer lamps
will also flash, telling other drivers you’re about to turn,
change lanes or stop.
When towing a trailer, the green arrows on your
instrument panel will flash for turns
even if the bulbs on
the trailer are burned
out. Thus, you may think drivers
behind you are seeing your signal when they are not.
It’s important to check occasionally to be sure the trailer
bulbs
are still working.
Driving On Grades
Reduce speed and shift to a lower gear before you start
down a long or steep downgrade.
If you don’t shift
down, you might have to use your brakes
so much that
they would
get hot and no longer work well.
On a long uphill grade, shift down and reduce your
speed to around
45 mph (70 km/h) or less to reduce the
possibility of engine and transaxle overheating.
Parking on Hills
You really should not park your vehicle, with a trailer
attached, on a hill. If something goes wrong, your rig
could start to move. People can be injured, and both
your vehicle and the trailer can be damaged.
But if you ever have to park your
rig on a hill, here’s
how to do it:
1.
2.
3.
4.
5.
Apply your regular brakes, but do not shift into
PARK
(P).
Have someone place chocks under the trailer wheels.
When the wheel chocks
are in place, release the
regular brakes until the chocks absorb the load.
Reapply the regular brakes. Then shift into
PARK (P) firmly and apply your parking brake.
Release the regular brakes.
4-37