1996 BUICK PARK AVENUE tow
[x] Cancel search: towPage 33 of 388
How does an air bag restrain?
In moderate to severe frontal or near-frontal collisions,
even belted occupants can contact the steering wheel or
the instrument panel.
The air bag supplements the
protection provided by safety belts. Air bags distribute
the force
of the impact more evenly over the occupant’s
upper body, stopping the occupant more gradually. But
air bags would not help you in many types
of collisions,
including rollovers, rear impacts and side impacts,
primarily because an occupant’s motion is not toward the
air bag. Air bags should never be regarded as anything
more
than a supplement to safety belts, and then only in
moderate to severe frontal or near-frontal collisions.
What will you see after an air bag inflates?
After the air bag inflates, it quickly deflates, This occurs
so quickly that some people may not even realize the air
bag inflated. Some components of the air bag module in
the steering wheel hub for the driver’s air bag, or the
instrument panel for the right front passenger’s bag, will
be hot for a short time. The part
of the bag that comes
into contact with you may be warm, but it will never be
too hot to touch. There will be some smoke and dust
coming from vents in the deflated air bags. Air bag inflation will not prevent
the driver from seeing
or from being able to steer the vehicle, nor will it stop
people from leaving the vehicle.
When an air bag inflates, there is dust in the air.
This dust could cause breathing problems for
people with a history of asthma or other
breathing trouble.
To avoid this, everyone in the
vehicle should get out as
soon as it is safe to do so.
If you have breathing problems but can’t get out
of the vehicle after an air bag inflates, then get
fresh air by opening a window or door.
The air bags are designed to inflate only once. After
they inflate, you’ll need some new parts for your air
bag system.
If you don’t get them, the air bag system
won’t be there
to help protect you in another crash.
A new system will include air bag modules and
possibly other parts. The service manual for your
vehicle covers the need
to replace other parts.
ProCarManuals.com
Page 54 of 388
Accident statistics show that children are safer if they
are restrained in the rear seat. But they need
to use the
safety
belts properly.
Children who aren’t buckled up can be thrown out in
a crash.
Children who aren’t buckled up can strike other
people
who are.
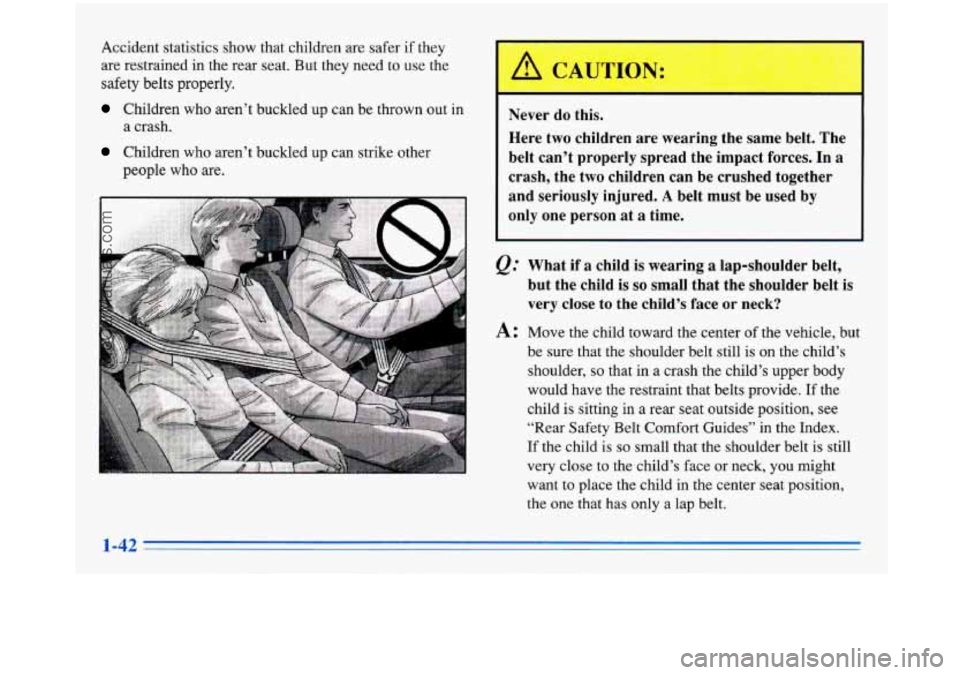
A CAUTION: I
Never do this.
Here two children are wearing the same belt. The
belt can’t properly spread the impact forces.
In a
crash, the two children can be crushed together
and seriously injured.
A belt must be used by
only one person at a time.
@ What if a child is wearing a lap-shoulder belt,
but the child is
so small that the shoulder belt is
very close
to the child’s face or neck?
A: Move the child toward the center of the vehicle, but
be sure that the shoulder belt still is
on the child’s
shoulder,
so that in a crash the child’s upper body
would have the restraint that belts provide. If the
child
is sitting in a rear seat outside position, see
“Rear Safety Belt Comfort Guides” in the Index.
If the child is so small that the shoulder belt is still
very close
to the child’s face or neck, you might
want to place the child in the center seat position,
the one that has only a lap belt.
ProCarManuals.com
Page 75 of 388
If you accidentally use a key that has a damaged or
missing resistor pellet, the starter won’t work and the
SECURITY light will flash. But you don’t have,to wait
three minutes before trying another ignition key.
See your Buick dealer or a locksmith who can service
the PASS-Key
11 to have a new key made.
If you’re ever driving and the SECURITY light comes
on and stays
on, you will be able to restart your engine if
you turn it off. Your PASS-Key 11 system, however, is
not working properly and must be serviced by your
Buick dealer. Your vehicle is not protected by the
PASS-Key
I1 system.
If you lose or damage a PASS-Key
11 ignition key, see
your Buick dealer or a lockskth who can service
PASS-Key
11 to have a new key made.
,
New Vehicle “Break-In”
NOTICE:
Your modern Buick doesn’t need an elaborate
“break-in.” But it will perform better in the long
run if you follow these guidelines:
Don’t drive at any one speed -- fast or
slow
-- for the first 500 miles (804 km).
Don’t make full-throttle starts.
200 miles (322 km) or so. During this time
your new brake linings aren’t yet broken
in. Hard stops with new linings can mean
premature wear and earlier replacement.
Follow this breaking-in guideline every
time
you get new brake linings.
Don’t tow a trailer during break-in. See
“Towing
a Trailer” in the Index for more
information.
Avoid making hard stops for the first
I
ProCarManuals.com
Page 76 of 388
I.
I
Ignition Positions
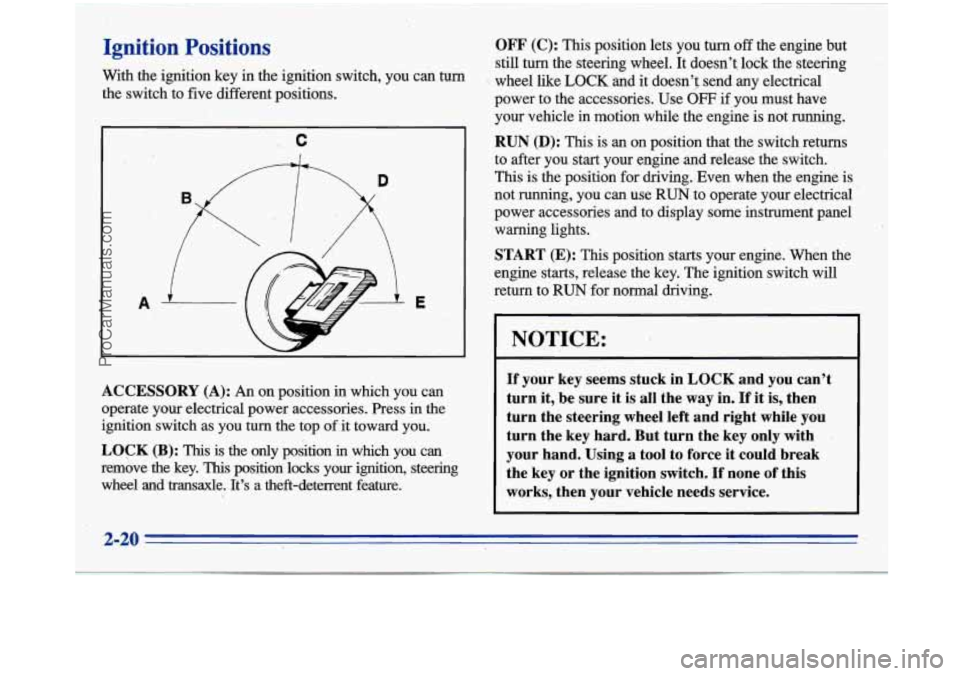
With the ignition key in the ignition switch, you can turn
the switch to five different positions.
.. c
I
A E
ACCESSORY (A): An on position in which you can
operate your electrical power accessories. Press in the
ignition switch as you
hun the top of it toward you.
LOCK
(B): This is the only position in which yqu can
remove
the key. This position locks your ignition, steering
wheel and transaxle. It’s a theft-deterrent feature.
.. ,
OFF (C): This position lets you turn off the engine but
still turn the steering wheel. It doesn’t lock the steering
-.
wheel like LOCK and it doesn’f send any electrical
power to the accessories. Use
OFF if you must have
your vehicle
in motion while the engine is not running.
RUN (D): This is- an on position that the switch returns
to after you start your engine and release the switch.
This is the position for driving.-Even when the engine is
not running, you can use RUN to operate your electrical ’
power accessories and to display some instrument panel
warning lights.
START (E): This position starts your engine. When the
engine starts, release the key. The ignition switch
will
return to RUN for normal driving.
NOTICE:
If your key seems stuck in LOCK and you can’t
turn it, be sure it is all the
way in. If it is, then
turn the steering wheel left and right while you
turn the key hard. But turn the key only with
your hand. Using
a tool to force it could break
the key or the ignition switch.
If none of this
works, then your vehicle needs service.
ProCarManuals.com
Page 78 of 388
I
3. If your engine still won’t start (or starts but then stops),
it could be flooded with too much gasoline.
Try
pushing your accelerator pedal all the way to the floor
and holding it there as you hold the key in
START for
about three seconds.
If the vehicle starts briefly but
then stops again, do the same thing, but
this time keep
the pedal
down for five or six seconds. This clears the
extra gasoline
fi-om the engine. After waiting about
15 seconds, repeat the normal starting procedure.
NOTICE:
Your engine is designed to work with the
electronics in your vehicle. If you
add electrical
parts or accessories, you could change the way
the engine operates. Before qdding electrical
equipment, check with your dealer. If you don’t,
your engine might not perform properly.
If you ever have to have your vehicle towed, see
the part
of this manual that tells how to do it
without damaging your vehicle. See “Towing
Your Vehicle” in the Index.
Engine Coolant Heater (Option)
In very cold weather, .Oo F (- 18 O C) or colder, the engine
coolant heater can help. You’ll get easier starting and
better fuel economy during engine warm-up. Usually,
the coolant heater should be plugged in a minimum
of
four hours prior to starting your vehicle.
To use the coolant heater:
1. Turn off the engine.
2. Open the hood and unwrap the electrical cord.
3. Plug it into a normal, grounded 1 10-volt AC outlet.
Plugging the cord’into an ungrounded outlet
could cause an electrical ,shock. Also, the wrong
kind of extension cord could overheat and cause
a fire. You could be seriously injured. Plug the
cord into
a properly grounded three-prong
110-volt AC outlet. If the cord won’t reach, use
a
heavy-duty three-prong extension cord rated for
at least 15 amps.
2-22
ProCarManuals.com
Page 79 of 388
4. After you’ve used the coolant heater,k sure to store
the cord as it was before to keep it away from moving
engine parts.
If you don’t, it could be damaged.
How long should you keep the coolant heater plugged
in? The answer depends on the outside temperature, the
kind of oil you have, and some other things. Instead of
trying to list everything here, we ask that you contact
your Buick dealer in the area where you’ll be parking
your vehicle. The dealer can give you the best advice for
that particular area.
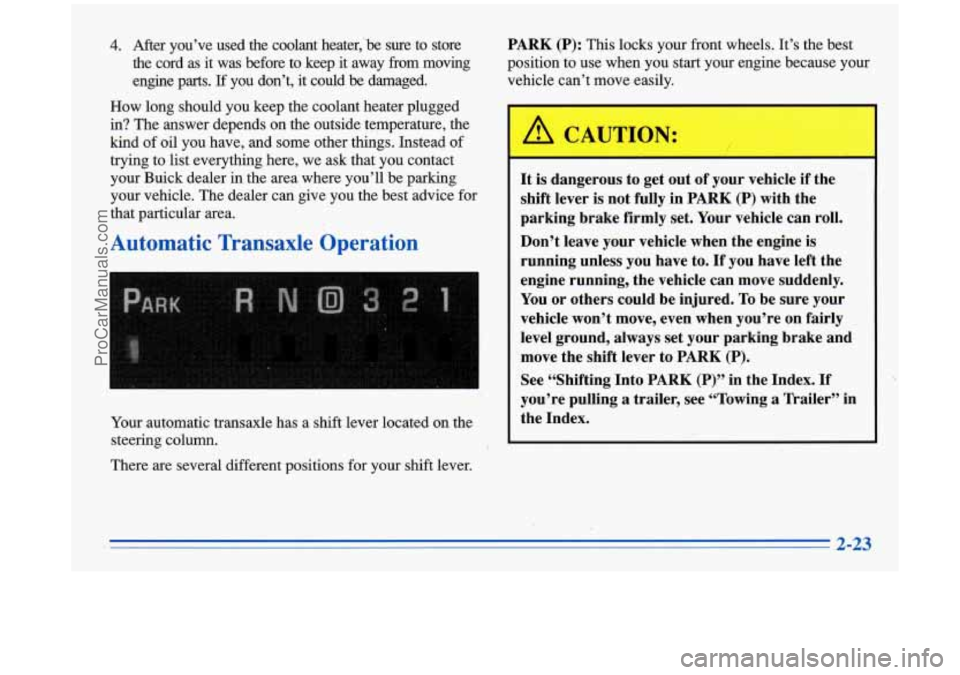
Automatic Transaxle Operation
Your automatic transaxle has a shift lever located on the
steering column.
There are several different positions for your shift lever.
PARK (P): This locks your front wheels. It’s the best
position to use when you start your engine because your
vehicle can’t move easily.
’ A CAUTION:
I
It is dangerous to get out of your vehicle if the
shift lever is not fully in
PARK (P) with the
parking brake firmly set. Your vehicle can roll.
Don’t leave your vehicle when the engine
is
running unless you have to. If you have left the
engine running, the vehicle can move suddenly.
You or others could be injured. To.be sure your
vehicle won’t move, even when you’re on fairly
level ground, always set your parking brake and
move the shift lever to
PARK (P).
See “Shifting Into PARK (P)” in the Index. If
you’re pulling
a trailer, see “Towing a Trailer” in
the Index.
2-23
ProCarManuals.com
Page 80 of 388
Ensure the shift lever is fully in PARK (P) range before
starting the engine. Your Buick has a brake-transaxle
shift interlock.
You have to fully apply your regular
brakes
before you can shift from PARK (P) when the
ignition key is in the RUN position.
If you cannot shift
out
of PARK (P), ease pressure on the shift lever -- push
the shift lever all the way into PARK (P) as
you
maintain brake application. Then move the shift lever
into the gear you wish. See “Shifting Out of PARK (P)”
in the Index.
REVERSE (R): Use this gear to back up.
NOTICE:
Shifting to REVERSE (R) while your vehicle is
moving forward could damage your transaxle.
Shift to
REVERSE (R) only after your vehicle
is stopped.
To rock your vehicle back and forth to get out of snow,
ice
or sand without damaging your transaxle, see “If
You’re Stuck:
In Sand, Mud, Ice or Snow” in the Index.
NEUTRAL (N): In this position, your engine
doesn’t connect with the wheels.
To restart when you’re
already moving, use NEUTRAL
(N) only. Also, use
NEUTRAL
(N) when your vehicle is being towed.
Shifting out of
PARK (P) or NEUTRAL (N) while
your engine is ‘(racing” (running
at high speed) is
dangerous. Unless your foot is firmly on the
brake pedal, your vehicle could move
very
rapidly. You could lose control and hit people or
objects. Don’t shift out
of PARK (P) or
NEUTRAL (N) while your engine is racing.
I NOTICE:
Damage to your transaxle caused by shifting out
of
PARK (P) or NEUTRAL (N) with the engine
racing isn’t covered by your warranty.
ProCarManuals.com
Page 81 of 388
AUTOMATIC OVERDRIVE (@): This position is for
normal driving. If you need more power for passing, and
you’re:
0 Going less than about 35 mph (56 km/h), push your
Going about 35 mph (56 km/h) or more, push the
You’ll shift down to the next gear and have more power.
THIRD (3): This position is also used for normal
driving, however, it offers more power and lower fuel
economy than AUTOMATIC OVERDRIVE
(a).
Here are some times you might choose THIRD (3)
instead of AUTOMATIC OVERDRIVE (@):
0 When driving on hilly, winding roads
0 When towing a trailer, so there is less shifting
When going down a steep hill
accelerator pedal about halfway down.
accelerator all the
way down.
between gears
SECOND (2): This position gives you more power but
lower fuel economy. You
can use SECOND (2) on hills.
It can help control your speed as you go down steep
mountain roads, but then you would also want to use
your brakes off
and on.
I NOTICE:
Don’t drive in SECOND (2) for more than
5 miles (8 km), or at speeds over 55 mph
(88 km/h), or you can damage your transaxle.
Use AUTOMATIC OVERDRIVE
(@) or
THIRD (3) as much as possible.
Don’t shift into SECOND
(2) unless you are going
slower than
65 mph (105 km/h), or you can
damage your engine.
ProCarManuals.com