1996 BUICK CENTURY inflation pressure
[x] Cancel search: inflation pressurePage 158 of 340

Loading Your Vehicle
TIRE-LOADING INFORMATION VEHICLE CAP.
WT.
FRT. CTR. RR. TOTAL LBS.
MAX. LOADING & GVWR SAME AS VEHICLE
CAPACITY WEIGHT
XXX COLD TIRE
TIRE SIZE SPEED PRESSURE
RTG PSI/KPa
FRT.
RR.
SPA.
IF TIRES ARE HOT, ADD 4PS1/28KPa
SEE OWNER’S MANUAL FOR ADDITIONAL
INFORMATION
Two labels on your vehicle show how much weight it
may properly carry. The Tire-Loading Information label
found on the rear edge of the driver’s door tells you the
proper size, speed rating and recommended inflation
pressures for the tires on your vehicle. It also gives
you
important information about the number of people that
can be in your vehicle and
the total weight that you can
carry. This weight
is called the vehicle capacity weight
and includes the weight
of all occupants, cargo and all
nonfactory-installed options.
MFD BY GENERAL MOTORS CORP
DATE GVWR GAWR FRT GAWR RR
THIS VEHICLE CONFORMS TO ALL APPLI-
CABLE
U.S. FEDERAL MOTOR VEHICLE
SAFETY, BUMPER,
AND THEFT PREVENTION
STANDARDS
IN EFFECT ON THE DATE OF
MANUFACTURE SHOWN ABOVE.
I
The other label, is the Certification label, found on the
rear edge of
the driver’s door. It tells you the gross
weight capacity of your vehicle, called the GVWR
(Gross Vehicle Weight Rating). The GVWR includes
the weight
of the vehicle, all occupants, fuel and cargo.
Never exceed the GVWR for your vehicle, or the Gross
Axle Weight Rating (GAWR) for either the front or
rear axle.
If
you do have a heavy load, you should spread it out.
Don’t carry more than 160 lbs.
(72 kg) in the sedan
trunk or
300 lbs. (136 kg) in the wagon rear area.
ProCarManuals.com
Page 203 of 340

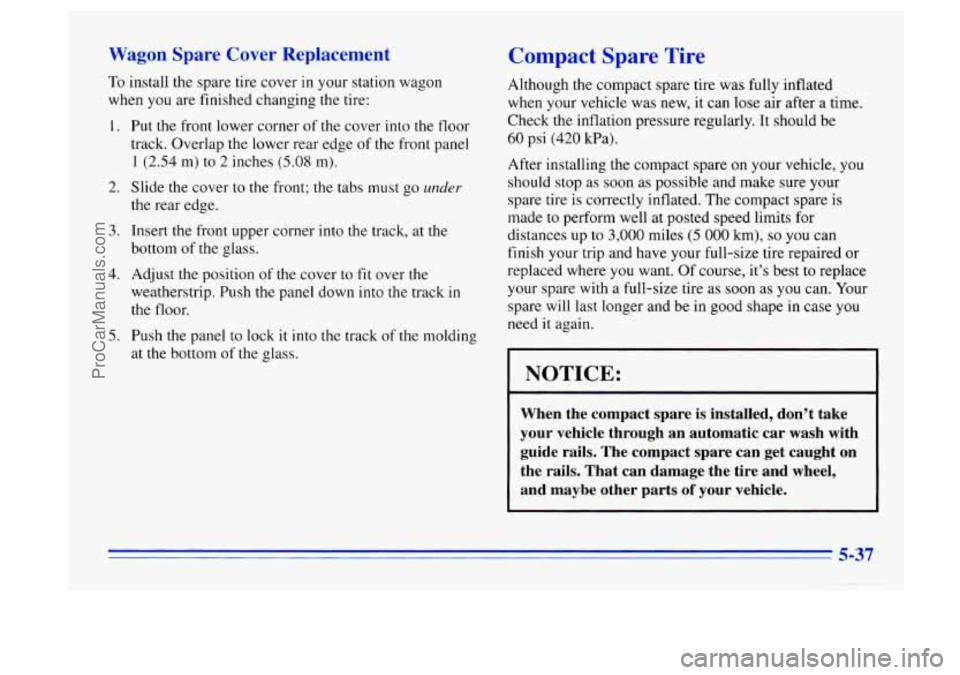
Wagon Spare Cover Replacement
To install the spare tire cover in your station wagon
when you are finished changing the tire:
1.
2.
3.
4.
5.
Put the front lower corner of the cover into the floor
track. Overlap the lower rear edge of the front panel
1 (2.54 m) to 2 inches (5.08 m).
Slide the cover to the front; the tabs must go under
the rear edge.
Insert the front upper corner into the track,
at the
bottom
of the glass.
Adjust the position
of the cover to fit over the
weatherstrip. Push the panel down into the track
in
the floor.
Push the panel
to lock it into the track of the molding
at the bottom of the glass.
Compact Spare Tire
Although the compact spare tire was fully inflated
when your vehicle was new, it can
lose air after a time.
Check the inflation pressure regularly. It should be
60 psi (420 kPa).
After installing the compact spare on your vehicle, you
should stop as soon as possible and make sure your
spare tire is correctly inflated. The compact spare is
made to perform well at posted speed limits for
distances up to
3,000 miles (5 000 km), so you can
finish your trip and have your full-size tire repaired or
replaced where
you want. Of course, it’s best to replace
your spare with a full-size tire as soon as you can. Your
spare will last longer and be in good shape in case
you
need it again.
NOTICE:
When the compact spare is installed, don’t take
your vehicle through an automatic car wash with
guide rails. The compact spare can get caught on
the rails. That can damage the tire and wheel,
and maybe other parts
of your vehicle.
5’ -7
ProCarManuals.com
Page 245 of 340

Inflation -- Tire Pressure
The Tire-Loading Information label, which is on the
rear edge of the driver’s door, shows the correct
inflation pressures for your tires when they’re cold.
“Cold” means your vehicle
has been sitting for at least
three hours or driven no more than 1 mile (1.6 km).
NOTICE:
Don’t let anyone tell you that, underinflation or
overinflation
is all right. It’s not. If your tires
don’t have enough air (underinflation), you can
get the following:
0 Too much flexing
Too much heat
0 Tire overloading
0 Bad wear
0. Bad handling
0 Bad fuel economy.
NOTICE: (Continued)
NOTICE: (Continued)
If your tires have too much air (overinflation),
you can get the following:
Unusual wear
Bad handling
Rough ride
Needless damage from road hazards.
When to Check
Check your tires once a month or more.
Don’t forget your compact spare tire.
It should be at
60 psi (420 Pa).
How to Check
Use a good quality pocket-type gage to check tire
pressure. You can’t
tell if your tires are properly inflated
simply by looking .at them. Radial tires may look
properly inflated even when they’re underinflated.
Be sure to put the valve caps back
on the valve stems.
They help prevent leaks by keeping out
dirt and moisture.
6-39
ProCarManuals.com
Page 246 of 340

Tire Inspection and Rotation
Tires should be inspected every 6,000 to 8,000 miles
(10 000 to 13 000 km) for any signs of unusual wear.
If unusual wear is present, rotate your tires as soon as
possible and check wheel alignment. Also check for
damaged tires or wheels. See “When It’s Time for
New
Tires” and “Wheel Replacement” later in this section for
more information. When
rotating your tires, always
use the correct rotation
pattern shown here.
Don’t include the compact spare tire in your tire rotation,
After the tires have been rotated, adjust the front and
rear inflation pressures as shown on the Tire-Loading
Information label. Make certain that all wheel nuts are
properly tightened. See “Wheel Nut Torque”
in
the Index.
The purpose
of regular rotation is to achieve more
uniform wear for all tires
on the vehicle. The first
rotation
is the most important. See “Scheduled
Maintenance Services”
in the Index for scheduled
rotation intervals.
1 A CAUTION:
Rust or dirt on a wheel, or on the parts to which
it is fastened, can make wheel nuts become loose
after
a time. The wheel could come off and cause
an accident. When
you change a wheel, remove
any rust or dirt from places where the wheel
attaches to the vehicle. In an emergency, you can
use
a cloth or a paper towel to do this; but be
sure to use
a scraper or wire brush later, if you
need to, to get all the rust or dirt
off. (See
“Changing a
Flat Tire” in the Index.)
6-40
ProCarManuals.com
Page 306 of 340

Part B: Owner Checks and Services
Listed below are owner checks and services which
should be performed at the intervals specified to help
ensure the safety, dependability and emission control
performance of your vehicle.
Be sure any necessary repairs are completed at once.
Whenever any fluids or lubricants are added to your
vehicle, make sure they are the proper ones, as shown
in Part
D.
Engine Cc --ant - - el Chc -’L
Check the engine coolant level and add the proper
coolant mix if necessary. See “Engine Coolant” in
the
Index for further details.
Windshield Washer Fluid Level Check
Check the windshield washer fluid level in the
windshield washer tank and add the proper fluid if
necessary. See “Windshield Washer Fluid” in the Index
for further details.
At Each Fuel Fill
It is important for you or a service station attendant to
perform these underhood checks at each fuel fill.
At Least Once a Month
Tire Inflation Check
Engine Oil Level Check Make sure tires are inflated to the correct pressures.
See “Tires”
in the Index for further details.
Check the engine oil level and add the proper oil
if necessary. See “Engine Oil” in the Index for
further details.
Cassette Deck Service
Clean cassette deck. Cleaning should be done every
50 hours of tape play. See “Audio Systems” in the
Index for further details.
7-36
ProCarManuals.com
Page 337 of 340

Tires ......................................... 6-38
Alignment and Balance
........................ 6-43
BuyingNew
................................. 6-41
Chains
..................................... 6- 45
Changing a Flat
.............................. 5-24
Cleaning
.................................... 6-52
Compact Spare
............................... 5-37
Inflation
.................................... 6-39
Inflation Check
............................... 7-37
Inspection and Rotation
........................ 6-40
Loading
.................................... 4-28
Pressure
.................................... 6-39
Temperature
................................. 6-43
Traction
.................................... 6-43
Treadwear
................................... 6-43
Uniform Quality Grading
....................... 6-42
Wear Indicators
.............................. 6-4 1
Wheel Replacement ........................... 6-44
When It’s Time for New
....................... 6-41
TopStrap
..................................... 1-33
TorqueLock
................................... 2-22
Torque. Wheel
Nut .............................. 5-33
Torque. Wheel Nut
.............................. 6-62
Towing a Trailer
................................ 4-30
Traction
...................................... 6-43
Towing
Your Vehicle
............................. 5-7 Trailer
Brakes
..................................... 4-33
Drivingwith
................................. 4-34
Hitches
..................................... 4-33
Maintenance When Towing
..................... 4-36
Parking on Hills
.............................. 4-36
Safety Chains
................................ 4-33
Tongueweight
............................... 4-32
Towing
..................................... 4-30
Turnsignals
................................. 4-35
Weight
..................................... 4-31
Automatic
................................... 6-17
Transmitters, Remote Keyless Entry
................. 2-4
Transportation, Courtesy
.......................... 8-5
Trip Odometer
................................. 2-48
Trunk
Lock
........................................ 2-7
Release, Remote
............................... 2-7
TTYUsers
..................................... 8-3
Turn Signal
and Lane Change Indicator ............. 2-27
Turn Signal On Chime
........................... 2-28
Turn Signal/Multifunction Lever
................... 2-27
Driving on Grades
............................ 4-35
Total Weight on Tires
.......................... 4-32
Turn Signals When Towing a Trailer
................ 4-35
9-9
ProCarManuals.com