1995 PONTIAC BONNEVILLE audio
[x] Cancel search: audioPage 2 of 338
The 1995 Pontiac Bonneville Owner’s Manual
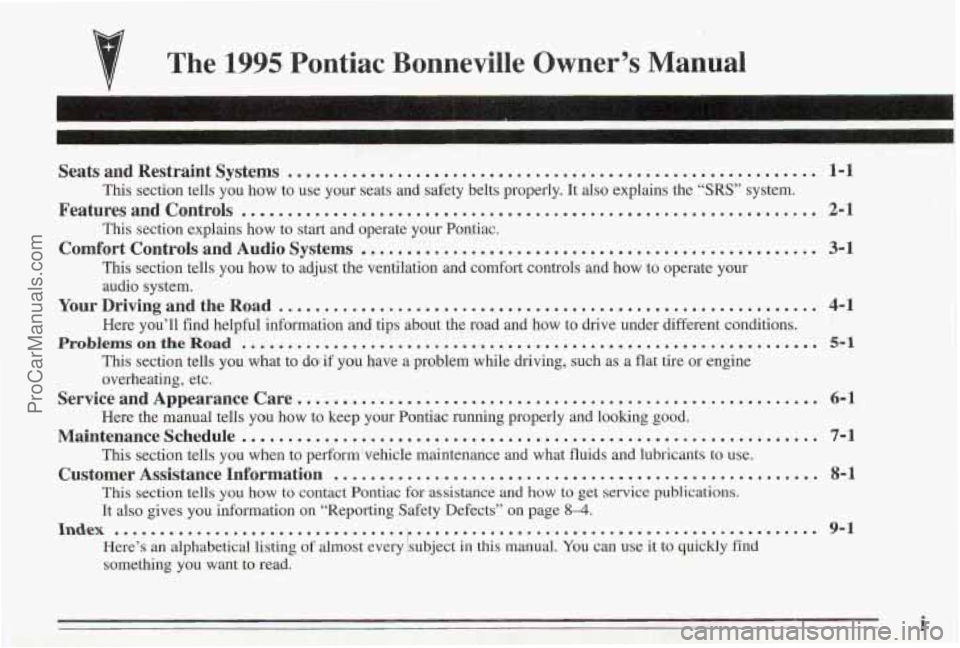
Seats and Restraint Systems .......................................................... 1-1
Features and Controls ............................................................... 2-1
Comfort Controls and Audio Systems .................................................. 3-1
This section tells you how to use your seats and safety belts\
properly. It also explains the “SRS” system. This section explains how to start and operate your Pontiac.
This section tells you how to adjust the ventilation and comfo\
rt controls and how to operate your audio system.
Here you’ll find helpful information and tips about the road\
and how to drive under different conditions.
This section tells
you what to dorif you have a problem while driving, such as a fl\
at tire or engine
overheating, etc.
Here the
rrmmal tells you how to keep your Pontiac running properly and loolun\
g good.
This section tells you when to perform’vehicle maintenance and wha\
t fluids and lubricants to use.
This section tells you how to contact Pontiac for assistance a\
nd how to get service publications.
It also gives you information on “Reporting Safety Defects’\
’ on page
8-4.
Here’s an alphabetical listing of almost every jsubject in this manual. You can use it to quickly find
something you want to read.
YourDrivingandtheRoad ........................................................... 4-1
ProblemsontheRoad ............................................................... 5-1
Service and Appearance Care ......................................................... ,6-1
Maintenanceschedule ............................................................... 7-1
Customer Assistance Information ..................................................... 8-1
Index ........................................................................\
....... 9-1
1
ProCarManuals.com
Page 122 of 338
Section 3 Comfort Controls and Audio Systems
In this section you’ll find out how to operate the comfort
control systems and audio systems offered with your
Pontiac. Be sure to read about the particular system
supplied with your vehicle.
This section tells you how to make your air system work
for you. Your Comfort Control System uses the new
ozone-friendly R134a refrigerant.
Fresh air
from outside your vehicle flows through your
Pontiac when the car is moving. When the vehicle
is not
moving, you can get outside air
to flow through by
selecting any
air choice (except the rear window
defogger) and any fan speed. The air conditioner and
heater work best if you keep your windows closed while
using them. If
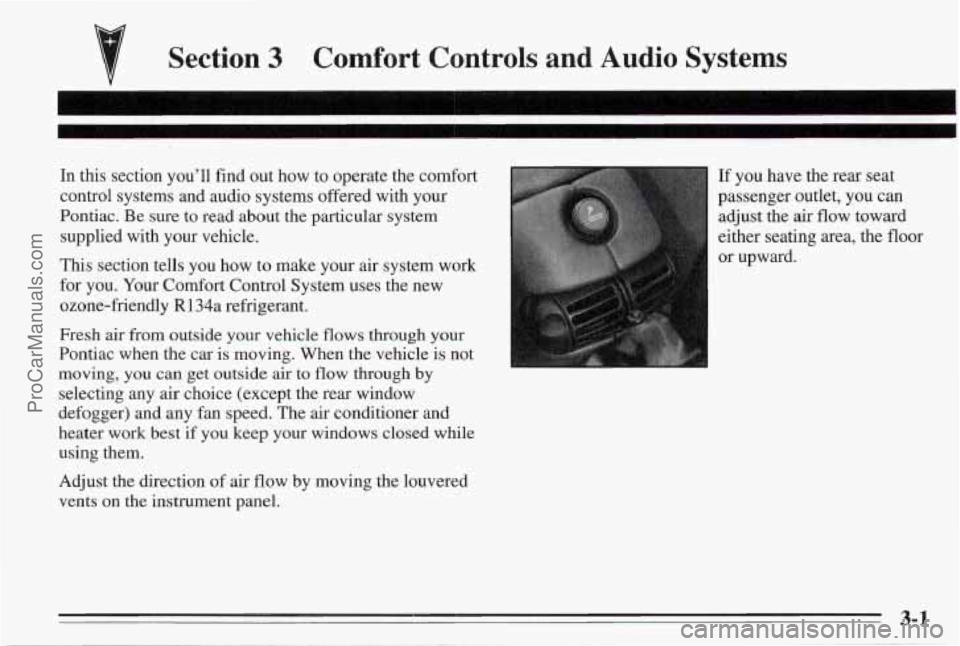
you have the rear seat
passenger outlet, you can
adjust the
air flow toward
either seating area, the floor
or upward.
Adjust the direction
of air flow by moving the louvered
vents on the instrument panel.
ProCarManuals.com
Page 128 of 338
Audio Systems
The following pages describe the audio systems
available for your Pontiac, and how to get the best
performance from them. Please read about the system in
your vehicle.
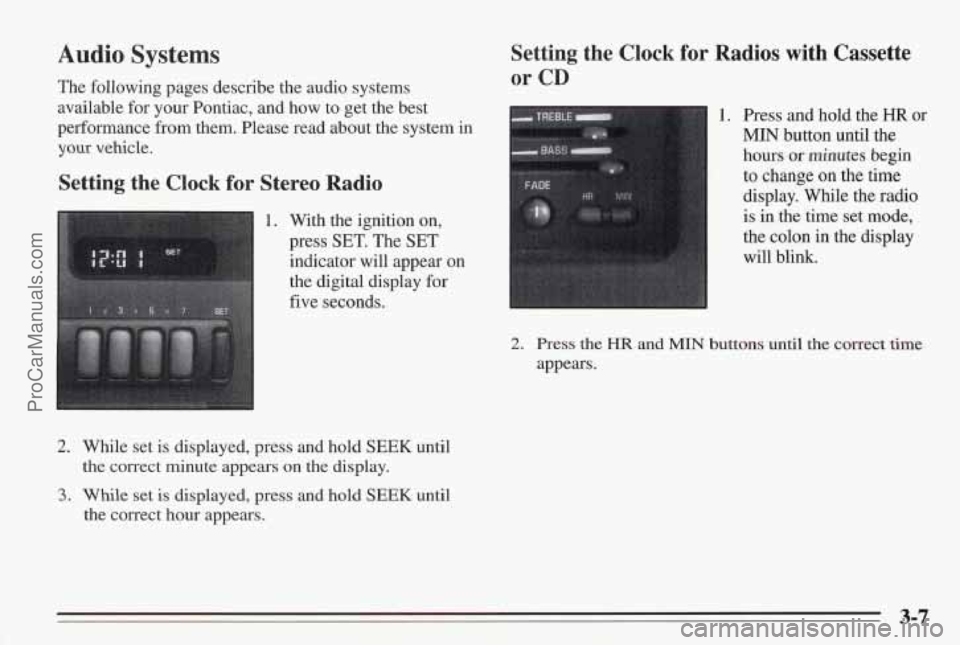
Setting the Clock for Stereo Radio
1. With the ignition on,
press
SET. The SET
indicator will appear on
the digital display
for
five seconds.
2. While set is displayed, press and hold SEEK until
the correct minute appears
on the display.
3. While set is displayed, press and hold SEEK until
the correct hour appears.
Setting the Clock for Radios with Cassette
or CD
1. Press and hold the HR or
MIN button until the
hours or minutes begin
to change on the time
display. While the radio
is in the time set mode,
the colon in
the display
will blink.
2. Press the HR and MIN buttons until the correct time
appears.
ProCarManuals.com
Page 132 of 338
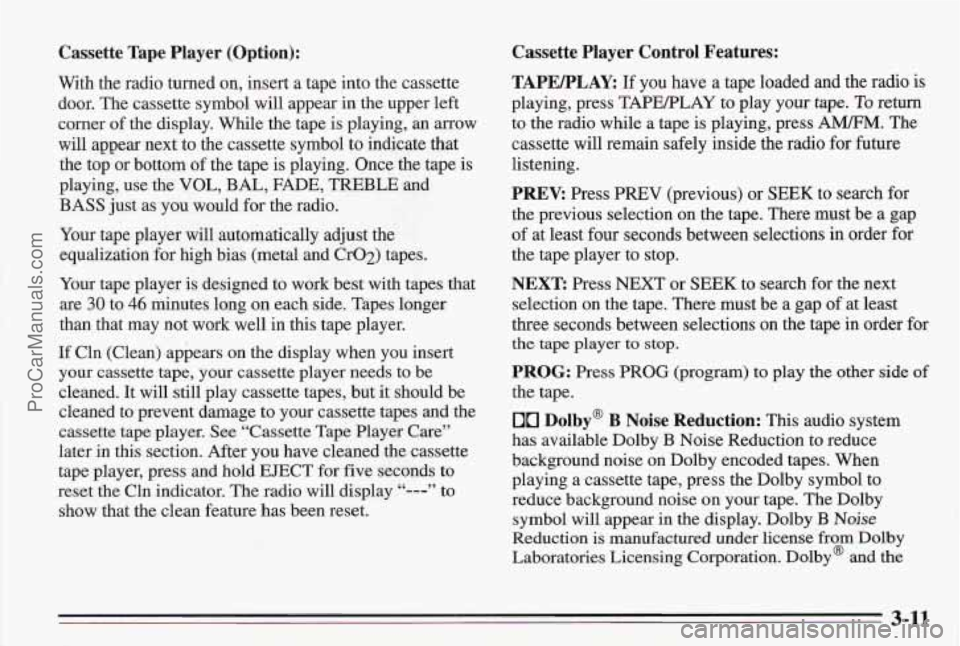
Cassette Tape Player (Option):
With the radio turned on, insert a tape into the cassette
door. The cassette symbol will appear in the upper left
corner of the display. While the tape is playing, an arrow
will appear next to the cassette symbol to indicate that
the top or bottom of the tape is playing. Once the tape is
playing, use the VOL, BAL, FADE, TREBLE and
BASS just as you would for the radio.
Your tape player will automatically adjust the
equalization for high bias (metal and Cr02) tapes.
Your tape player is designed to work best with tapes that
are
30 to 46 minutes long on each side. Tapes longer
than that may not work well in this tape player.
If Cln (Clean) appears on the display when you insert
your cassette tape, your cassette player needs to be
cleaned. It will still play cassette tapes, but it should be
cleaned to prevent damage
to your cassette tapes and the
cassette tape player. See “Cassette Tape Player Care”
later in this section. After you have cleaned the cassette
tape player, press and hold EJECT for five seconds
to
reset the Cln indicator. The radio will display “---” to
show that the clean feature has been reset.
Cassette Player Control Features:
TAPEPLAY:
If you have a tape loaded and the radio is
playing, press TAPEELAY to play your tape.
To return
to the radio while a tape is playing, press A”. The
cassette will remain safely inside the radio for future
listening.
PREV: Press PREV (previous) or SEEK to search for
the previous selection on the tape. There must be a gap
of at least four seconds between selections in order for
the tape player to stop.
NEXT Press NEXT or SEEK to search for the next
selection on the tape. There must be a gap of at least
three seconds between selections on the tape in order for
the tape player to stop.
PROG: Press PROG (program) to play the other side of
the tape.
00 Dolby@ B Noise Reduction: This audio system
has available Dolby
B Noise Reduction to reduce
background noise on Dolby encoded tapes. When
playing a cassette tape, press the Dolby symbol to
reduce background noise
on your tape. The Dolby
symbol will appear in the display. Dolby
B Noise
Reduction is manufactured under license from Dolby
Laboratories Licensing Corporation. Dolby@ and the
3-11
ProCarManuals.com
Page 138 of 338
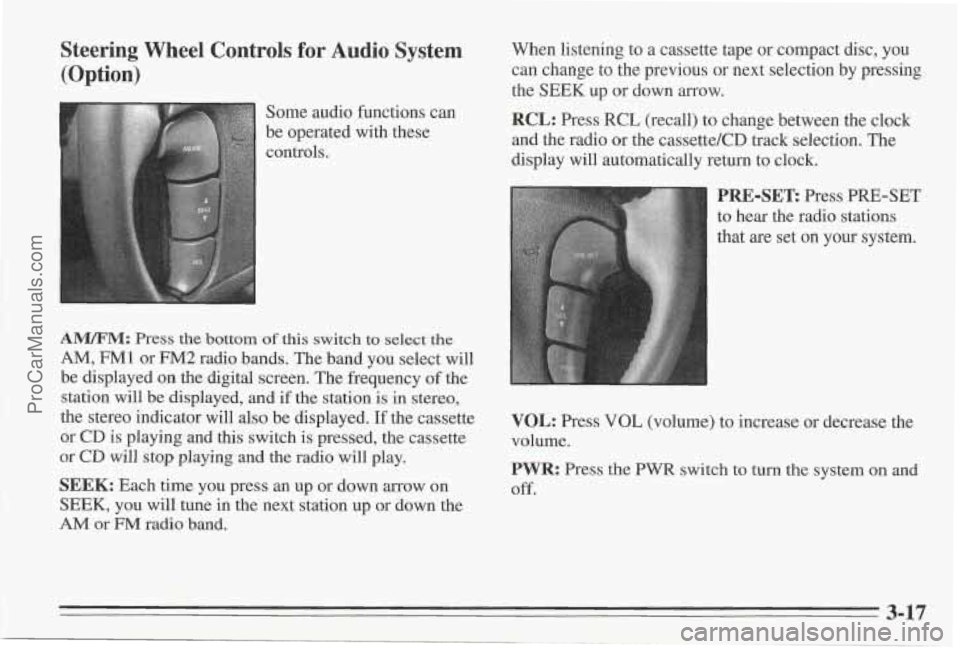
Steering Wheel Controls for Audio System (Option)
Some audio functions can
be operated with these
controls,
A"M: Press the bottom of this switch to select the
AM, FM1 or FM2 radio bands. The band you select will
be displayed on the digital screen. The frequency
of the
station will be displayed, and if the station is
in stereo,
the stereo indicator will also be displayed.
If the cassette
or
CD is playing and this switch is pressed, the cassette
or CD will stop playing and the radio will play.
SEEK: Each time you press an up or down arrow on
SEEK, you will tune in the next station up or down the
AM or FM radio band. When listening to
a cassette tape or compact disc, you
can change to the previous or next selection by pressing
the
SEEK up or down arrow.
RCL: Press RCL (recall) to change between the clock
and the radio or the cassette/CD track selection. The
display will automatically return to clock.
'RE-SET: Press PRE-SET
o hear the radio stations
hat
are set on your system.
VOL: Press VOL (volume) to increase or decrease the
volume.
PWR: Press the PWR switch to turn the system on and
Off.
3-17
ProCarManuals.com
Page 140 of 338
Cassette Tape Player Care
A tape player that is not cleaned regularly can cause
reduced sound quality, ruined cassettes, or a damaged
mechanism. Cassette tapes that are not stored in their
plastic cases away from contaminants, direct sunlight,
and extreme heat may not operate properly or may cause
premature failure
of the tape player.
Cassettes are subject to wear and the sound quality may
degrade over time. Always make sure that the cassette
tape is in good condition and that the tape player
is clean
before you have your tape player serviced.
Your tape player should be cleaned each month or after
every
50 hours of use to provide optimum performance.
Your mdio may display Cln to remind you that you have
used your tape player for 50 hours without re-setting the
tape clean timer.
If you notice a reduction in sound
quality, regardless
of when the tape player was last
cleaned, try playing a different cassette tape to see
if the
tape or tape player is at fault. If the second cassette tape
results in no improvement
in sound quality, try cleanine
the tape player. Proper
tape player cleaning should be done with a
scrubbing-action, non-abrasive cleaning cassette. This
is
a wet-type cleaning system that uses a cleaning
cassette with pads which scrub the tape head as the hubs
of the cleaner cassette turn.
If you use this type of
cleaner, the radio may display an error and eject
the
cartridge. This is normal and is the result of an added
feature in the tape player that detects broken tapes. If an
error message is displayed while cleaning, you
will need
to insert the cleaning cassette at least three times to
thoroughly clean the tape player.
You may prefer to use a non-scrubbing action, wet-type
cleaner. This type of cleaner uses
a cassette with a fabric
belt which cleans the tape head. This type
of cleaning
cassette will not cause an error, but it may not clean the
tape player as thoroughly as the scrubbing type cleaner.
Cleaning cassettes are available in most stores that sell
audio products or from your General Motors dealer.
Follow the instructions provided with the cleaning
cassette.
Please note that cassette tape adapter kits for portable
CD players will not work in your cassette player. These
adapters will cause the radio to display an error and the
adapter cassette will be ejected.
3-19
ProCarManuals.com
Page 306 of 338
Part B: Owner Checks and Services
Listed below are owner checks and services which
should be performed at the intervals specified to help
ensure the safety, dependability and emission control
performance of your vehicle.
Be sure any necessary repairs are completed at once.
Whenever any fluids or lubricants are added to your
vehicle, make sure they are the proper ones, as shown in
Part
D.
At Each Fuel Fill
It is important for you or a service station attendant to
perform- these underhood checks at eachfuelfill.
Engine Oil Level
Check the engine oil level and add the proper oil if
necessary. See “Engine Oil”
in the Index for further
details.
Engine Coolant Level
Check the engine coolant level and add the proper
coolant mix
if necessary. See “Coolant” in the Index for
further details.
Windshield Washer Fluid Level
Check the windshield washer fluid level in the
windshield washer tank and add the proper fluid
if
necessary. See “Windshield Washer Fluid” in the Index
for further details.
At Least Once a Month
Tire Inflation
Check tire inflation. Make sure tires are inflated to the
pressures specified on the Tire-Loading Information
label located on the rear edge of the driver’s door.
See
“Tires” in the Index for further details.
Cassette Deck
Clean cassette deck. Cleaning should be done every
50 hours of tape play. See “Audio Systems” in the Index
for further details.
Power Antenna
Clean power antenna mast. See “Audio Systems” in the
Index for further details.
7-37
ProCarManuals.com
Page 326 of 338
Section 9 Index
Accessory Power 0uL1et ......................... 2-48
Adding Automatic Transaxle Fluid
... ........... 6-21
Brake Fluid
................................. 6-28
Electrical Equipment
............... 2- 16. 3- 18. 6-48
Engine Coolant
.............................. 6-23
Engine Oil
................................ 6- 13
Power Steering Fluid
. . ......... 6-25
Supercharger
Oil ............................. 6- 19
Windshield Washer Fluid ................. 2-33. 6-26
AdjLlstahle Support Seat ........................... 1-2
AirBag ....................................... 1-16
How Does it Restrain ......................... 1-20
How
it Works ............................... 1 - I8
Location ................................... 1 - 18
Servicing ................................... 1-21
What
Makes it Intlate ......................... 1-1 9
What Will You See After it Intlates .............. 1-20
When Should
it lnflatc ........................ I - IC)
Air Bag Readiness Light .................... 1 - 17. 2-52
AirCleane
r .................................... 6-16
Air Conditioning ............................ 3-2, 3-5
Air Inflator System
.............................. 5-2 I
Alarm, Theft Deterrent System ..................... 2-9
Alignn~ent and
Balance, Tires ..................... 6-38
Aluminum Wheels, Cleaning ...................... 6-45
Sound Equipment
..... ........... 3-18
Antenna.
Fixed Mast ............................ 3-20
Antenna. Power Mast Care ....................... 3-20
Anti-Lock
..................................... 4-6
Anti-Lock Brake System Warning Light ......... 2-54. 4-6
Anti-Lock Brakes
............................... 4-6
Anti-Theft Feature. THEFTLOCK
TM ............... 3-14
Antiireeze
..................................... 6-22
Adding
.................................. 6-23
Checking
................ ..... .... 6-23
Appearance Care
............................... 6-40
Appearance Care and Materials
.................... 6-47
Armrest. Storage ............................... 2-45
Ashtrays ...................................... 2-47
Audio System
. Steering Wheel Touch Controls ....... 3-17
Audio Systems
.................................. 3-7
Automatic Overdrive Position
..................... 2-20
Automatic Rearview Mirror
..................... 2-41
Automatic Transaxle
......... ............ 2-18
Automatic Overdrive Position ..... ....... 2-20
Drive Position ...............................
2-21
First Gear Position ........................... 2-21
Neutral Position ........................... 2-20
Park Position
...... .............. 2-19
Reverse Position
............................. 2-19
Second Gear Position
......................... 2-21
Shifting
.................................... 2-18
9-1
ProCarManuals.com