1995 Oldsmobile Cutlass Supreme window
[x] Cancel search: windowPage 120 of 340

Air Conditioning with Automatic and
Auxiliary Temperature Control
With this system you set a temperature. You can then
either let the system adjust air flow and force to
maintain the temperature, or you can manually adjust
1 the flow and force, The system works best if you keep
1 your windows closed while usingit.
System Controls
Fan Knob
The left knob selects the force of air you want when the
system is not in AUTO. The display will show the
speed. To turn the system
off, push the knob.
Driver Temperature Knob
The right knob sets the temperature for the entire system
when the light on the
PASS button isn’t lit. If the light is
lit, the knob sets the temperature for the driver. Turn the
knob toward red (clockwise) to r&ise the temperature.
Turn it toward blue (counterclockwise) to lower the
temperature. The display
will show your selection for a
few seconds, then the outside temperature will show. If
you push the knob, the system will control the fan speed
and air flow. AUTO will show
on the display.
Page 121 of 340
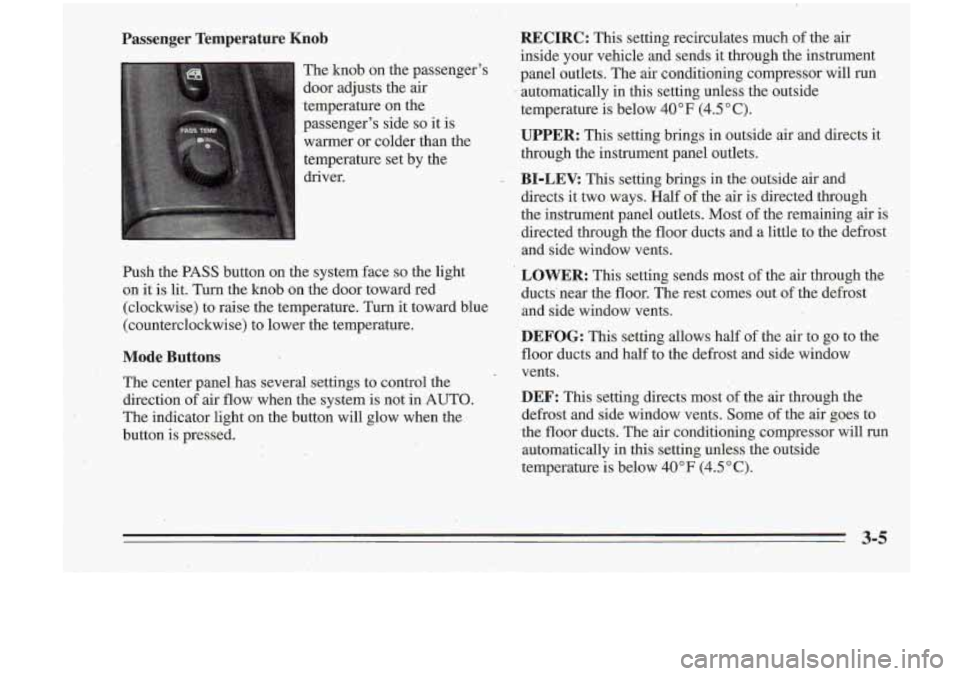
Passenger Temperature Knob
The knob on the passenger's
door adjusts the air
.temperature on the
passenger's side
so it is
warmer or colder- than -the
temperature set by the
driver.
Push the PASS button on the system face
so the light
on
it is lit. Turn the knob on the door toward red
(clockwise) to raise the temperature. Turn it toward blue
(counterclockwise) to lower the temperature.
Mode Buttons
The center panel has' several settings to control the
direction of air flow when the system is not in 'AUTO.
The indicator light on the button will glow when the
button is pressed.
RECIRC: This setting recirculates much of the air
inside your vehicle and sends it through the instrument
panel outlets. The air conditioning compressor will run
automatically
in this setting unless the outside
temperature
is below 40°F (4.5"C).
UPPER: This setting brings in outside air and directs it
through the instrument panel outlets.
BI-LEV. This setting brings in the outside air and
directs it two-ways. Half of the air is directed through
the instrument panel outlets.
Most of the remaining air is
directed through the floor ducts and a little to the defrost
and side window vents.
LOWER: This setting sends most of the air through the
ducts' near the floor. The rest comes out of the defrost
and side window vents.
DEFOG: This setting allows half of the air to go to the
floor ducts and half to the defrost and side window
vents.
DEF: This setting directs most of the air through the
defrost and side window vents. Some of the air goes
to
the floor ducts. The air conditioning compressor will run
automatically in this setting unless the outside
temperature is below
40°F (4.5"C).
Page 122 of 340

Automatic Control
For the most efficient operation, you ,should.set the
system temperature and press the knob. The system will
select the best fan speed and air flow, settings to keep
you comfortable. The air conditioning compressor will
run
if the outside temperature is above 40°F (4.5 ” C).
YOU may notice
a delay of three to four minutes before
the fan comes on.
Manual Control
If you prefer to manually control the heating, cooling
and ventilation
in your vehicle, push UPPER, BI-LEV,
LOWER, DEFOG or
DEE AUTO will go off the
display. Set the system to the temperature and fan
speed you want. The system will try to maintain the
temperature you set using the mode you select. The
following suggestions will help the system run more
efficiently in manual mode.
Air Conditioning
On very hot days, open the windows long enough to
let hot inside
air escape. This reduces the time the
compressor has to run, which should help fuel economy.
For quick cool-down on very hot days, use RECIRC. If
this setting is used for long periods
of time, the air in
your vehicle may become too dry. For normal cooling on hot days, use UPPER with the
A/C button pushed
in. The system will.bring in outside
air and cool it.
On
cool but .sunny days, the sun may warm your upper ,
body, but your lower body may not be warm enough. You
can use BI-LEV with the A/C’ button pushed in.’
The system will bring in outside air and direct it to your
upper body, while sending slightly warmed air to your
lower body. You may notice this temperature difference
more at some times than.others.
Heating
On cold days use LOWER. The system will bring in
outside air, heat it and send it to the floor ducts.
If your vehicle has an engine coolant heater, you, can use
it to help your system provide warm air faster when it’s
cold outside
(0°F (-18°C) or lower). An engine coolant
heater warms the‘coolant your engine and heating
system use to provide heat. See “Engine Coolant
Heater” in the Index.
Ventilation
For mild outside temperatures when little heating or
cooling is needed, use-UPPER to direct outside air through
your vehicle.
Your vehicle also has the flow-through
ventilation system described later in
this section.
3-6
-
Page 123 of 340
Defogging and Defrosting Windows Do not attach anything like a temporary vehicle license
Your system has two settings for clearing the front and or decal across the
defogger grid.
side windows.
To defrost the windows quickly, use DEF.
To warm passengers while keeping the windows clean,
use DEFOG. ,
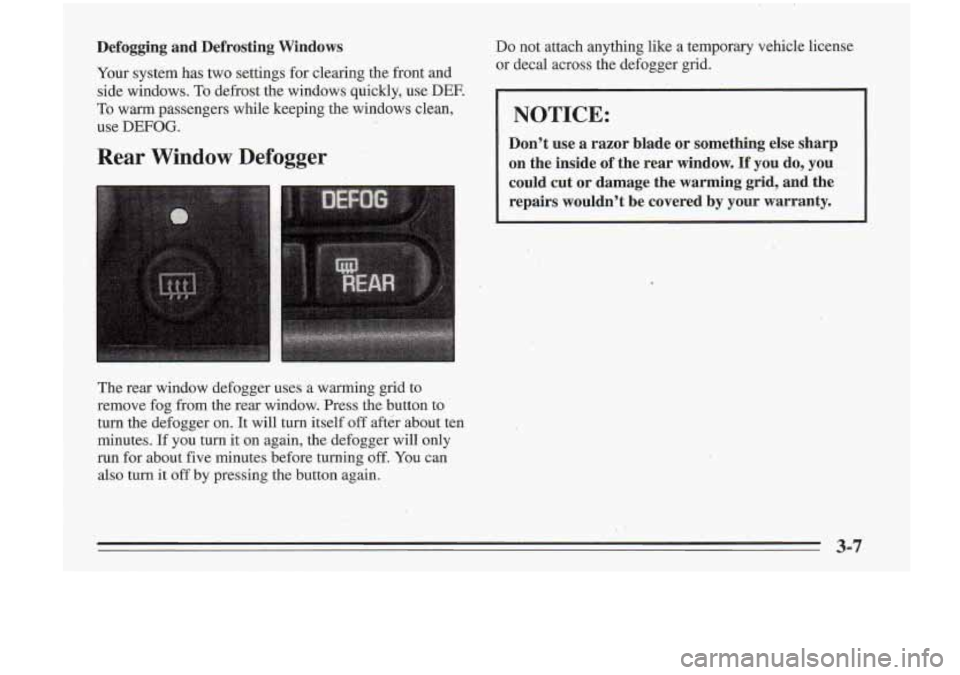
Rear Window Defogger
The rear window .defogger uses a warming grid to
remove fog from the rear window. Press the button
to
turn the defogger on. It will turn itself off after about ten
minutes. If you
turn it on again, the defogger will only
run for, about five minutes before turning
off. You can
1 also turn it off by pressing the button again.
NOTICE:
Don’t use a razor blade or something else sharp
on the inside of the rear window.
If you do, you
could cut or damage the warming grid, and the
repairs wouldn’t be covered by your warranty.
3-7
Page 124 of 340

Flow-Through Ventilation System
Your vehicle's flow-through ventilation system supplies
outside air info the vehicle when it is moving. Outside
air will also enter the vehicle when the air conditioning
fan
is running.
Ventilation Tips
Keep the hood and fkont air inlet free of ice, snow or
any other obstruction, such- as leaves. The heater and
defroster will work far better, reducing the chance
of
fogging the inside of your windows.
, When you enter a vehicle in cold weather, set the
mode to
FLQOR or LOWER and the fan to .the
highest speed for a few moments before driving off.
This helps clear the intake ,ducts of snow and
moisture and reduces the chance of fogging the
inside of your windows.
'0 Keep the air path under the front seats'clear of
objects. This helps air to circulate throughout your
vehicle.
Audio Systems
Your Delco@ aubo system has been designed to operate
easily and give years of listening pleasure.
You will get
the most enjoyment out of 'it if you acquaint yourself with
it first. Find out what your Delco@system cpn do and how
.
,to operdte all its controls, to be sure you're getting the most
out of the advanced engineering that went into it.
Setting the Clock
You can set the-clock with the ignition on or off.
I
1. Press and hold HR until the correct hour appears.
The letter
A or'-P may appear in'the display for, AM
or PM.
2. Press and hold MN until the correct minute appears.
Page 157 of 340
3 Once you are m,oving on the freeway, make certain you
allow a reasonable following distance. Expect to move
slightly slower at night.
When you want to leave the freeway, move to the proper
lane well in advance.
If you-miss your exit do not, under
any circumstances, stop and back up. Drive on to the
next exit.
The exit ramp can be curved, sometimes quite sharply.
The exit speed is usually. posted.
Reduce your speed according to your speedometer, not
to your sense of motion. After driving for any distance
at higher speeds, you may tend to think you are going
slower’than you actually are.
Before Leaving on a Long- Trip
Make sure you’re ready. Try to be well rested. If you
must
start when you’re not fresh -- such as after a day’s
work
.-- don’t plan to make too many miles that first part
of the journey. Wear comfortable clothing and shoes you
can easily drive in. Is your vehicle ready
for a long trip? If you keep it
serviced and maintained, it’s ready to go.
If it needs
service, have it done before starting out. Of course,
you’ll find experienced and able service experts in
Oldsmobile retailers all across North America. They’ll
be ready and willing to help
if you need it.
Here are some things you can check before a trip:
0
0
0
0
0
0
0
,Windshield Washer Fluid: Is the reservoir full? Are
all windows clean inside and outside?
Wiper Blades: Are they in good shape?
Fuel, Engine Oil, Other FZuids: Have you checked
all levels?
,
Lights: Are .they all working? Are the lenses clean?
Tires: They are vitally important to a safe,
trouble-free trip. Is the tread gaod enough for
long-distance driving? Are the tires all inflated to the
recommended pressure?
Weather Forecasts: What’s the weather outlook
along your route? Should you delay your trip a short
time‘to avoid a major
storm system?
Maps: Do you have up-to-date maps?
,
Page 186 of 340
If you get the overheat warning with no sign of steam,
tw this for a minute or
so:
1. Turn off your air conditioner.
2. Turn on your heater to full hot at the highest fan
3. If you're in a traffic jam, shift to NEUTRAL (N);
speed and open the window as necessary.
otherwise, shift to the highest gear while driving
--
DRIVE (D) or THIRD (3).
If you no longer have the overheat warning, you can
drive. Just to be safe, drive slower for about ten minutes.
If the warning doesn't come back on, you can drive
normally.
If the warning continues, pull over, stop, and park your vehicle right away.
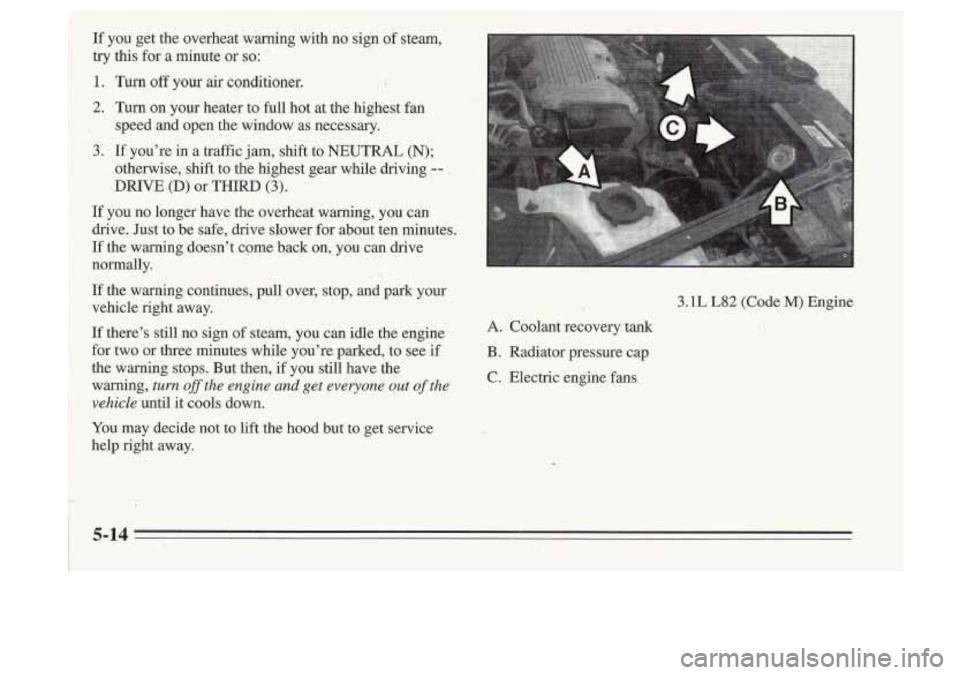
3.1L L82 (Code M) Engine
If there's still no sign of steam, you can idle the engine
for two or three minutes while you're parked, to see if
B. Radiator pressure cap
the warning stops. But then, if you still have the warning,
turn off the engine and get everyone out of the
vehicle
until it cools down.
You may decide not to lift the hood but to get service
help right away.
A. Coolant recovery tank ,
C. Electric engine fans
5-14
Page 242 of 340
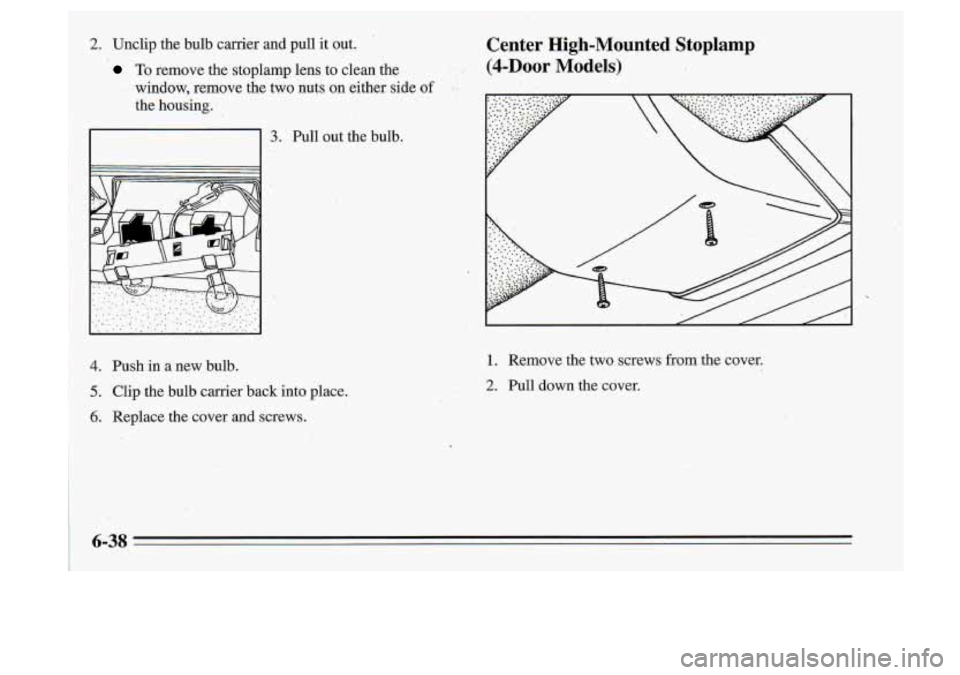
2. Unclip the bulb carrier and pull it out.
I
r
To remove the stoplamp lens. to clean the
window, remove the two nuts on either side
of ;
the housing.
3. Pull out the bulb.
Center High-Mounted Stoplamp
(4-DOOr Models)
4. Push in a new bulb.
I 5. Clip the bulb carrier back into place.
6. Replace the cover and screws.
1. Remove the two screws from the cover.
2. Pull down the cover.
6-38