1995 GMC SIERRA ESP
[x] Cancel search: ESPPage 164 of 488
SCAN - Press and hold the center of the SEEK button to momentarily hear
each available station. Release the button when SCAN appears in the
display. The receiver will continue to scan and momentarily stop at each
station until you press
the center of the SEEK button again.
p. SCAN (Preset Scan) - Press this button to scan each preset pushbutton
station. The receiver
will continue to scan and momentarily stop at each
station until
you press either P. SCAN again or one of the six pushbuttons.
The AUTO SCAN setting for that preset button will also return. The
pushbutton number (Pl-P6) will appear momentarily just before frequency
is displayed.
AUTO TONE -Press this button to select between five preset equalization
settings and tailor the sound to the music or voice being heard. Each time
you press the button, the selection will switch to one
of the preset settings of
CLASSIC, NEWS, ROCK, POP, or JAZZ. The display will show which
mode the receiver is in.
To return to the manual mode, press and release
AUTO TONE
until MAN (manual) appears in the display. This will return
the
tone adjustment to the TREB and BASS controls. Also, any time a
TREB
or BASS control is rotated, tone is automatically set back to MAN
(manual).
FADE
- Press lightly on the FADE knob to release it from its stored
position and pull it
out to the fully extended position. Rotate the knob
clockwise to adjust sound
to the front speakers and counterclockwise to
adjust sound
to the rear speakers. Push the knob back in to the stored
position when done.
BAL
- Press lightly on the BAL knob to release it from its stored position
and pull
it out to the fully extended position. Rotate the knob clockwise to
adjust sound to the right speakers and counterclockwise to adjust sound
to
the left speakers. Push the knob back in to the stored position when done.
BASS
- Press lightly on the BASS knob to release it from its stored
position and pull
it out to the fully extended position. Rotate the knob
clockwise
to increase the bass response and counterclockwise to decrease
bass response. Any time the
BASS control is rotated, tone is automatically
set back to MAN (manual). Push
the knob back in to the stored position
when done.
TREBLE
- Press lightly on the TREB knob to release it from its stored
position and pull it out to the
fully extended position. Rotate the knob
clockwise to increase the treble response and counterclockwise to decrease
treble response. Any time the TREB control
is rotated, tone is automatically
set back
to MAN (manual). Push the knob back in to the stored position
when done.
3-18
ProCarManuals.com
Page 169 of 488
PROG (on cassette player) - Press PROG to go from one side of the tape
to the other.
NEXT
(3) - Press NEXT or SEEK (in the direction that the lighted tape
direction arrow points) to search for the next selection. A minimum
three-second blank gap is needed for the player to stop at the beginning of
the selection. NEXT will appear
in the display and the audio is in the mute
mode.
REV
(4) - To rapidly reverse the tape, press REV and the tape will rapidly
reverse to the beginning of
the cassette reel or until you press REV again.
The radio plays the last selected station during REV.
00 (5) - 00 is active at all times with a tape inserted in the remote
cassette.
00 will appear in the display.
FWD (6) - To rapidly advance the tape, press FWD and the tape will
rapidly advance to the end of the cassette reel or until you press FWD again.
The radio plays the last selected station during
FWD.
TAPE - To switch between the player and the radio when a tape is playing,
press the AM/FM button.
To return to the tape player, press CD AUX. The
lighted arrow
will appear next to the tape symbol and show the direction of
play when a tape is active.
EJECT (on cassette player)
- To remove the tape press the EJECT button.
EJECT can be used with either the ignition or radio off. Also, you must
press EJECT before loading
a cassette with the radio off to allow loading.
If a tape is inserted with side
“1” (or “A”) up, then the right arrow means
that that side is being played. Likewise,
a left arrow would indicate that side
b‘2“ (or “B”) had been selected.
00 Dolby” Noise Reduction is manufactured under a lice-nse from Dolby
Laboratories Licensing Corporation. DolbyB and the
00 symbol are
trademarks of Dolby Laboratories Licensing Corporation.
Understanding Radio Reception
FM stereo will give you the best sound. But FM signals will reach only
about
10 to 40 miles (I 6 to 65 km). And, tall buildings or hills can interfere
with FM signals, causing the sound to come and go.
The range for most AM stations is greater than for FM, especially at night.
The longer range, however, can cause stations to interfere with each other.
AM can pick up noise from things like stornx and power lines. Try reducing
the treble
to reduce this noise if you ever get it.
AM Stereo means the Delco‘ system can receive C-QUAM“stereo
broadcasts. Many AM stations around the county use C-QUAM“ to
produce stereo, though some
do not. (C-QUAM& is a registered trademark
of Motorola, Inc.)
If your Delco@ system can get C-QUAMa, your
“STEREO” light will come on when you’re receiving it.
3-23
ProCarManuals.com
Page 178 of 488
The body takes about an hour to rid itself of the alcohol in one drink. No
amount of coffee or number of cold showers will speed that up. “I’ll be
careful” isn’t
the right answer. What if there’s an emergency, a need to take
sudden action, as when a child darts into the street? A person with even a
moderate
BAC might not be able to react quickly enough to avoid the
collision.
There’s something else about drinking and driving that many people don’t
know. Medical research shows that alcohol in a person’s system can make
crash injuries worse, especially injuries to the brain, spinal cQrd or heart.
This means that when anyone who has been drinking
- driver or passenger
- is in a crash, that person’s chance of being killed or permanently disabled
is higher than if the person had not been drinking.
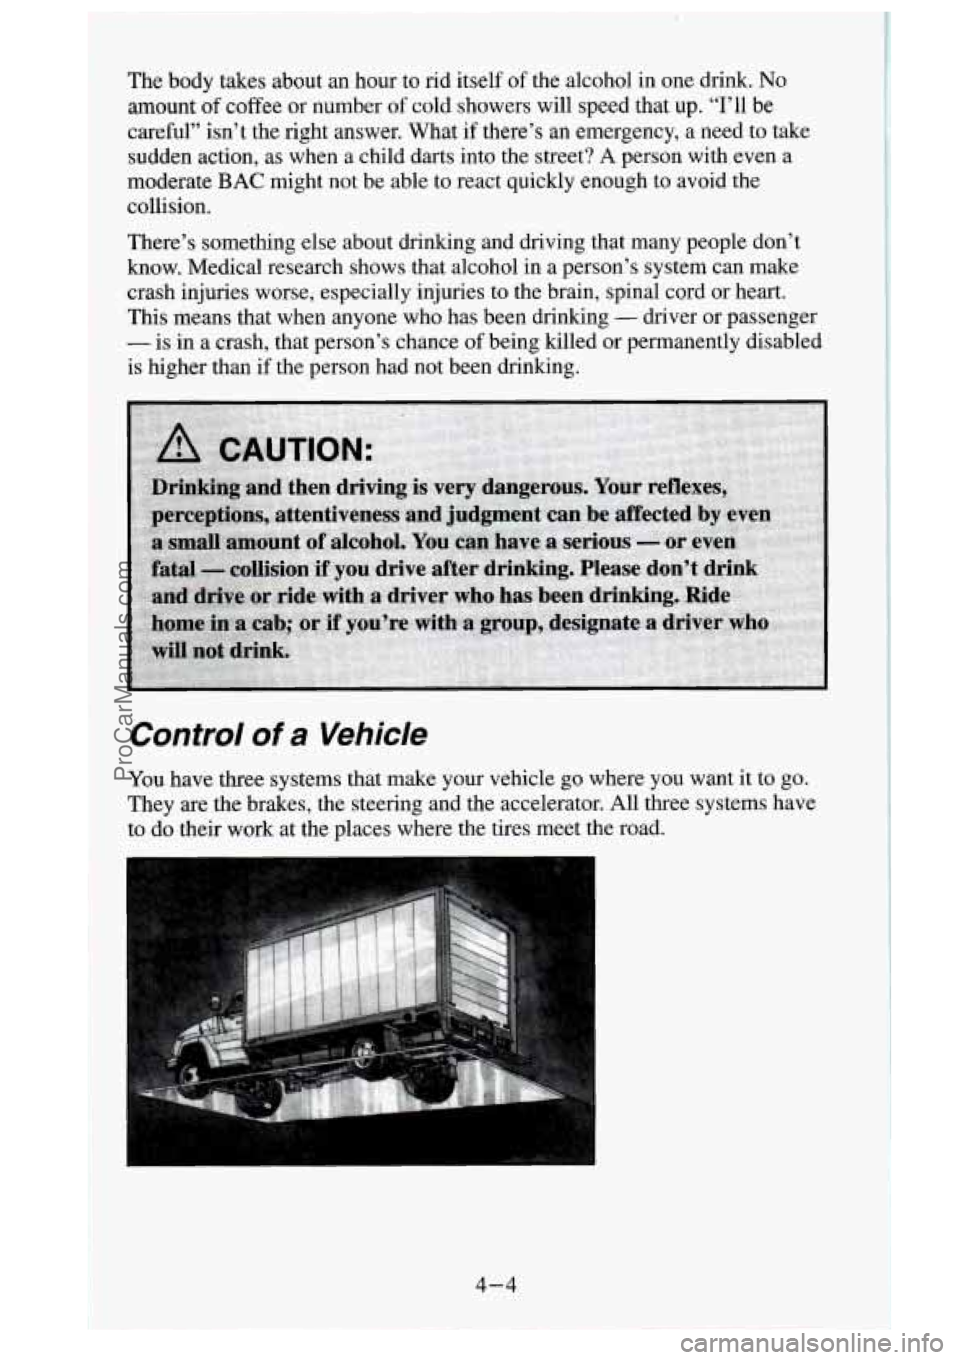
Control of a Vehicle
You have three systems that make your vehicle go where you want it to go.
They are the brakes, the steering and the accelerator. All three systems have
to do their work at the places where the tires meet the road.
4-4
ProCarManuals.com
Page 184 of 488
Passing
The driver of a vehicle about to pass another on a two-lane highway waits
for just the right moment, accelerates, moves around the vehicle ahead, \
then
goes back into the right lane again.
A simple maneuver?
Not necessarily! Passing another vehicle on a two-lane highway is a
potentially dangerous move, since the passing vehicle occupies t\
he same
lane as oncoming traffic for several seconds.
A miscalculation, an error in
judgment, or a brief surrender to frustration or anger can suddenly put the
passing driver face to face with the worst of all traffic accidents
- the
.head-on collision.
So here are some tips for passing:
0 “Drive ahead.” Look down the road, to the sides, and to \
crossroads for
situations that might affect your passing patterns. If you have any doubt
whatsoever about making a successful pass, wait for a better time.
Watch for traffic signs, pavement markings, and lines. If you can see a
sign up ahead that might indicate a turn or an intersection, delay your
pass.
A broken center line usually indicates it’s all right to pass
(providing the road ahead is clear). Never cross a solid line on your
side of the lane or a double solid line, even if the road seems empty of
approaching traffic.
awaiting
an opportunity. For one thing, following too closely reduces
your area of vision, especially if you’re following a larger vehicle.
Also, you won’t have adequate space if the vehicle ahead suddenly
slows
or stops. Keep back a reasonable distance.
When it looks like a chance to pass is coming up, start to accelerate but
stay in the right lane and don’t get too close. Time your move
so you
will be increasing speed as the time comes to move into the other lane.
If the way is clear to pass, you will have a “running start” that more
than makes up for the distance you would lose by dropping back. And
if something happens to cause you to cancel your pass, you need only
slow down and drop back again and wait for another opportunity.
If other cars are lined up to pass a slow vehicle, wait your turn. But
take care that someone isn’t trying to pass you as you pull out to pass
the slow vehicle. Remember to glance over your shoulder and check
the blind spot.
0 Check your mirrors, glance over your shoulder, and start your left lane
change signal before moving out of the right lane to pass. When you
are far enough ahead of the passed vehicle to see its front in your inside
mirror, activate your right lane change signal and move back into the
right lane. (Remember that if your right outside mirror is convex, the
vehicle you just passed may seem to be farther away from you than it
really is.)
Do not get too close to the vehicle you want to pass while you’re
4- 10
ProCarManuals.com
Page 185 of 488
Try not to pass more than one vehicle at a time on two-lane roads.
Reconsider before passing the next vehicle.
0 Don’t overtake a slowly moving vehicle too rapidly. Even though the
brake lights are
not flashing, it may be slowing down or starting to turn.
If you’re being passed, make it easy for the following driver to get
ahead
of you. Perhaps you can ease a little to the right.
Loss of Control
Let’s review what driving experts say about what happens when the three
control systems (brakes, steering and acceleration) don’t have enough
friction where the tires meet the road
to do what the driver has asked.
In any emergency, don’t give up. Keep trying
to steer and constantly seek an
escape route or area of less danger.
Skidding
In a skid, a driver can lose control of the vehicle. Defensive drivers avoid
most skids by taking reasonable care suited
to existing conditions, and by
not “overdriving” those conditions. But skids are always possible.
The three types of skids correspond to your vehicle’s three control systems.
In the braking skid your wheels aren’t rolling. In the steering or cornering
skid, too much speed or steering in
a curve causes tires to slip and lose
cornering force. And
in the acceleration skid too much throttle causes the
driving wheels to spin.
A cornering skid and an acceleration skid are best handled by easing your
foot off the accelerator pedal.
If your vehicle starts to slide, ease your foot
off the accelerator pedal and
quickly steer the way you want the vehicle
to go. If you start steering
quickly enough, your vehicle may straighten out. Always be ready for
a
second skid if it occurs.
Of course, traction is reduced when water, snow, ice, gravel, or other
material is on
the road. For safety, you’ll want to slow down and adjust your
driving to these conditions. It is important to slow down on slippery
surfaces because stopping distance will be longer and vehicle control more
limited.
While driving on a surface
with reduced traction, try your best to avoid
sudden steering, acceleration. or braking (including engine braking
by
shifting to a lower gear). Any sudden changes could cause the tires to slide.
You may not realize the surface is slippery until your vehicle
is skidding.
Learn
to recognize warning clues - such as enough water, ice or packed
snow
on the road to make a “mirrored surface” - and slow down when you
have any doubt.
Remember:
Any anti-lock brake system (ABS) helps avoid only the braking
skid.
4-13
ProCarManuals.com
Page 187 of 488
A CAUTION:
0
0
0
Cargo on the load floor piled higher than the seatbacks can be
thrown forward during a sudden stop.
You or your passengers
could be injured. Keep cargo below the top of the seatbacks.
Unsecured cargo on the load floor can be tossed about when
driving over rough terrain.
You or your passengers can be
struck by flying objects. Secure the cargo properly.
Heavy loads on the roof raise the vehicle’s center of gravity,
making it more likely to roll over. You can be seriously or
fatally injured if the vehicle rolls over. Put heavy loads inside
the cargo area, not on the roof. Keep cargo in the cargo area
as far forward and low as possible.
You’ll find other important information in this manual. See “Vehicle
Loading,” “Luggage Carrier” and “Tires”
in the Index.
Traveling to Remote Areas
It makes sense to plan your trip, especially when going to a remote area.
Know the terrain and plan your route. You are much less likely to get bad
surprises. Get accurate maps
of trails and terrain. Try to learn of any
blocked or closed roads.
It’s also a good idea to travel with at least one other vehicle. If something
happens to one of them, the other can help quickly.
Does your vehicle have a winch‘?
If so, be sure to read the winch
instructions. In
a remote area, a winch can be handy if you get stuck. But
you’ll want to know how to use it properly.
Getting Familiar with Off-Road Driving
It’s a good idea to practice in an area that’s safe and close to home before
you go into the wilderness. Off-road driving does require some new and
different driving
skills. Here’s what we mean.
Tune your senses to different kinds
of signals. Your eyes, for example, need
to constantly sweep the terrain for unexpected obstacles. Your ears need to
listen for unusual tire or engine sounds. With your arms, hands, feet, and
body you’ll need
to respond to vibrations and vehicle bounce.
4-13
ProCarManuals.com
Page 188 of 488
Controlling your vehicle is the key to successful off-road driving. One of
the best ways
to control your vehicle is to control your speed. Here are some
things
to keep in mind. At higher speeds:
you approach things faster and you have less time to scan the terrain for
obstacles.
0 you have less time to react.
0 you have more vehicle bounce when you drive over obstacles.
0 you’ll need more distance for braking, especially since you’re on an
unpaved surface.
A CAUTION:
When you’re driving off road, bouncing and quick changes in
direction can easily throw you out of position. This could cau\
se
you to lose control and crash.
So, whether you’re driving on or
off the road, you and your passengers should wear safety belts.
Scanning the Terrain
Off-road driving can take you over many different kinds of terrain. You
need to be familiar with the terrain and its many different features. Here are
some things to consider.
Stttface Conditions. Off-roading can take you over hard-packed dirt,
gravel, rocks, grass, sand, mud, snow or ice. Each of these surfaces affects
the steering, acceleration, and braking of your vehicle in different ways.
Depending upon the kind
of surface you are on, you may experience
slipping, sliding, wheel spinning, delayed acceleration, poor traction, and
longer braking distances.
Surjace Obstacles . Unseen or hidden obstacles can be hazardous. A rock,
log, hole,
rut, or bump can startle you if you’re not prepared for them. Often
these obstacles are hidden by grass, bushes, snow or even the rise and fall of
the terrain itself. Here are some things to consider:
Is the path ahead clear?
Will the surface texture change abruptly up ahead‘?
Does the travel take you uphill or downhill? (There’s more discussion
of these subjects later.)
0 Will you have to stop suddenly or change direction quickly?
When
you drive over obstacles or rough terrain, keep a firm grip on the
steering wheel. Ruts, troughs, or other surface features can jerk the wheel
out
of your hands if you’re not prepared.
4- 14
ProCarManuals.com
Page 189 of 488
When you drive over bumps, rocks, or other obstacles, your wheels can
leave the ground. If this happens, even with
one or two wheels, you can’t
control
the vehicle as well or at all.
Because
you will be on an unpaved surface, it’s especially important to
avoid sudden acceleration, sudden turns, or sudden braking.
In a way, off-road driving requires a different kind
of alertness from driving
on paved roads and highways. There are
no road signs, posted speed limits
or signal lights. You have to use your own good judgment about what is safe
and what isn’t.
Drinking and driving can be very dangerous on any road. And this is
certainly true for off-road driving. At the very time
you need special
alertness and driving skills, your reflexes, perceptions and judgment can be
affected by even a small amount of alcohol.
You could have a serious - or
even fatal
- accident if you drink and drive or ride with a driver who has
been drinking. (See “Drunken Driving” in the Index.)
Driving On Off-Road Hills
Off-road driving often takes you up, down, or across a hill. Driving safely
on hills requires good judgment and an understanding
of what your vehicle
can and can’t do. There are some hills that simply can’t be driven, no matter
how well built the vehicle.
A CAUTION:
Many hills are simply too steep for any vehicle, If you drive up
them, you will stall, If you drive
down them, you can’t control
your speed. If you drive across them, you will roll over. You
could be seriously injured
or killed. If you have any doubt about
the steepness, don’t drive the hill.
Approaching a Hill
When you approach a hill, you need to decide if it’s one of those hills that’s
just
too steep to climb, descend, or cross. Steepness can be hard to judge.
On
a very small hill, for example, there may be a smooth, constant incline
with only a small change in elevation where you can easily see all the way
to the top. On
a large hill, the incline may get steeper as you near the top,
but you may
not see this because the crest of the hill is hidden by bushes,
grass, or shrubs.
4-15
ProCarManuals.com